


.jpg&w=256&q=75)
.jpg&w=256&q=75)
.jpg&w=256&q=75)
.jpg&w=256&q=75)
.jpg&w=256&q=75)
.jpg&w=256&q=75)
.jpg&w=256&q=75)
.jpg&w=256&q=75)
.jpg&w=256&q=75)
.jpg&w=256&q=75)


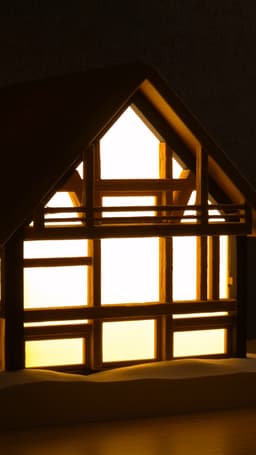
Chalet Lamp
Introducing the Chalet Lamp ⛷️
The Chalet / Alpine House Lamp is drawn from traditional alpine chalet architecture — wooden mountain houses you see in the Swiss Alps with steep pitched roofs, exposed timber framing, and small balconies tucked under the eaves. The 3D Print features a snow-white base that feeds the lamp cord through, mimicking a fresh layer of snow underneath, a structural frame, wooden panels designed to look like timber, and a roof to connect it all together. When assembled and lit, the warm glow spills out like a chalet window at night in winter.
Printed in PLA, the model is designed to be modular and is assembled without any tools required :)
What's Included
6 modular components Snow Base A wide white slab that sits flat on the surface and gives the lamp its grounded chalet footprint. Houses the central socket hole and the slit for the cable to feed out. Frame Panels Structural Panels that form the frame of the Chalet. Wooden Wall Panels (x10) The timber wall panels that slot into the panels. The joint connectors sit on the interior side, so from the outside the wall panels appear seamless flush with the frame. Friction Collar A friction-fit ring that seats inside the floor slab hole. The lamp socket is held up snugly in place without screws or fixings. Light Diffuser The paper shade that slides inside the frame acting as the light diffuser and light inside the home. Roof Plate The steep pitched roof piece that locks the entire assembly together. The defining silhouette of any alpine chalet.
Assembly Order All pieces are assembled via connector joints (no glue, additional tools required!)
- Connect the frame panels together to form the standing frame
- Connect the frame down onto the snow base
- Attach each wooden wall panels from the inside out — the joint connectors sit on the interior so the outside reads as a seamless wall. Start with the front timber panels, then the side, and finish with the balcony pieces.
- Slide the light diffuser inside the frame.
- Feed the lamp cord up through the hole in the snow base from below, insert the socket into the friction collar, and make sure the collar sits straight with the cord sticking out slightly. Feed the wire on the bottom through the slit in the snow base.
- Screw in the E27 LED bulb.
- Connect the roof plate down to lock everything in place.
Hardware Required
Smooth walled E27 lamp cord (Here is the link I used for the pendant lamp cord:)) E27 LED bulb Recommended slicer settings (applicable to all parts) Layer Height: 0.12 Initial Layer Height: 0.2 Seam position: Aligned Wall Generator: Classic Order of walls: inner/outer
Wall loops: 2 Sparse Infill density: 10%
Initial layer: 50mm/s Initial layer fill: 105mm/s Slow down for overhangs: yes
Support Enabled: yes Type: tree (auto) Threshold angle: 30 Remove Small Overhangs: yes
Filament Used in pictures:
Bambulab PLA Matte Charcoal Bambulab PLA Matte Latte Brown Bambulab PLA Matte Ivory White
Need Help? If you have any issues with printing, assembly, or fit — feel free to message me on Instagram or here and I'll get back to you asap! I want it to work perfectly for you.
Chalet Lamp

Pavilion Lamp
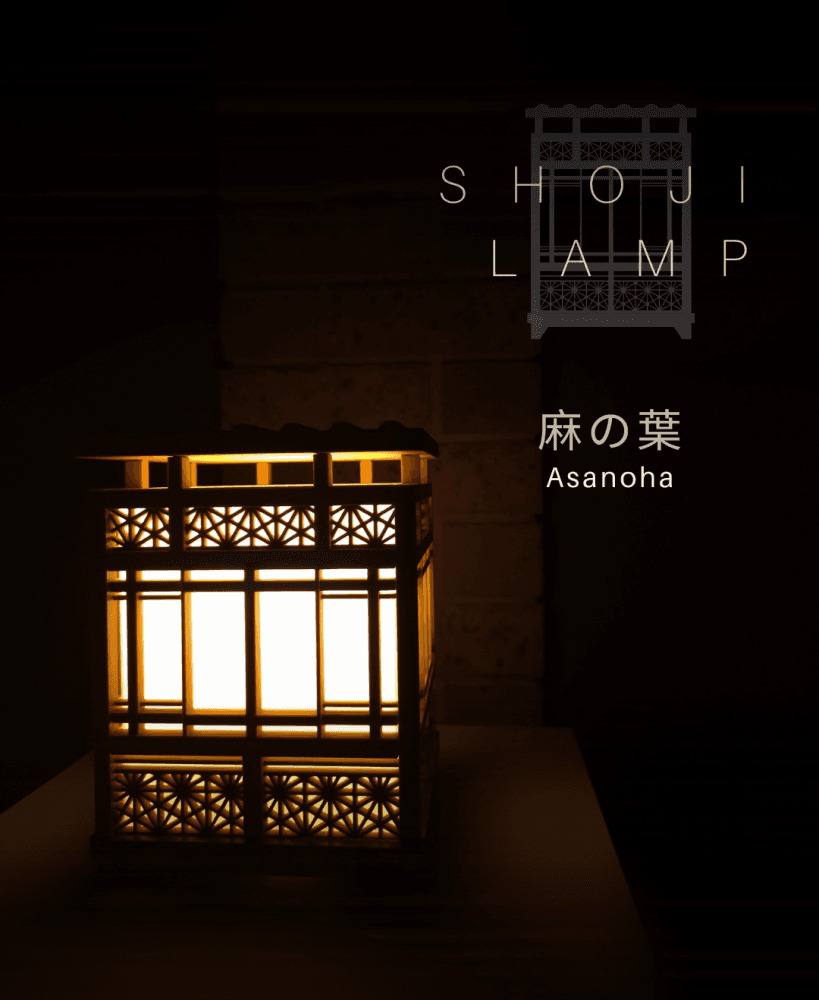
Shoji Lamp - Asanoha

Shoji Lamp - Tsuki

Shoji Lamp - Sen

Weave 03 Lamp - Stack

Weave 02 Lamp - Flow

Weave 01 Lamp - Cube

Planet Lamps
.png&w=3840&q=75)
Lara Lamp
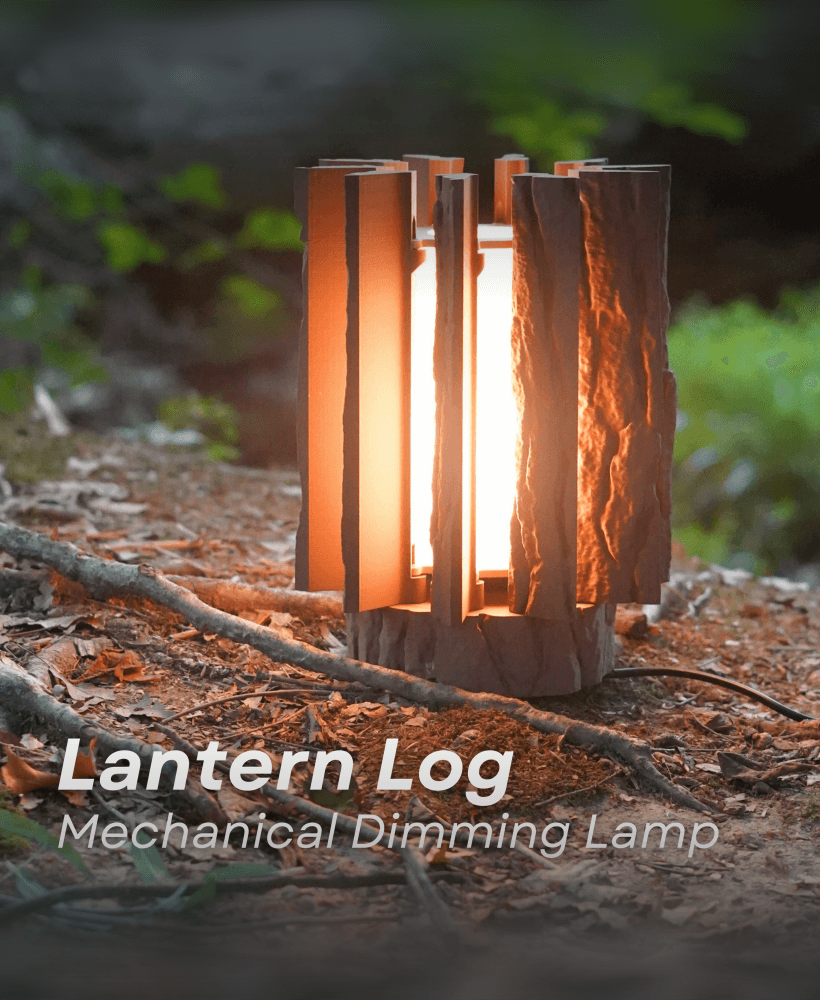
Lantern log - Mechanically Dimming Lamp with Real Log Texture

Jack Skellington Pumpkin 2025 edition - Halloween Lantern Decor - No Supports 3D Print STL/3MF

Cleo Lamp

Planetary Egg Container

The Rail

MCM Christmas Ornament
![Moon Lamp 150mm for LED Lamp 001 [HiRes] [noSupports] 3d model](/_next/image?url=https%3A%2F%2Fstorage.googleapis.com%2Fproduction-thangs-public%2Fuploads%2Fenhanced_images%2Fv1%2F2aa76a1f-56ad-48ad-99e1-ee824261c8ae%2Fezgif-6-4146f34c2f.gif&w=3840&q=75)
Moon Lamp 150mm for LED Lamp 001 [HiRes] [noSupports]
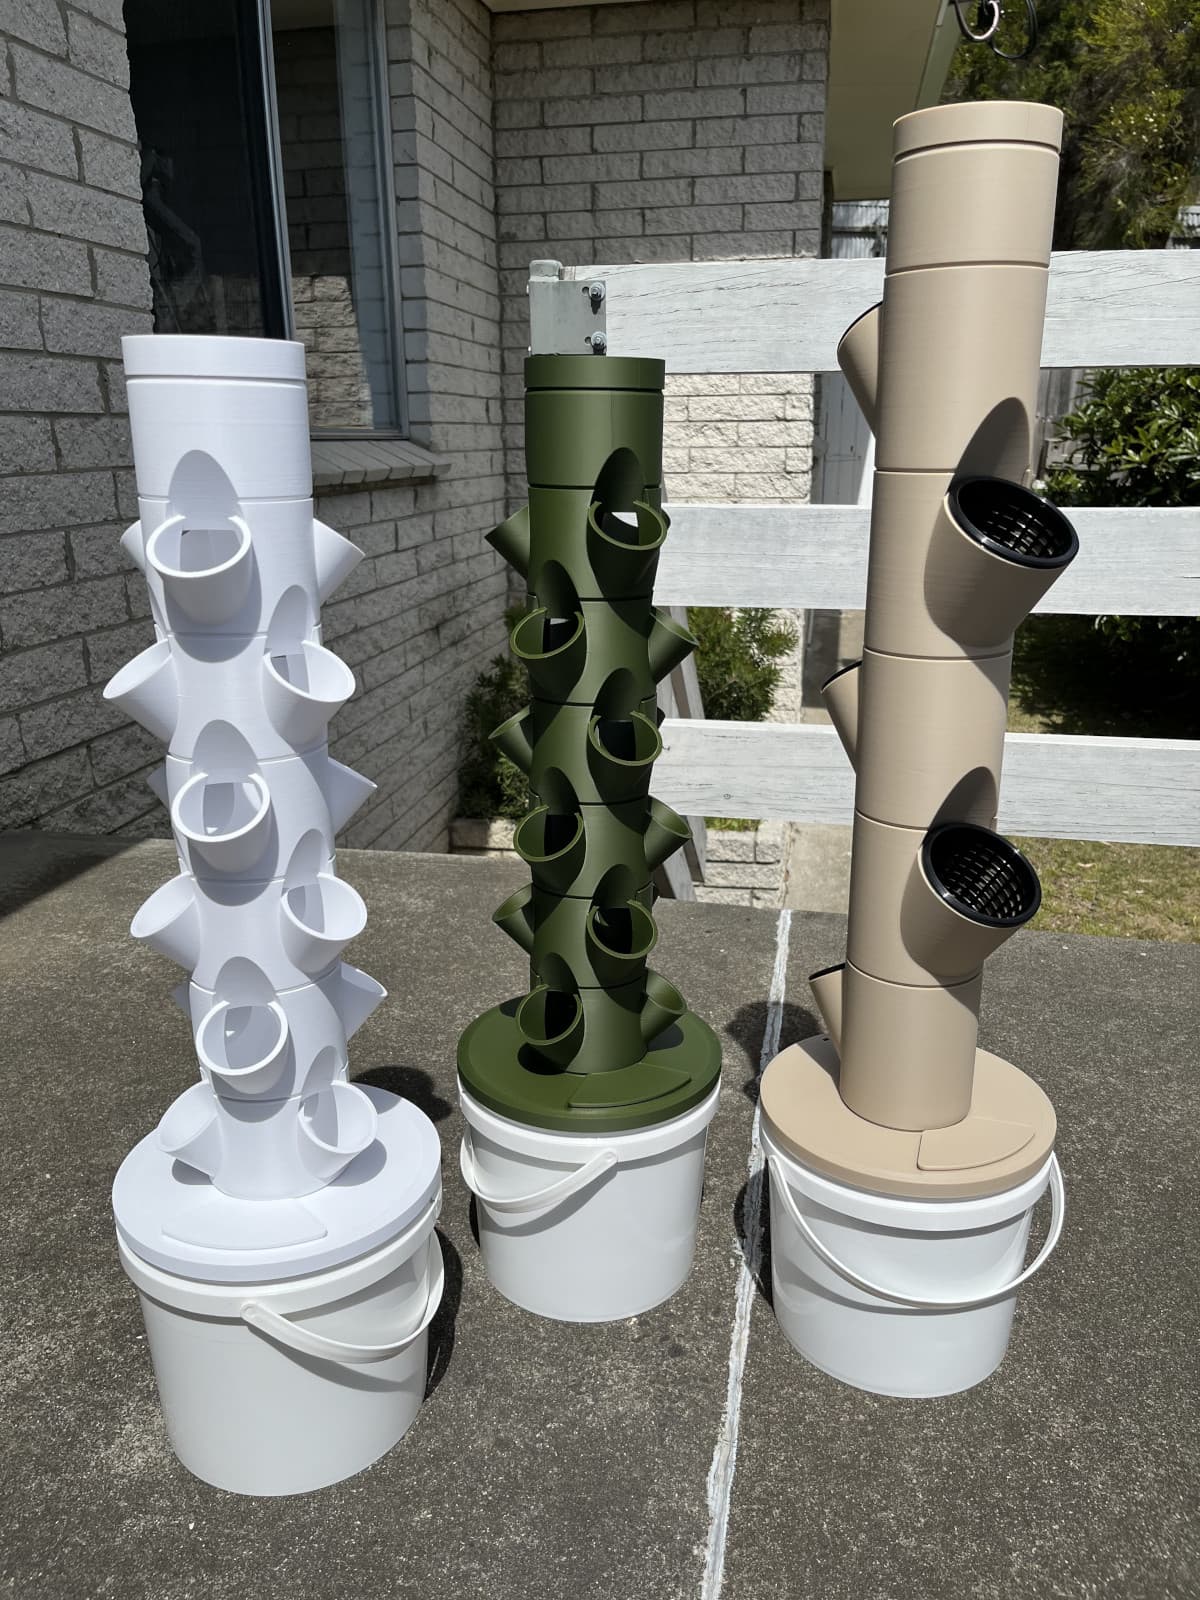
Dani's Miniature Grow Towers

BIG Moon Lamp 200mm High Res E14 Ikea Strala

Modular Wall Light
.png&w=3840&q=75)