


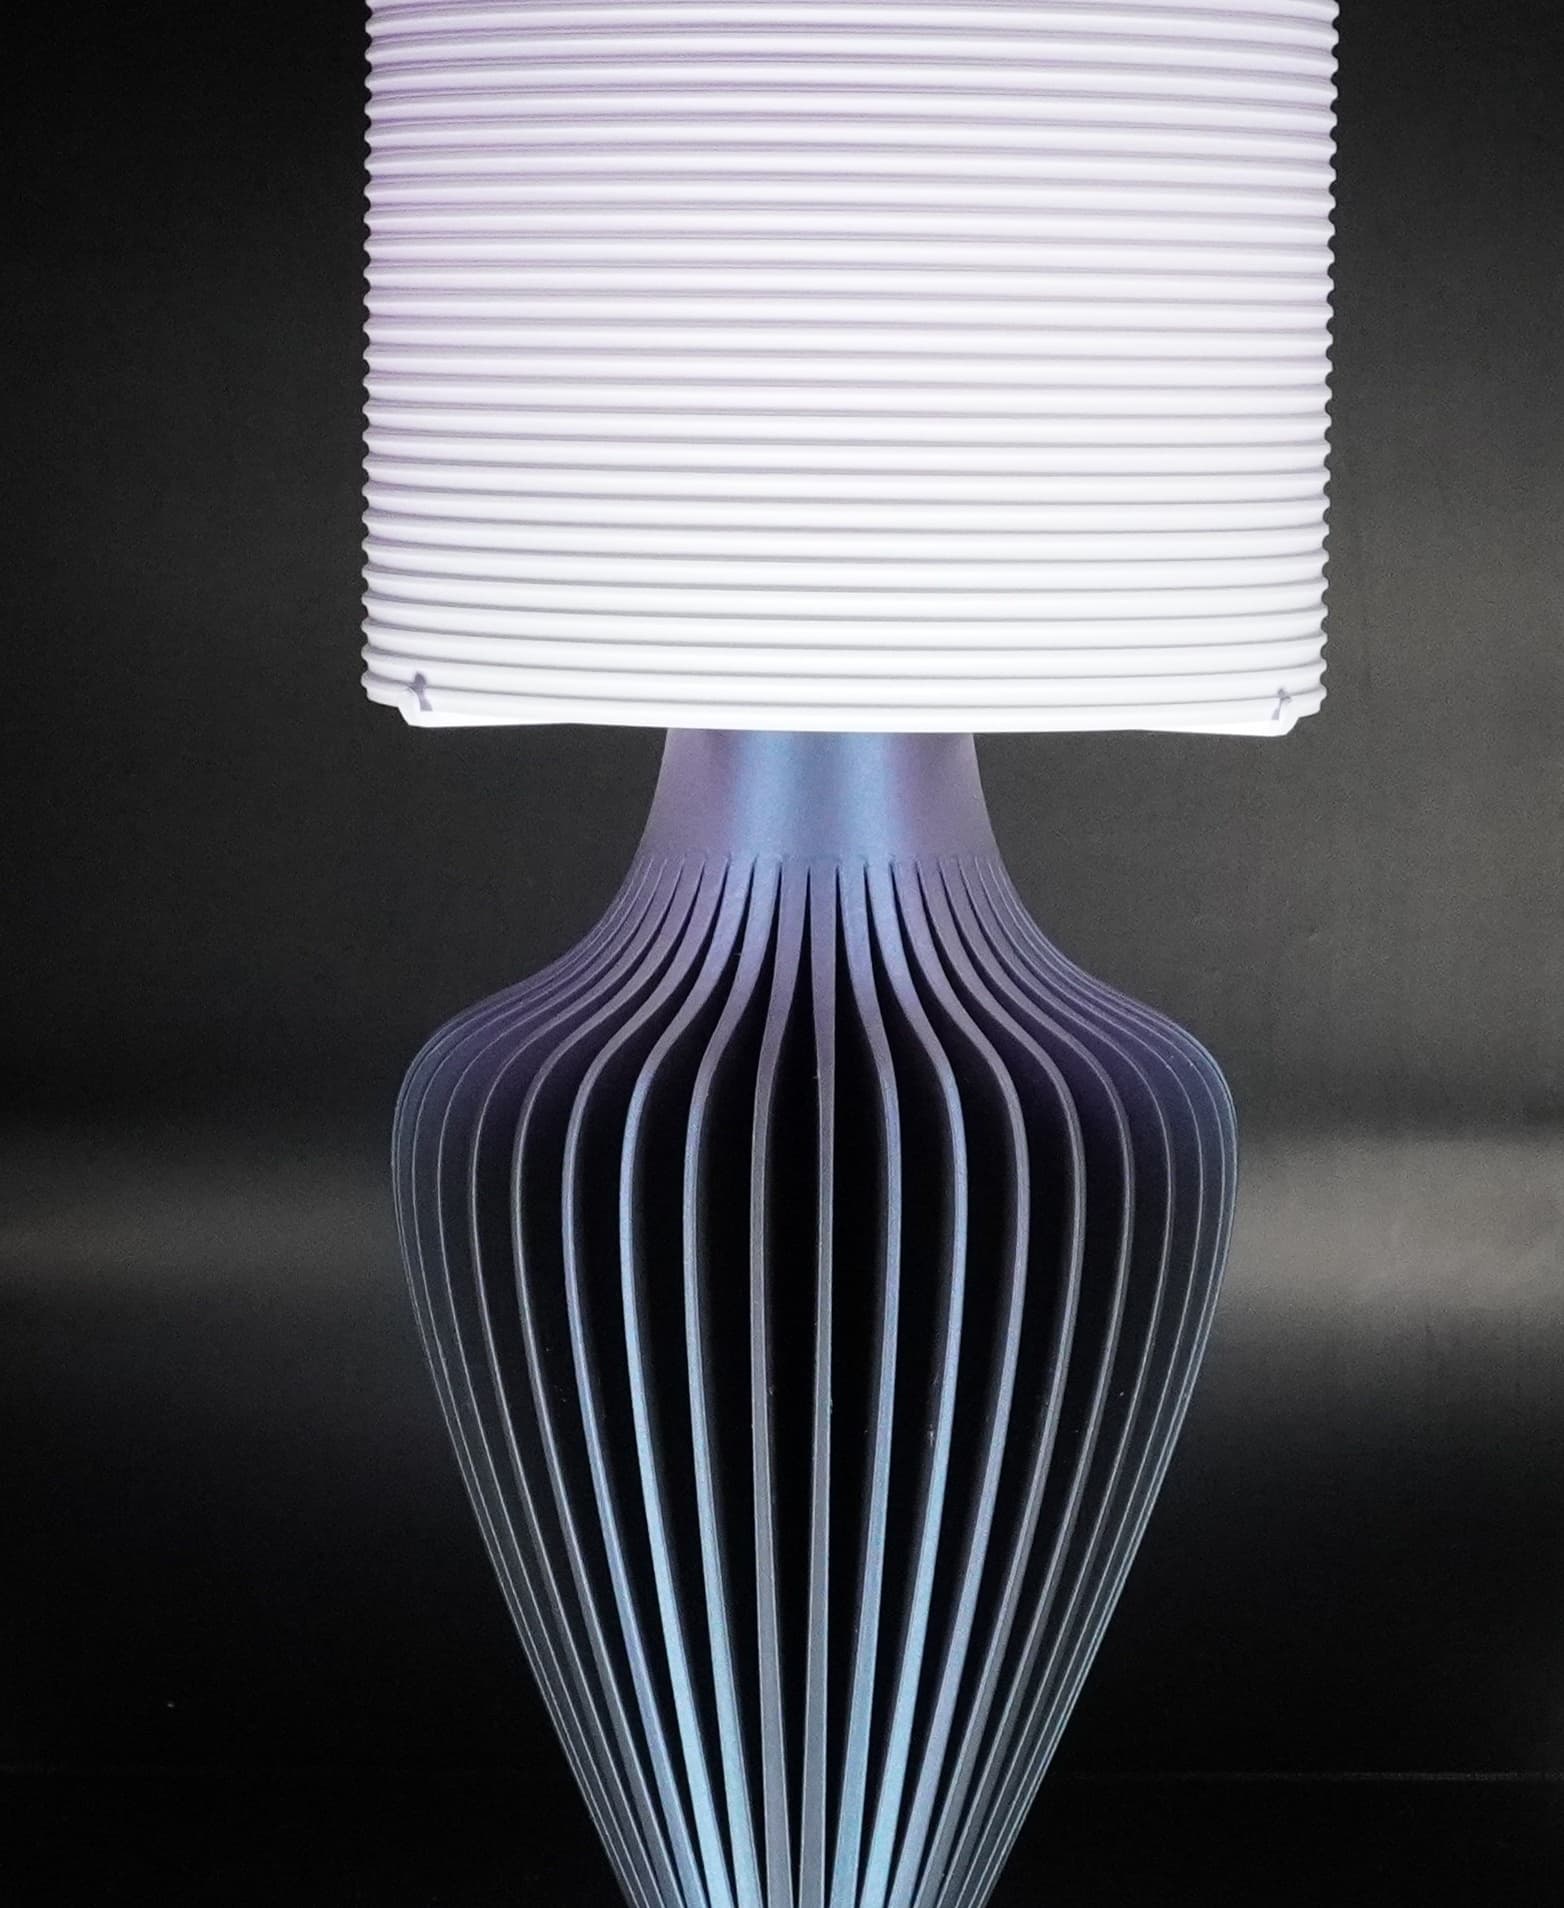
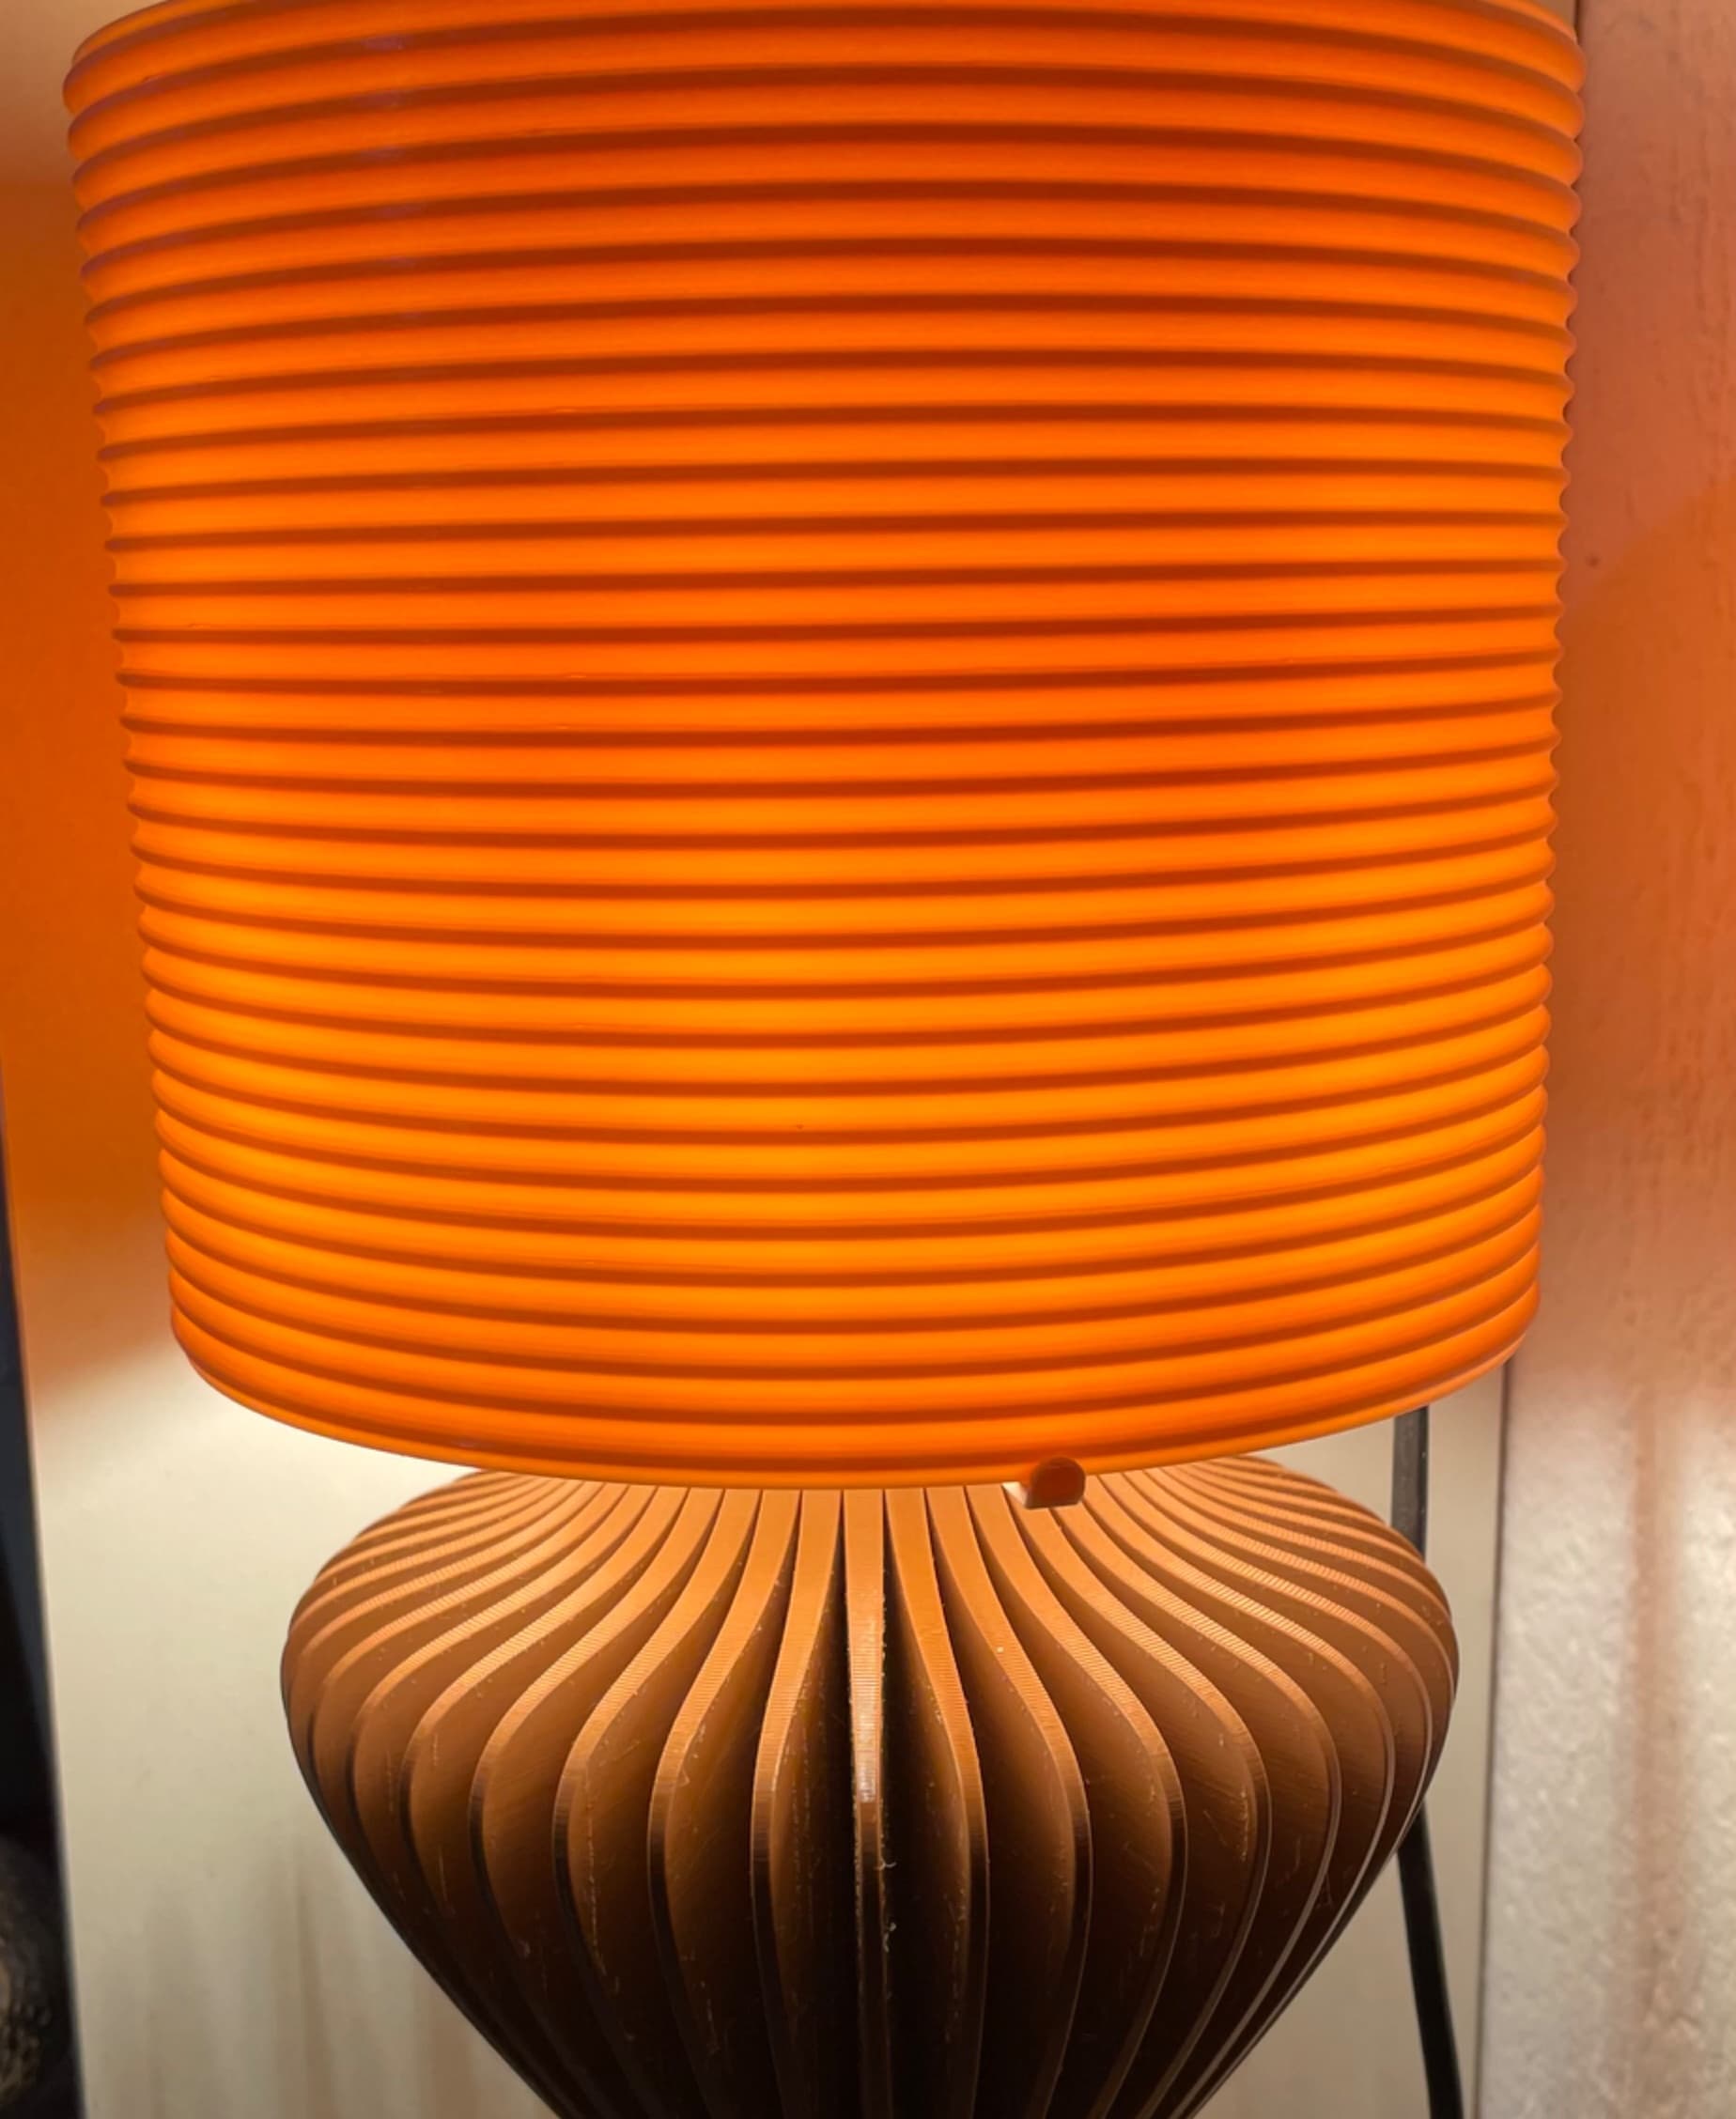
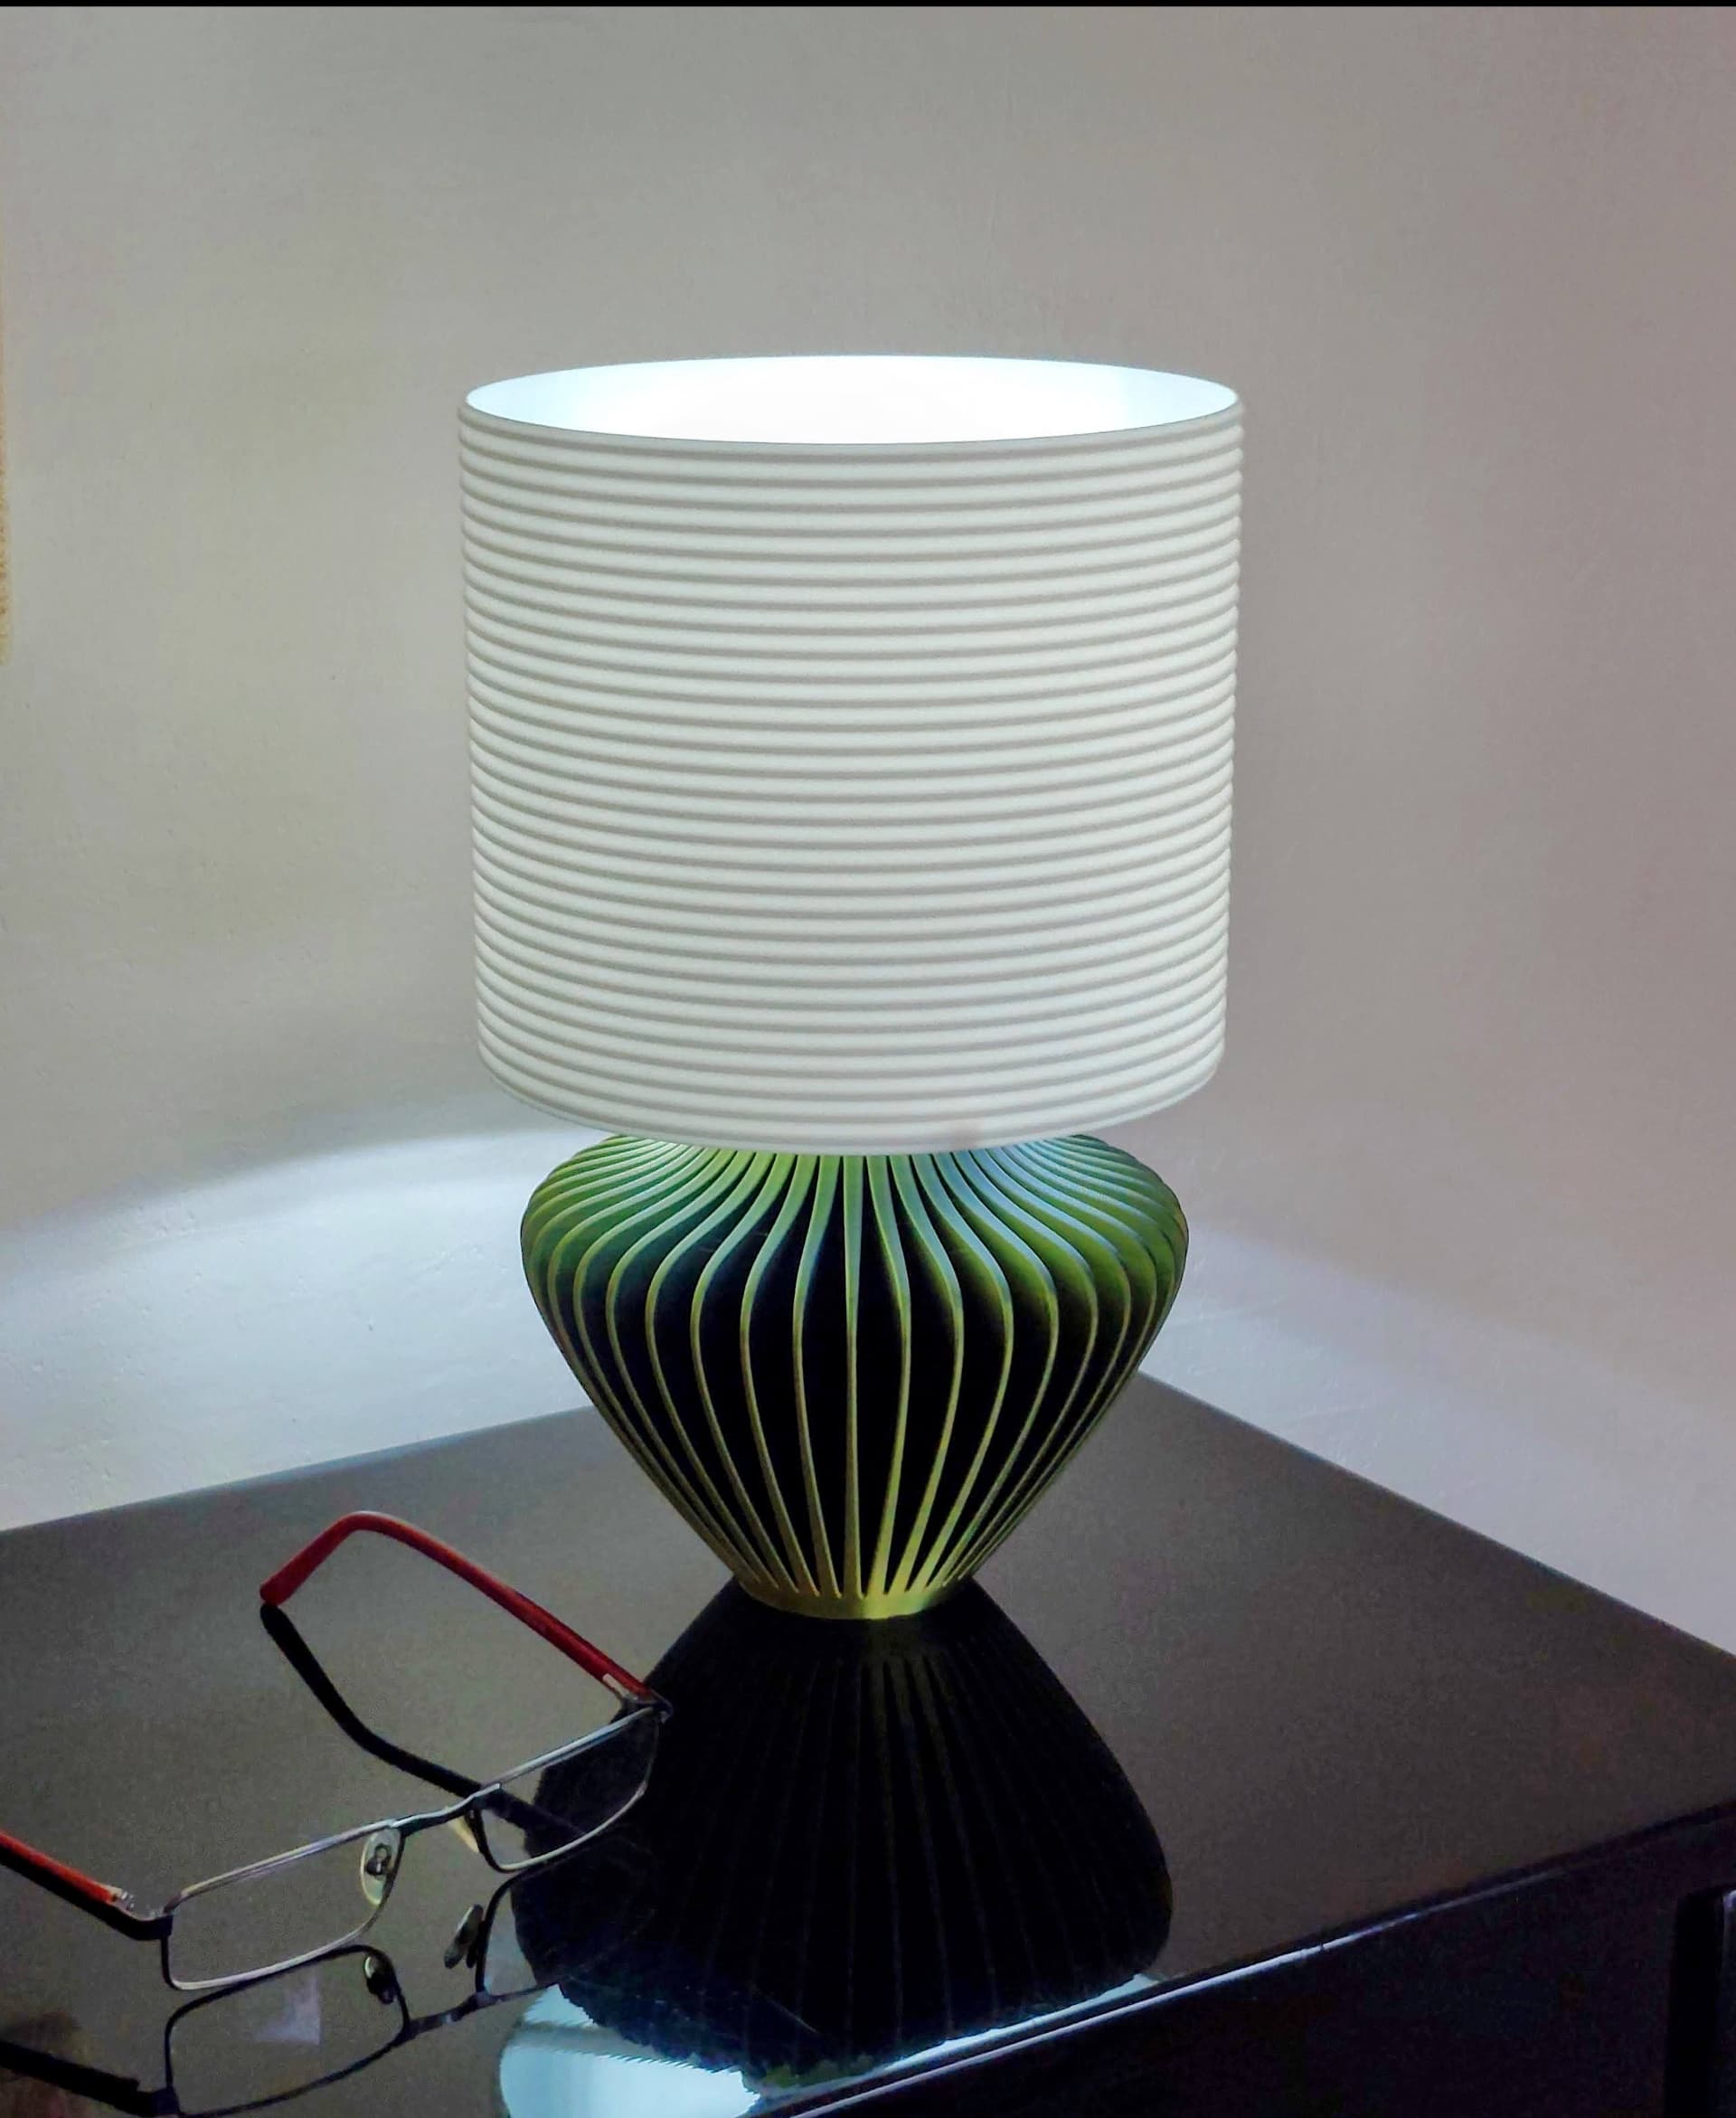
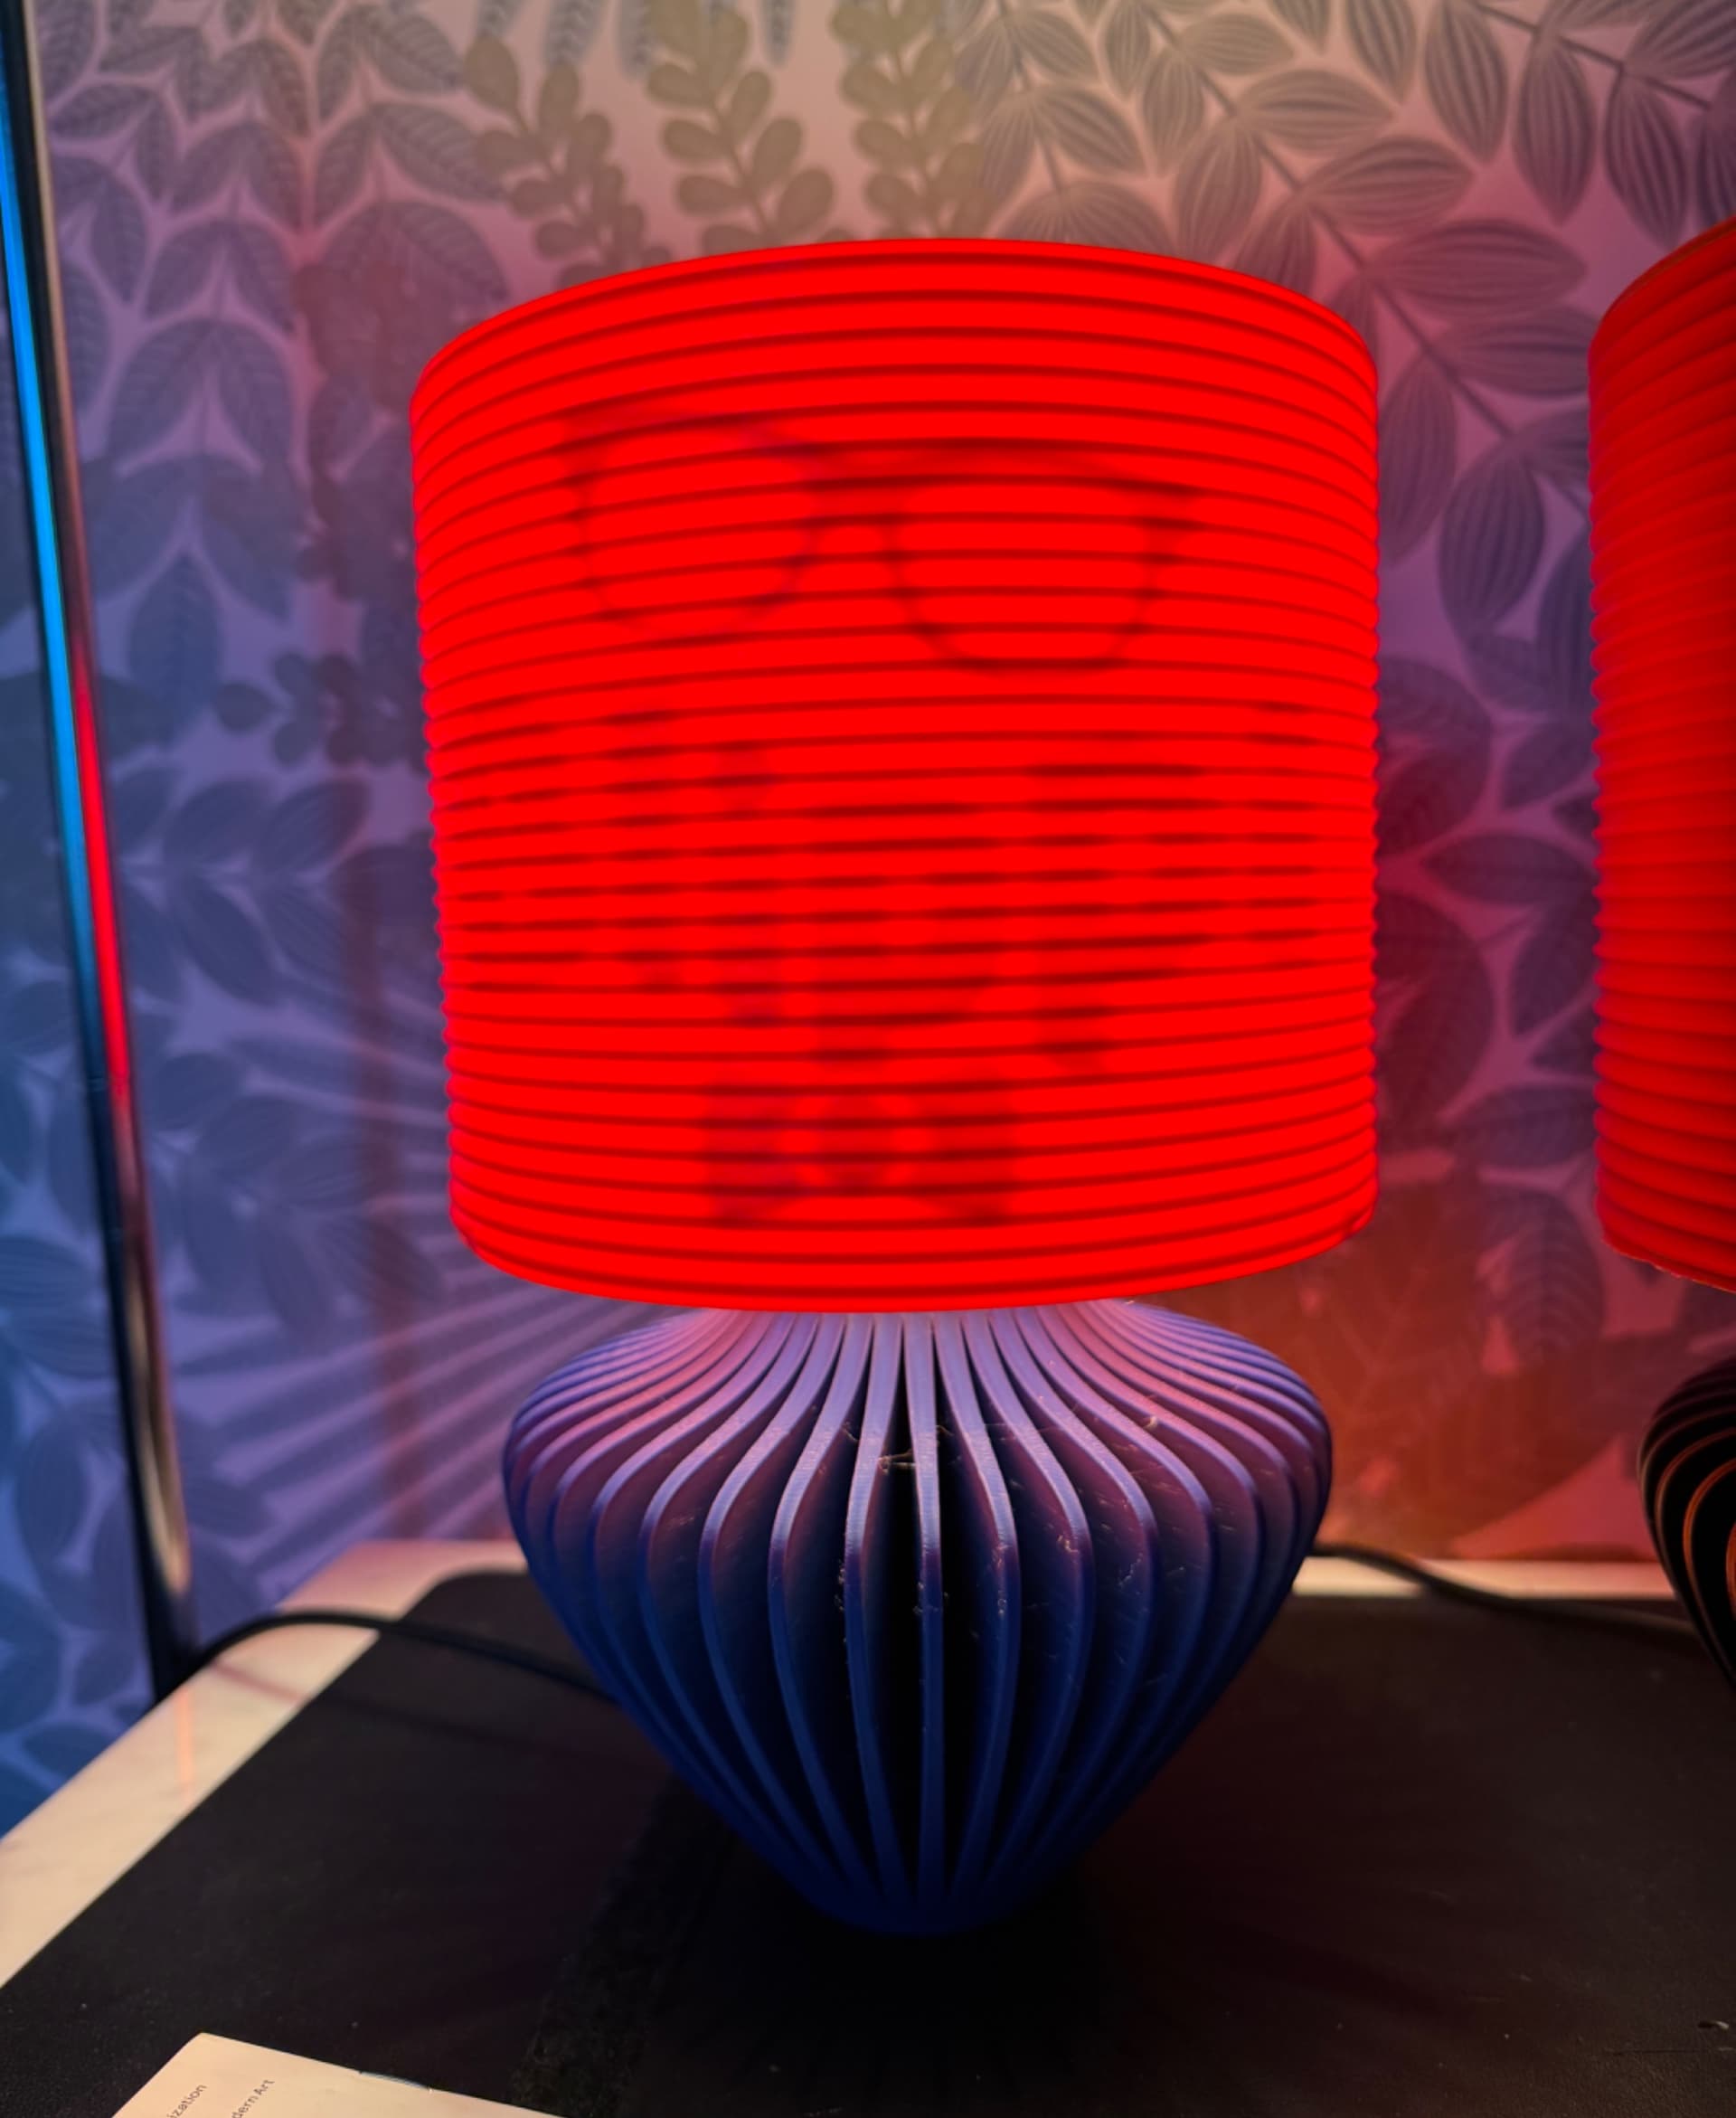
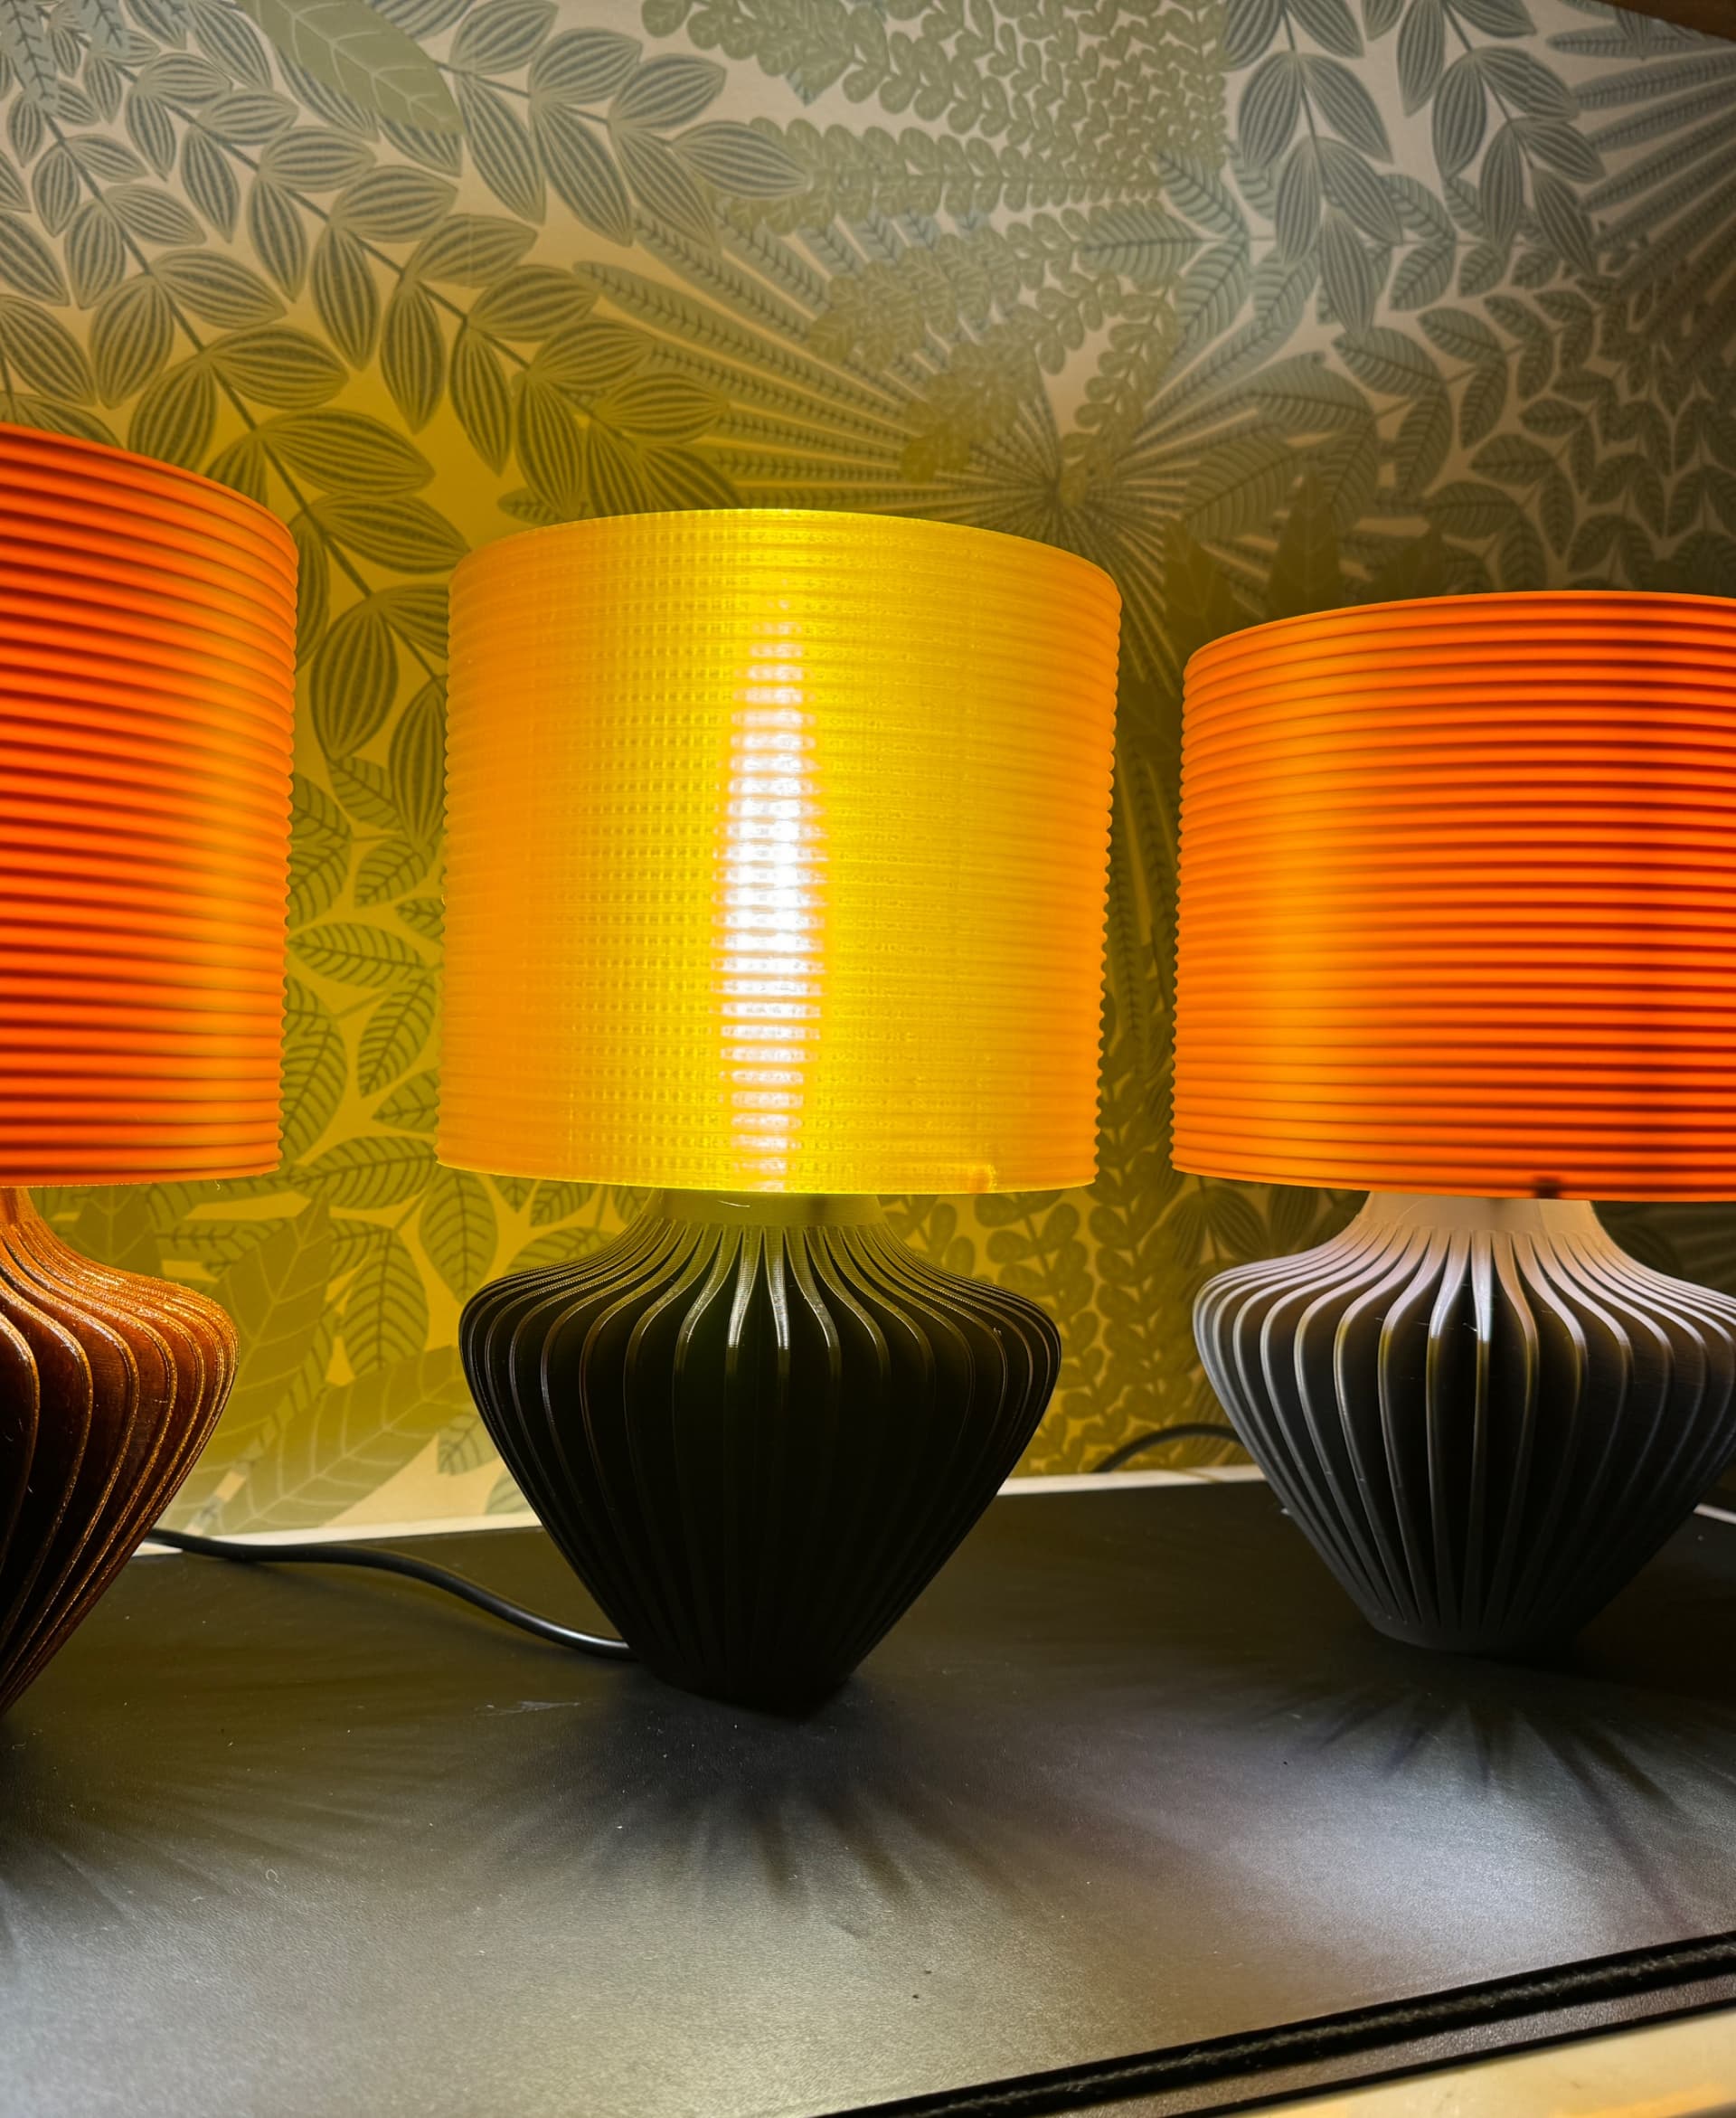
Cleo Lamp
Another lamp! This is a pretty lengthy print, but worth it in my opinion. It uses the same shades and pendant light kits as my previous lamps.
The pendant light includes a locking ring that secures it to the base. To install, just insert the socket up through the bottom of the base, and screw on the locking ring to clamp it in place.
Note that you must only use LED bulbs (9 watts max) as traditional bulbs can get pretty hot and could cause damage to the plastic. I like multi color smart bulbs that I can control with my phone, but any standard 9W LED bulb will do.
Supports Supports are needed on the base for the shoulder that holds the pendant light socket in place, as well as the opening for the cord. I used normal snug supports.
Scaling I wouldn't recommend scaling this one since it perfectly fits the pendant light socket.
Orientation The base and shade should be right side up.
Print Settings *I've included the 3MF if you want to use my settings.
Base .2mm layer height 15% grid infill 2 walls
Shade .2mm layer height 10% concentric infill on the shade. If you use a concentric infill pattern on the whole shade, the supports that attach to the base will print without any infill. So I added a cylindrical modifier for the shade supports that uses a 15% grid infill pattern. 2 walls
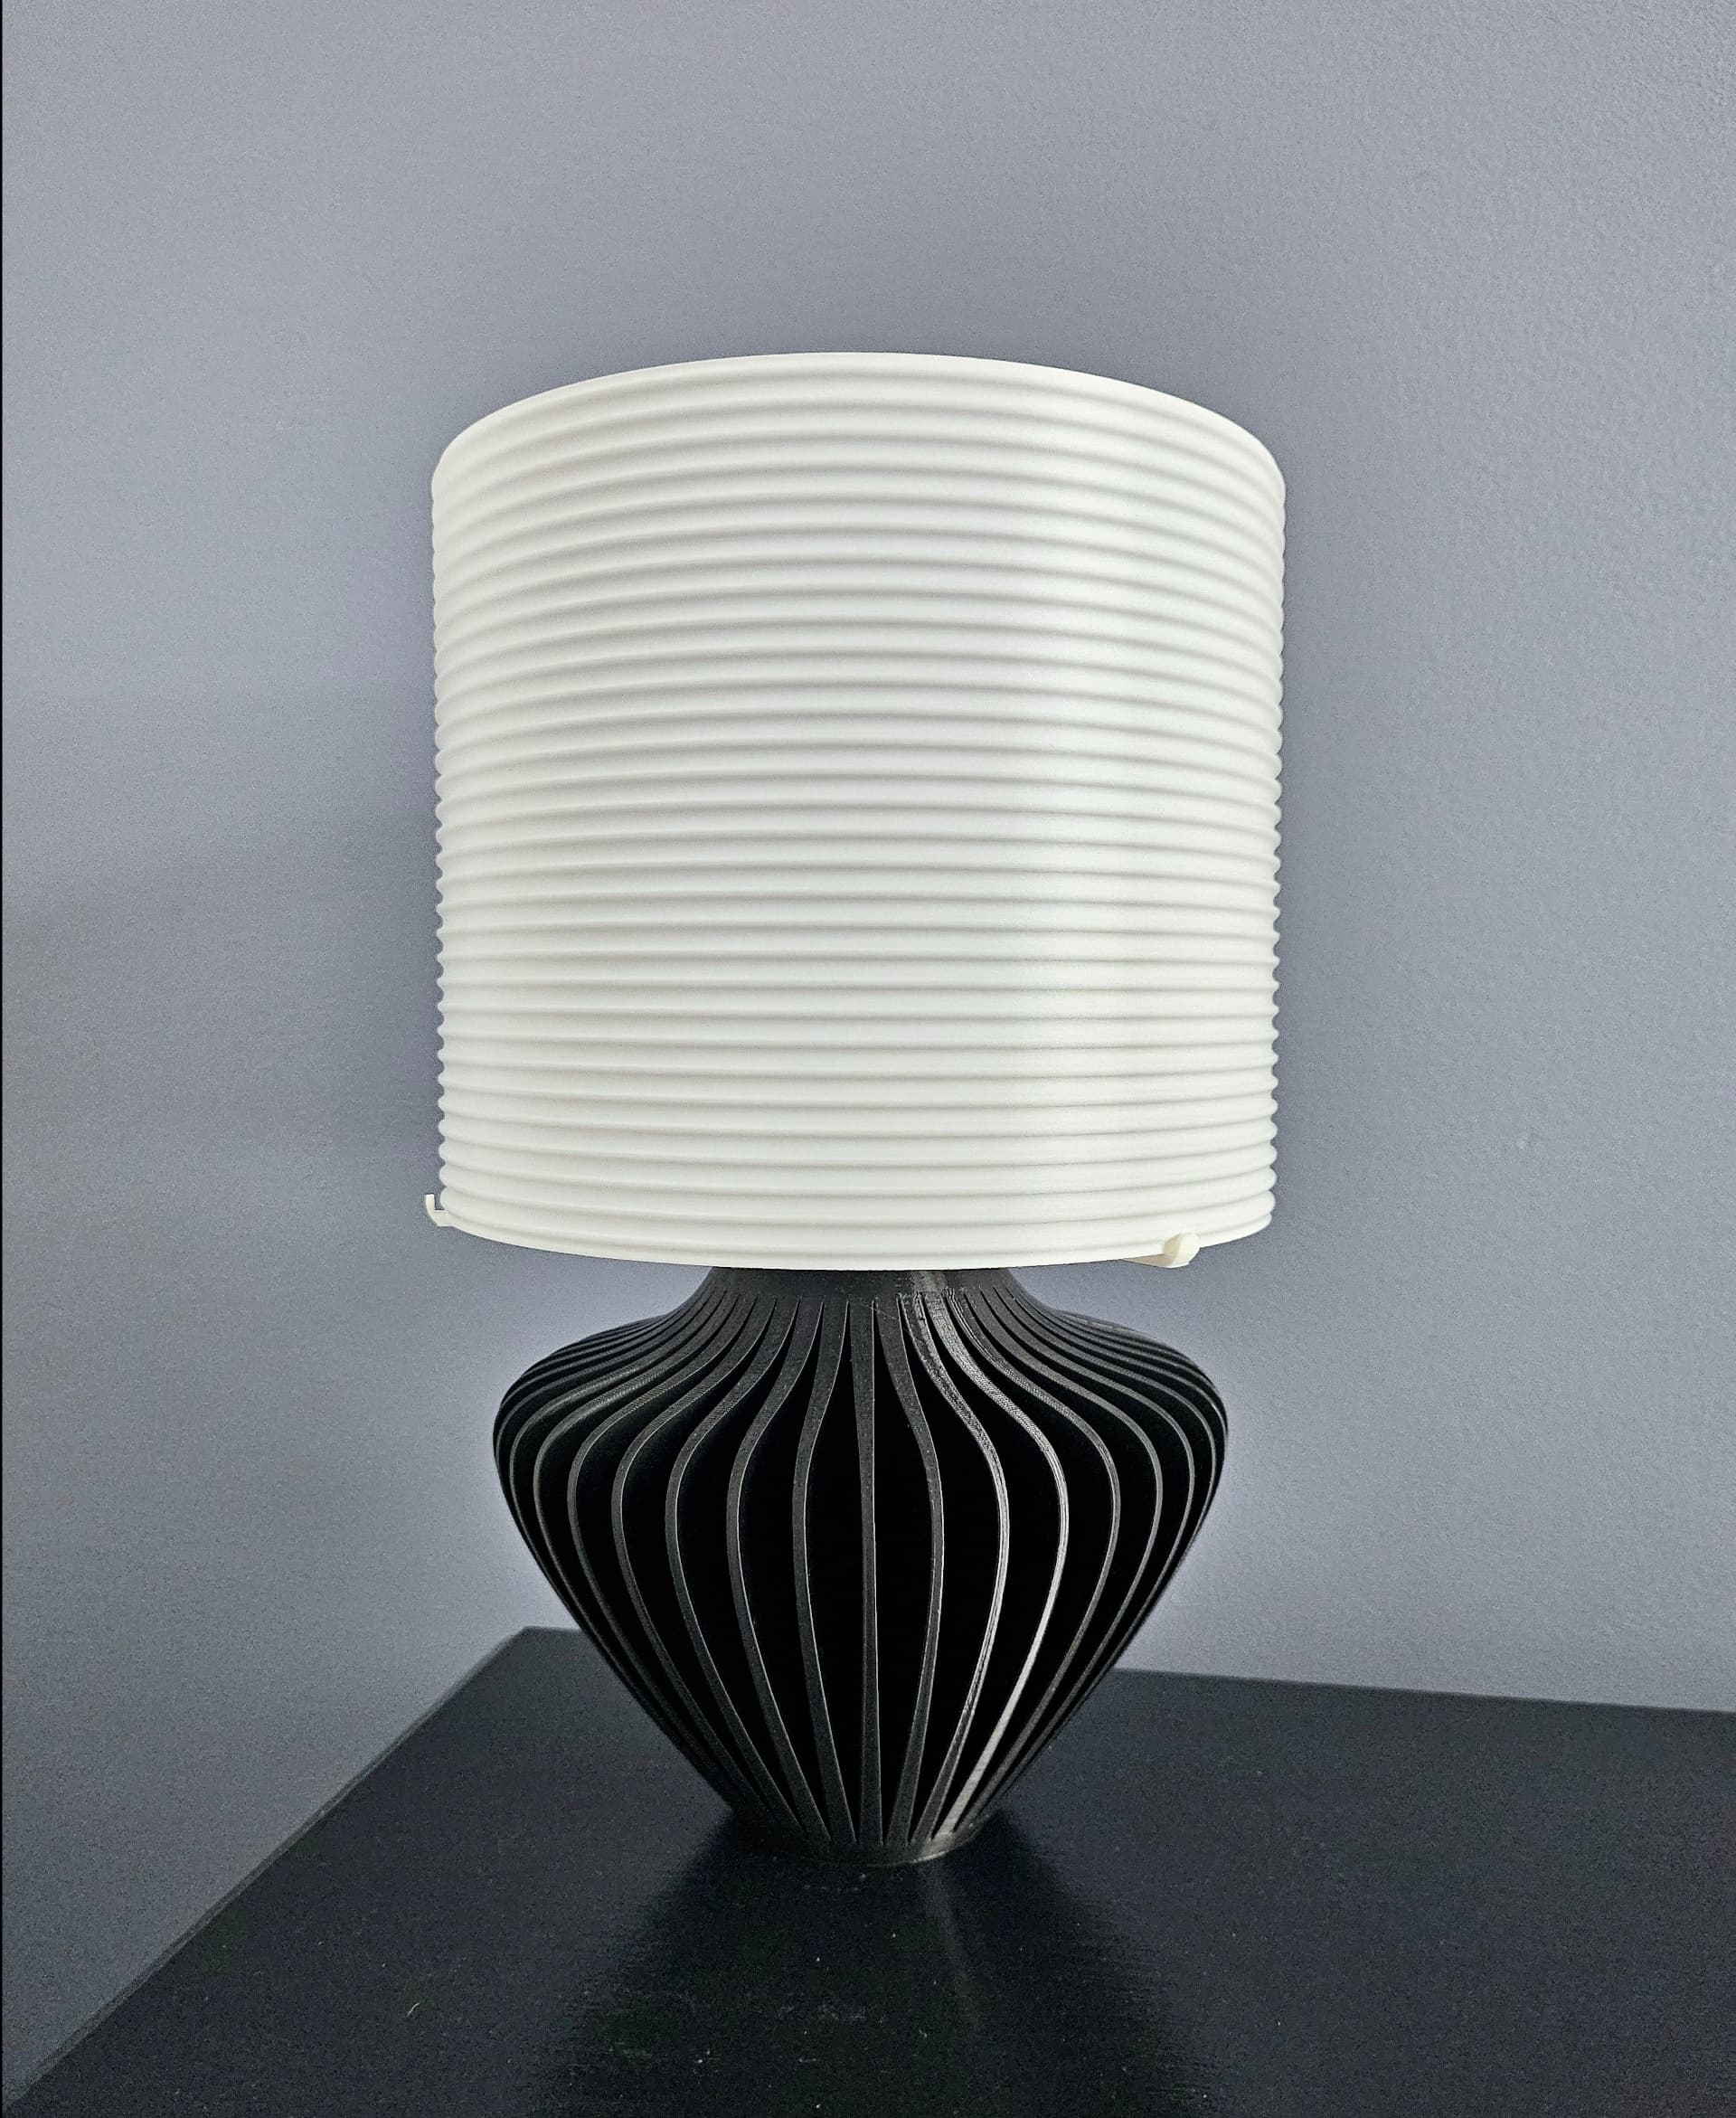
Filament & Hardware Filament I used for this print: Overture Matt Black PLA & Overture Matte White PLA Pendant Light Cord Lamp Kit
Filament and non 3D printed items for this model can be found on my Amazon Storefront, linked here: https://linktr.ee/loftedgoods


Cleo Lamp

Dovetail Mount for IKEA SKADIS

Half Dome Wall Planter

Square Bubbles Planter

Plastic Bag Dispenser

Heywood Wall Planter v2
Square Tapered Planter

Catchall for The Horizontal Rail

Sunglasses Holder for The Horizontal Rail

Shelf for the Horizontal Rail

The Rail - Coat Hook

The Horizontal Rail
Scales Planter with Hidden Drip Tray

The Rail Tripod V2

Tripod Lamp
The Rail - Tripod Attachment

The Rail - Ira Planter

The Rail - Storage Bins

Wall Planter with Hidden Drip Tray - LG03

The Rail - Hook Attachment

How did you do the designs that show through? Did you add the shapes and text as mirrored extrusions on the inside of the lamp shade?
Yup! With PrusaSlicer SVG emboss. One way is a deboss (design shows up lighter), the other was a proper emboss, both initiated from the inside.
Yup! With PrusaSlicer SVG emboss. One way is a deboss (design shows up lighter), the other was a proper emboss, both initiated from the inside.
Love this! As a father of two little ones, Blippi is a huge part of my life right now lol.
He seems like a fun dude. :D
Can anyone clarify how the light fixture is meant to affix to this print? Even the recommended Cord Kit (which is no longer available, btw) lacks any way to secure itself to the base. I purchased a similar cord kit but at best, the cord kit simply rests on top of the base. A small breeze could still knock over the shade.
One possible solution is a 3d printed threaded ring which, when used with the provided ring for attaching the shade support, would securely compress the structure together.