

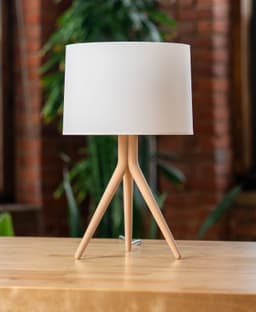

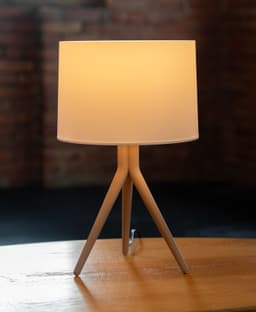

Tripod Lamp
Most 3D printed lamps end up looking pretty similar because a lot of them use pendant light kits and are limited in design by the diameter of the socket. I recently discovered these pendant light kits can be disassembled and reassembled allowing for a much broader range of designs that look like traditional lamps.
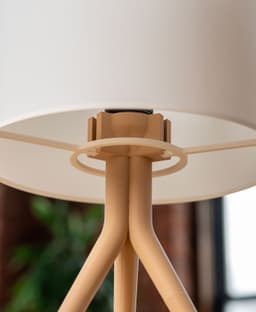
Taking the pendant light kit apart takes less than a minute. The attached video explains how to assemble the whole lamp. Edit: The threaded part on the socket can be unscrewed by pushing down on the metal tab inside the socket. You don't have to break it like I did in the video.
Important! Make sure the pendant light kit is unplugged before disassembling it.
Note that you must only use LED bulbs (9 watts max) as traditional bulbs can get pretty hot and could cause damage to the plastic. I like multi color smart bulbs that I can control with my phone, but any standard 9W LED bulb will do.
Tips for Printing the Shade The shade is designed to print in spiral vase mode with a 0.4mm nozzle at 0.2mm layer height. To get the bottom part of the shade to print in solid layers, make sure you add 20 bottom shell layers in the Strength tab in Bambu Studio.
Supports None needed!
Scaling This one cannot be scaled since it is designed to perfectly fit the pendant light socket.
Orientation
- The base and leges print upside down
- The shade prints right side up. Reminder to print in vase mode and add 20 bottom shell layers so the bottom prints solid.
Print Settings
- .2mm layer height
- 15% grid infill
- 2 walls
Filament
Colors I used:
- Latte Brown for the base/legs
- Ivory White for the shade
Hardware
Filament and non 3D printed items for this model can be found on my Amazon Storefront, linked here: https://linktr.ee/loftedgoods
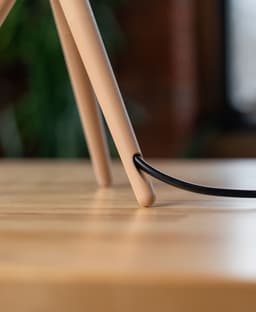
Disclaimer: This 3D printed lamp design requires the user to disassemble and reassemble a standard pendant light kit so the electrical cord and components can pass through the printed parts. Assembly involves working with electrical components and carries inherent risks, including electric shock, fire, or damage to property. This product is not a finished lamp and does not include any electrical components. The design has not been tested or certified by UL, ETL, or any other safety organization. By downloading and using this file, you acknowledge that you are solely responsible for safe assembly, proper wiring, and ensuring compatibility with your chosen pendant light kit. The creator assumes no liability for improper assembly, incorrect wiring, or any resulting damage or injury. If you are not comfortable working with electrical components, do not assemble this product or consult a qualified electrician.
Tripod Lamp

Dovetail Mount for IKEA SKADIS

Half Dome Wall Planter

Square Bubbles Planter

Plastic Bag Dispenser

Heywood Wall Planter v2
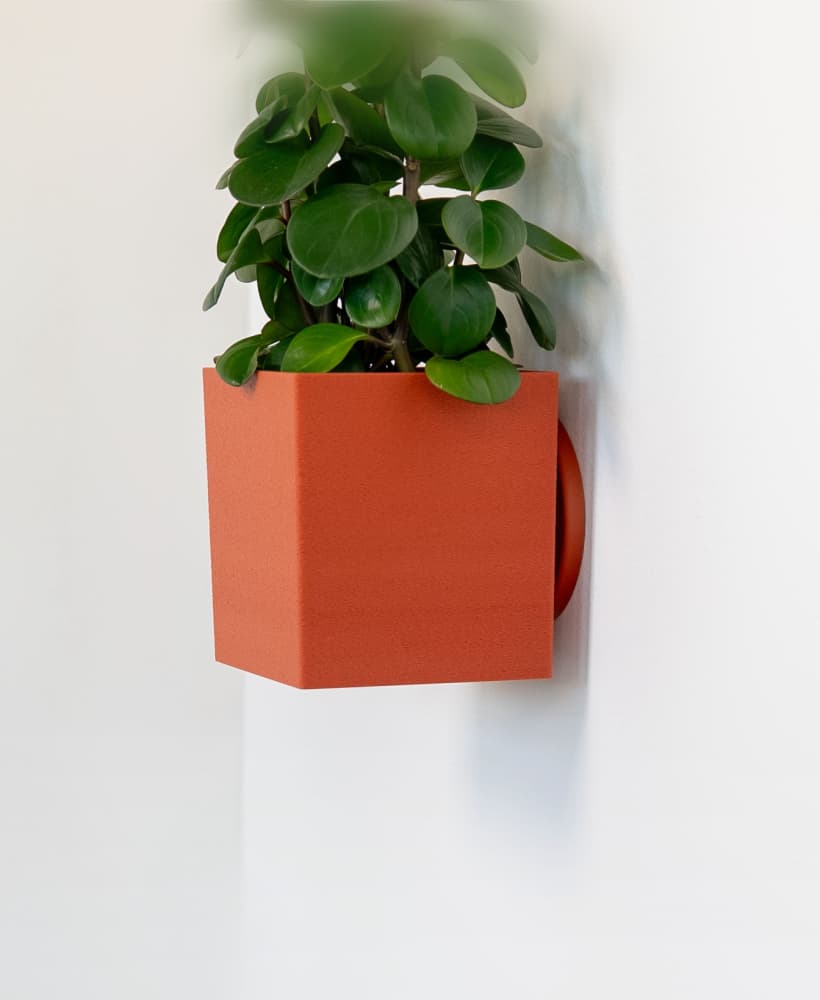
Square Tapered Planter

Catchall for The Horizontal Rail

Sunglasses Holder for The Horizontal Rail

Shelf for the Horizontal Rail

The Rail - Coat Hook

The Horizontal Rail
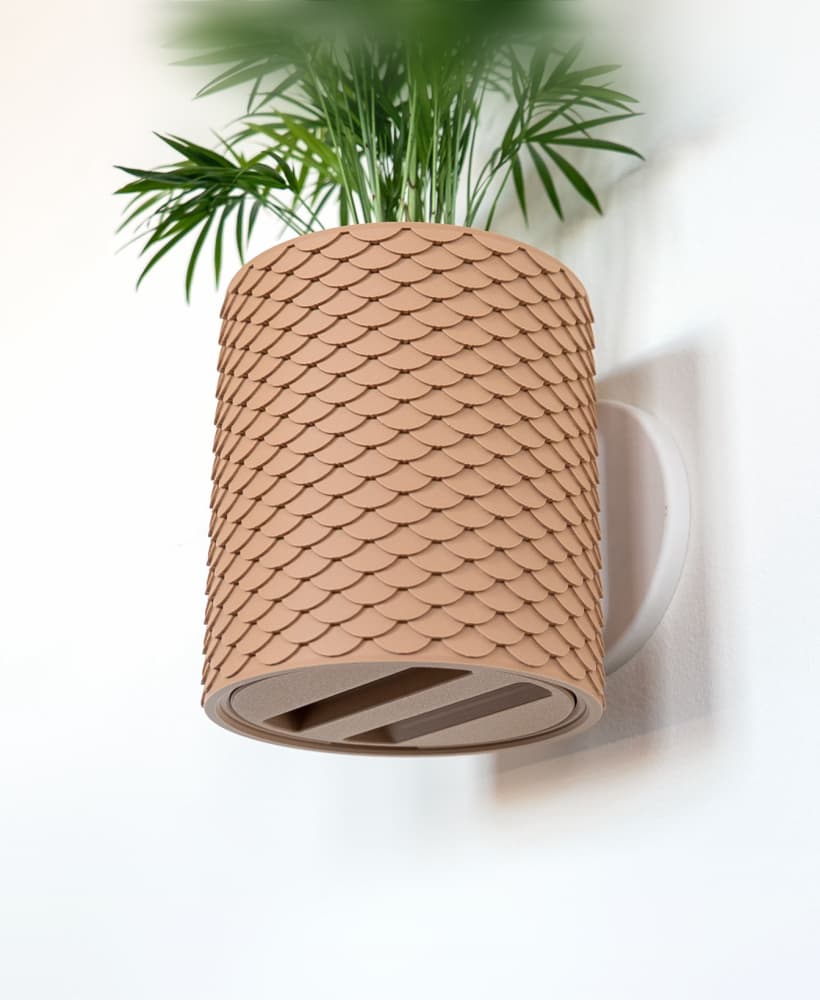
Scales Planter with Hidden Drip Tray

The Rail Tripod V2
The Rail - Tripod Attachment

The Rail - Ira Planter

The Rail - Storage Bins

Wall Planter with Hidden Drip Tray - LG03

The Rail - Hook Attachment

The Rail - Grow Light Attachment

the lamp shade always stops at 28% saying I am getting a clog when I do not have any clogs and its only for this print here, I am using:
Anycubicslicer and the printer is a anycubic Kobra 2 max combo
I can not figure out for the life of me why