


CCS Wheel Clock
⏰ CCS Wheel Clock Time meets torque. This isn’t just a wall clock—it’s automotive wall art with a purpose. Featuring the CCS Mesh face inspired by the BBS LM, this clock blends the clean structure of a mesh rim with your love for all things cars, gaming, and creative living. Easily mounted using the included clock ring, this setup replaces the controller dock cradle with a flush wall-hanging bracket for clean display.
Accepts standard quartz clock mechanisms
Built-in hanger for easy, secure wall mounting
Modular rim and face system—swap out your face anytime
Designed for fans of functional art, JDM style, and automotive culture flair
Fits into any room—from a garage to a gaming cave to a living room
🧡 Originally created as a gift for my sister, this clock was the perfect solution for someone who loves cars and the look of tuner wheels but doesn’t game. It’s timeless, personal, and totally badass.
🧰 Tools & Parts Required 🔩 Hardware You’ll Need (8) M2x3.5x4 brass heat set inserts
(8) M2x8 machine screws These are the same hardware used across all modular wheel builds—available from Bambu Lab or most 3D printer supply shops.
🧵 Tools 2mm Hex wrench
Soldering iron with a 1.5 - 2mm tip (critical for heat set inserts)
Small tip tweezers (optional but helpful for removing supports or aligning inserts)
💡 Filament recommendation:
Use PLA+ or strong PLA for the base/rim (I use 3DHojor and Overture).
Silk PLA is great for the wheel face—adds flair, doesn’t need the structural integrity of the base. You can also use silk for the rim but I recommend a minimum of 4 walls.
🧱 Installing Heat Set Inserts This step is essential for all modular builds, allowing you to mix and match parts or upgrade later.
🕰️ Wheel Clock Setup 🔩 Heat Set Inserts: (2) at the top outer rim – to mount the clock ring
(2) at the bottom rear – to secure the lower clock ring section
(1) top center rear (optional only if upgrading later)
🧠 Clock Notes: These 4 inserts are all you need for the clock setup.
You may skip the center top rear insert unless you’re planning future mods like converting into a dock.
🔥 Insert Installation Steps Preheat your soldering iron with a 2mm tip.
Insert the brass heat set insert gently into the designated hole.
Apply the tip of the iron to the top of the insert.
Let the heat gradually melt the plastic, allowing the insert to sink in smoothly.
Stop once the insert is flush with the surface.
Let cool fully before applying any pressure or screws.
⚠️ Be gentle—don’t rush or force! Pressing too hard or holding heat too long can melt through or warp the part.
🔧 Screw Tightening Tips Once your inserts are installed, here’s the best way to get a snug, secure fit without damage:
Align your parts (rim to base or rim to clock ring).
Insert one of the outermost screws first and thread it in just a few turns.
Move to the opposite outer screw and do the same.
Work your way inward, threading screws in an alternating pattern until all are partially threaded.
Go back and tighten each screw gradually, again using an alternating sequence.
🚫 Do NOT over-tighten! You could snap the screw or dislodge the insert—trust me, it’s not fun. Snug is secure.
Note: You may encounter a slight gap—usually around a millimeter—between the rim and the mounting ring. This can happen due to minor warping during printing or slight variations in how the heat set inserts are seated. As long as the screws are snug, the function and stability won’t be affected.
Additional wheel faces can be downloaded and are modular components designed to be swapped into any of my wheel-based setups, including the record holder, gaming dock, or wall clock.
**Note: **You can check the compatibility chart below to see what faces work with each wheel setup.
Wheel Face Compatibility Chart
Wheel Face | Record Holder |Gaming Dock | Wall Clock| Clock Mechanism Type |
Tofu Runner | ✅ | ✅ | ✅ | Standard Quartz |
Akagi Comet | ✅ | ✅ | ✅ | Long Shaft Quartz |
Mamba | ✅ | ✅ | ✅ | Standard Quartz |
5K | ✅ | ✅ | ✅ | Standard Quartz |
T6M | ✅ | ✅ | ✅ | Long Shaft (Hand Bending)|
Teddy | ✅ | ✅ | ❌ | Not Supported |
CCS Wheel Clock

Ultra PokeDeck

PokeDeck

CCS T6M Wheel Face.3mf

CCS Tofu Runner Wheel Face.3mf

CCS Teddy Wheel Face.3mf

CCS 5K Wheel face.3mf

CCS Mamba Wheel Face.3mf

CCS Akagi Comet Wheel Face.3mf

CCS Record Wheel

CCS Gamer Wheel (controller dock)

Syclone Wheel Clock | 240mm Automotive Wall Art

Motorcycle Wheel Clock

TE37 Wheel Desktop Clock w/ Stand

Ekei Wheel Wall Clock
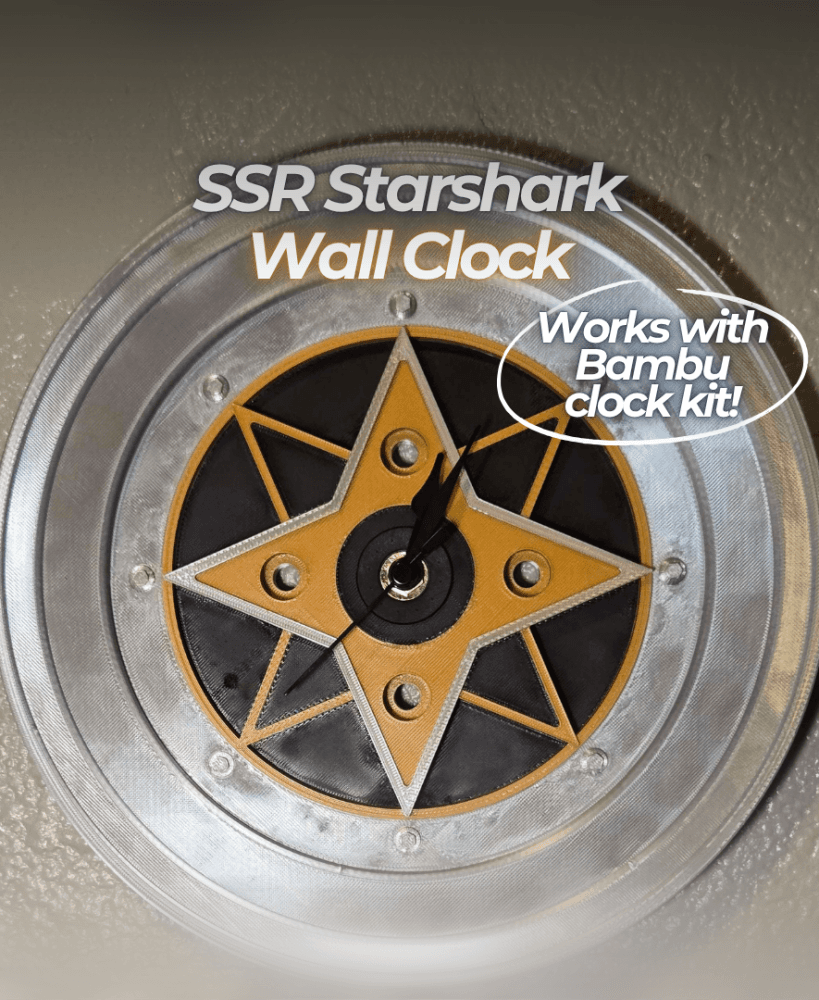
SSR Starshark Clock - For Bambu Clock Kit

TE37XT Wall Clock - FLMNTD Edition

Marble Clock "Time Rolls On"

Graham Clock Escapement

The remontoir gravity escapement mechanism
