


.png&w=256&q=75)
CCS Gamer Wheel (controller dock)
The included .3mf file is pre-oriented and sliced the way I print it and recommend it for best results.
🕹️ Single Controller & Headset Dock This sleek, racing-inspired modular dock is built for gamers who appreciate clean design and efficiency. Designed to hold a single controller and a headset, it features a rim and swappable wheel face that mimic real-world wheels in a three-piece style. The headset mount is optional and attaches securely using brass heat-insert nuts and M2 machine screws. Fully modular and compatible with all other components in the collection—swap out wheel faces, upgrade to a dual cradle, or convert into a wall clock or record holder with ease.
Note The first few photos are of the previous version as I have updated the base to have a slide stop (Duckbill) to prevent the controller from sliding off the back when grabbing your gear.
Needed Parts and Tools Parts You’ll Need: (8) M2x3.5x4 heat set inserts
(8) M2x8 machine screws (I get mine from Bambu Lab)
PLA+ recommended for the controller dock
(If using standard PLA or PLA silk, increase the wall count by 1–2 for added strength.)
PLA silk recommended for the rim and wheel faces. If you're using silk for the rim I recommend at least 4 walls.
(I personally love and use 3DHojor)
Optional: Quartz clock mechanism
(Available from Bambu Lab or Amazon)
Tools You’ll Need: 1.5mm hex wrench
Soldering iron with a 1.5 or 2mm tip
Small-tip tweezers
Assembly Instructions Step 1: Remove the outer rim and headset mount supports.
Step 2: Remove all inner and outer brims.
Step 3: Deburr all brim edges.
Step 4: Use tweezers to remove the support material from the heat set insert holes: (5) along the radius of the controller dock (3) at the top rear of the rim (for the headset mount)
Step 5: Insert the heat set inserts: Place the rim face-down.
Gently press each insert into its hole using a soldering iron with a 2mm tip. Note: Don’t push too far! Tolerances vary slightly by filament, so the holes are designed to be snug but forgiving.
Step 6: Lay the controller dock flat, heat-insert side up.
Step 7: Align the rim on top of the controller dock and insert the outer screws: Start with the right outermost screw and partially thread it.
Then partially thread the left outermost screw.
Work inward, alternating sides.
Step 8: Tighten all screws following the same alternating pattern. Important: Avoid over-tightening—you could crack the plastic, snap the screw or pull out a heat insert. (Speaking from painful experience!)
Step 9: If you printed the headset mount, screw it into the back of the rim using the same method as Steps 7 and 8.
Step 10: Press the wheel face into the rim: Start at the top and work downward with your thumbs, pressing gently.
Step 11: Press the emblem into the center of the wheel face. (If you're adding a clock, skip to the clock instructions below before completing this step.)
Step 12: Slide the Duckbill into place to keep your controller from sliding off the back. You can apply a bit of C.A. glue to the section in the base where the Duckbill slides into as an extra bit of security.
Step 13: Fill your drawer with your favorite accessories and slide it into place.
Step 14: Dock your controller and headset.
Step 15: Admire your functional art piece!
Swapping Faces Bored of the look? Just pop off the face and swap it for a new one! If there’s a specific wheel style you’d like to see, reach out—I love creating designs that make others smile.
Quartz Clock Mechanism Installation Remove the wheel face and emblem.
Place the clock gasket in the recess on the back of the face.
Insert the threaded shaft of the clock mechanism through the center hole.
While holding the mechanism in place, add the washer and hex nut to the front. Tighten until snug—but be sure the orientation is correct first.
Gently press on the hour hand, then the minute hand, and finally the second hand.
Set the time using the dial on the back.
Install the battery.
Reinsert the wheel face into the rim.
Additional wheel faces can be downloaded and are modular components designed to be swapped into any of my wheel-based setups, including the record holder, gaming dock, or wall clock.
**Note: **You can check the compatibility chart below to see what faces work with each wheel setup.
Wheel Face Compatibility Chart
Wheel Face | Record Holder |Gaming Dock | Wall Clock| Clock Mechanism Type |
Tofu Runner | ✅ | ✅ | ✅ | Standard Quartz |
Akagi Comet | ✅ | ✅ | ✅ | Long Shaft Quartz |
Mamba | ✅ | ✅ | ✅ | Standard Quartz |
5K | ✅ | ✅ | ✅ | Standard Quartz |
T6M | ✅ | ✅ | ✅ | Long Shaft (Hand Bending)|
Teddy | ✅ | ✅ | ❌ | Not Supported |
CCS Gamer Wheel (controller dock)

Ultra PokeDeck

PokeDeck

CCS T6M Wheel Face.3mf

CCS Tofu Runner Wheel Face.3mf

CCS Teddy Wheel Face.3mf

CCS 5K Wheel face.3mf

CCS Mamba Wheel Face.3mf

CCS Akagi Comet Wheel Face.3mf

CCS Record Wheel

CCS Wheel Clock
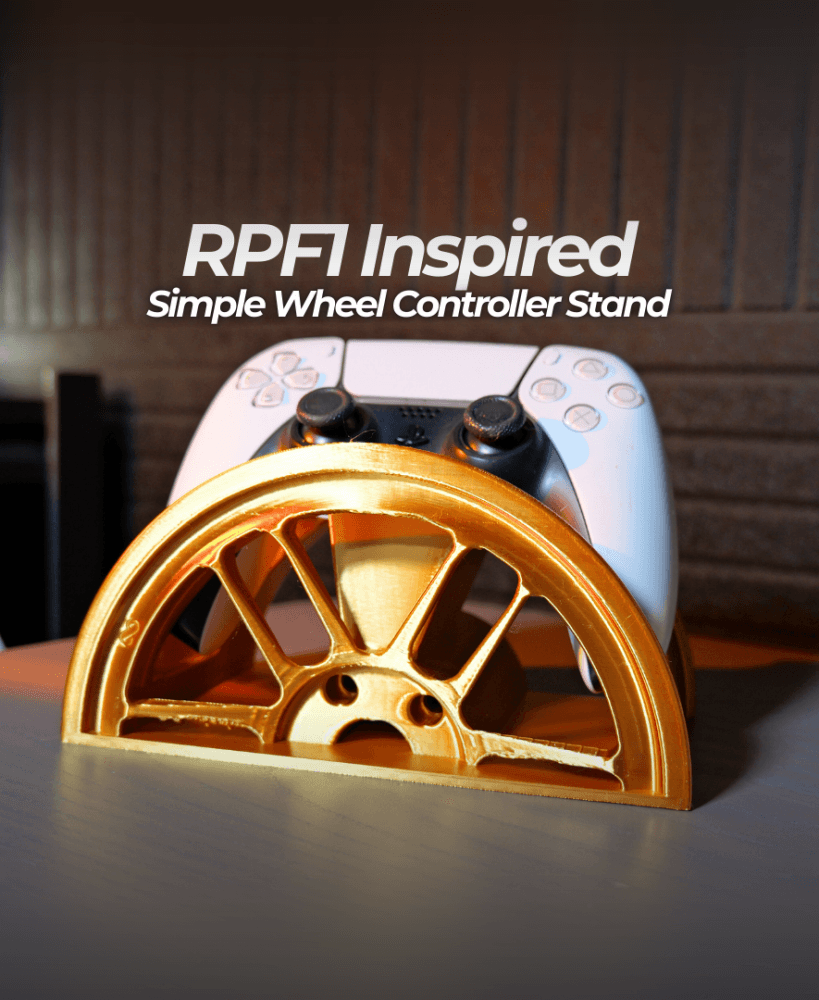
RPF1 Simple Wheel Controller Stand.stl

Classic Mustang Wheel Magnum 500 - Wheel Headset and Controller Stand

TE37 FLMNTD Half Wheel Controller Stand

TE37 V2 Simple Wheel Controller Stand

TE37v2 Wheel Controller and Headset Stand

BBS LM273 Inspired Wheel Controller and Headphone Stand

BBS LM Half Wheel Controller Stand

GT3 RS Wheel Controller and Headset Stand

Monoblock Wheel Controller & Headset Stand
