


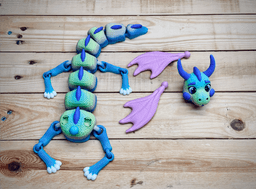


Knitted Dragon
Knitted Dragon so this was a fairly lengthy build with the knitted texture. The head and wings print separately. and it is a large print. i can't guarantee the ball and socket joints if scaled down too far. The Wings... Print with 3 walls The wings print separately, mainly so there is not a flat surface and both side can have texture. They print in a small container which is pre supported. add a brim to the container and ensure you have good adhesion. I went through a lot of tests to get the right number of supports in the container that would allow it to be supported but also easy to break free. To break free just a gentle twist to break the supports. don't worry too much about trimming as they help with a little resistance in the socket. (if you print with 2 walls there is a potential for the wing to snap when removing for m the container) The Head... The head prints separately and attaches with a ball and socket joint. Be cautious when using mattes and silks as they tend to be much weaker for joints. and i wouldn't recommend. To attach the head. Very gently push on the socket twisting slightly being super careful to not break the joint. Once on there should be a nice resistance and posable. As Always the model is made up from separate bodies allowing for easy colouring using the paint fill tool. set paint fill to 90%.
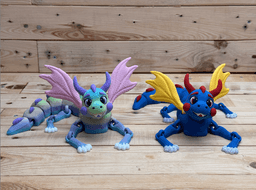
Filaments used. the red blue version is all Bambu matte pla ( yes i risked it after advising against matte above) the other version it a gradient by Chitu systems/conjour 3d, bought of amazon. Ive printed at 0.16 but 0.2 layer height is fine.

Heart Payment Wand End

Zombie Dragon Bust

Triple Clicker pain sensory fidget

Happy Planter

World Cup Trophy Replica

Plain Goose update pack

Canadian Flag

XL Highland Cow (sitting)

Not So XL Highland cow (sitting)

Grumpy Planter
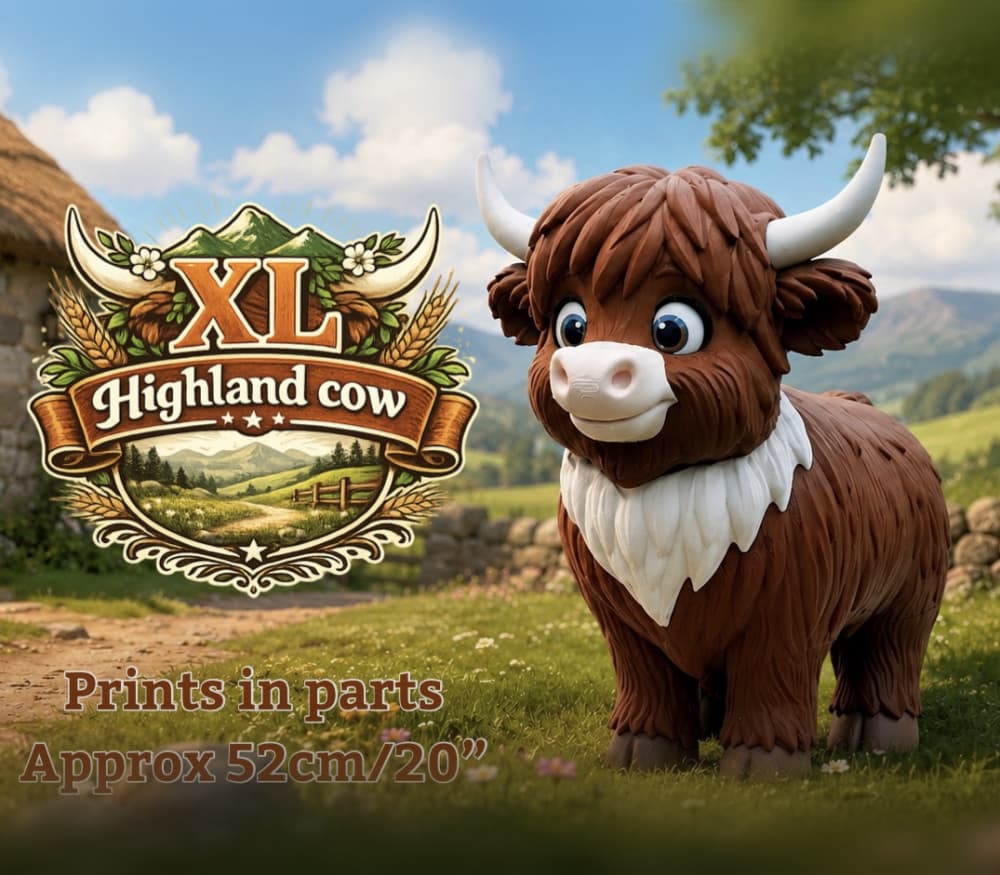
XL Highland Cow (standing) for larger build plates above 300x300x300

Not So.. XL Highland Cow (standing) for smaller build plates below 300x300x300

Golf Ball Container

Awareness Ribbon

Payment Wand

Not So XL Urban Goose, for smaller build plates below 300x300x300

XL Urban Goose, for larger build plates above 320x320x320

Mini Chameleon

Porch Goose, 54cm/21"
