


RAMA | Kitchen rail, hook & planter
RAMA | Kitchen rail, hook & planter
Here is a complete collection of accessories for kitchen rails.
This FREE set includes wall brackets for Ø18mm or 3/4inch wooden rails, plus hanging planters and hooks. (The wall brackets work with Ø4 to 5mm screws, or #8 - #10 screws, and 1" or 30 to 40mm anchors)
On the rail you can also mount:
- a magnetic knife rack
- a cookbook or ipad shelf
- a dishsoap and spong holder
- a drip tray to dry your cutlery
- a spice rack
- a towel holder
You can get the wooden dowels/rails on Amazon here:
For the US (Ø3/4 inch): https://amzn.to/4klPfVE
For Europe (Ø18mm): https://amzn.to/3T5q4dW
3D PRINT SETTINGS: All STL files are all already oriented properly. No need for supports, or brim.
The hangers print on their side and don't need support, even for the overhanging part.
Layer height: 0.2mm/layer Wall line count: 2 Infill: 15 to 20% Build adhesion type: None Supports: None
To mount the wall brackets and wooden rail:
- mark locations for the holes on your wall, every 40 to 50cm or so depending of the length of your wooden rail. So for a 1m or 40" rail you'd have 3 brackets. Leave about 5cm or 1.5" of wooden rail sticking out past the brackets at both extremities.
- drill holes in your walls at the right diameter for your anchors (diameter about Ø3/16" or Ø5mm, 30 to 40mm deep).
- place the inserts in the wall
- fix the "dovetail" pieces on the wall with the scews
- slide some wall brackets on the wooden rail
- then place the rail parallel to the walls and slide the brackets onto the dovetails. (or you could first put 1 bracket onto 1 dovetail, slide the wooden rail inside, and THEN put the additional 2 brackets on the rail and slide them onto the dovetails. Maybe easier that way...).
RAMA | Kitchen rail, hook & planter

SAKURA | Scalable Pencil Holder

SYZYGY | Heart Vase, scalable

ARYZ Plus | Pendant light E26/27

CARLA | Table Lamp E14 & E26/27

CAPA | Corner Soap Dish

MINKY | Desktop bin

GRANO | Desktop bin
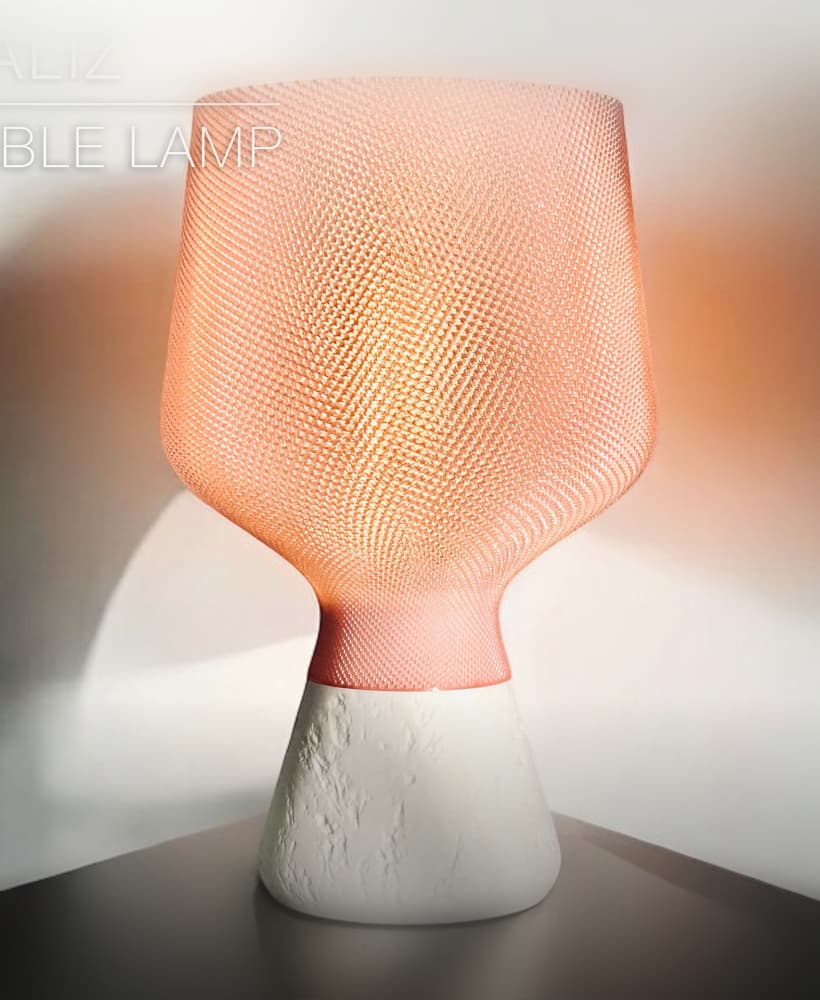
CALIZ | Woven Table Lamp E14 & E26/27

ORIGAMI STILT | Table Lamp E14, E26, E27 print-in-place

MALLA MINI | Woven Table Lamp E14/26/27

MALLA | Woven Pendant light E26/27

FREYA | Standing Planter Pot

DOLCE | Indoor Planter Pot

NEST | Wicker Tissue Box
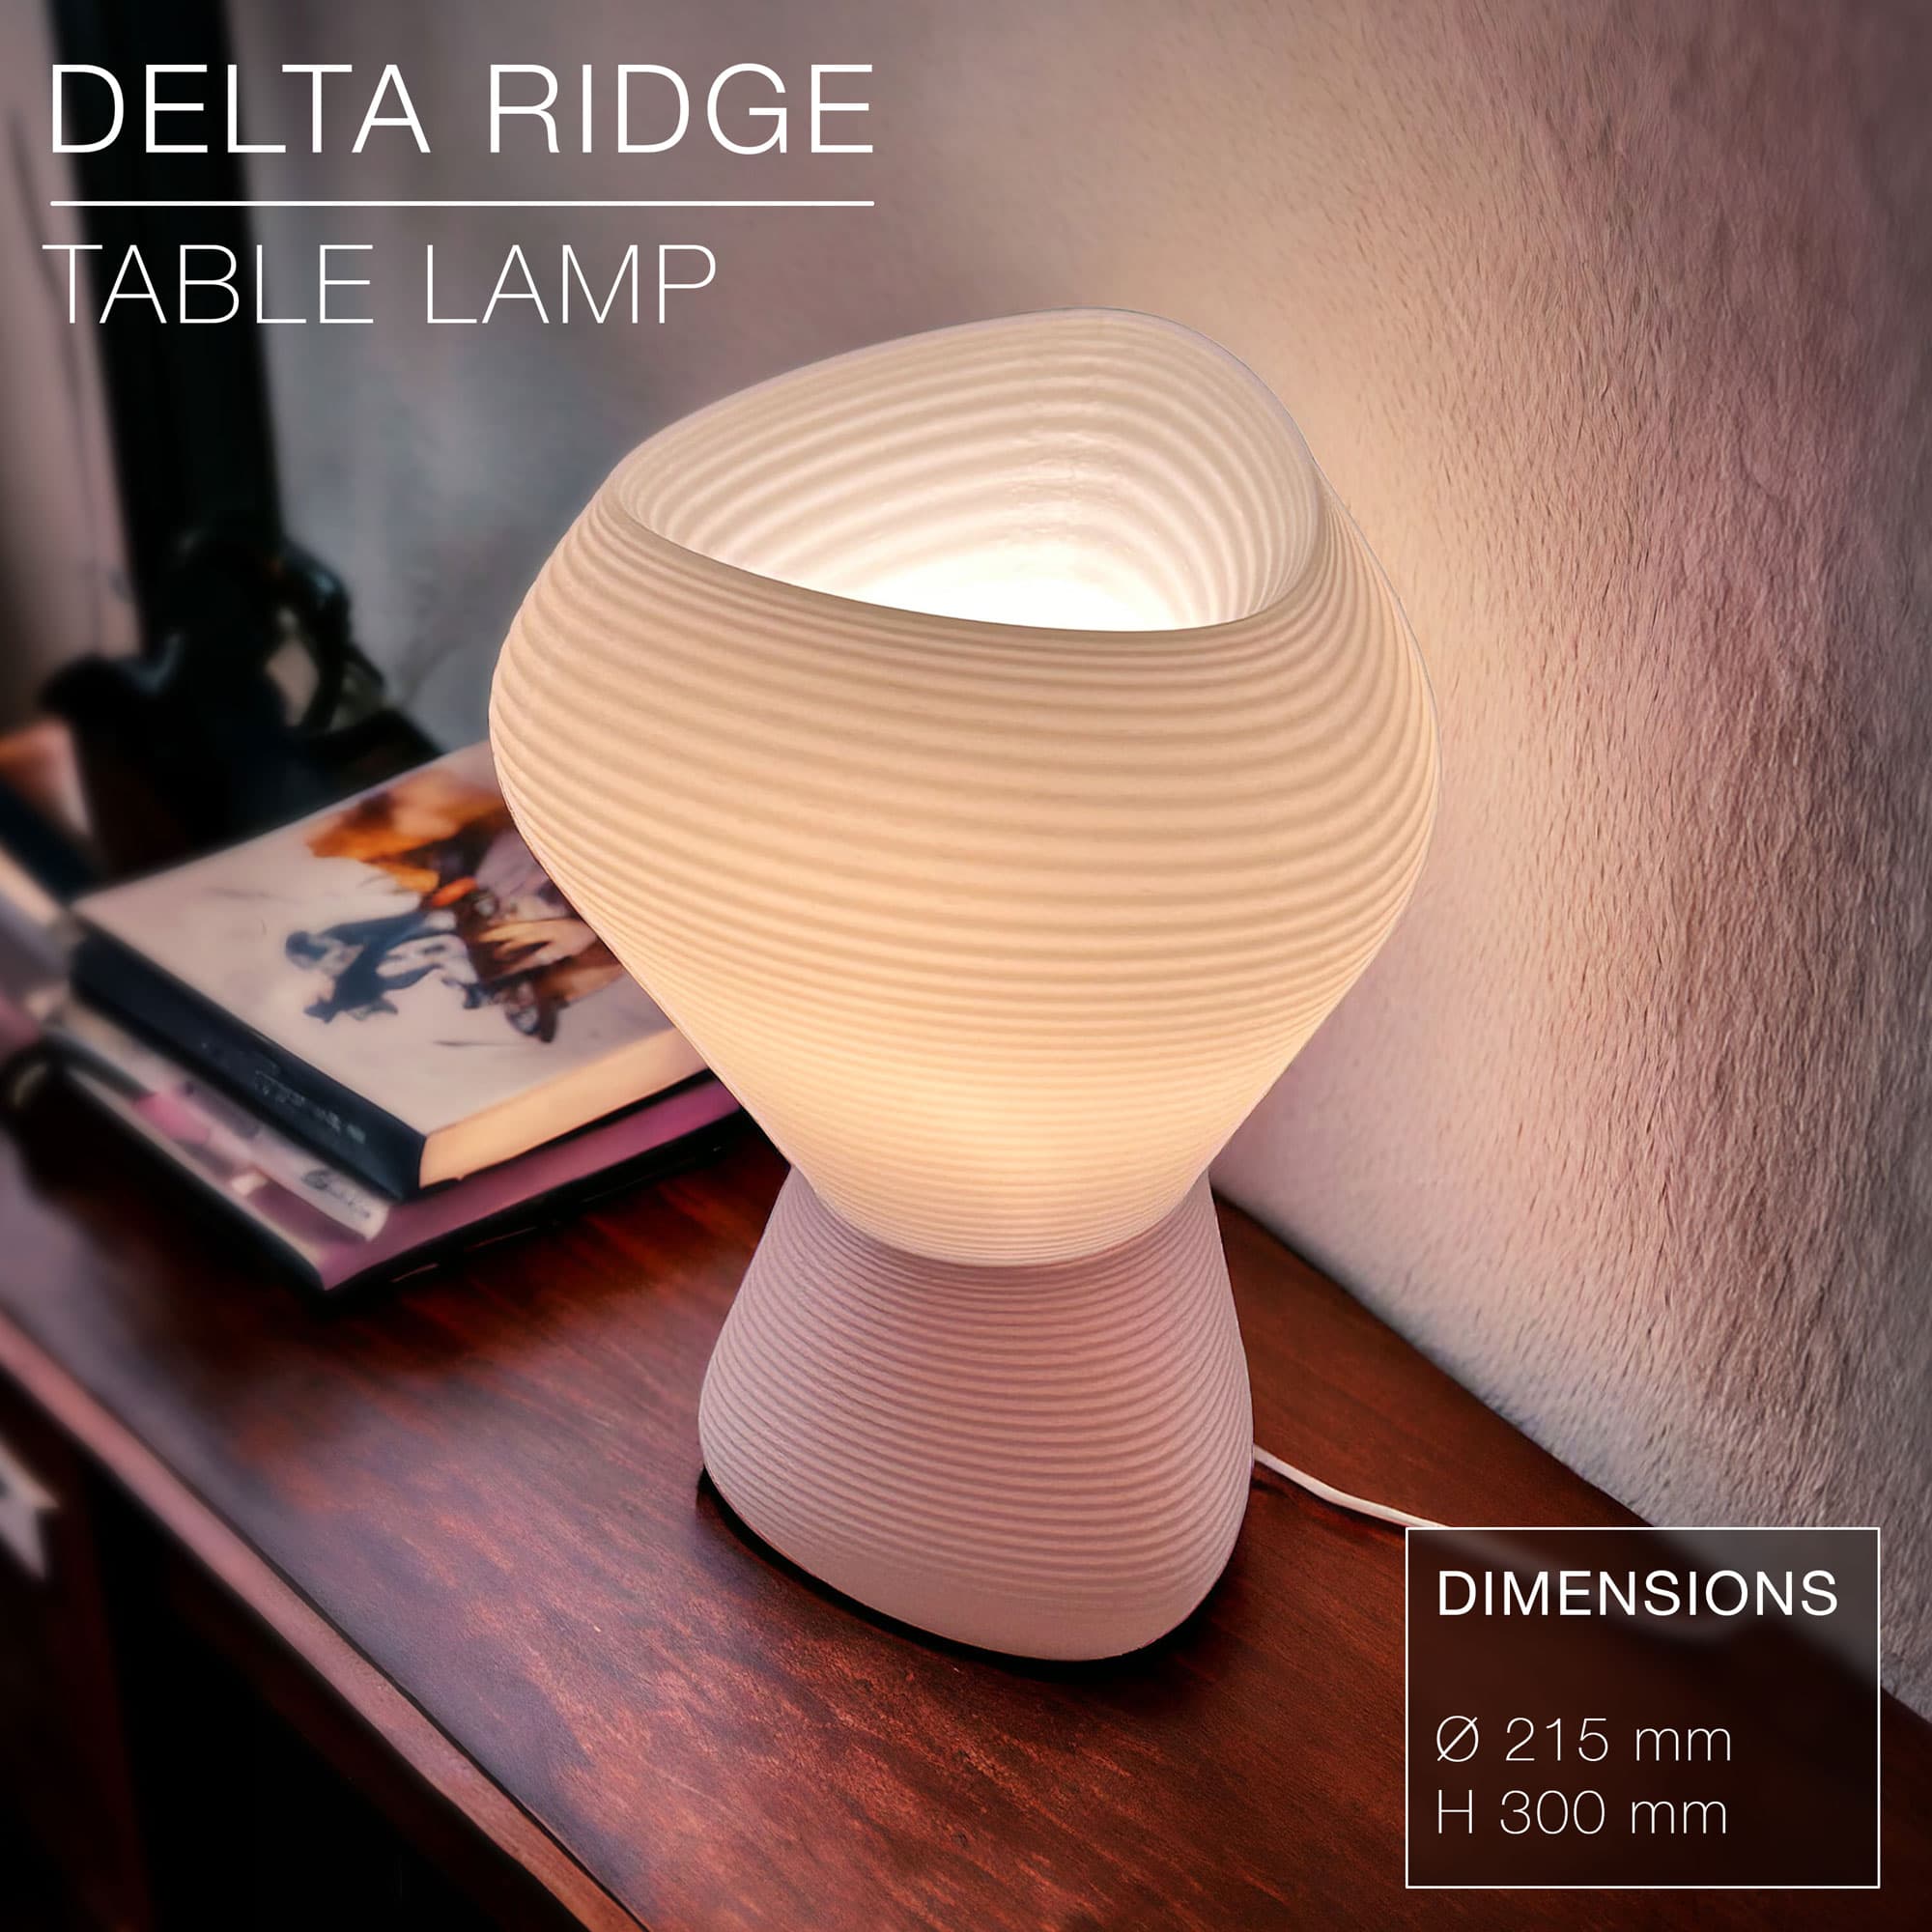
DELTA RIDGE | Table lamp E14 & E27 fast-print
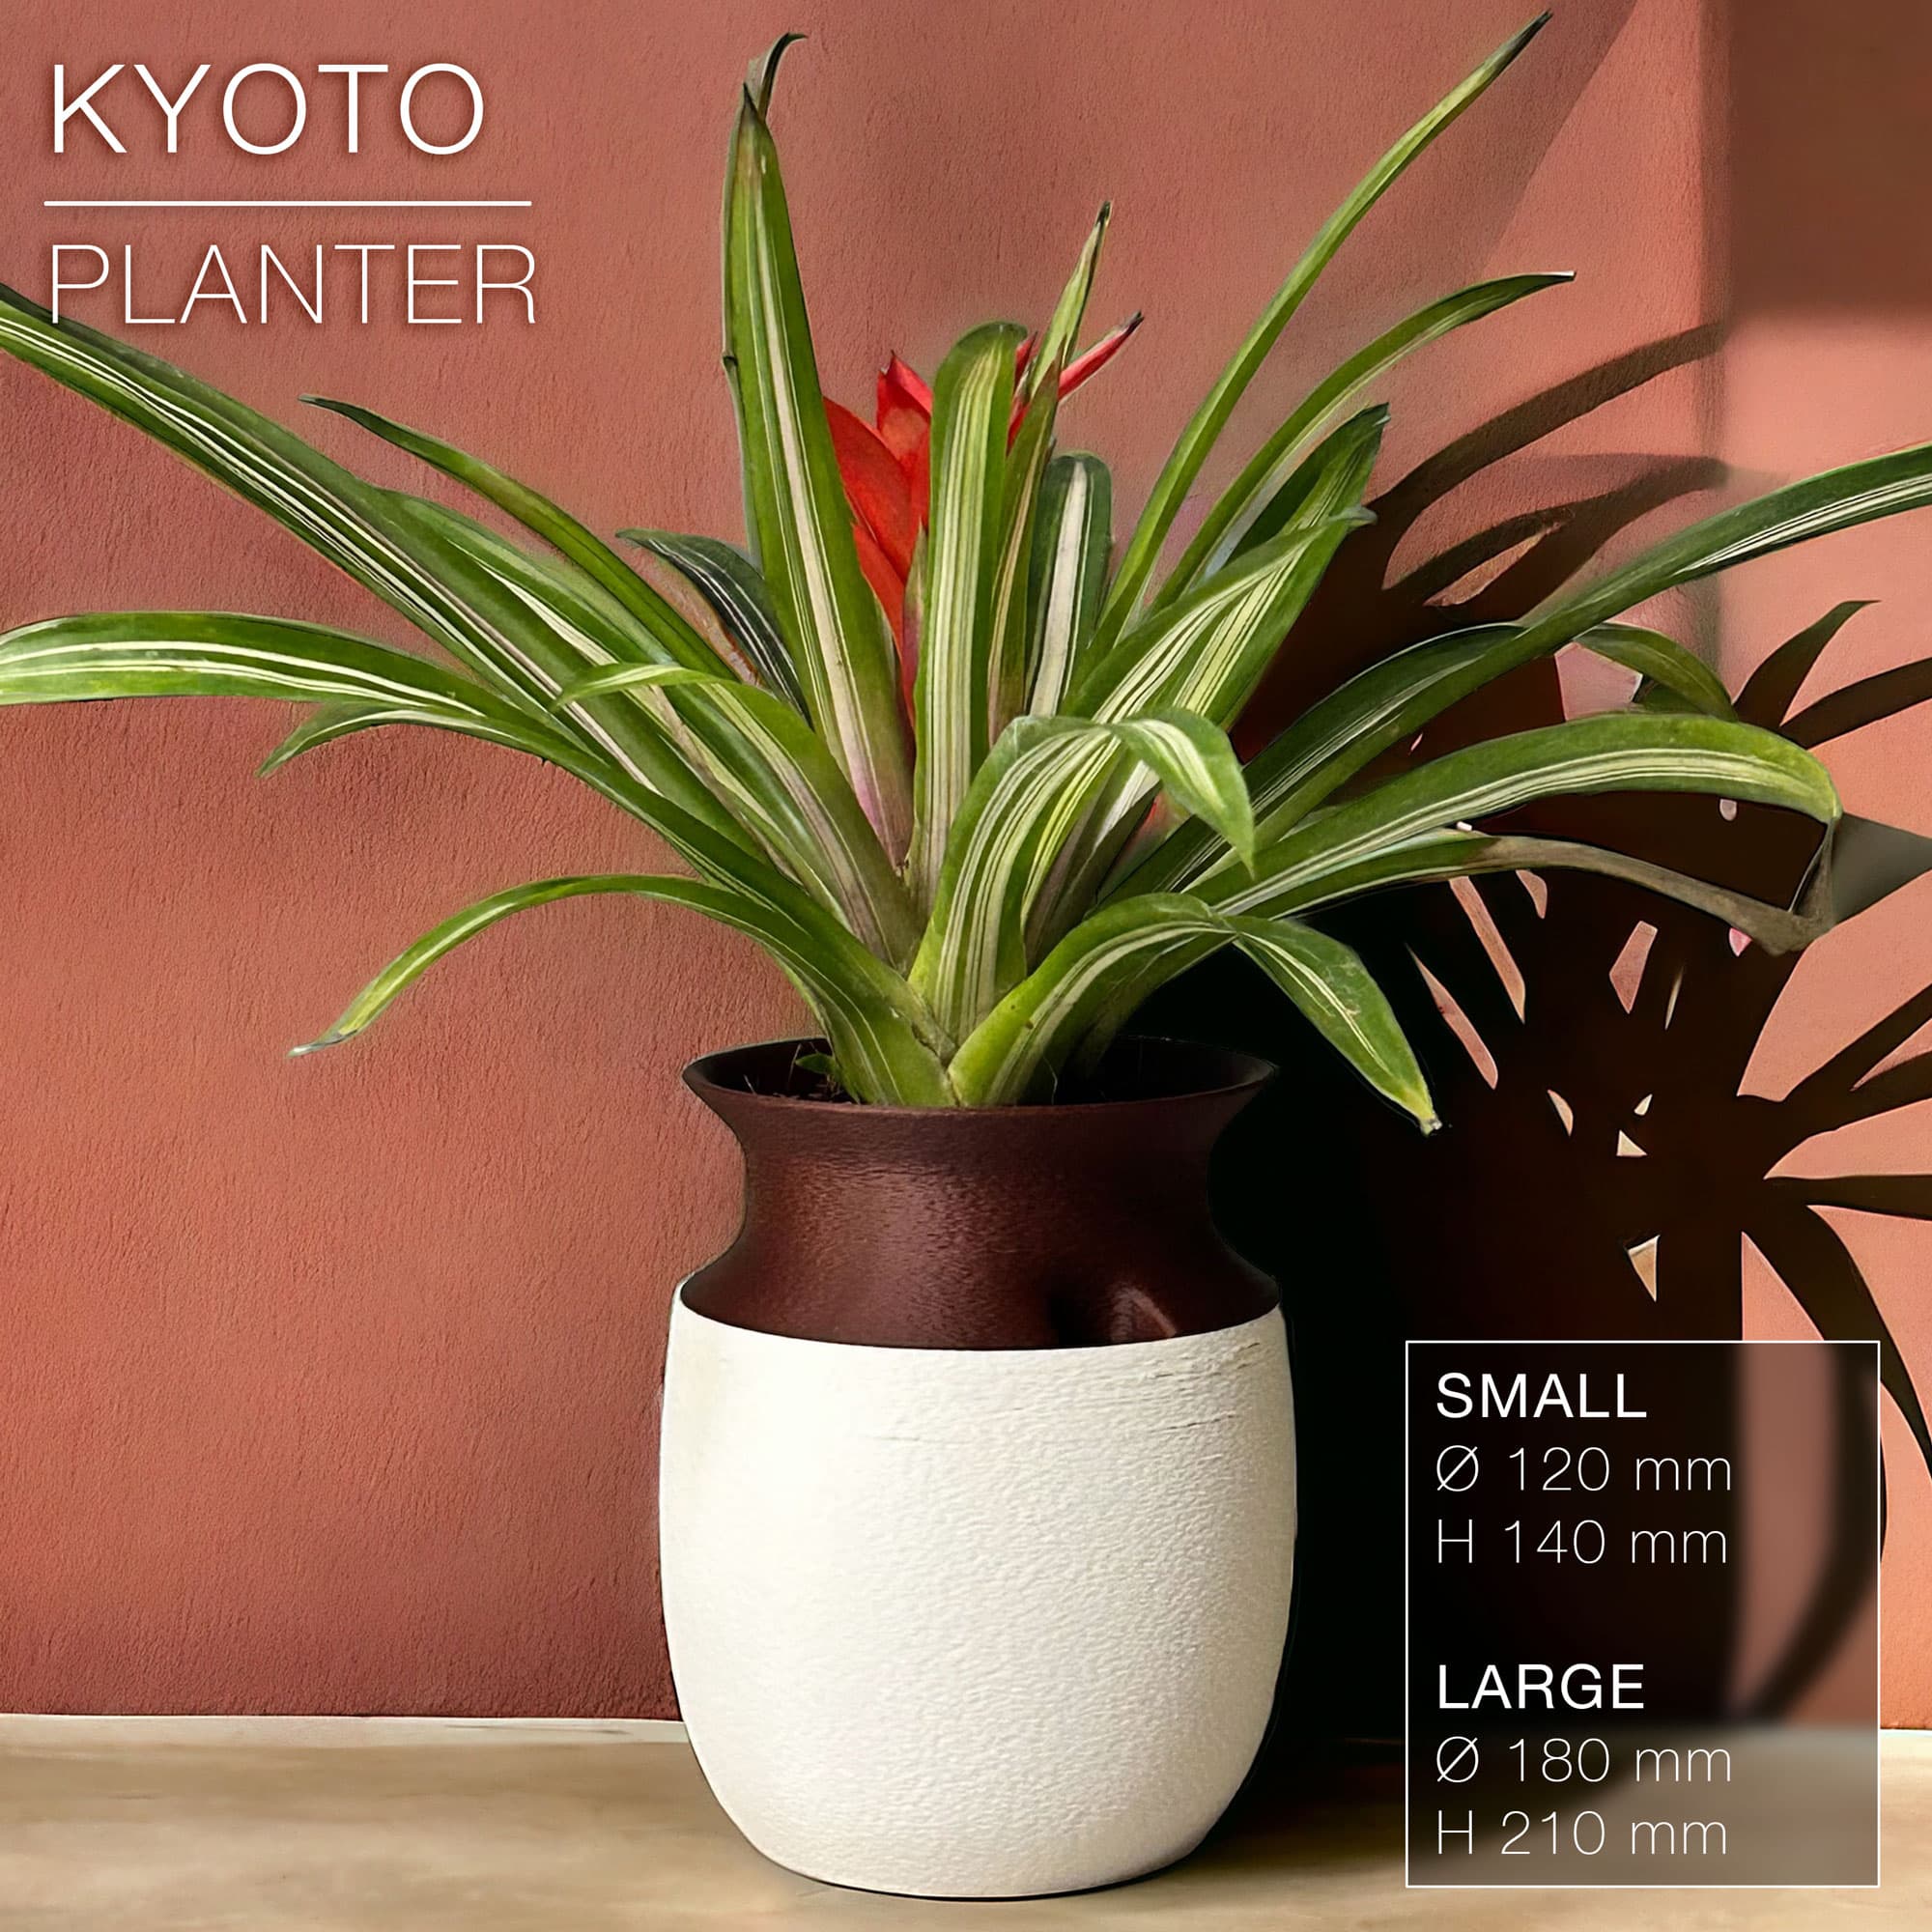
KYOTO | Self-Watering Planter
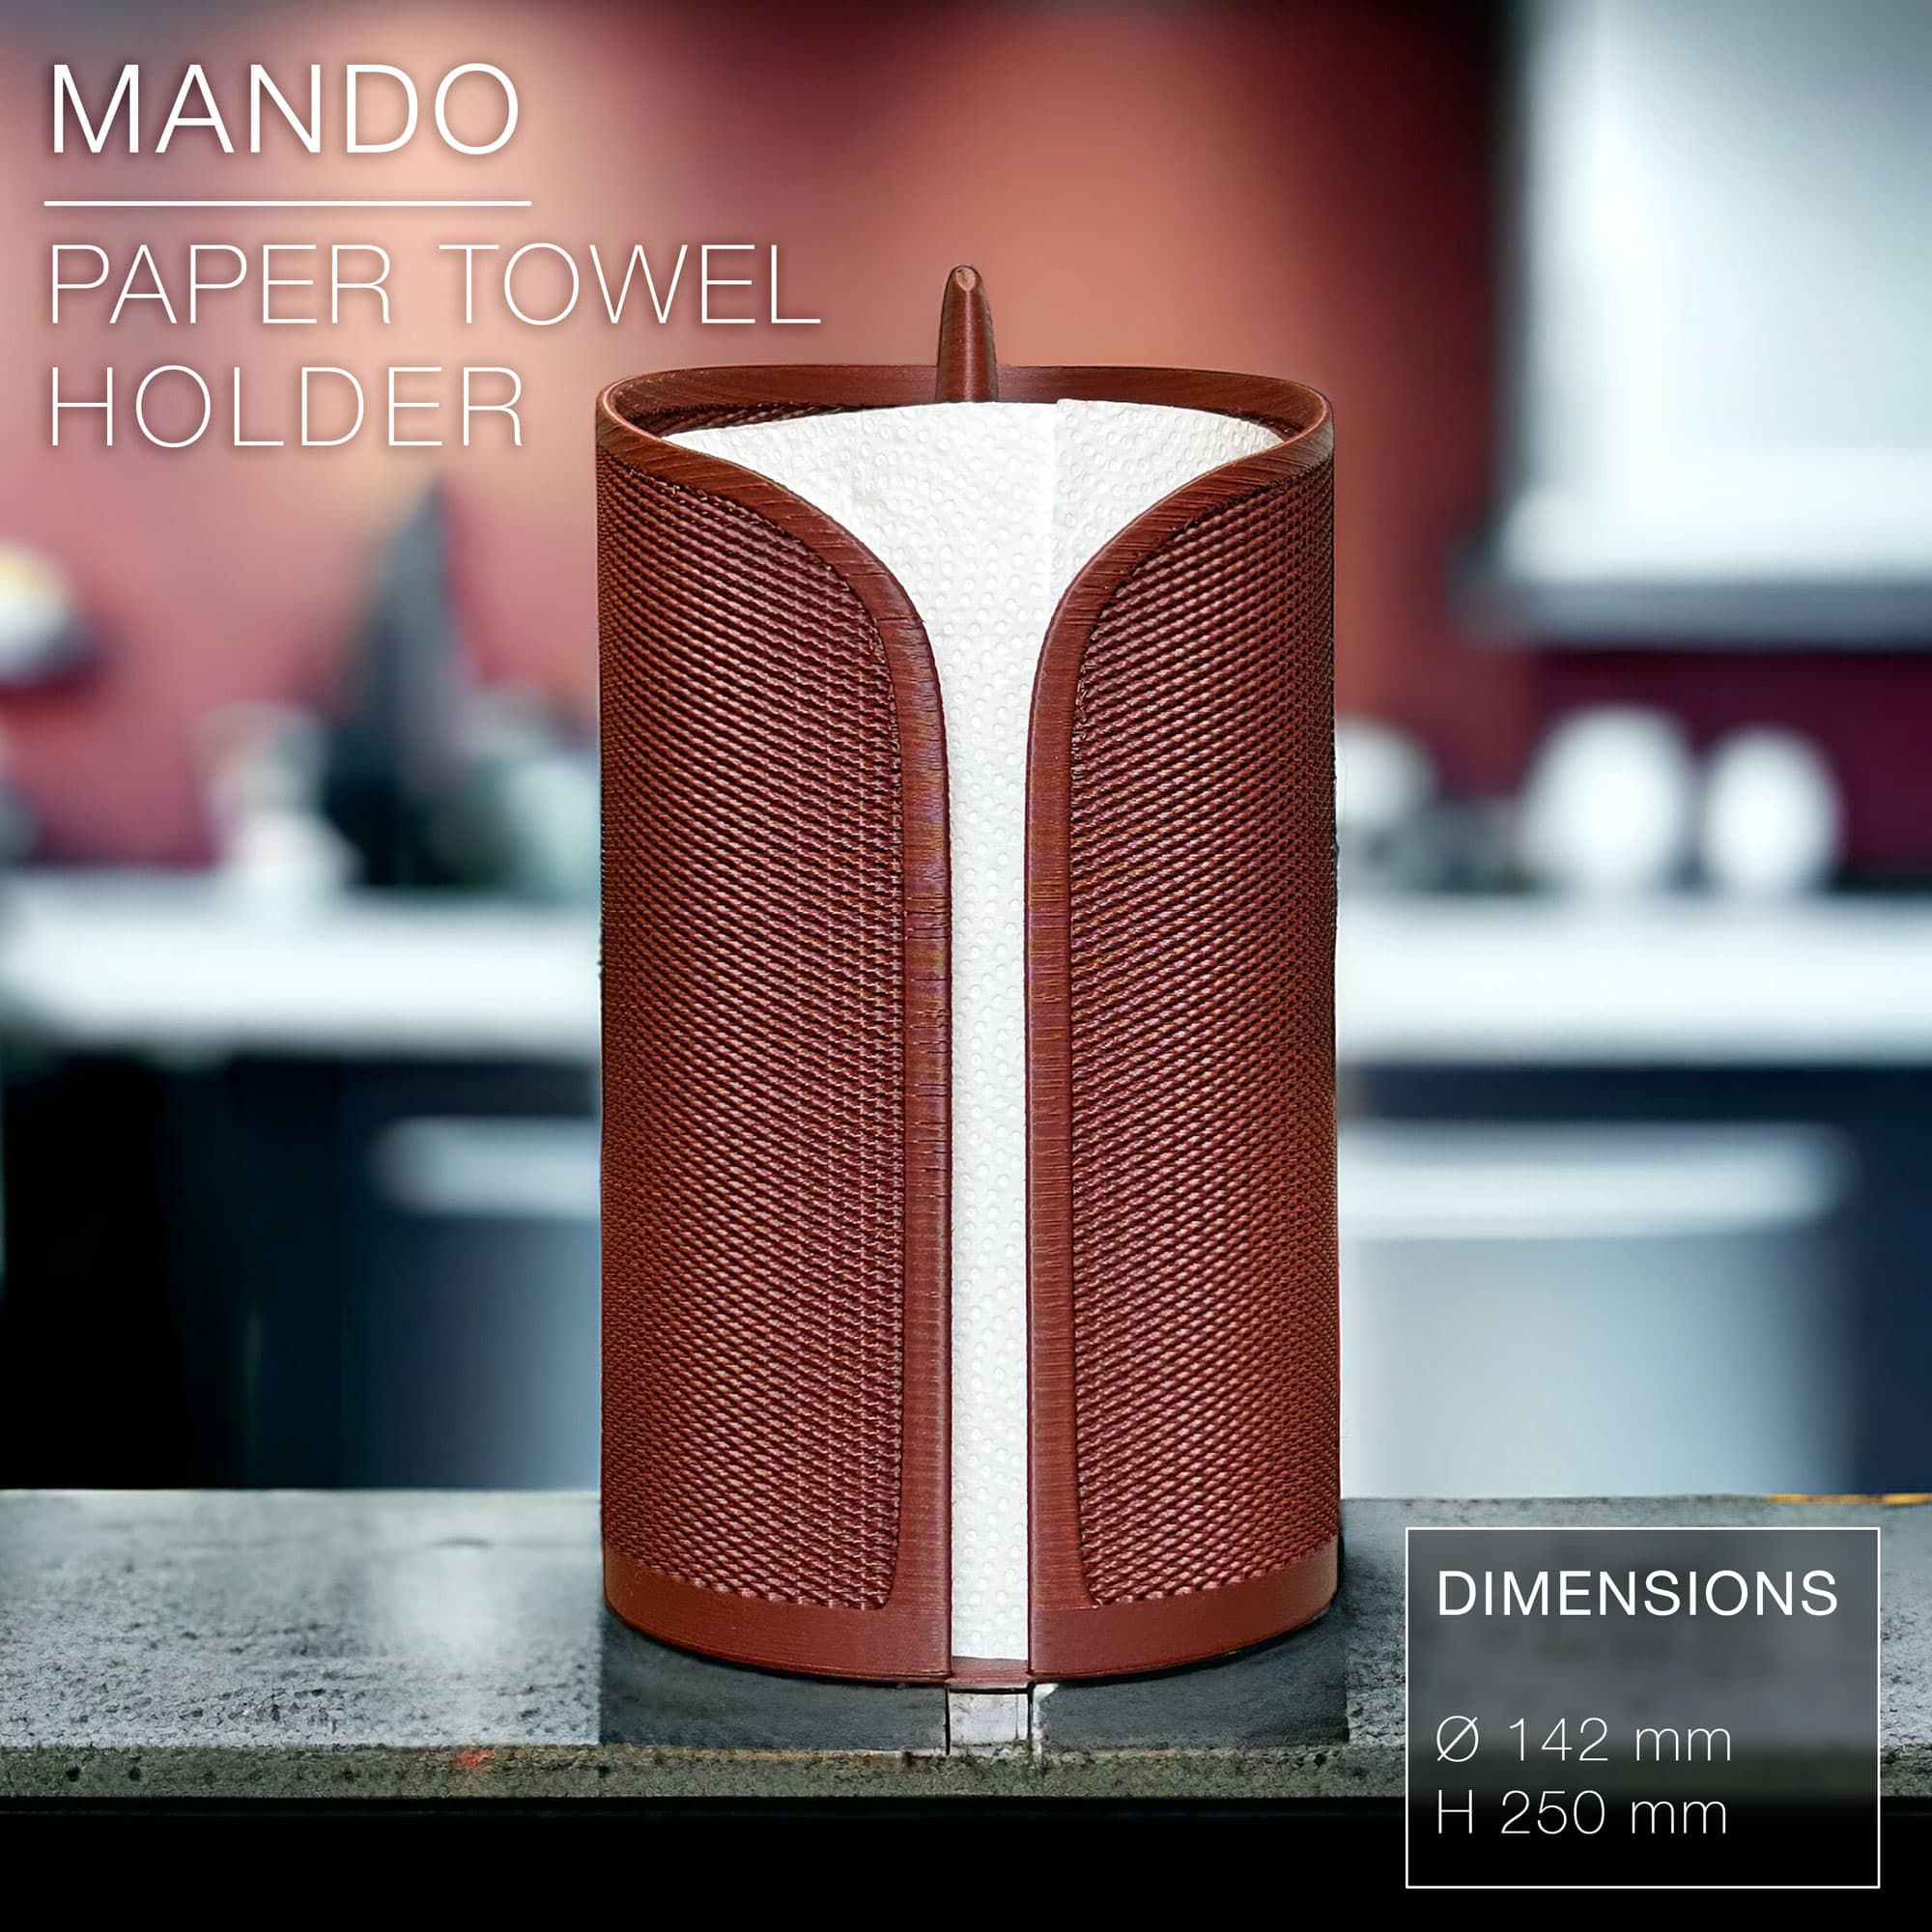
MANDO | paper towel roll holder
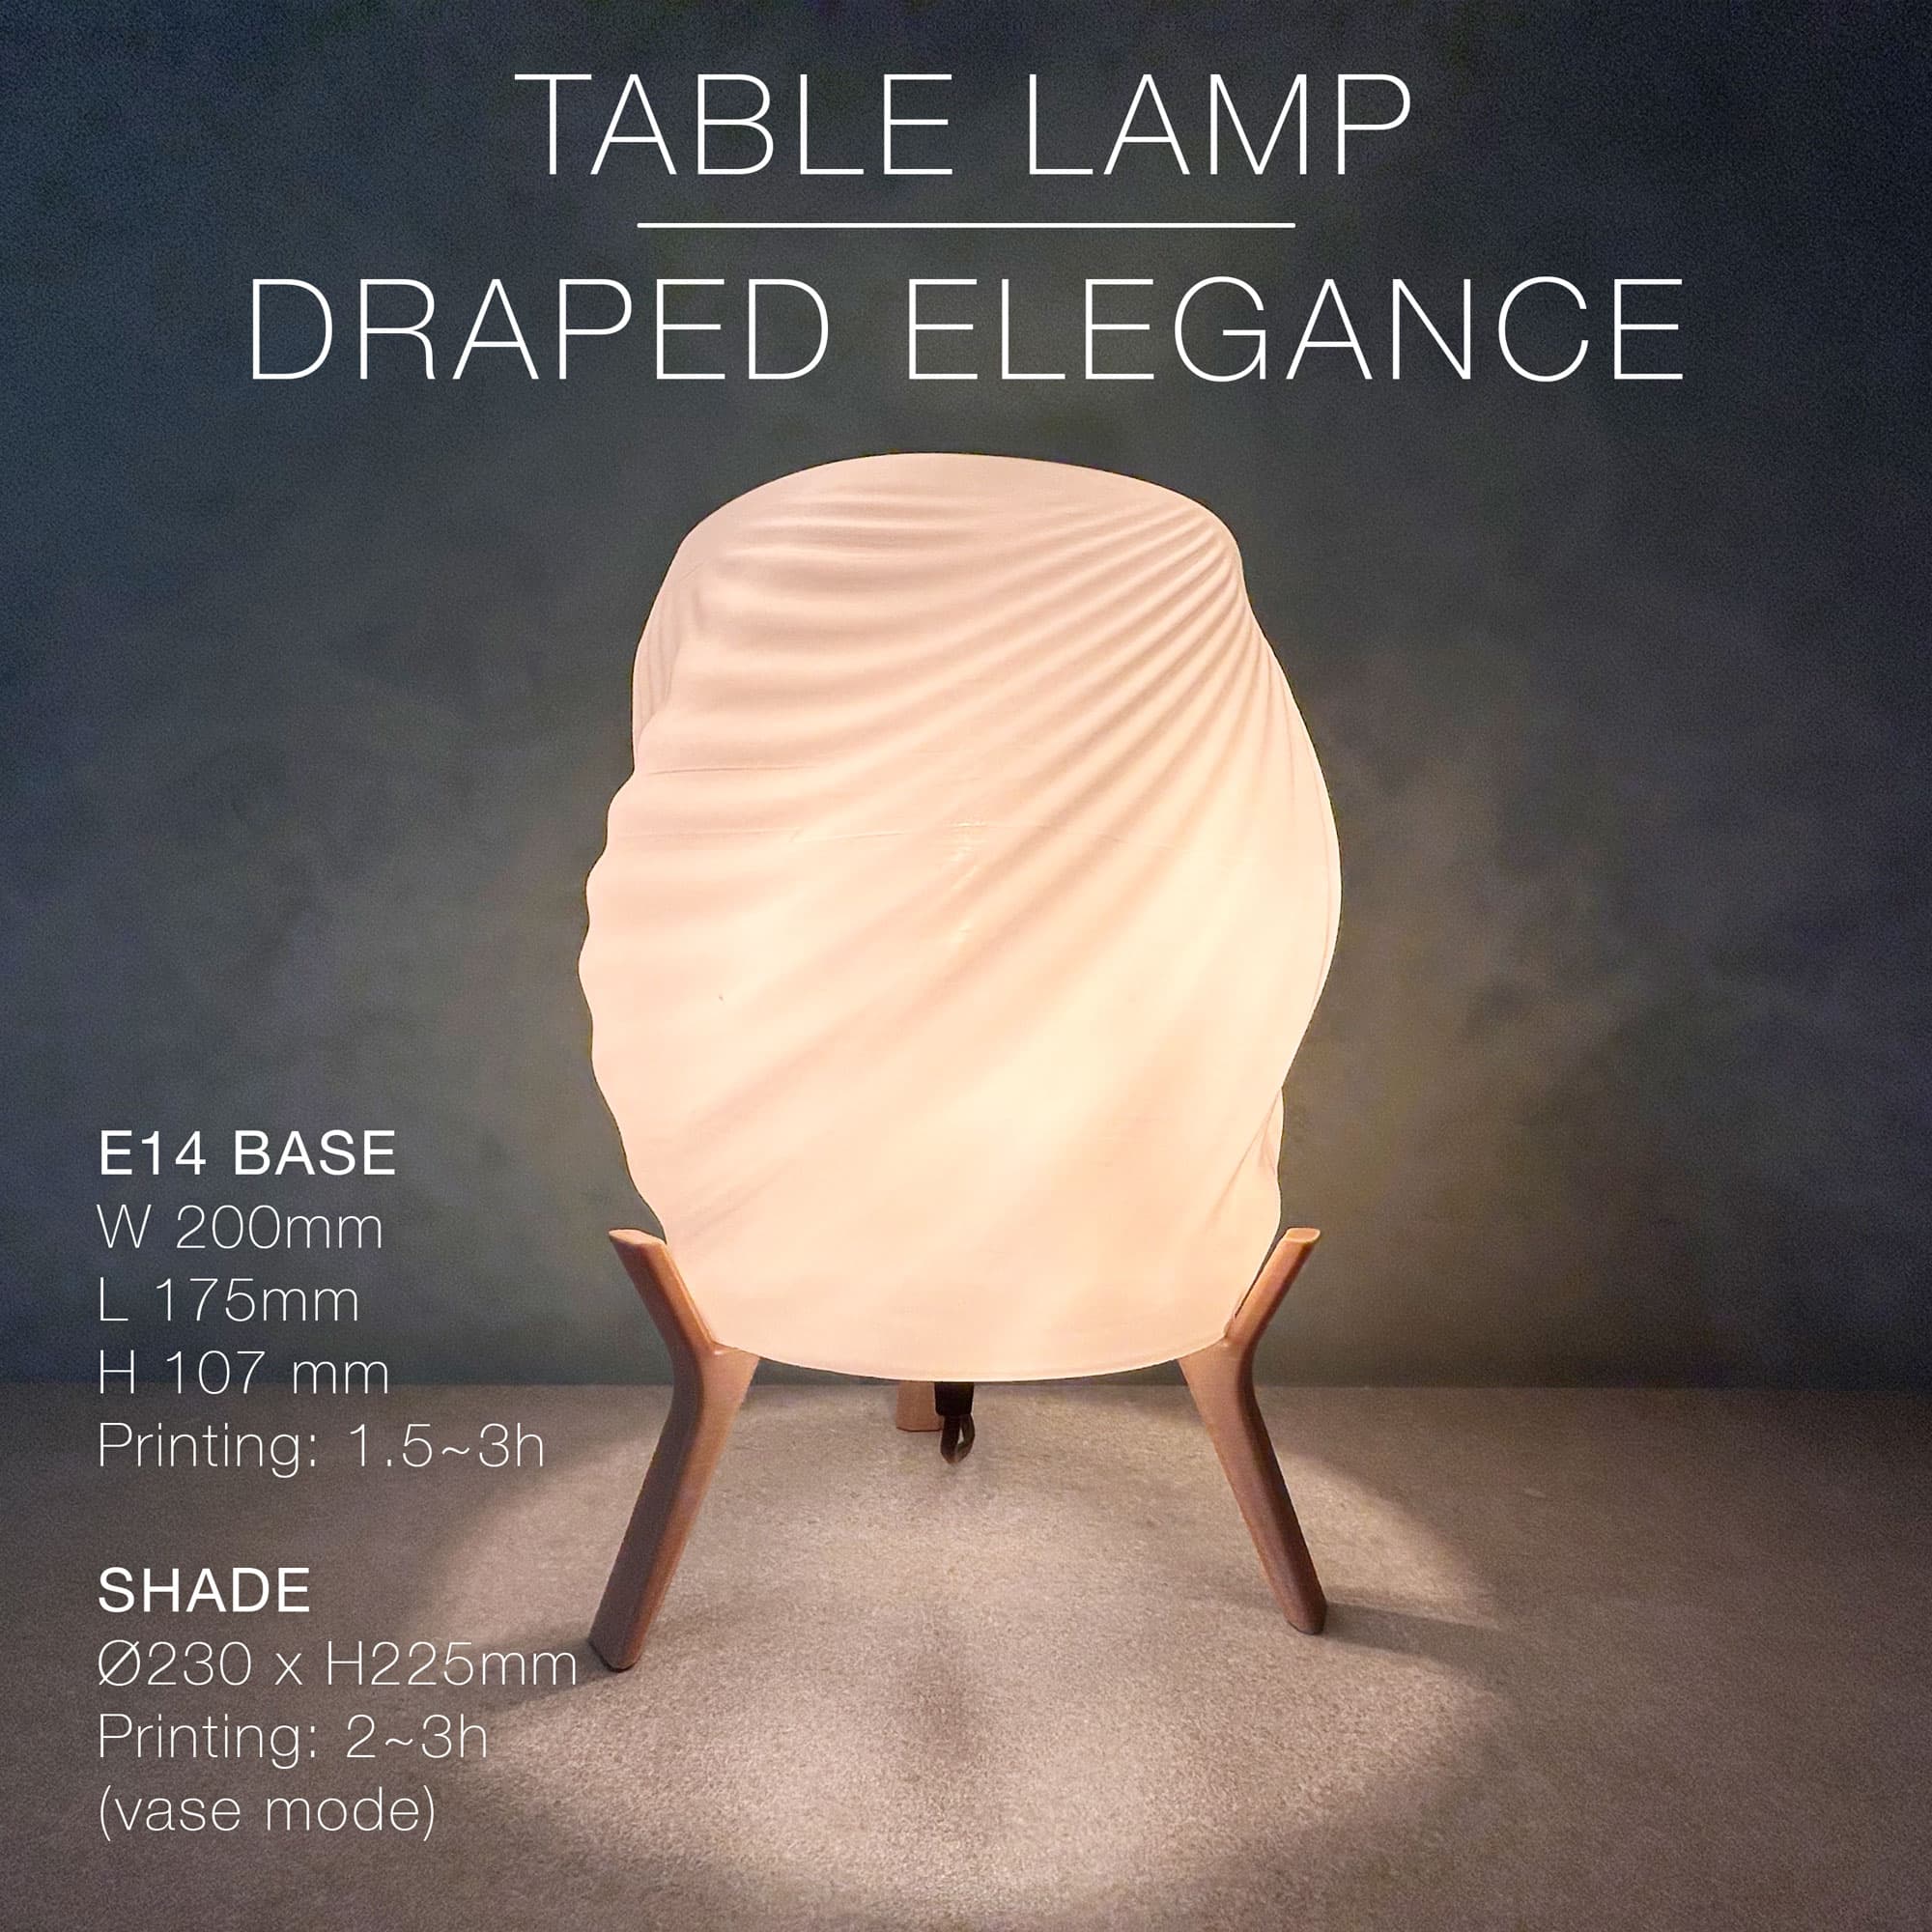
DRAPED ELEGANCE | Table Lamp
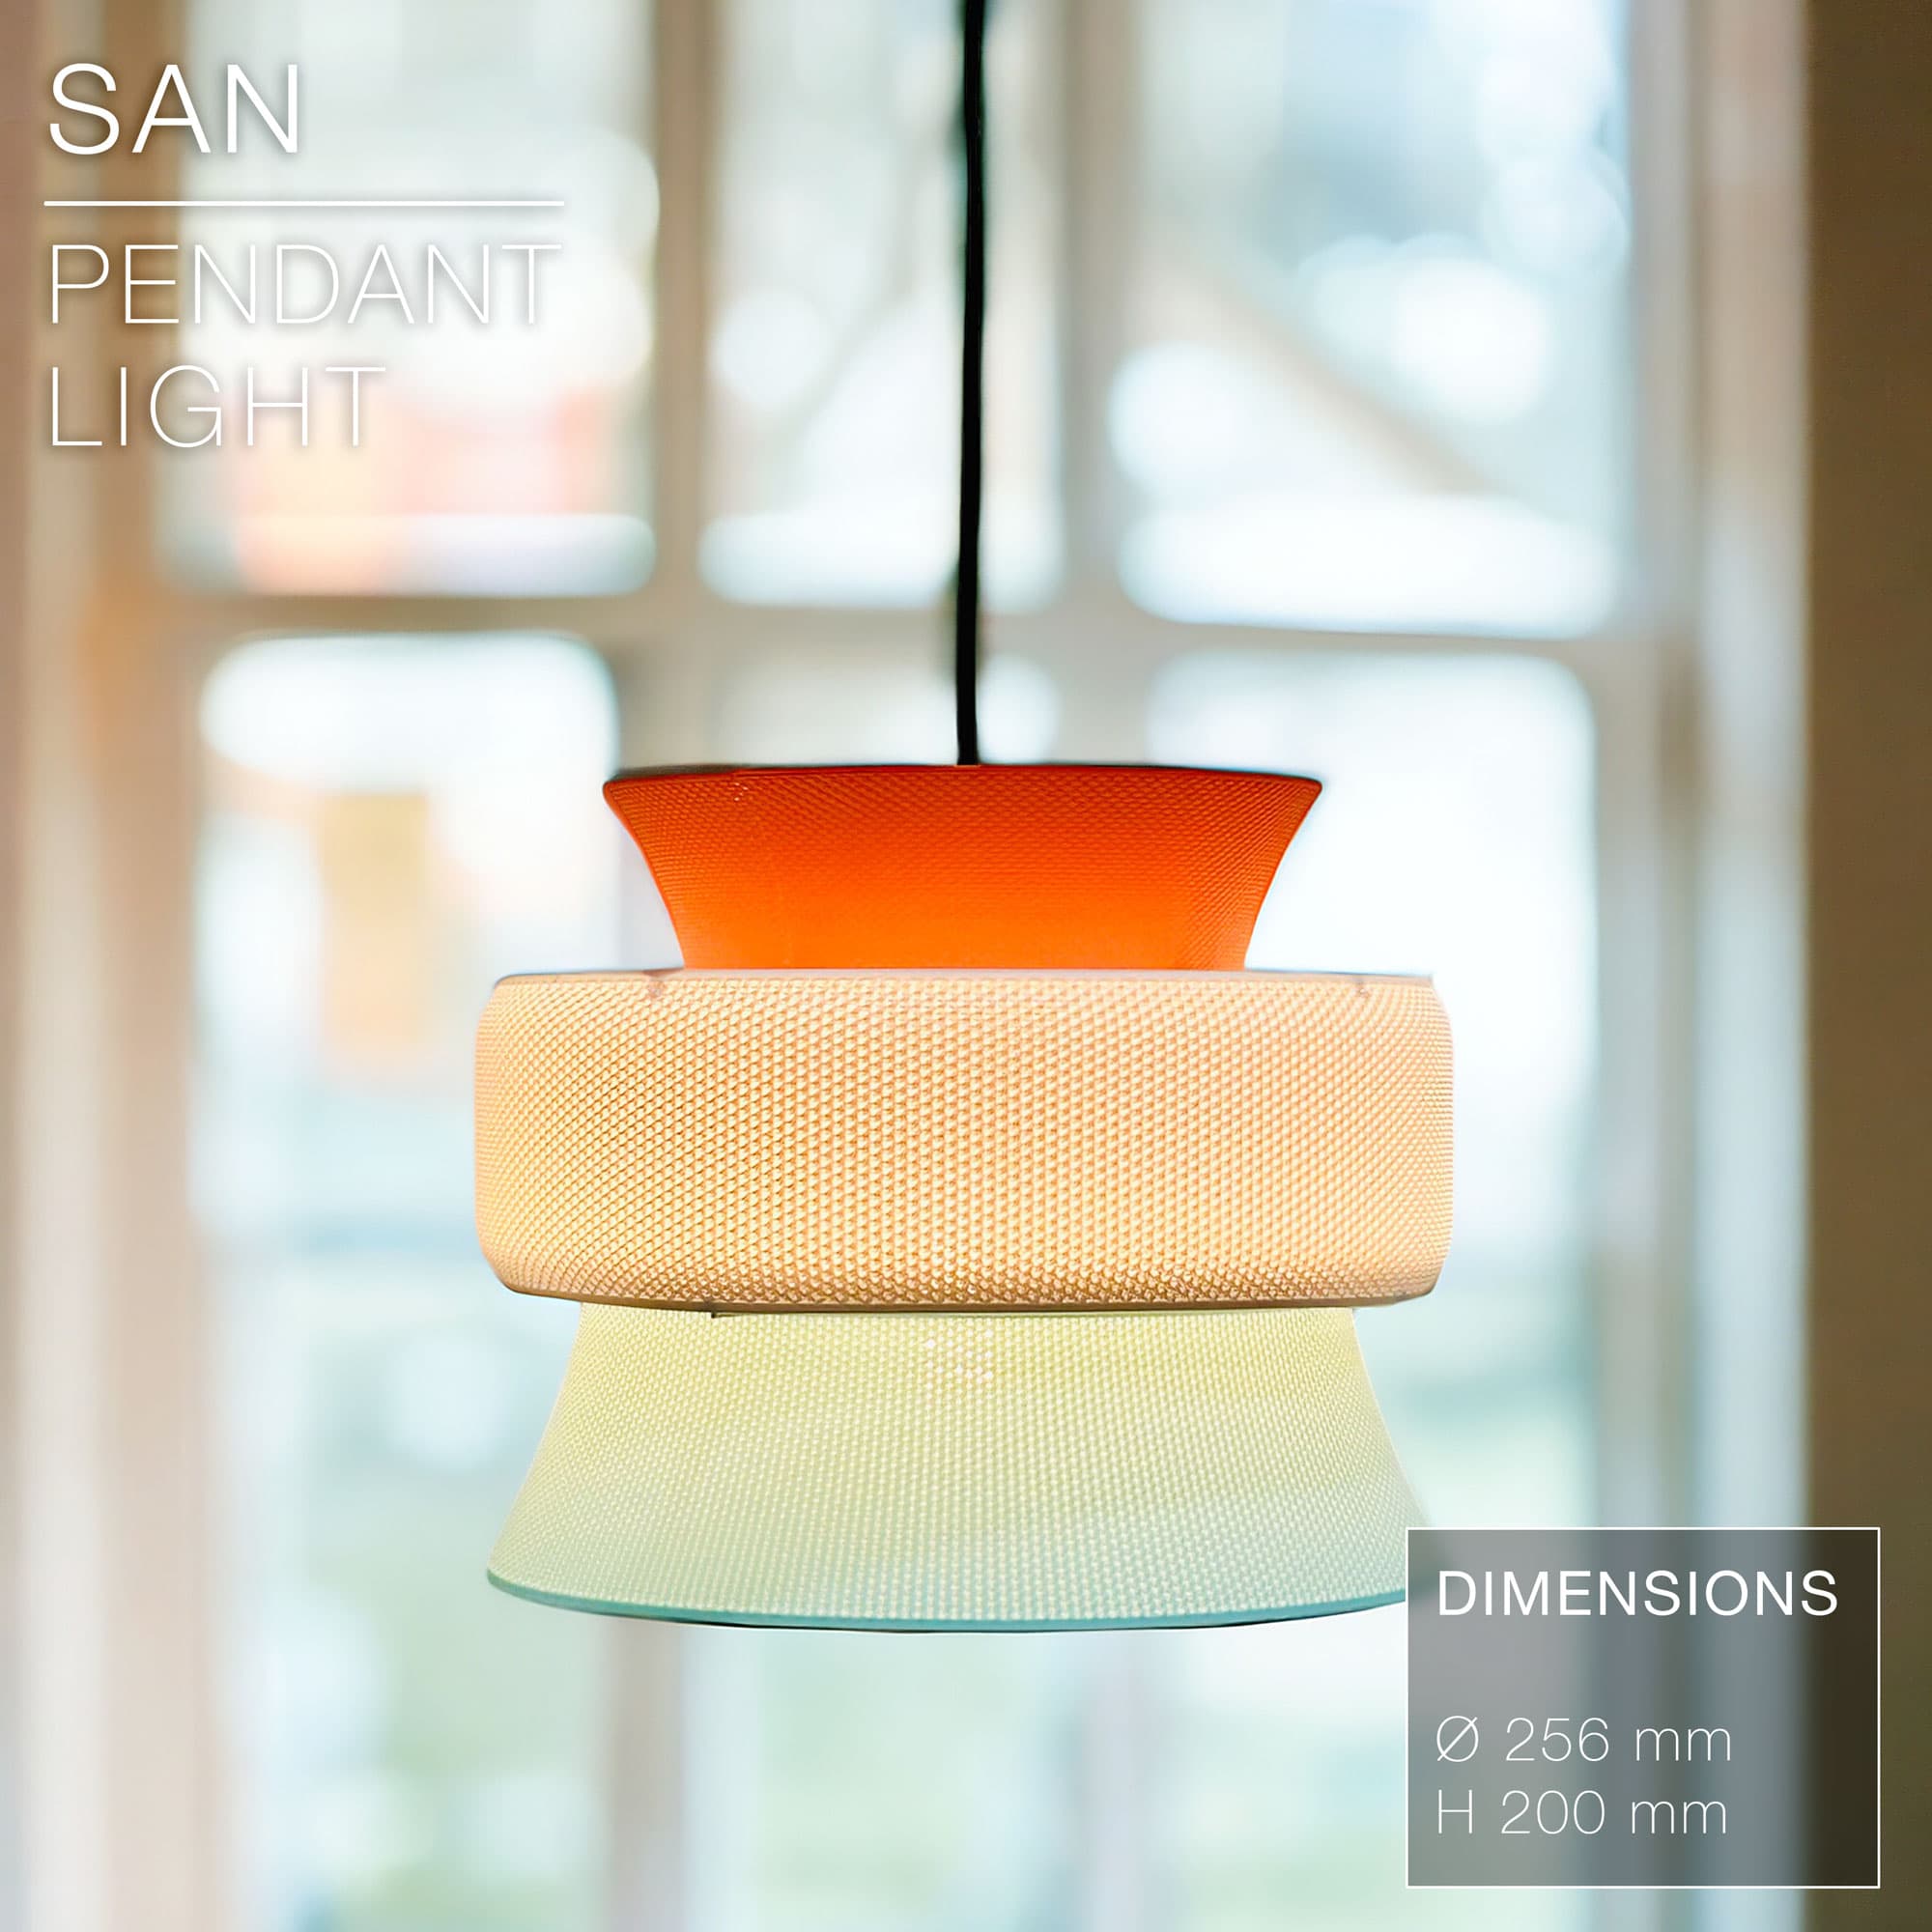
SAN | Pendant Light E27 & E26 fast print
