


Nixie Lamp
0 downloads · 6 months ago · **💎 Features**
1. Includes files for popular E26/27 pendant light fixtures: threaded and smooth-wal
This model is restricted by licensing terms.
View license.
💎 Features
- Includes files for popular E26/27 pendant light fixtures: threaded and smooth-walled fixtures.
- The single wall lamp shade utilizes “spiral vase” mode to optimize print times.
- The shade easily snaps into place and can be twisted off the base to change the bulb.
- All parts are 3d printed, with the exception of the light hardware noted below. The base optionally includes 4 TPU feet to protect your surfaces.
🔨 Parts & Files
- Includes 3MF + STL files and PDF print instructions.
- Easy to slice using PrusaSlicer, OrcaSlicer, or Bambu Studio.
- Requires a minimum bed size of 160mm x 160mm x 216mm.
- 1x 5-9 watt 26/E27 LED Bulb (Low wattage), 2.5” (6.3cm) max diameter
- 1x E26/E27 Pendant light fixture
- Variant 1: Threaded (40mm OD), Pendant Light Cord Lamp Kit - Amazon.com
- Variant 2: Smooth-walled (37mm OD), JACKYLED 12ft pendant light - Amazon.com
📊 Print Statistics (Prusa Core One, 0.6mm nozzle)
- Shade - PETG exterior: 82g, 1.6hrs
- Shade - woven interior: 70g, 4.2hrs
- Base: 97g, 3.2hrs (including parts)
📖 Instructions I recommend reviewing the PDF for printing and assembly instructions. Here are the highlights:
- Printing
- The shade is printed in two parts, both with "spiral vase" mode and 0% infill.
- Disable dynamic speeds for the PETG shade to keep the surface texture uniform. Lower speeds will produce more transparent results.
- Print the base with your preferred settings. No special profiles required.
- Assembly - smooth-walled fixture
- Insert the fixture from below until the top is approximately 2 mm above the base. Twist on the printed threaded collar to secure the fixture.
- Insert the fixture cord into the slot at the bottom of the base. Secure it in place with the printed plug.
- Assembly - threaded fixture
- Insert the fixture from below and thread on the fixture ring until it's secured.
- Insert the fixture cord into the slot at the bottom of the base. Secure it in place with the printed plug.
- Assembly - shade
- First, thread in the LED bulb.
- Insert the woven shade above the bulb and twist the shade until you feel a gentle snap.
- Insert the PETG shade above the woven shade. You may need to wiggle the shade around the woven shade. Like before, twist it until you feel a gentle snap.
** These files are for personal use only and not to be resold
Nixie Lamp
0 downloads · 6 months ago in and
This model is restricted by licensing terms.
View license.

Bellows Weave Lamp - Shade Only

Tama Lamp

Burst Lamp

Dollop Lamp: Wavy Desk Lamp, Contemporary Table Lamp

Planet Lamps
.png&w=3840&q=75)
Lara Lamp
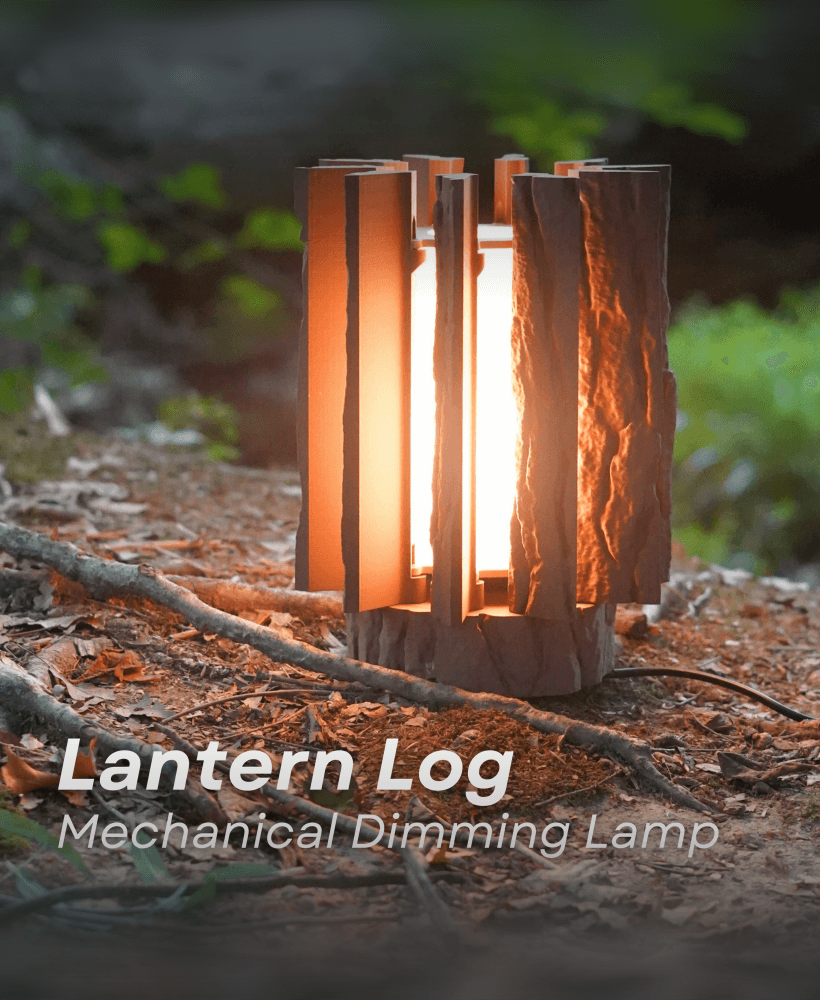
Lantern log - Mechanically Dimming Lamp with Real Log Texture

Jack Skellington Pumpkin 2025 edition - Halloween Lantern Decor - No Supports 3D Print STL/3MF

Cleo Lamp

Planetary Egg Container

The Rail

MCM Christmas Ornament
![Moon Lamp 150mm for LED Lamp 001 [HiRes] [noSupports] 3d model](/_next/image?url=https%3A%2F%2Fstorage.googleapis.com%2Fproduction-thangs-public%2Fuploads%2Fenhanced_images%2Fv1%2F2aa76a1f-56ad-48ad-99e1-ee824261c8ae%2Fezgif-6-4146f34c2f.gif&w=3840&q=75)
Moon Lamp 150mm for LED Lamp 001 [HiRes] [noSupports]
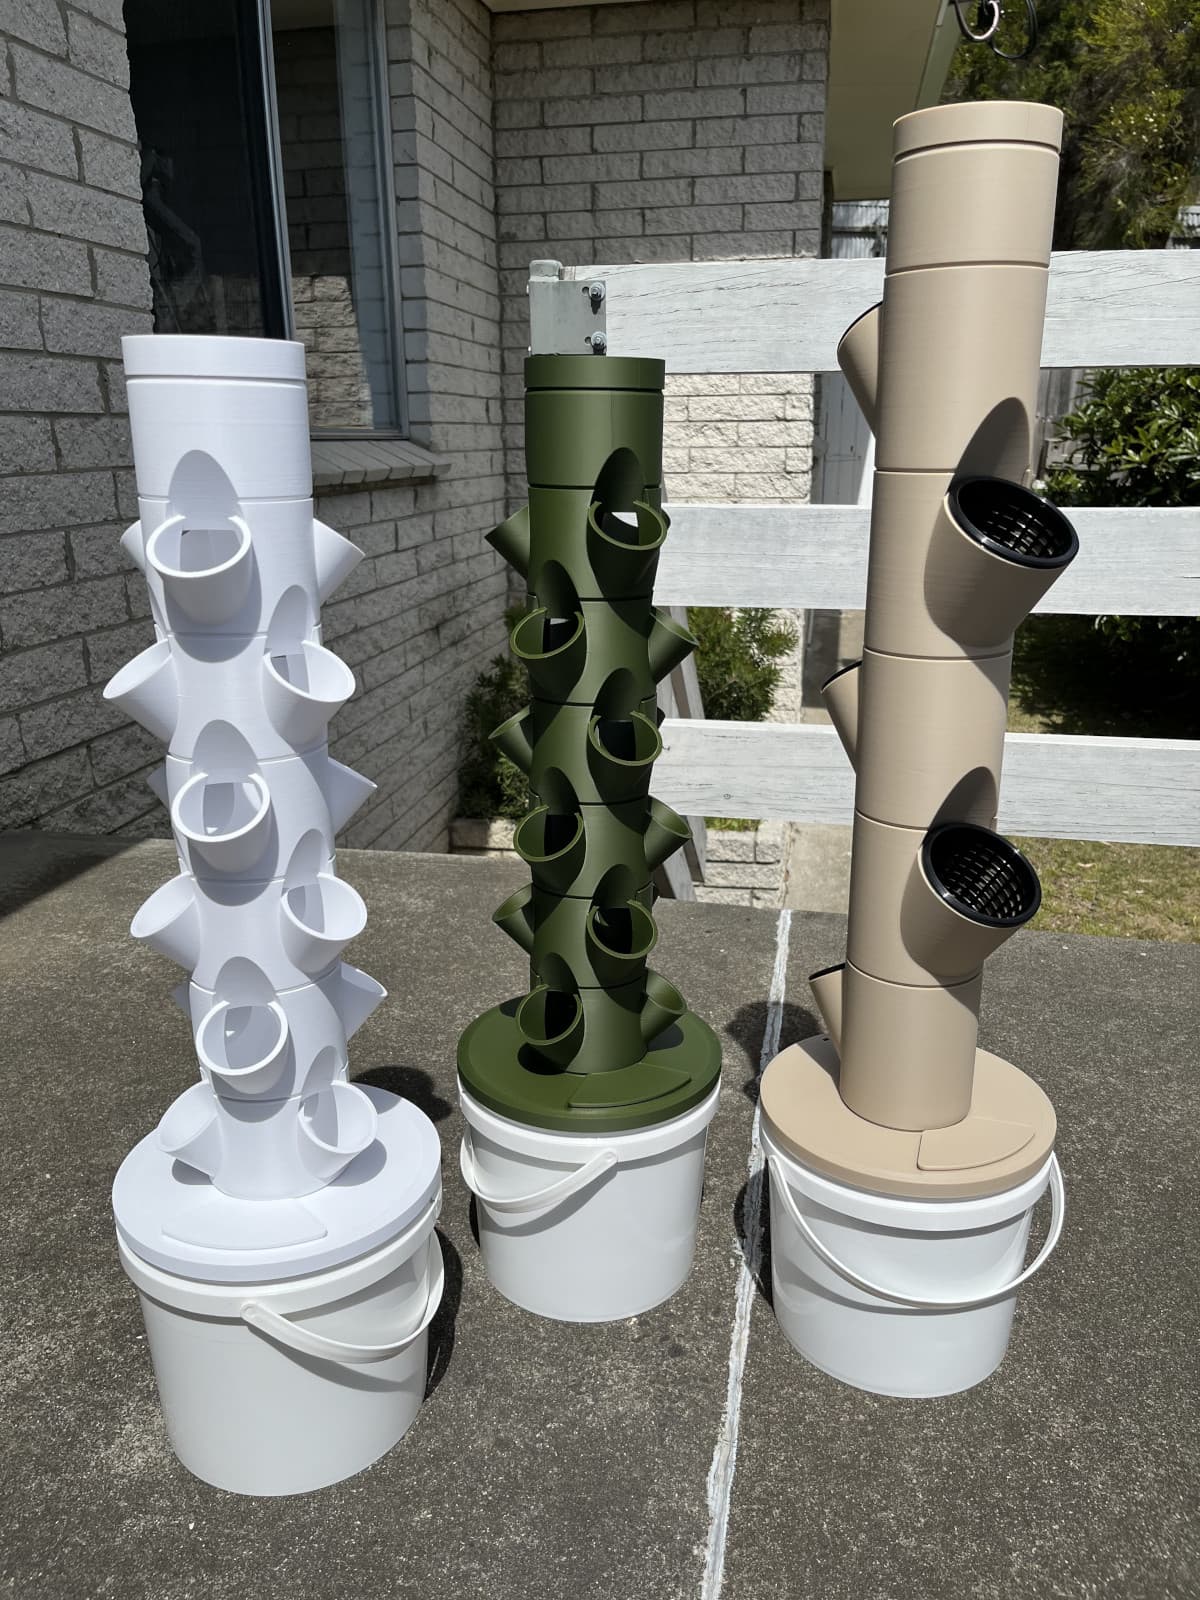
Dani's Miniature Grow Towers

BIG Moon Lamp 200mm High Res E14 Ikea Strala

Modular Wall Light
.png&w=3840&q=75)
Sunflower Lamp

Mushroom lamp “Amanita Muscaria”

Umea - a standing lamp in boho style
