


.png&w=256&q=75)
Irwin Clamp Desk Press
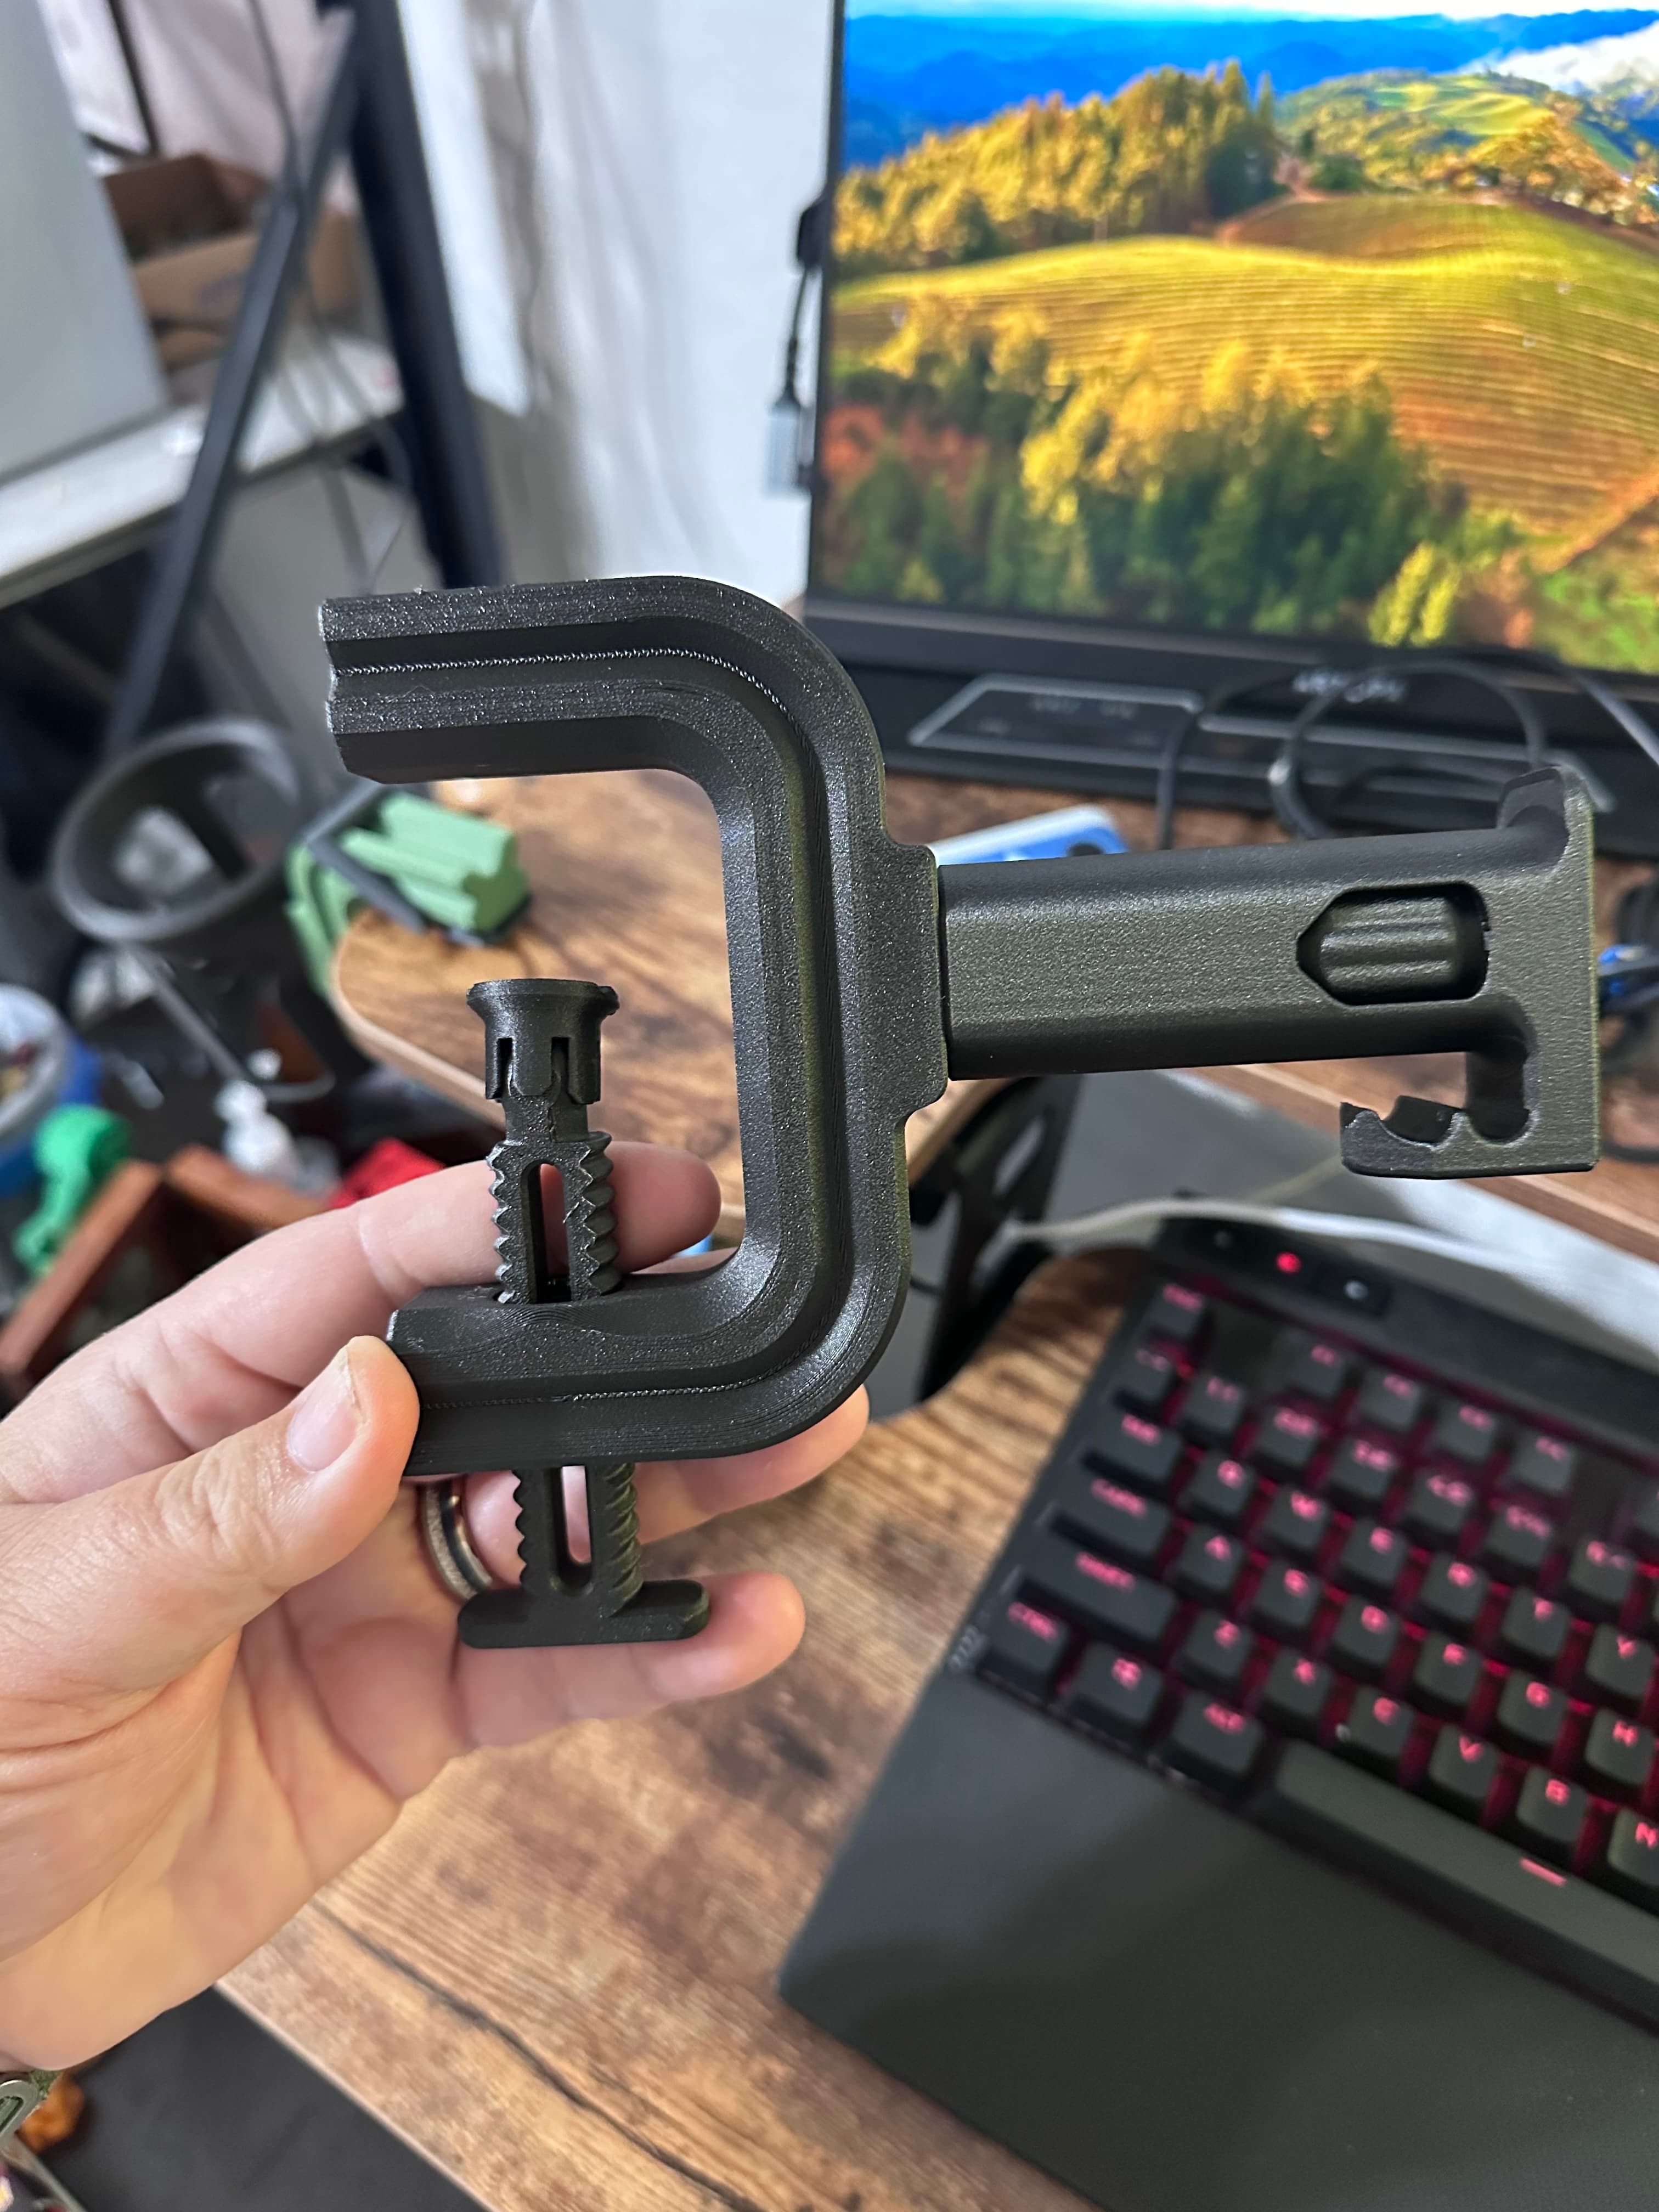
For the past year, I have been using these Irwin clamps to hold two things together that I needed to glue. Almost always, they are these ¼-20 screws and a 3D printed part. I would always just lay the clamp down on the desk, but I don't have a lot of space and it always took up too much of it. So I designed this base that the clamp could be inserted into and screwed in, so the clamp could sit up straight and stand upright on it's own.
If you want to see a few of the short videos I made about the design process, see here.
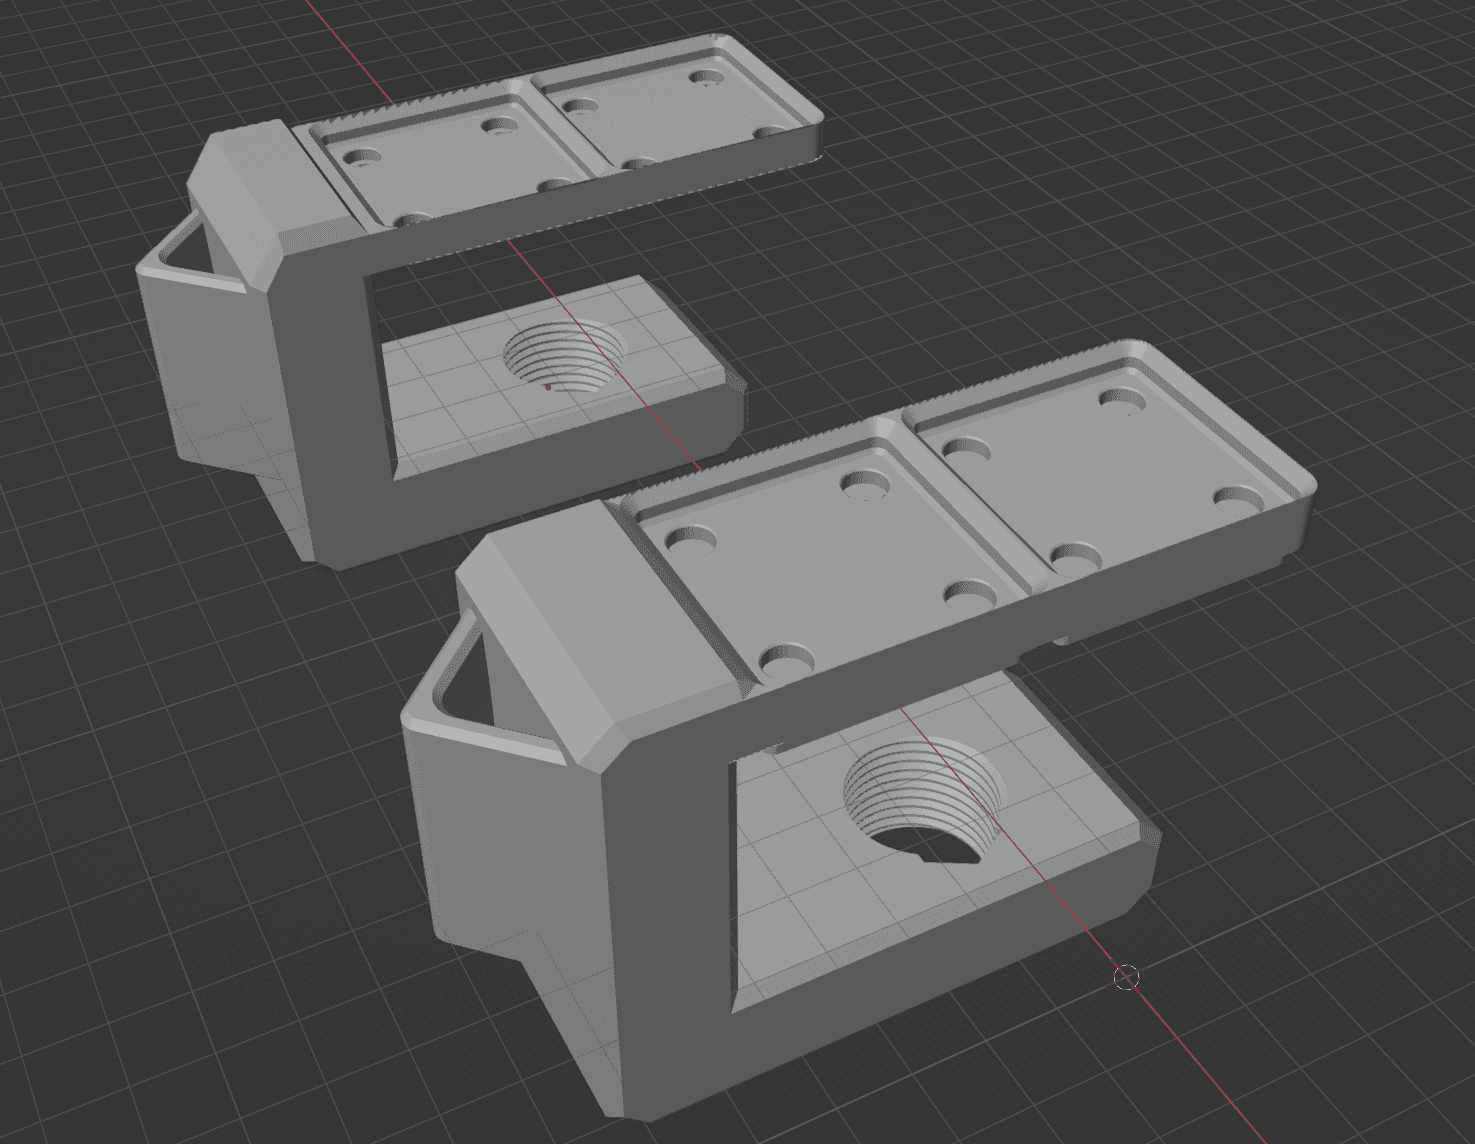
The original design, “modular base”, had a dovetail slot in the top, so if you wanted to design your own platform or jig to make whatever you were gluing easier to work with, you could. I left a spot on the side for a heat insert, so you could slide in different attachments and screw them into place. Please be advised that I designed this, but never ended up printing it myself to test tolerances and fit. I would recommend double checking this before you go and print the whole thing or print the standard base instead. The 1 issue with this design is because of the clearance needed for the dovetail, the clamp doesn't meet the surface when it's all the way down. Which is what lead me to the second design.
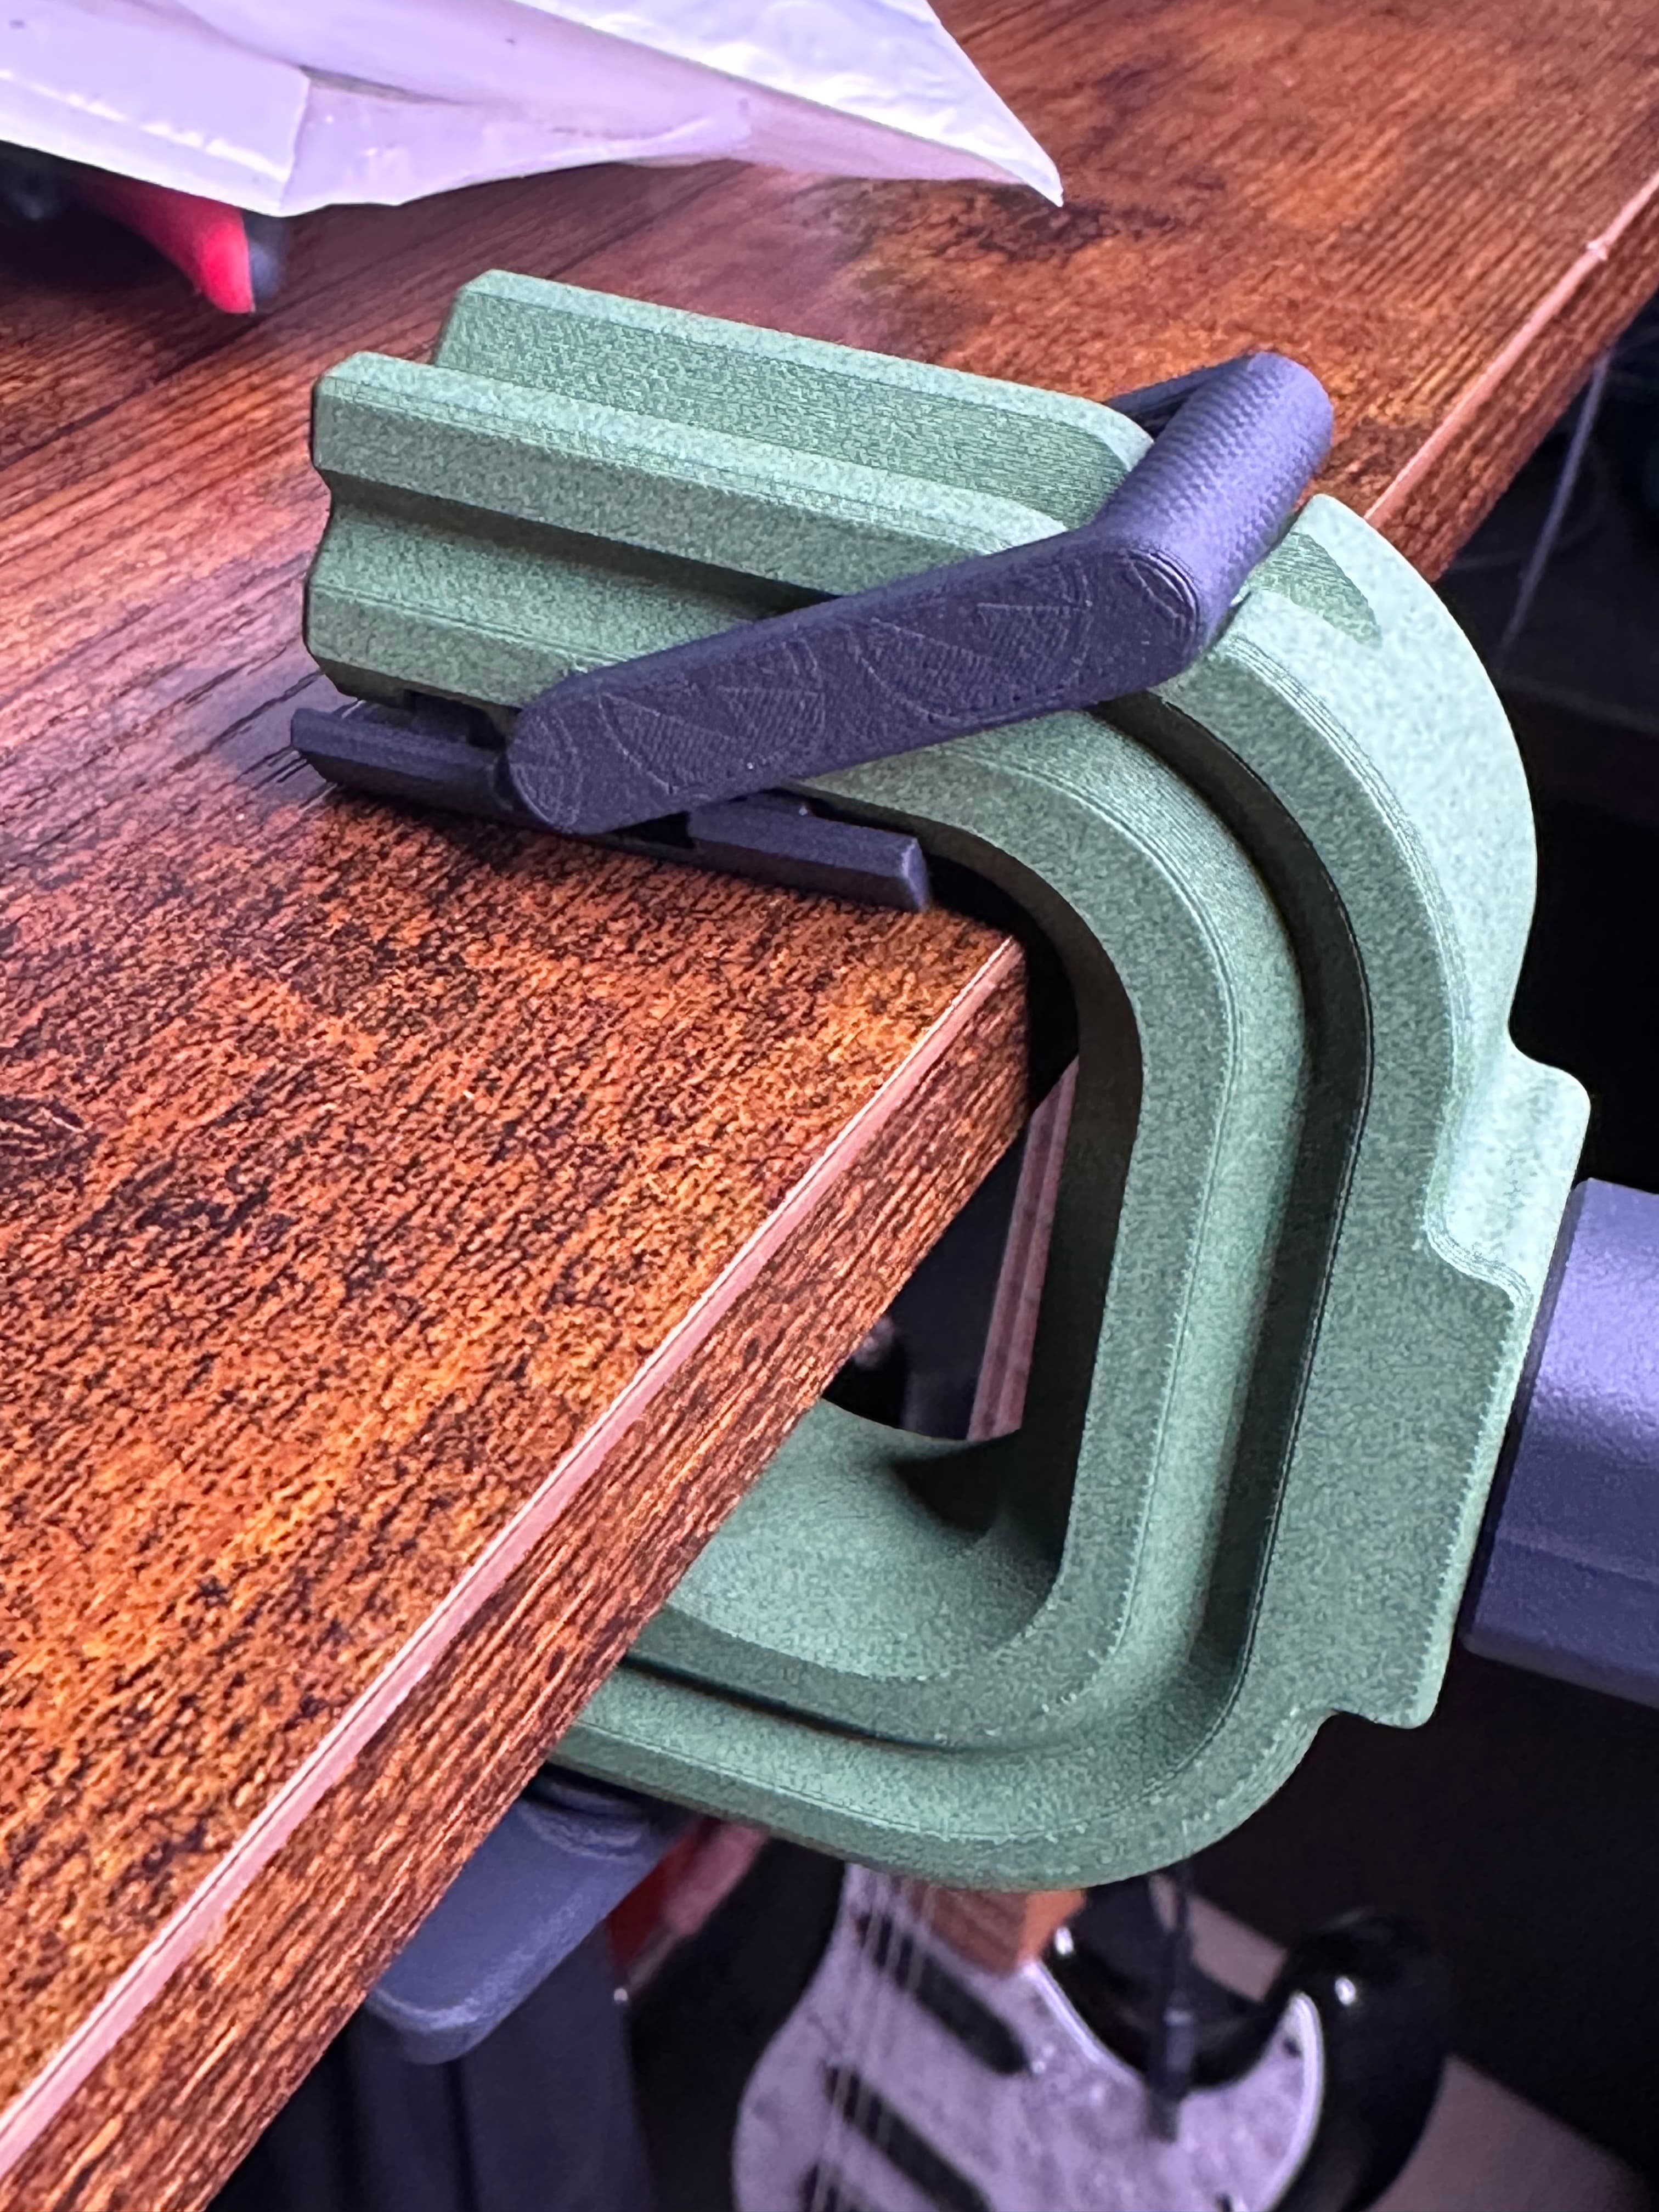
The “standard” main base just has a much taller base, so when the clamp is all the way down, it meets the base. I didn't really like how much more filament was going to be needed to make this happen, which is why I included a variation of the standard base called “skinny”. That's the one in the pictures.
Parts needed: I used socket head screws for mine but use whatever you want!
- x1 m4 x 20mm screw
- x1 m4 x nut
- x1 m4 washer (optional)
- x1 m2 x 20mm screw
- x1 m2 x nut
- x1 m2 washer (optional)
I've included the .STEP files for everything in case you wanted to tweak this to fit your work. I printed mine with Elegoo Glass Fiber PETG and it is extremely solid. I clamped this as hard as I could and it did not even make a creaking sound. Very impressed. Love that filament.
Irwin Clamp Desk Press
Tall Desk Clamp Modular System - Spool Holder, Cup Holder, Headphone Stand all in one desk clamp

desk clamp trash bin.3mf

Cup Can Holder desk clamp

Desk Clamp with bolt

Variable desk clamp for deskabilty setups v1.3mf

updated desk clamp trash can v2.stl

Speaker Stands - Desk Clamp Mounts!

Headphone clamp Desk Mount hook

Tray for desk clamps v1.stl

Desk Clamp Headphone Stand

Phone Holder Desk Clamp

Desk clamp tray
Desk Clamp with Gridfinity Top

pegs extender for vairiable desk clamps v1.3mf

Clamp on desk cup holder for Stanley/Yeti tumblers

Desk Clamp Headphone Holder

Base for Irwin Clamp Pads

Desk clamp peg board v1.3mf
DESK CLAMP - SPOOL HOLDER - MODULAR SYSTEM
