Magnetic Small Parts Tray.3mf
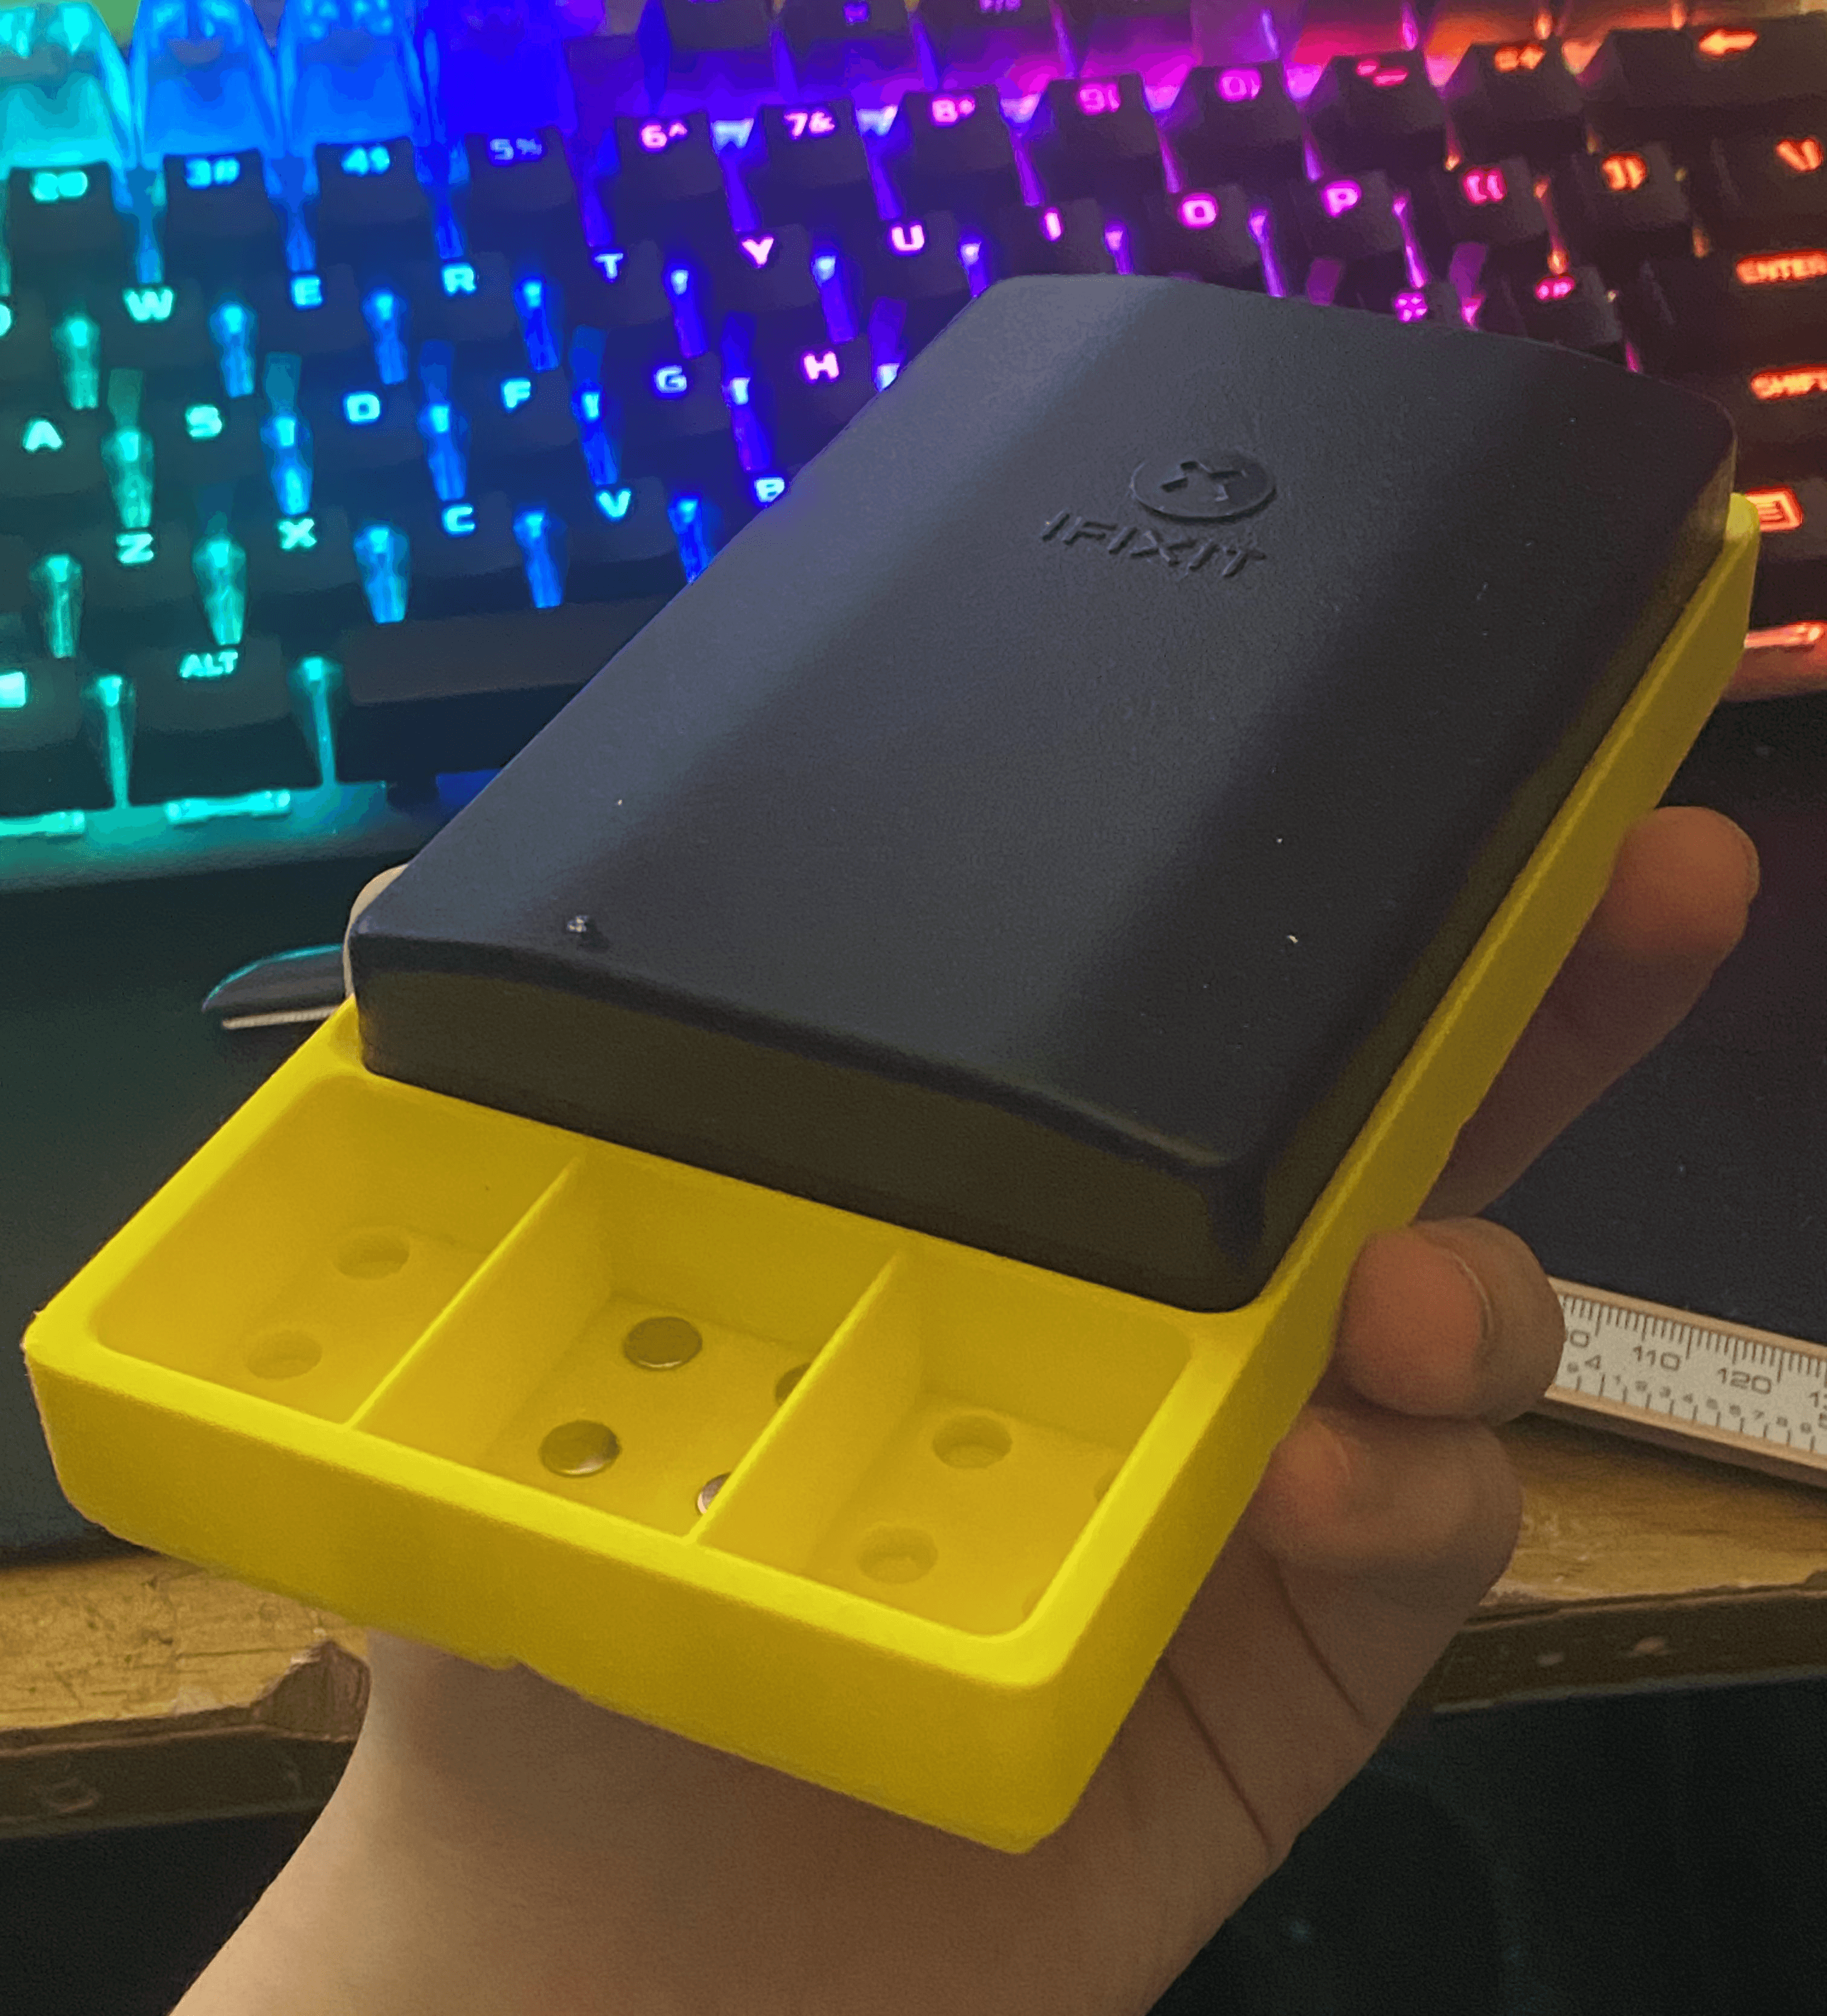
Description 120mm Magnetic Small Parts Tray with Non-Skid TPU Base
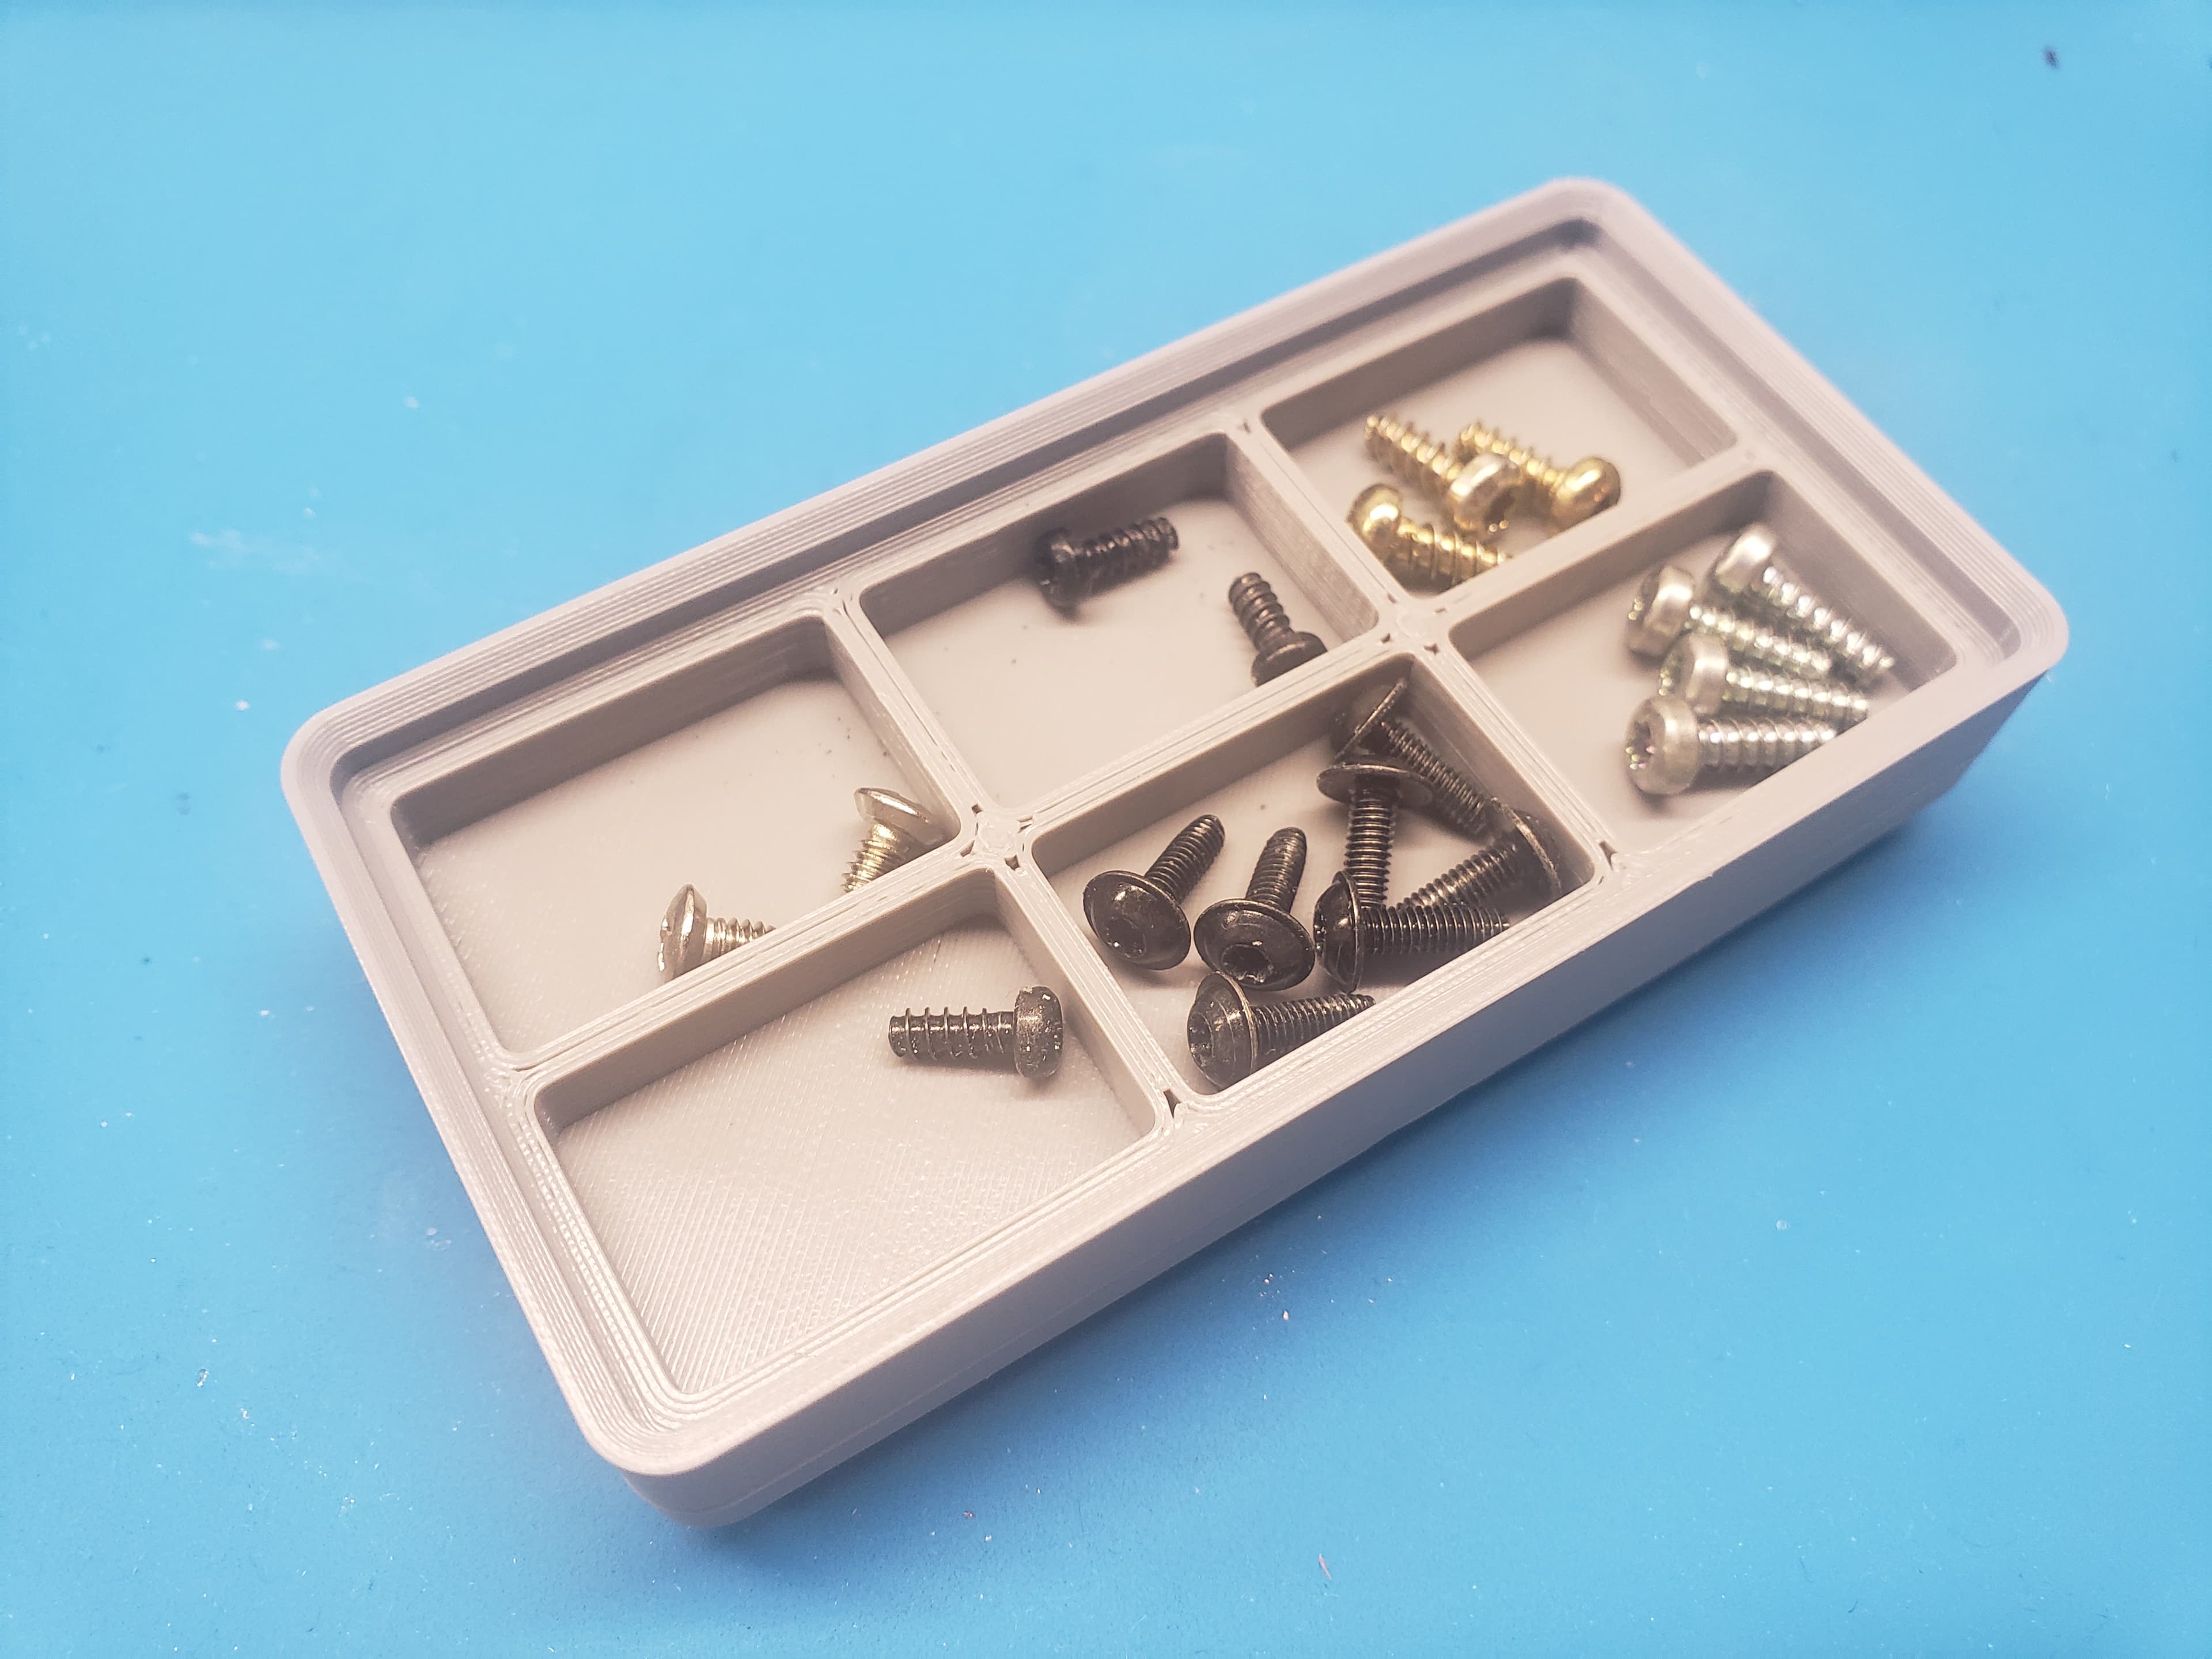
There are lots of 3D printed small parts trays available, but I didn't like any of them so I made my own. This one has the following features:
- It is just the right size (120cm/4-inches)
- It is squarish with rounded corners (so you can sit a couple of them side by side if you want)
- Corners can be used for pouring parts into containers
- It has a flat, stable, skid-resistant (TPU) base
- It has magnets evenly distributed about the full bottom
- It has curved sides for easy removal of small parts/screws by dragging them with your fingers
Versions American Version - This magnetic small parts tray uses nine ½" x 1/8" (12.7mm x 3.175mm) magnets.
Metric Version - This version uses nine 12mm x 3mm magnets.
Parts The magnetic small parts tray comprises a tray printed from PLA Basic, and a non-skid base printed from TPU. The TPU base is set to print at 100% infill.
Assembly Glue the each of the magnets in place with a small drop of superglue.
Glue the TPU base to the tray using superglue. Be especially careful with the edges and corners. It's difficult to get the amount of superglue just right. Too much glue will run over onto the tray and make it look ugly with white superglue marks that are very difficult to remove. Too little glue will cause the edges and/or corners to separate from the tray.
Magnetic Small Parts Tray.3mf

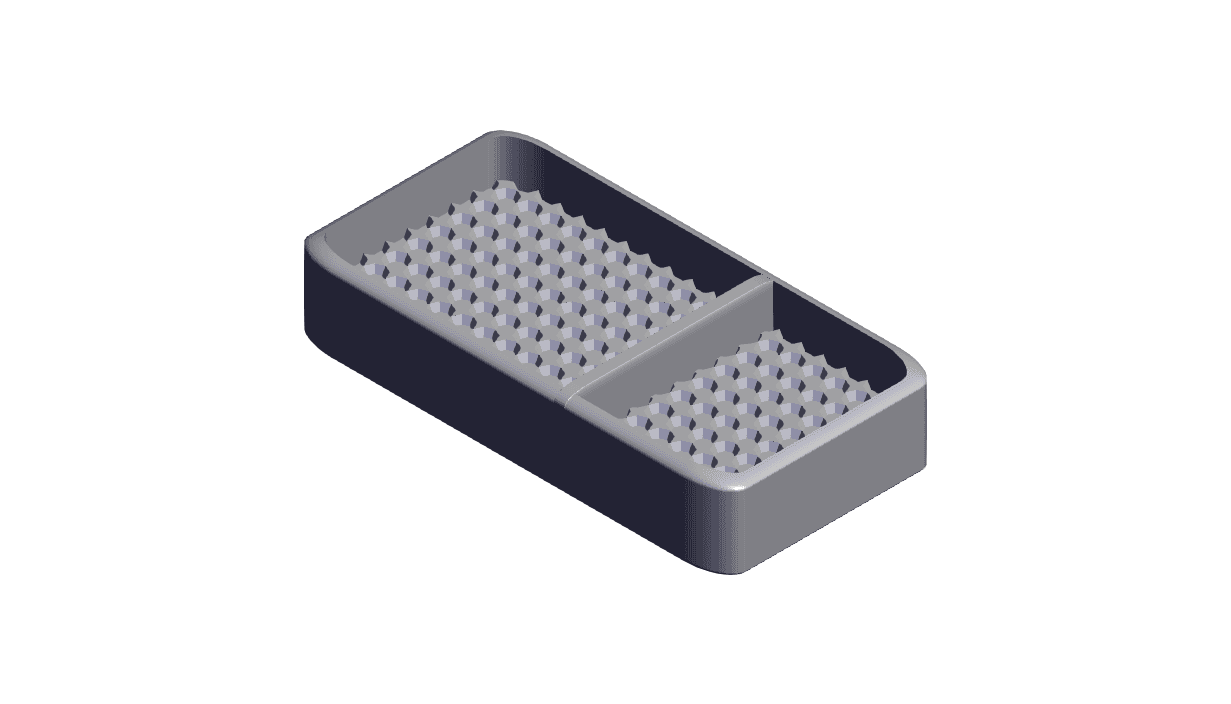
Bandaid Organizer.3mf

Espresso Coffee Basket Holder

Gridfinity 1x1 Hex Bit Holder-Torx-v2.3mf
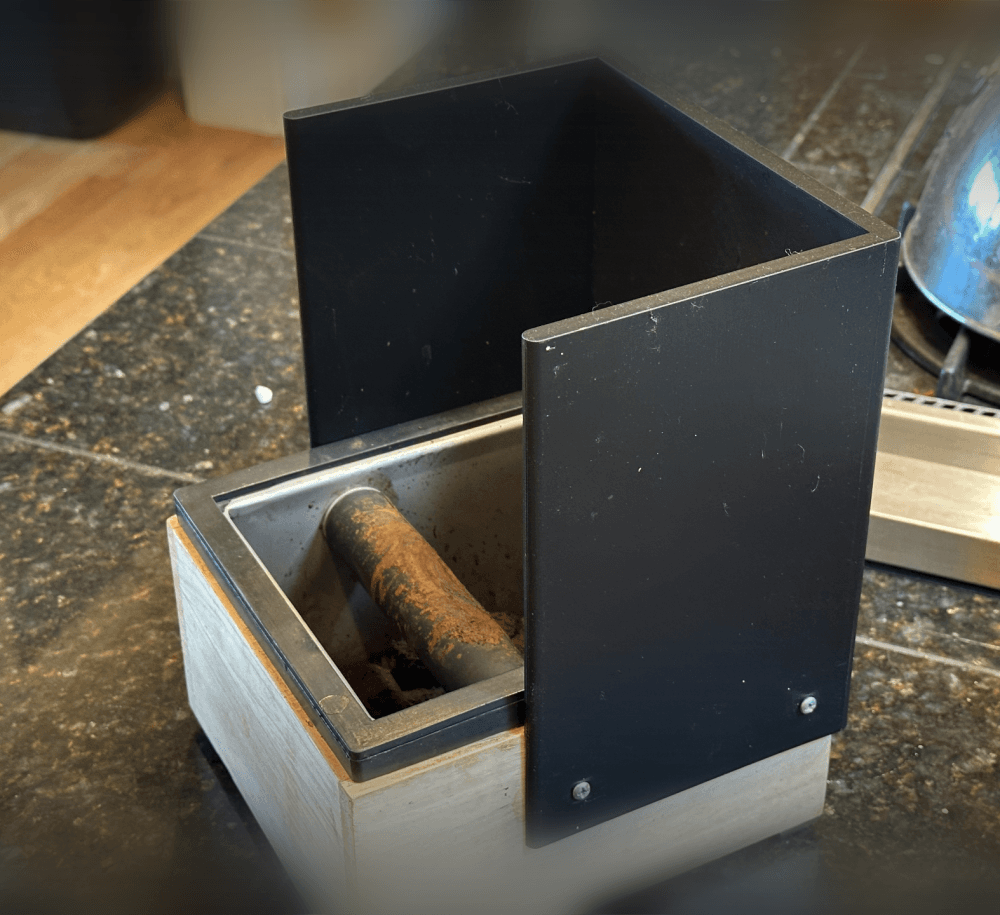
Coffee Knock Box Shield

Gravity-Fed Pill and Tablet Dispensers

FruitFly Trap - Lid for 8oz US Mason Jar

Akro-Mils Drawers - Gridfinity 50mm

Modular Rack System for 17ml Model Paints

RC Harbour Tugboat-1:20 scale (1.2 m long)-Functional Parts.3mf

MAGNETIC TRAFFIC CONES - ORIGINAL MAGNETS - PART 3/4

Small Parts Counting/Sorting Kit
Small Parts Tray.stl

Small Parts Bin Separator v2.3mf

Small Parts Tray

Stackable small parts bin with color inserts

Small Parts Tray with slide in cover
Ifixit moray gridfinity (2x4) with small parts storage
Parametric Gridfinity Small Parts Containment Tray

Gridfinity Magnetic Parts Prison