


.JPG&w=256&q=75)


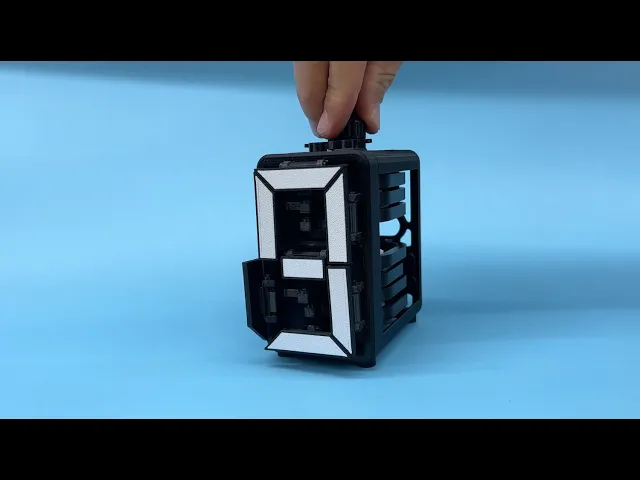
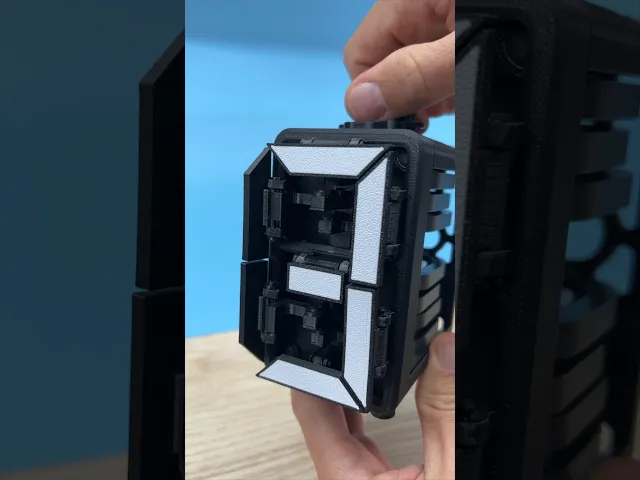
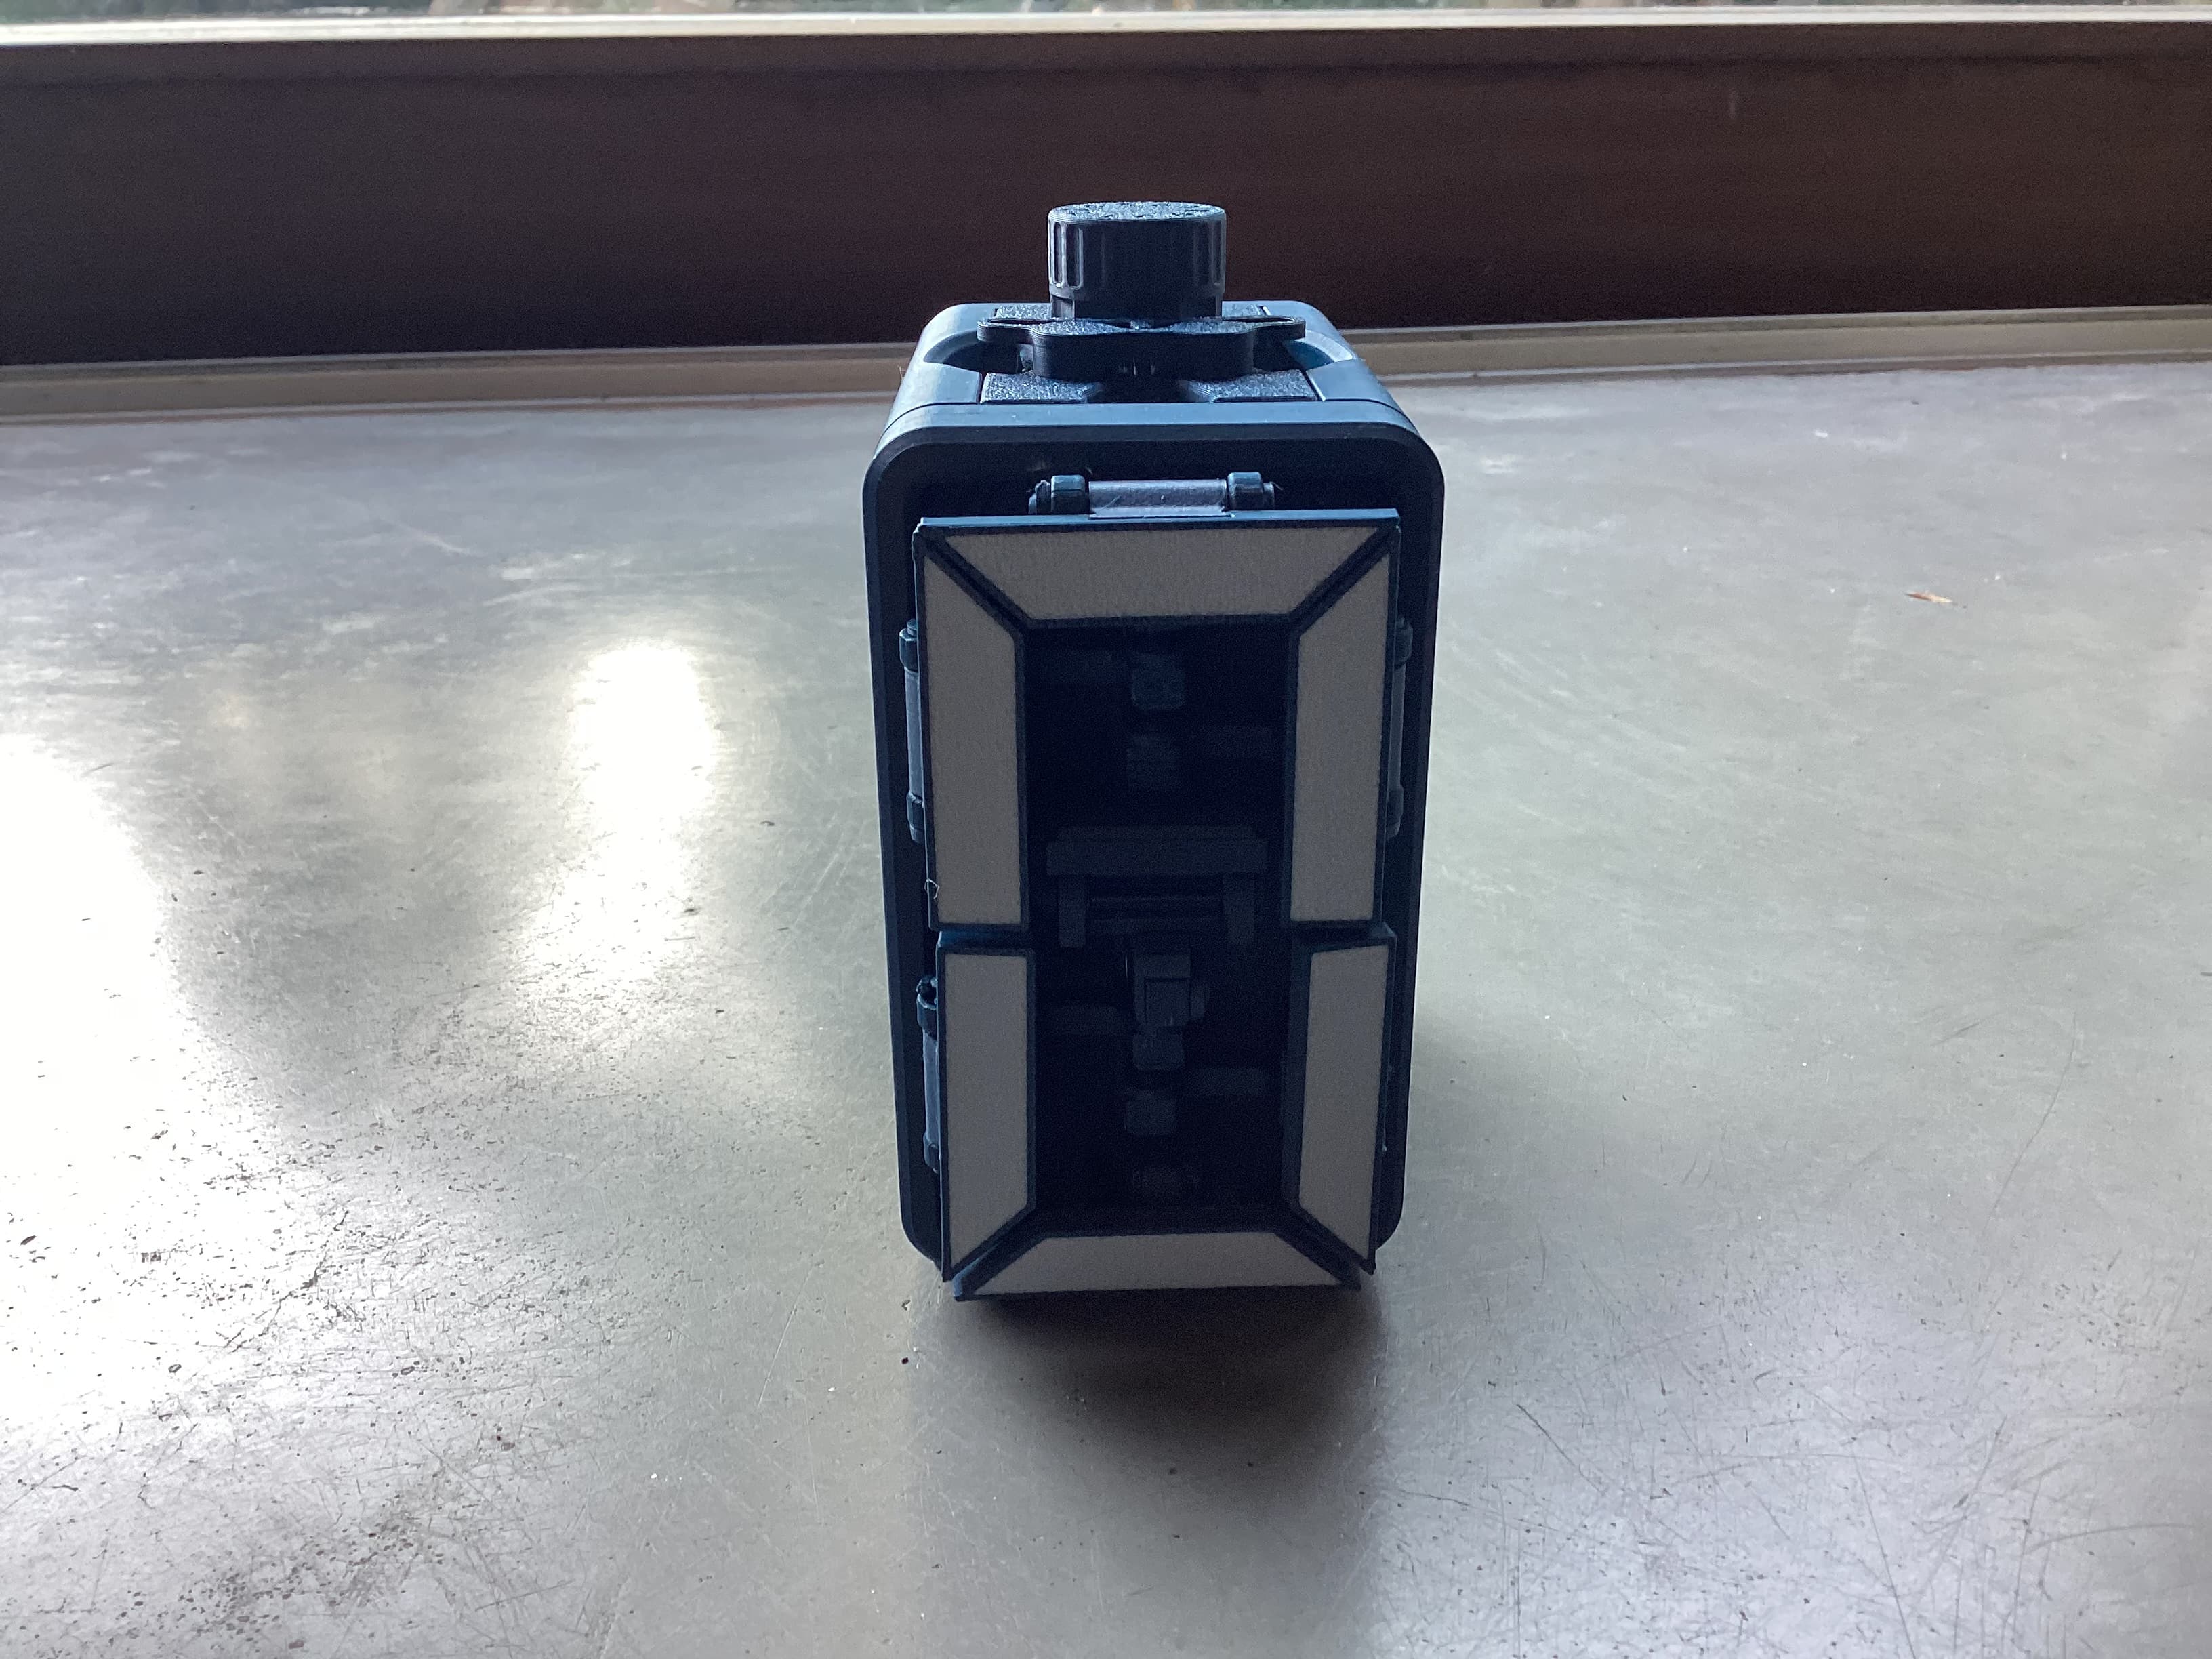
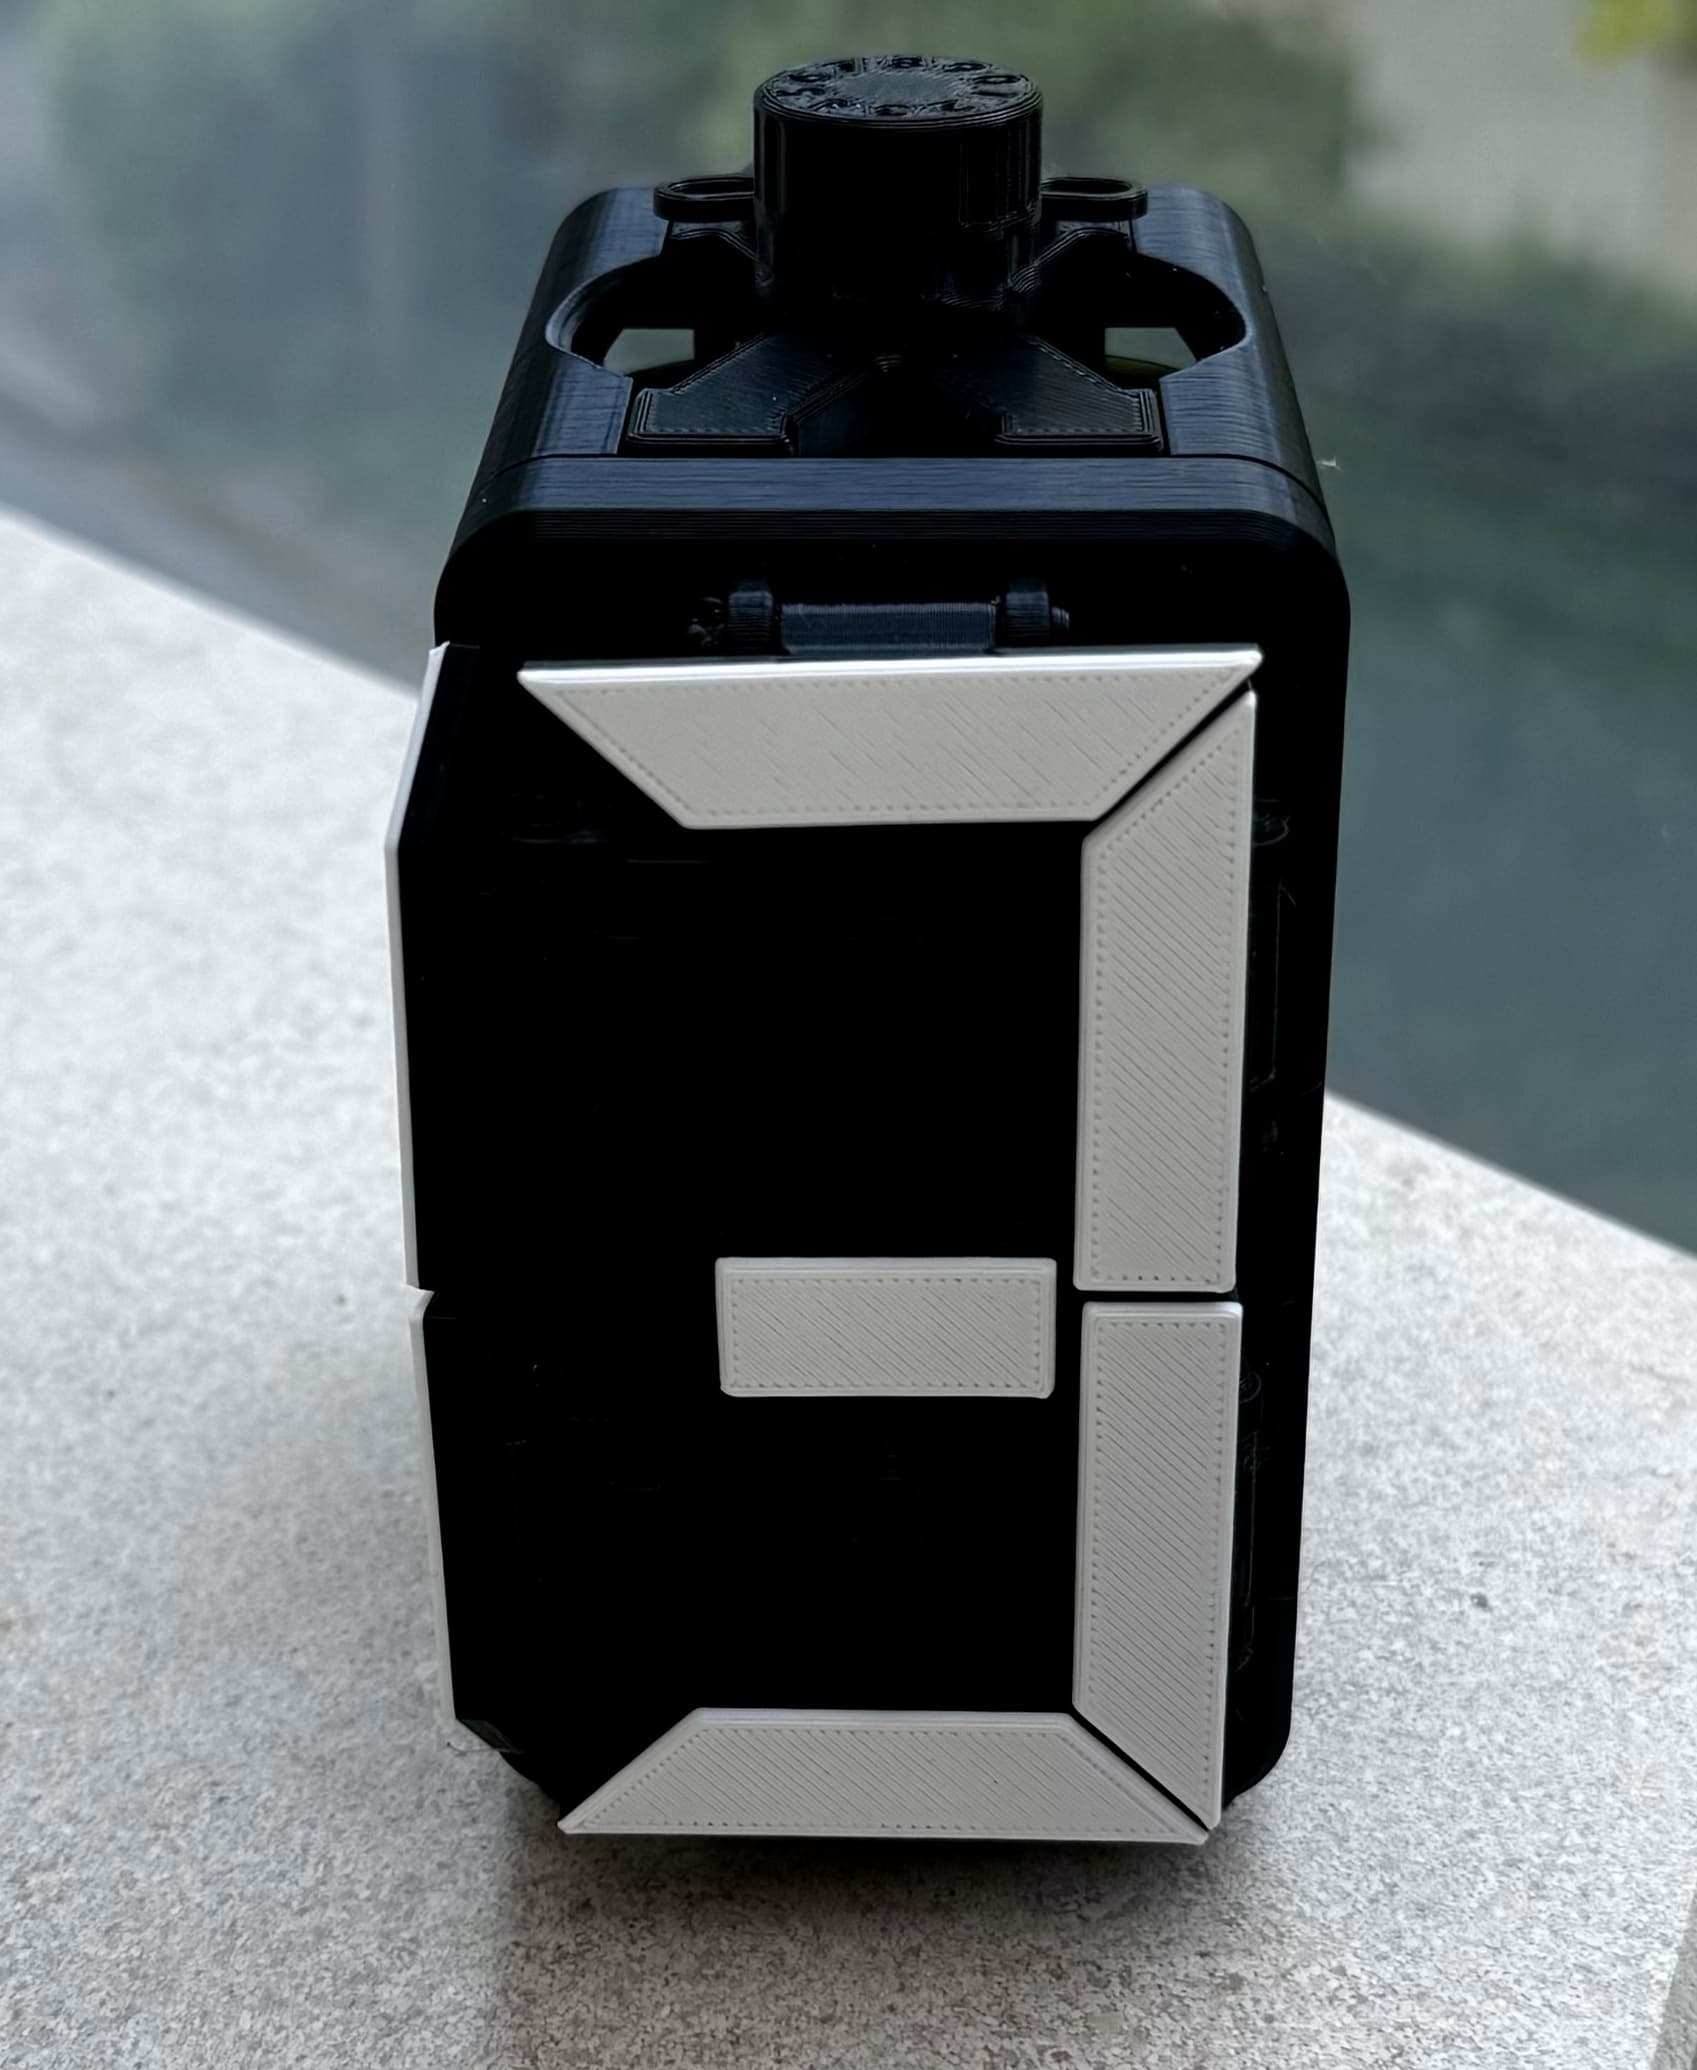
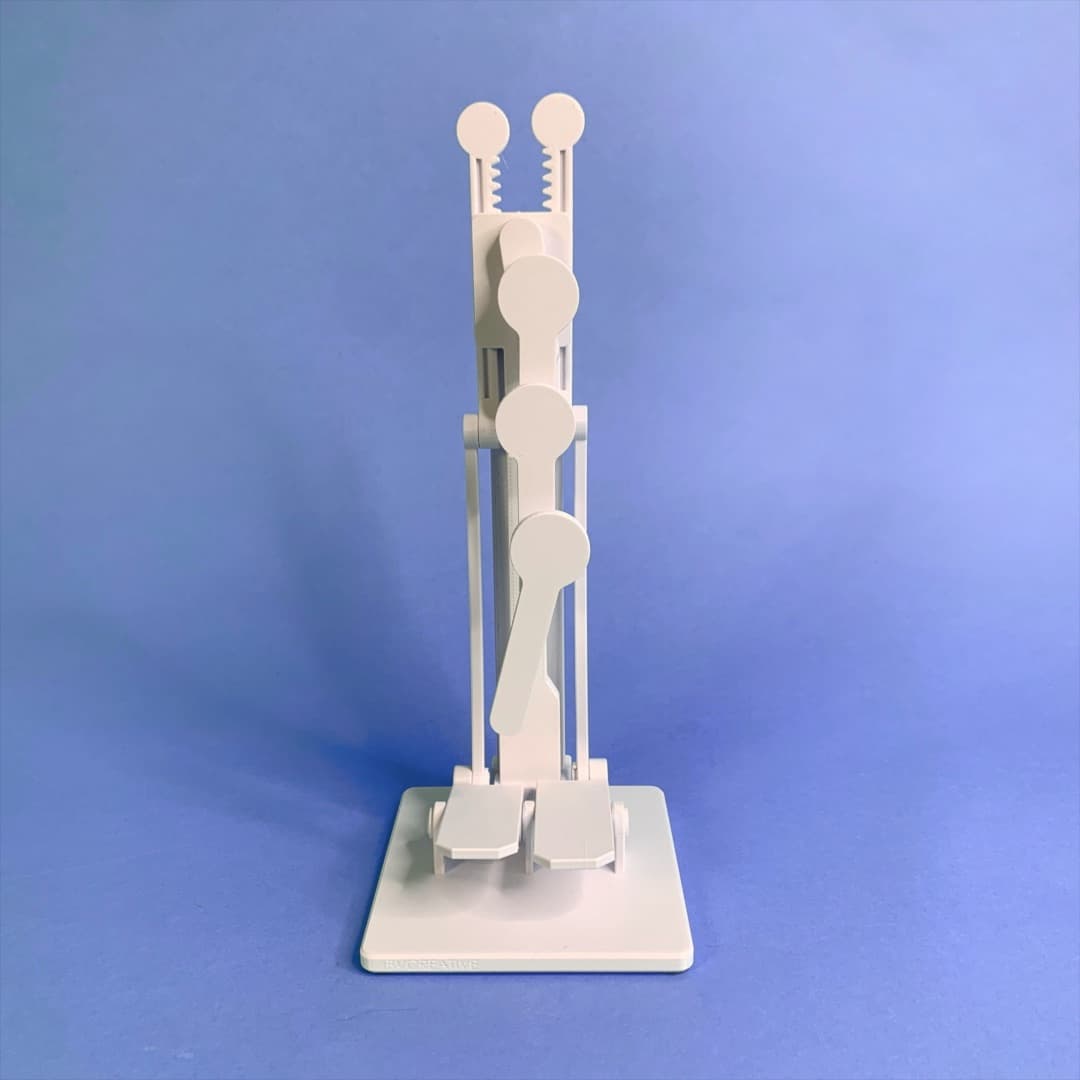
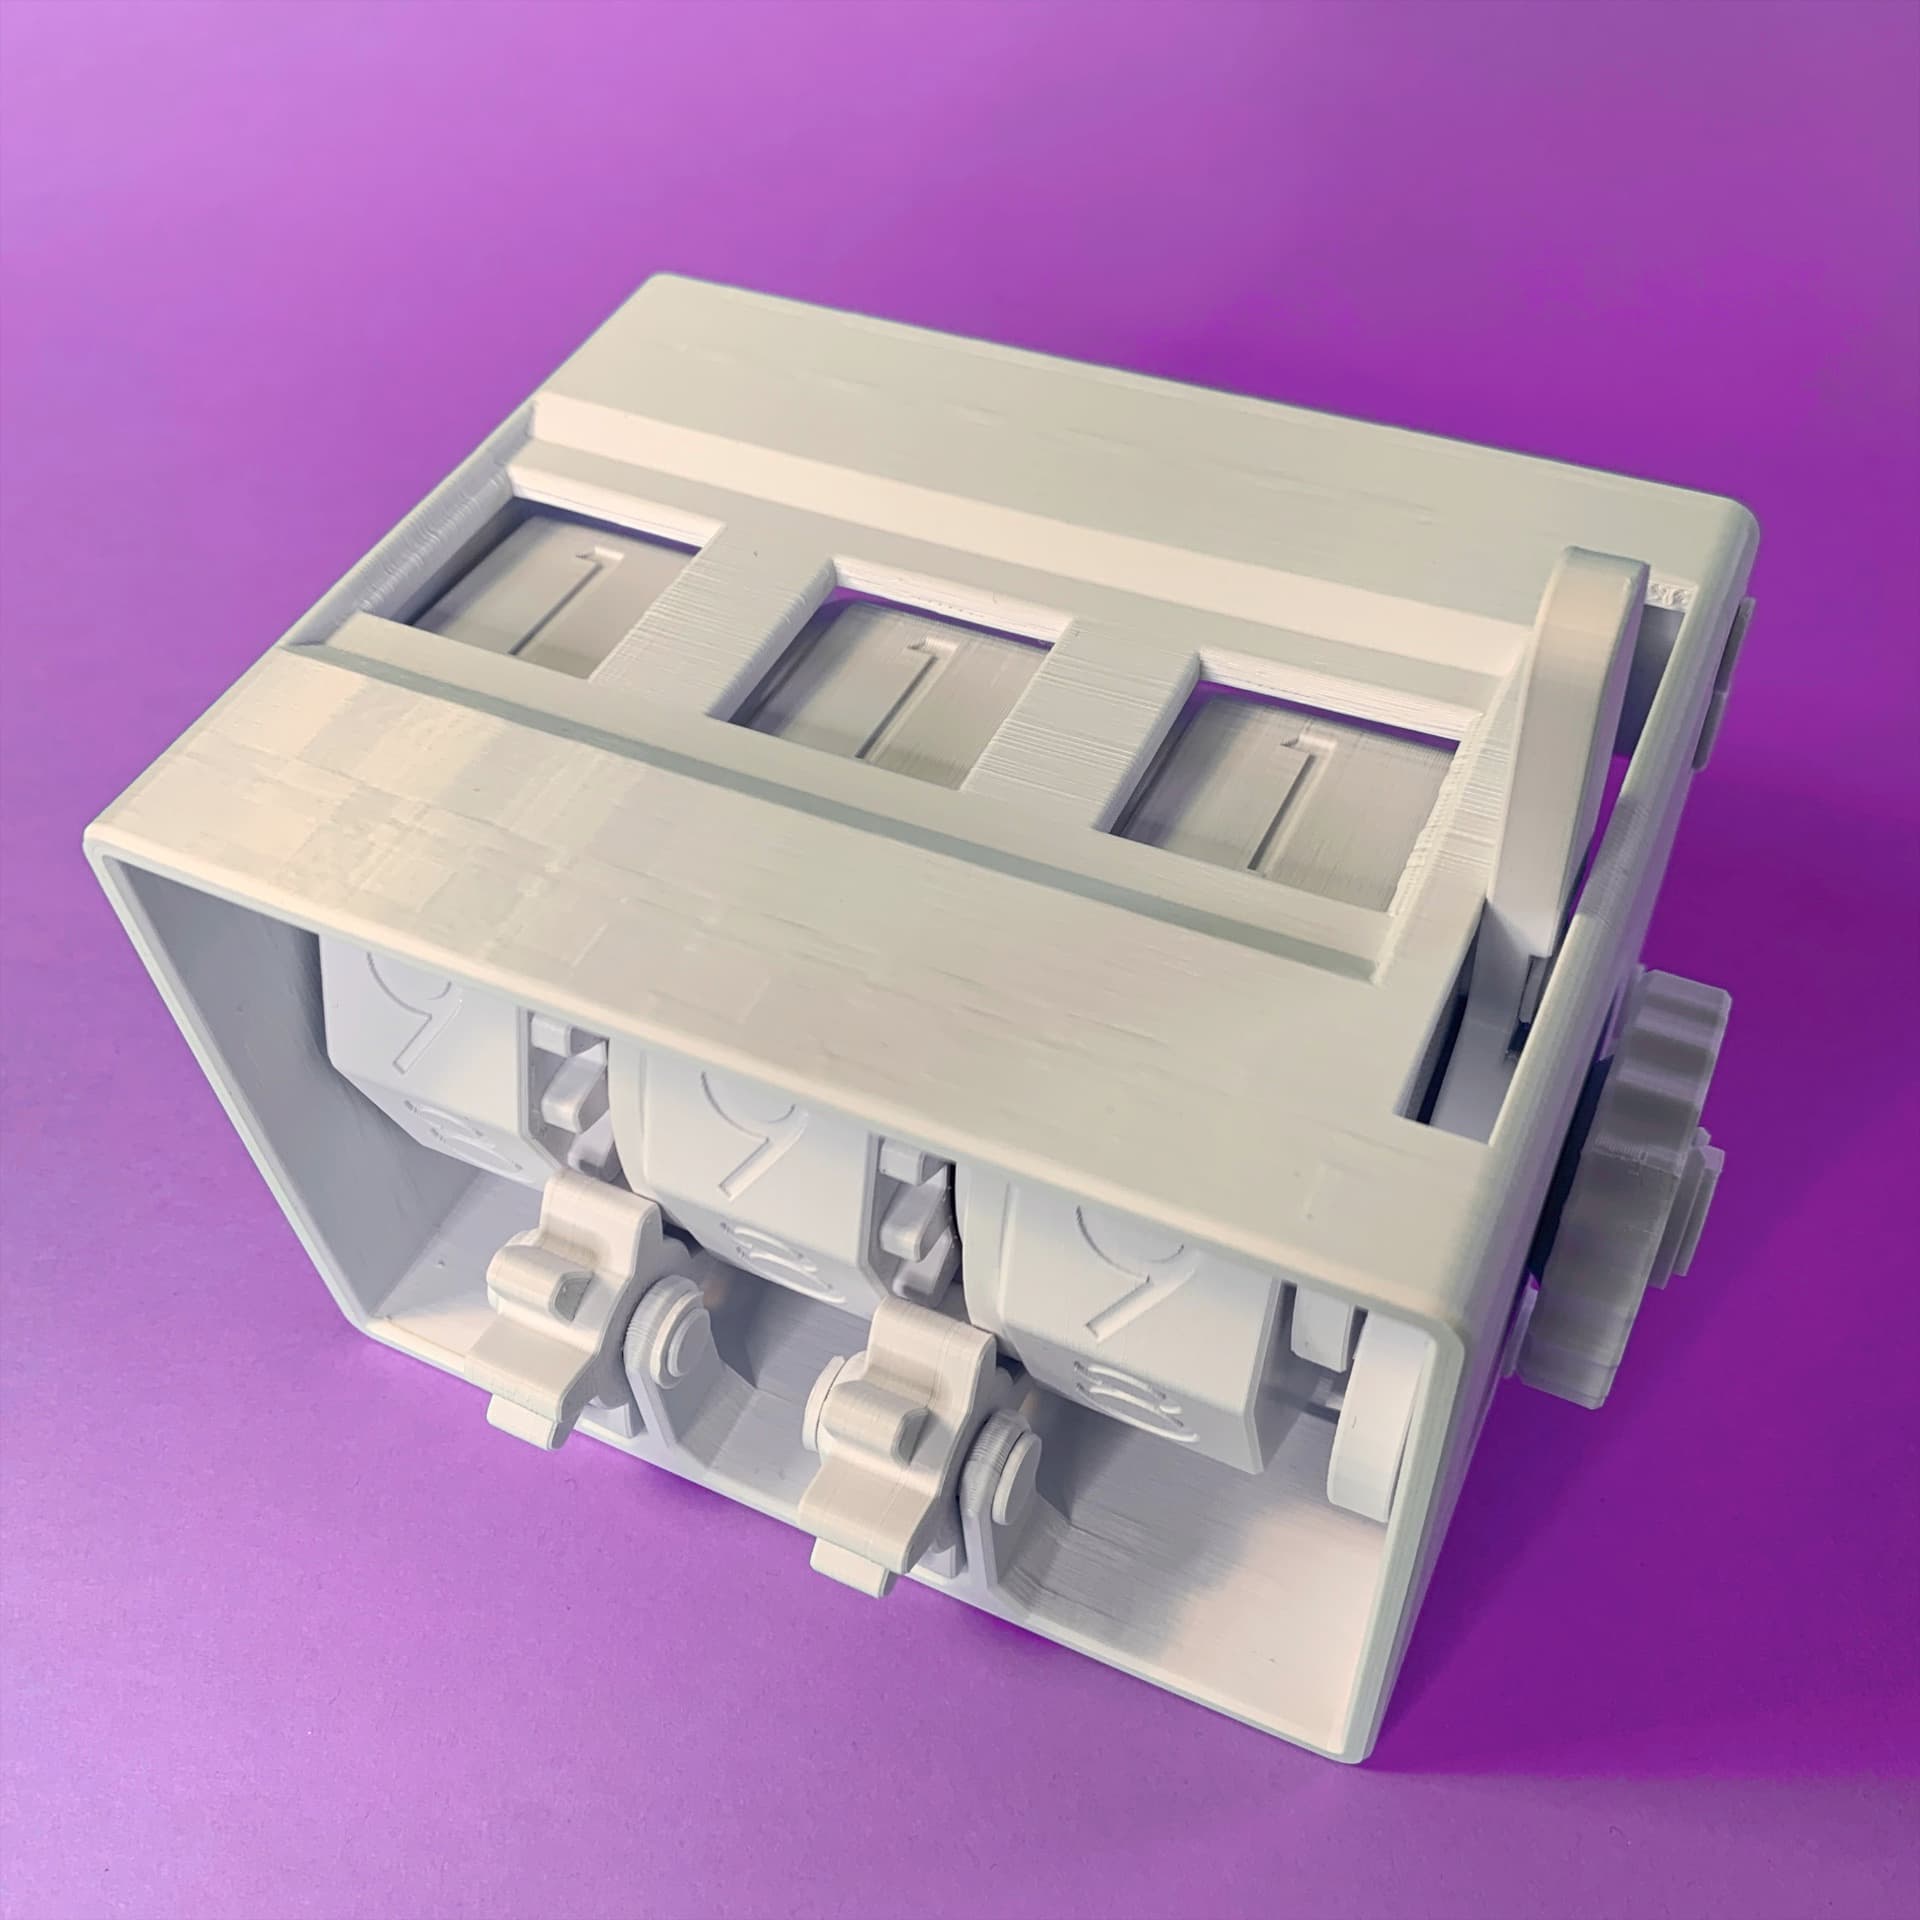
Rack Driven 7 Segment Display
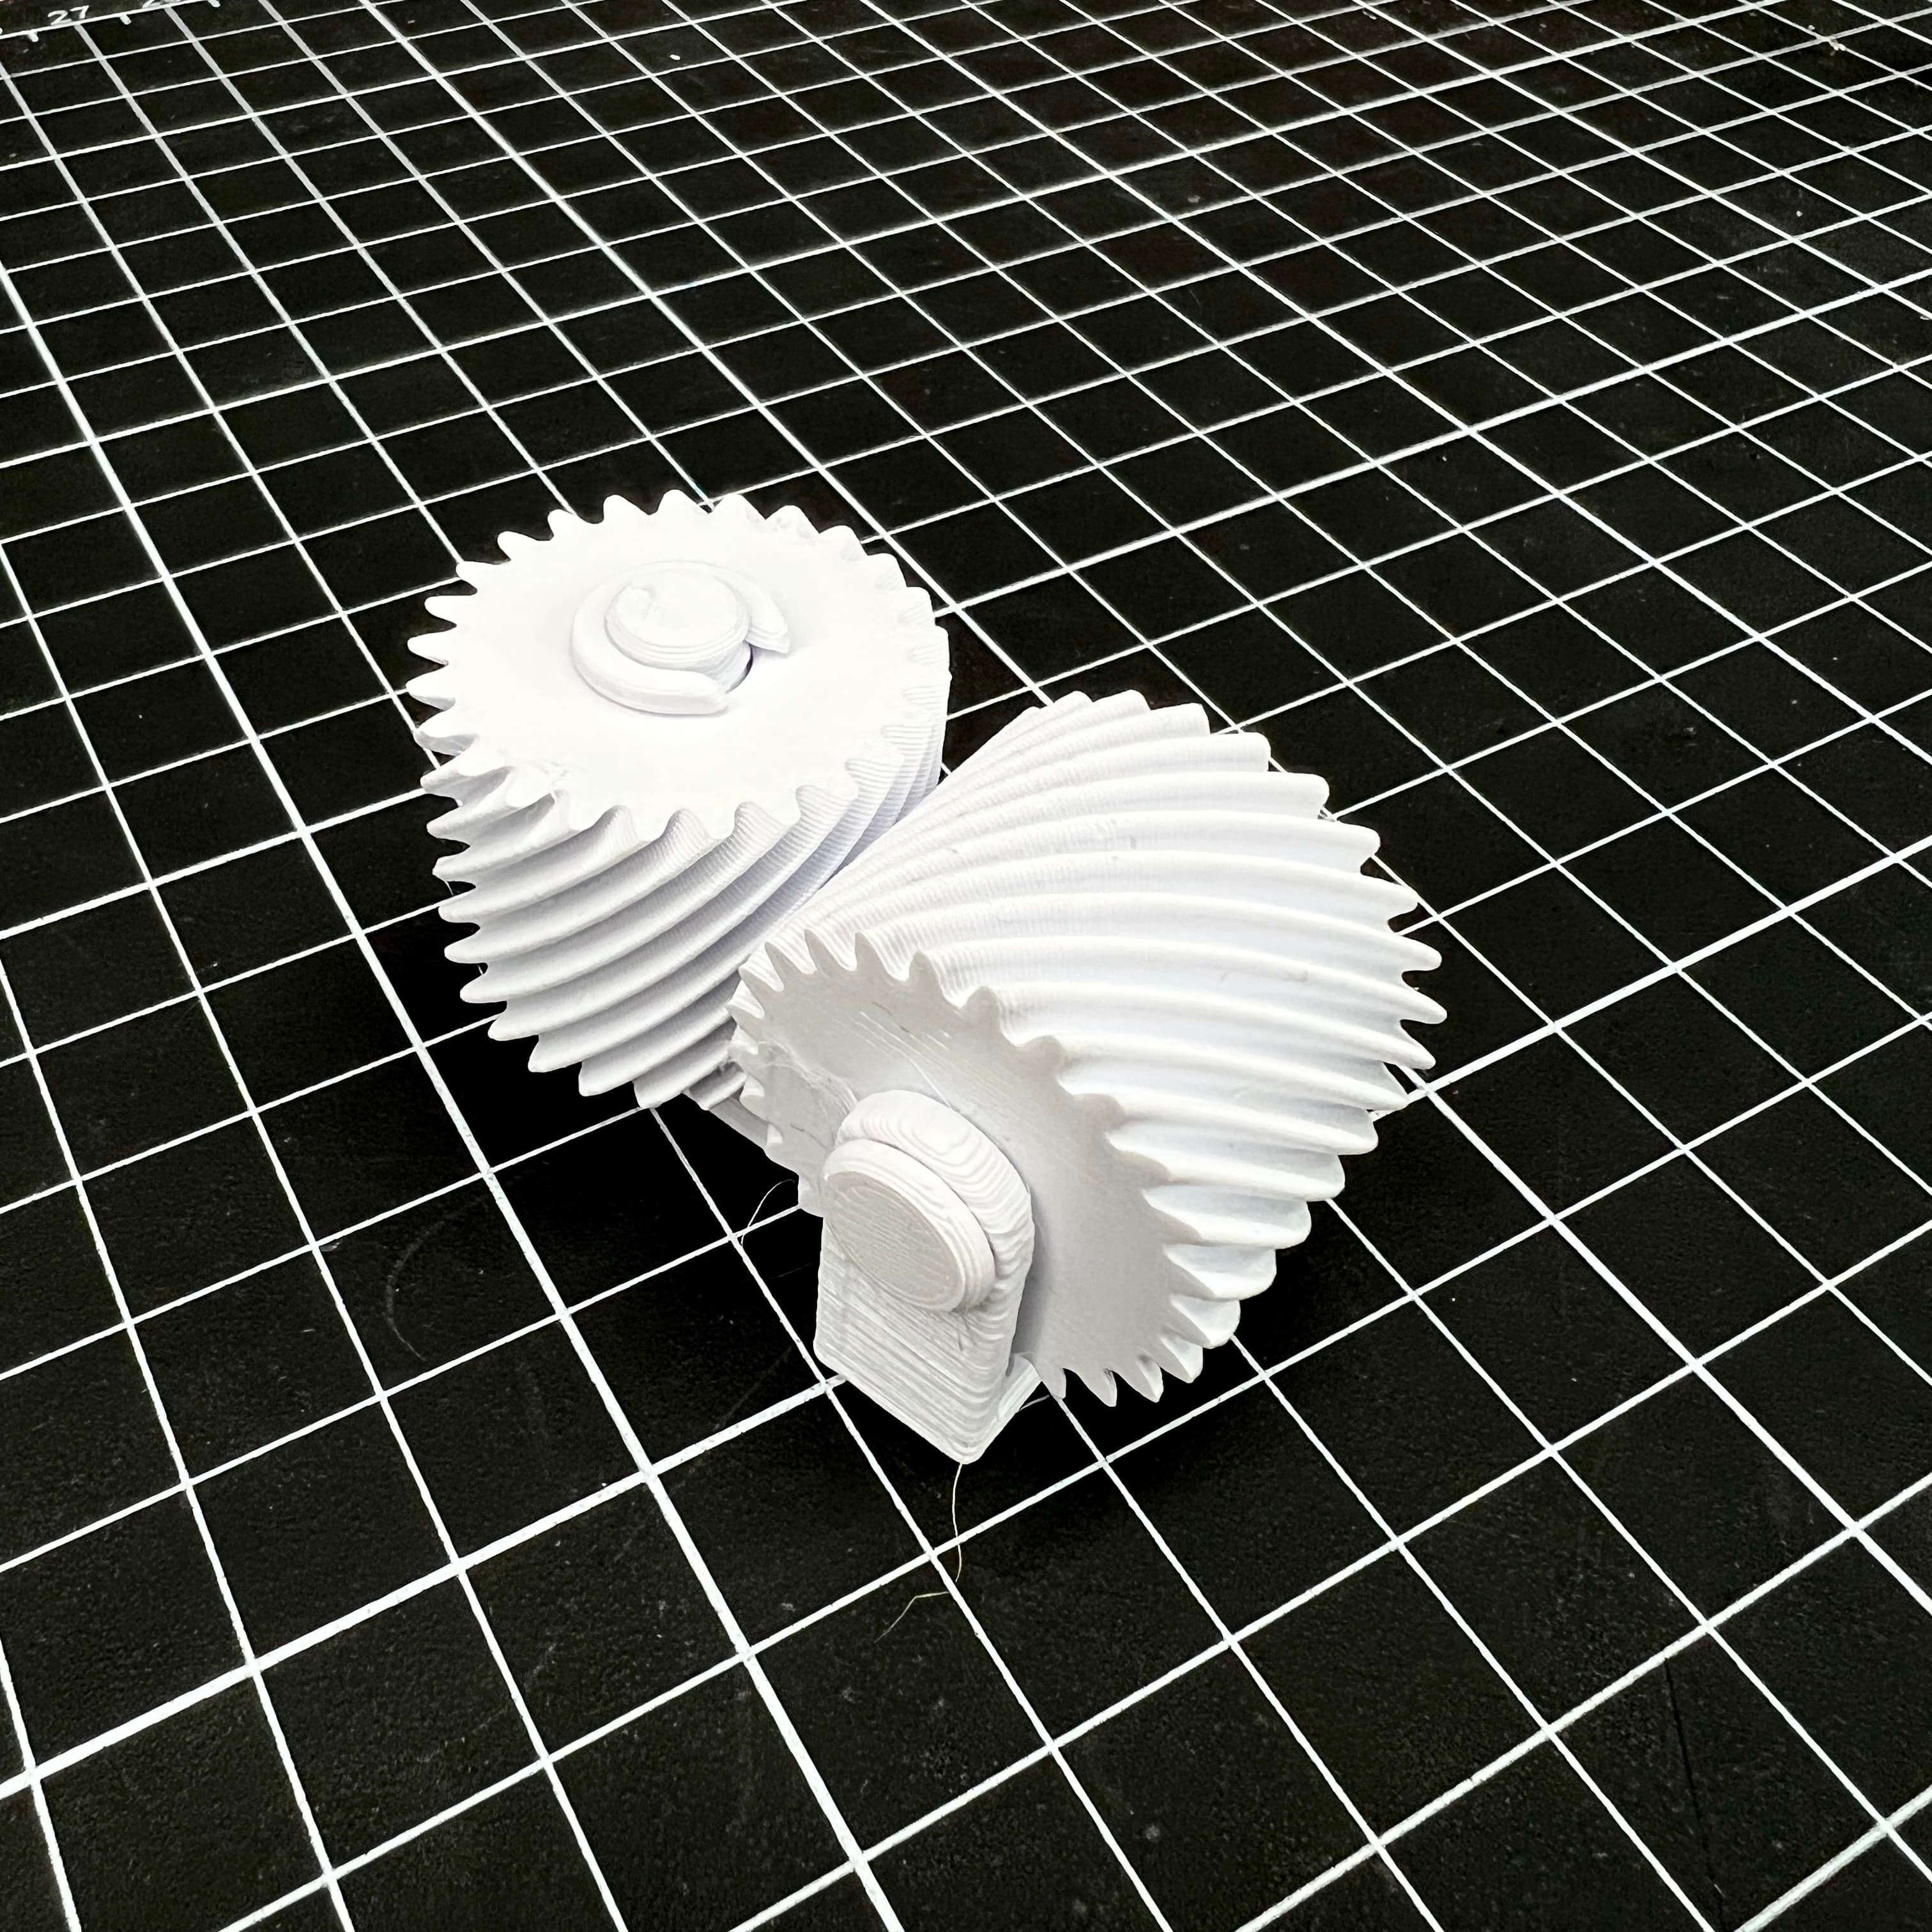
Is it digital, or is it analog? Well it's some combination of the two! The rack driven 7 segment display is a fully 3D printed mechanical desk piece that is equal parts satisfying and bewildering. Turn the top dial to rotate a series of 14 cams which push on a rack and pinion system to reveal a number. Operate is manually, or add an optional servo motor to the back and have the thing run on it's own.
You could even throw 4 of them side by side to create a clock! Add another two and get the seconds. Give one a randomized number generator and it becomes a dice! Endless possibilities!
The STL File:
Prints on all standard 3d printers, requires no additional tools or assembly, and assembles in seconds. For servo attachment (not necessary), it used these servos: https://geni.us/G8ArjNg
Recommended print settings: Layer Height: 0.2mm Nozzle: 0.4mm Infill: 15-18% Total Material: ~190g
Can print on any sized 3D printer.
Rack Driven 7 Segment Display

The Tipping Marble Clock
The Triple Pendulum Chaos Creator

The Walking Bob Escapement
The Mechanical Counter

Comical Extending Boxing Glove

The Heli Launcher

The Gravity Well
The 3D Printed Wall Clock

Eccentric Wheel Physics Illusion

RobBob the Robot Head
The Exploding Circle

The Animation Station

The Gear Switch
Cross Gears Test Print

Eye Heart You Cam Driven Sculpture

The Rolling Ball Escapement

Horseshoe Waves Kinetic Sculpture

The Robo Baller

The Toronto Strandbeest

What a beautiful model! Congratulations to Engineezy for such a great print. It does work perfectly (working on the clock as we speak).
A few recommendations which could help those building this model (and which I would have liked to know before...)
hope this will help others have fun this is really a great model and worth any cents of it!! Again a big thanks to Jay. Still working on the clock but for those looking into this you need a 180° RG995 servo (not a 360° which could be counterintuitive as you wish you could continue to roll through numbers continuously but you have to work based on angle increases programming the servo which means you need to rewind at zero once you've reached 9).
Could you show a video making the connections and components necessary for the clock?
Are you going to / has the file here been updated with the base plates/separators for the clock version?
In case anyone else was wondering -- download file has been updated with the side-by-side baseplate, dots for the clock, and example arduino code
Could you do a video on how to program the clock you showed off in your most recent short with this, as well as where to buy the pieces.
What filament do you use as I keep having issues with the fit being too tight and smaller pieces just braking off
I realize this isn't a solution, but for what it's worth, I first printed this on an older, homemade printer and I had all sorts of fitment issues. I've always had a bad elephant foot on my prints, so it took a lot of cleanup and modification just to get them to go together. I was using a socket and hammer to get the cams on the shaft lol.
Tried it again on a Bambu x1, like he uses and everything went together like butter. The cams slid on the shaft with no resistance whatsoever.
The instructions need to be a little more in depth for a paid model.
'cam shaft' adlı parça çok sıkı geçiyor hatta geçmiyor ve kırıldı