Spherical Lamp - Wavemesh Lamp
1 downloads · 10 months ago · Printing Instructions for the Lamp
Files included:
Shade.stl
Shade support.stl
Stand x 3.stl (print
Printing Instructions for the Lamp
Files included: Shade.stl Shade support.stl Stand x 3.stl (print 3 times) Top stand x 3.stl (print 3 times) Bottom connection.stl Top connection.stl
Print settings:
Shade (Shade.stl) Nozzle: 1.0 mm (or 0.8 mm, but less sturdy) Layer height: 0.3 mm Wall loops: 1 Supports: none Top shell layers: 0 Bottom shell layers: 3 Bottom surface pattern: concentric Infill: 0%
Other parts (Top stand x 3.stl, Stand x 3.stl, Shade support.stl, Bottom connection.stl, Top connection.stl) Nozzle: 0.4 mm Layer height: 0.2 mm Infill: 15% Supports: only if needed Walls and shells: standard slicer defaults
Assembly:
- Print all parts as listed above.
- Attach three Stand parts to the Bottom connection.
- Add the Top stand parts to the upper ends of the legs.
- Place the Shade support in the center to hold the shade.
- Fit the Shade on top.
- Lock with the Top connection.
- Insert the E14 lamp holder through the hole in the connection after assembling all printed parts.
Spherical Lamp - Wavemesh Lamp
1 download · 10 months ago in and

Ripple Sphere Pendant Lamp
Shipto you

Ceiling lamp
Bundle

Otto Lamp
.png&w=3840&q=75)
Comb Lamp

IKEA Hemma Lamp Sphere Shade

Ball Table Lamp
.png&w=3840&q=75)
Ruve Lamp

Lamp DIY

ORBES LAMP

Planet Lamps
.png&w=3840&q=75)
Lara Lamp
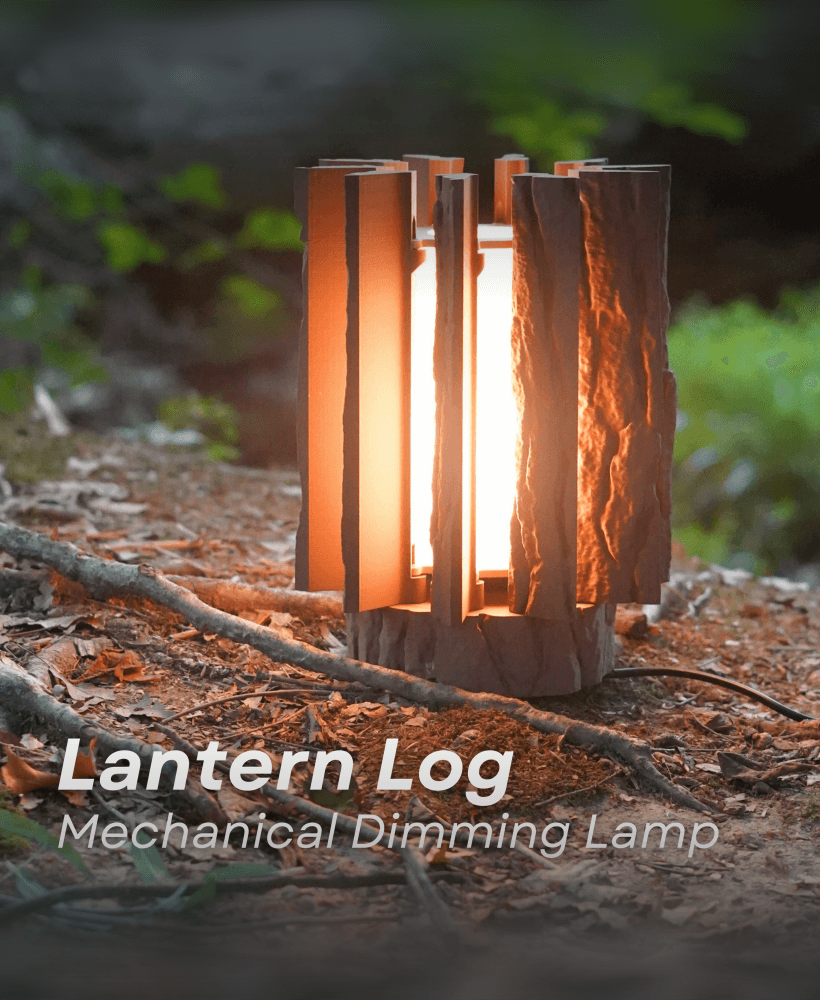
Lantern log - Mechanically Dimming Lamp with Real Log Texture

Jack Skellington Pumpkin 2025 edition - Halloween Lantern Decor - No Supports 3D Print STL/3MF

Cleo Lamp

Planetary Egg Container

The Rail

Chinese Puzzle Ball (Plain)

MCM Christmas Ornament
![Moon Lamp 150mm for LED Lamp 001 [HiRes] [noSupports] 3d model](/_next/image?url=https%3A%2F%2Fstorage.googleapis.com%2Fproduction-thangs-public%2Fuploads%2Fenhanced_images%2Fv1%2F2aa76a1f-56ad-48ad-99e1-ee824261c8ae%2Fezgif-6-4146f34c2f.gif&w=3840&q=75)
Moon Lamp 150mm for LED Lamp 001 [HiRes] [noSupports]