


PLEIADES Round Waste Bin
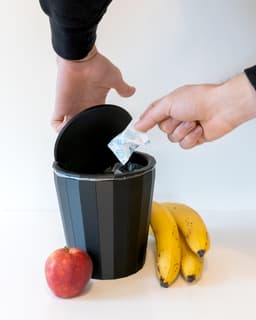
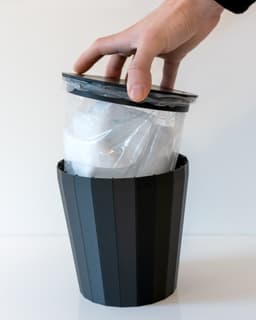
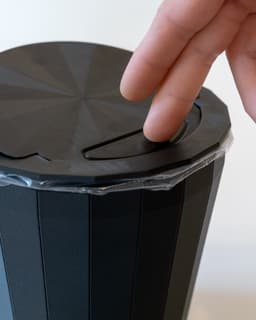
Keep your space clean and stylish with this round PLEIADES waste bin. This three part design utilizes a lightweight spiralized bin along with an outer rim that can hold a plastic liner, and a lid with a print in place hinge that keeps your trash out of sight, out of mind.
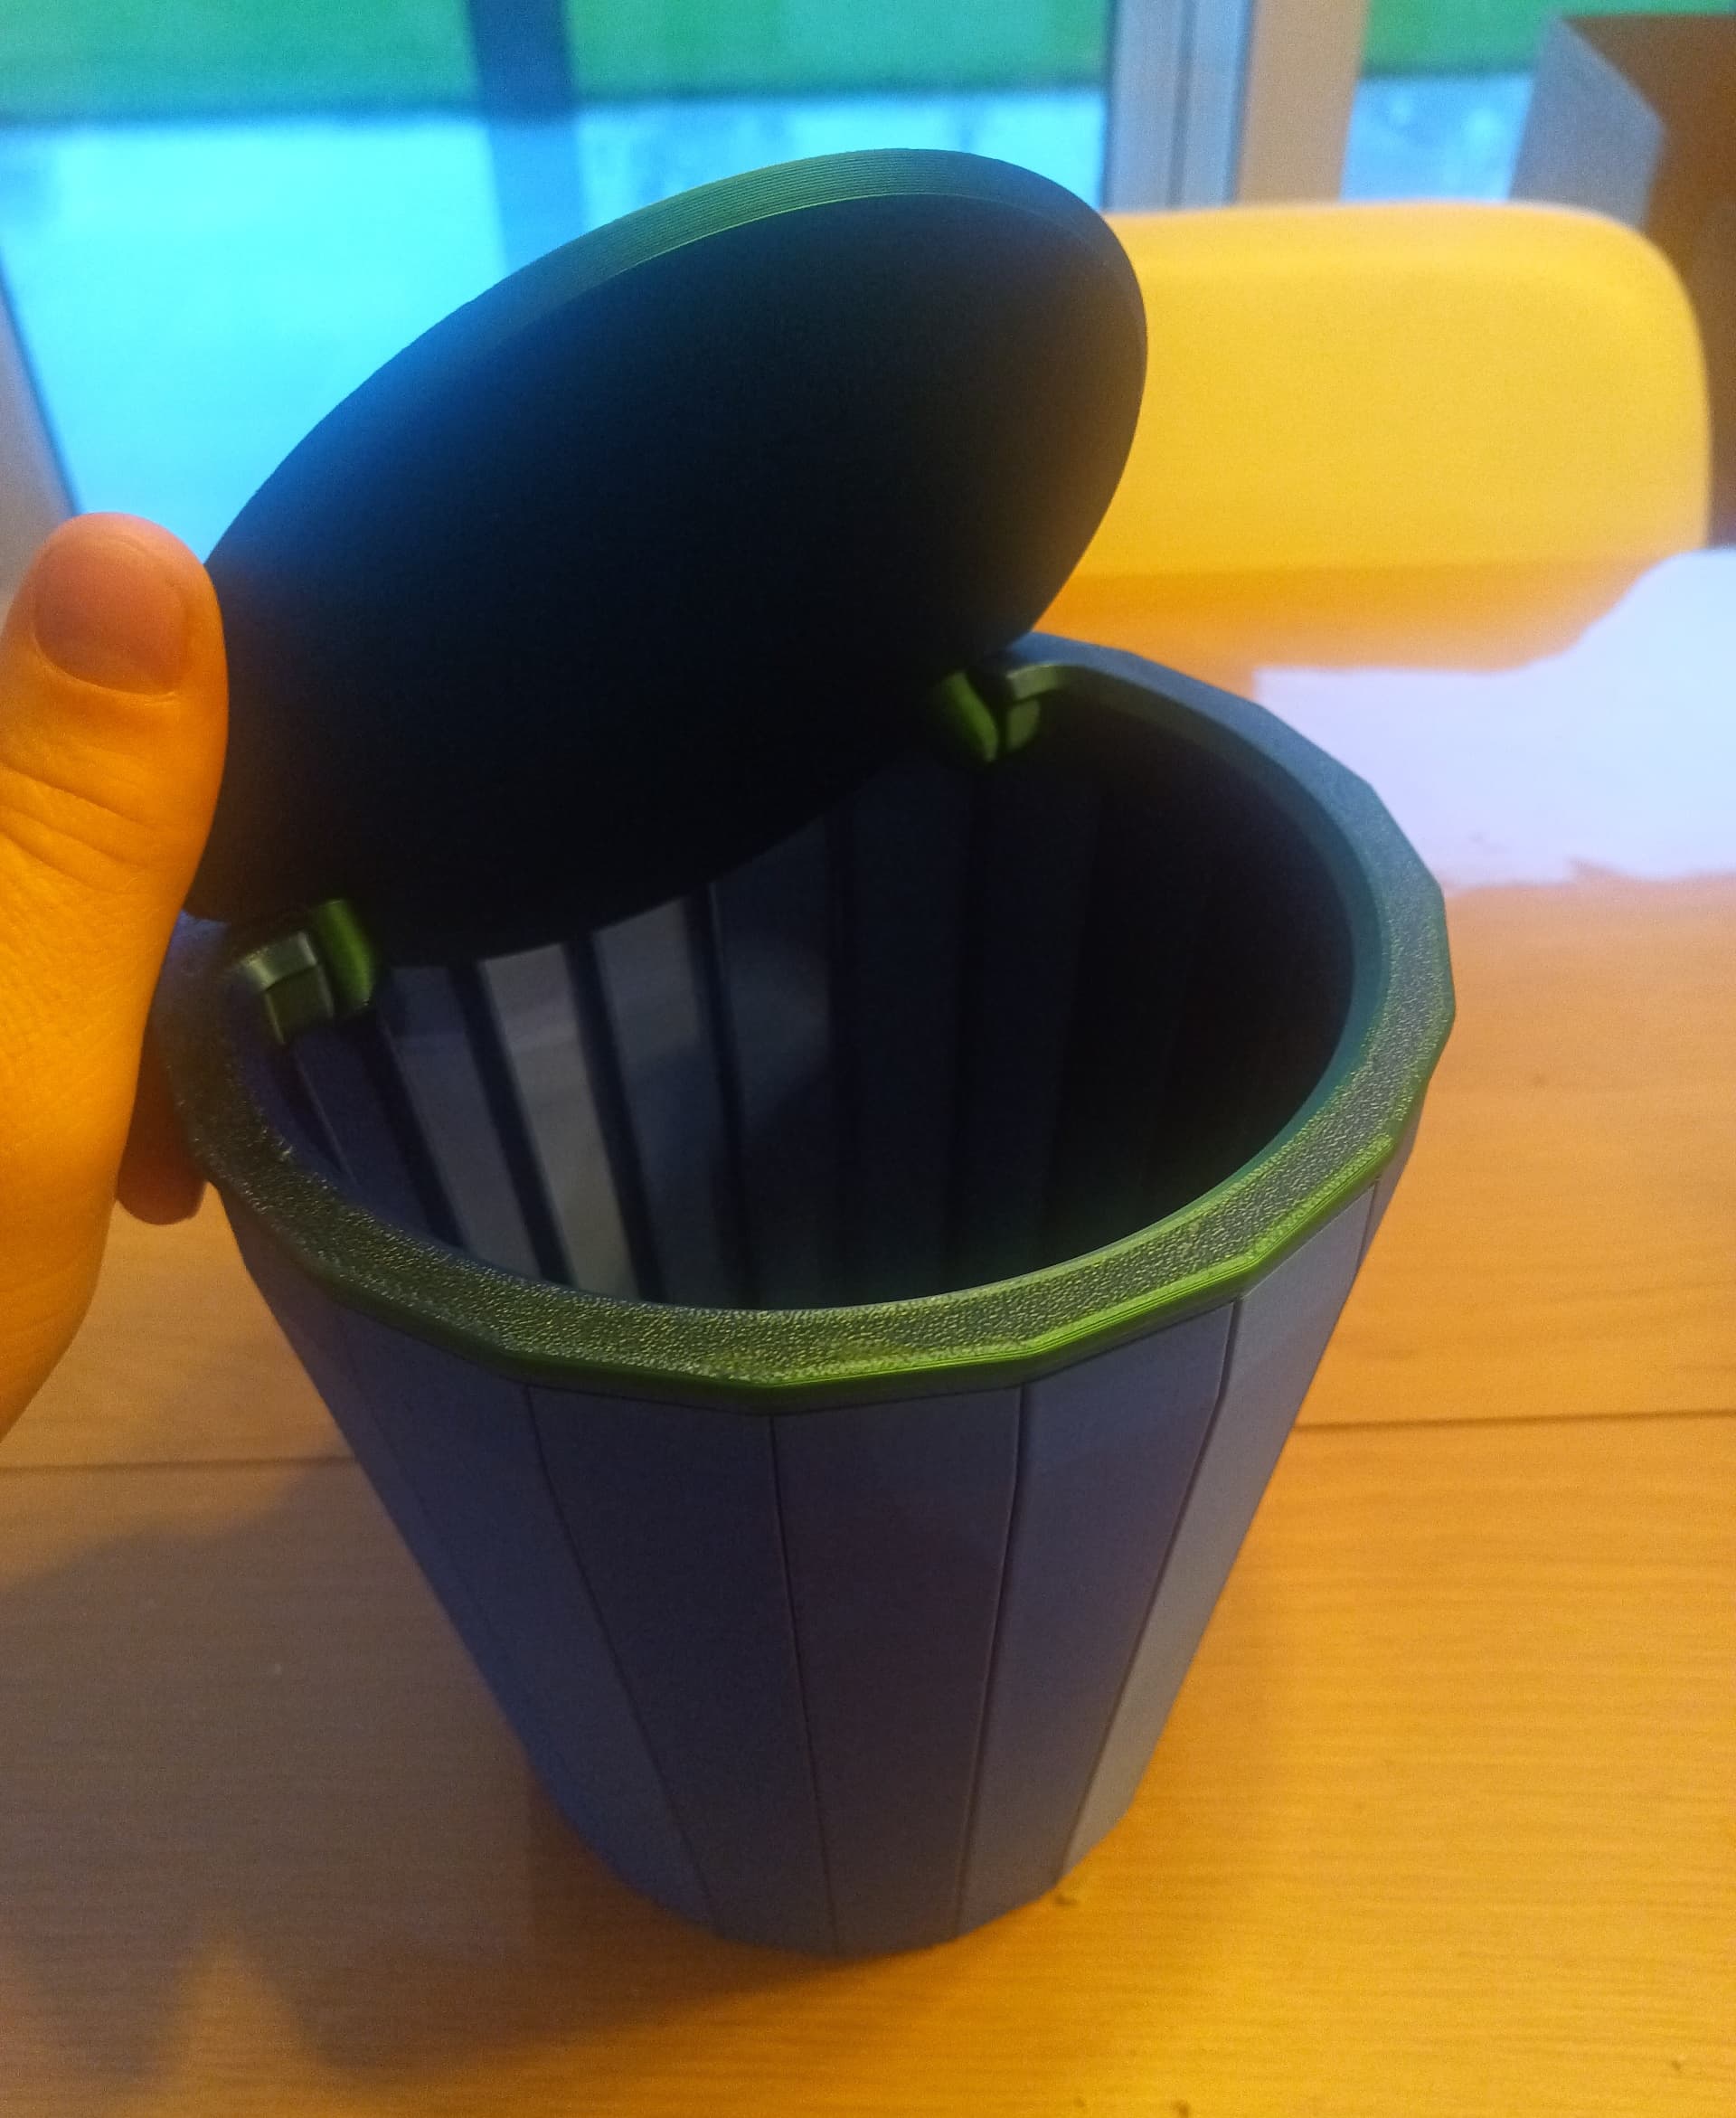
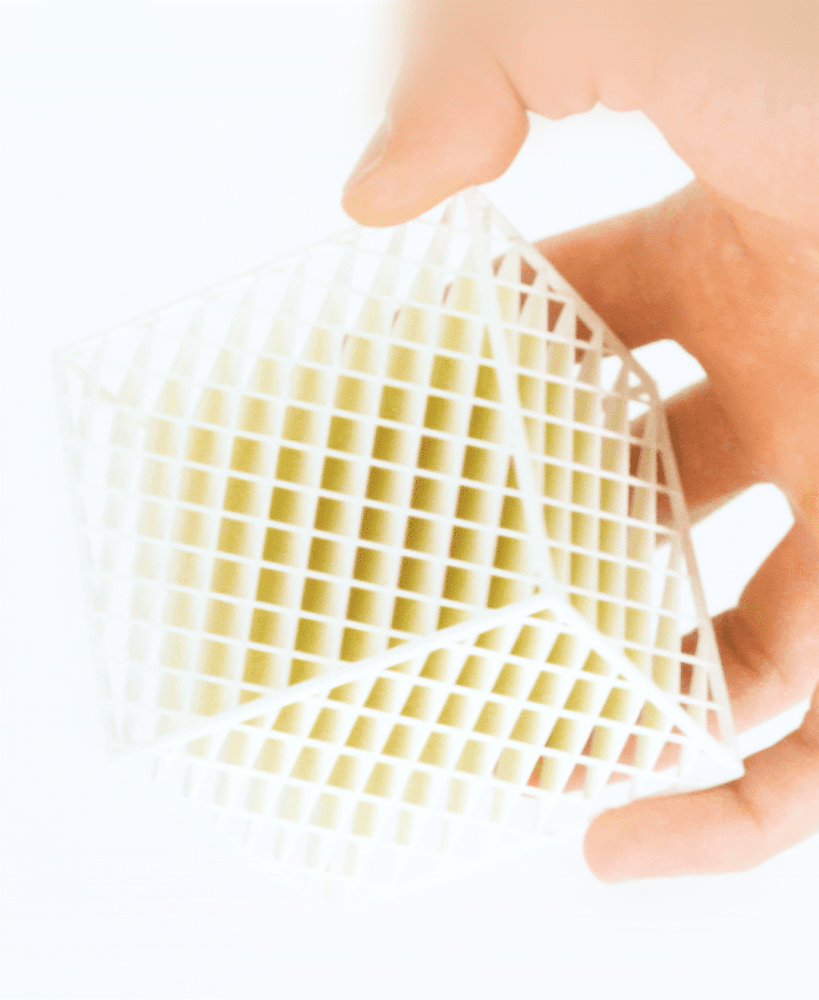
My PLEIADES series of prints are designed to be printed in vase/spiral mode in your slicer. I suggest printing the 'bin' part with a 0.8 mm nozzle width (even with a 0.4mm nozzle) and 3-5 bottom layers. No top layers. Make sure your slicer is not set to close small gaps. In BambuStudio/Cura I set the 'Slice gap closing radius' to 0 mm
The lid and outer rim can be printed with 3+ shells and 15-25% infill at 0.16-0.2 mm layer height. Depending on the filament and infill% you may want to increase the number of solid top layers on the lid to 6 or 7 for a smooth surface.
Use a small plastic bag for the liner. It may also be used without a liner if you only plan on using it for dry waste.
When attaching the lid to the rim, make sure to line up the connector along the inside edges, which help hold it in place. When separating the parts, it's easiest to pry up from the opposite side (closer to the hinges).
Photographed models were printed on the Bambu Lab X1-Carbon 3D Printer using Bambu Lab PETG-CF filament.* *These affiliate links give me a commission on sales at no additional cost to you. Thanks for supporting Make Anything!


PLEIADES Round Waste Bin

Mailbox Indicator Flap // Spider

Clover // Flatland Keychain Magnet

Starburst // Flatland Keychain Magnet

Mailbox Indicator Flap // Raccoon

Mailbox Indicator Flap // Fuschia Flower

Drill Mixer // Stirring Stick

Super Plunger // Sink and Shower Drain Plunger

Palpa Hummingbird

Nazca Condor // Líneas de Nazca
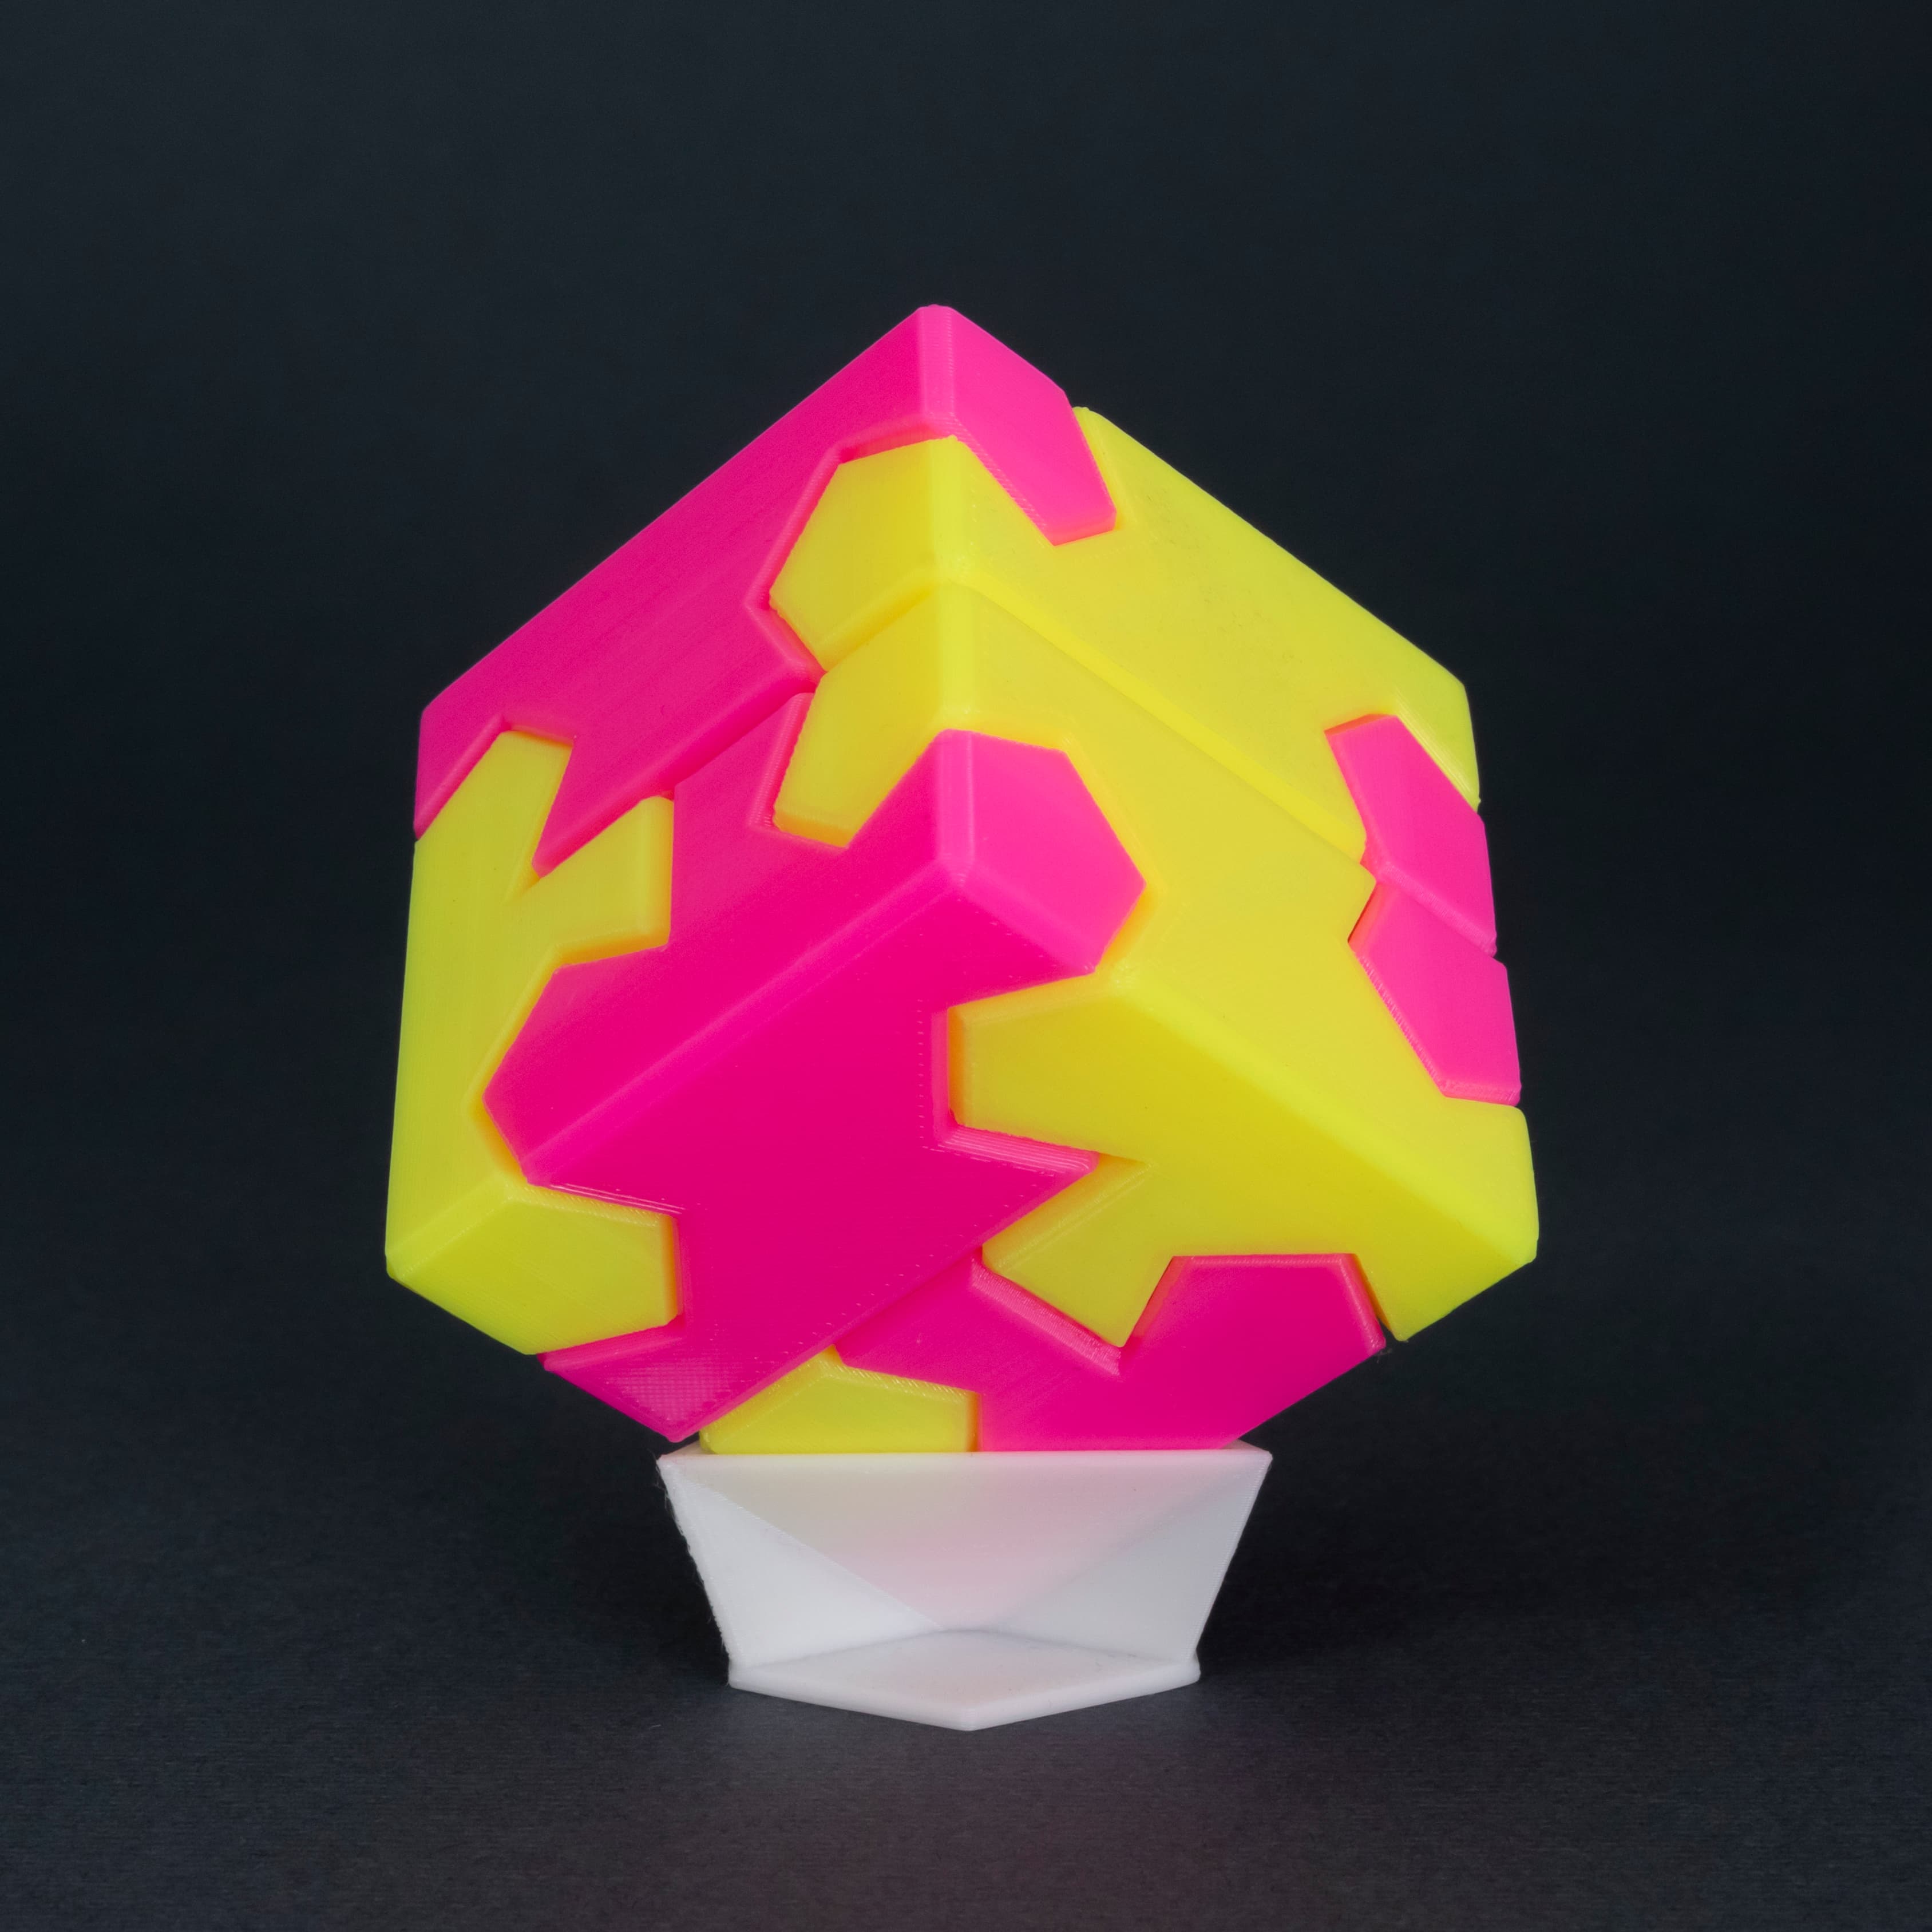
75mm PERSPEKTIVA Cube

Raindrop Cup Top

Fuzzy Stripes Planter // 90x60mm

Awesome Blossom // Rejected Animals Decal
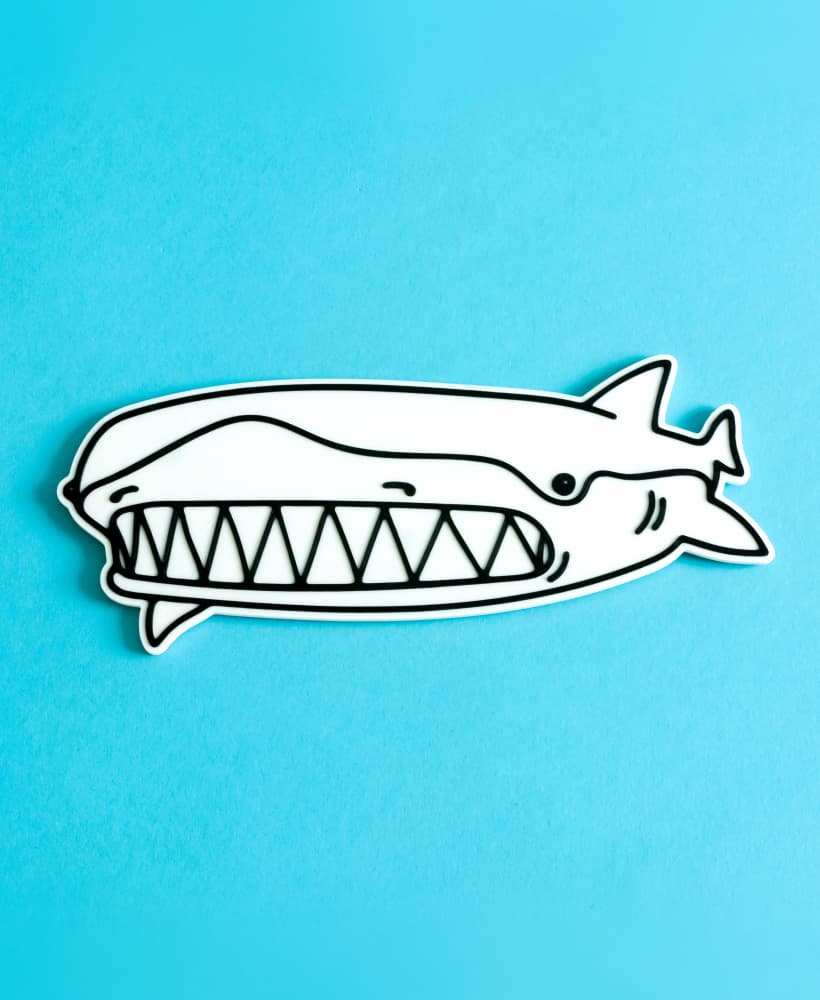
Great Wide Shark // Rejected Animals Decal

Cloud // Flatland Keychain Magnet

Tsugite Cube 3x3 Puzzle (Version A)

Puddle // Flatland Keychain Magnet
Tsugite Cube 2x2 Puzzle (3 sizes)

Dastardly Dovetail Box (Round Magnetic)

Is it possible to make the top ring, the part with the flipping lid, without the lid in it?
I.E. Like you are staring down at the trashcan w/ the lid hinge on the left, but you cut the model in 1/2 cutting from the top point to the bottom. Throw everything on the left-hand side away, duplicate everything on the right-hand side, rotate it 180 degrees, marry it up so it forms a complete circle, and then remove th dimple on the inner ring on the left-hand side since you have it on the right side.
So you want it to just have a flat removable lid? Or do you mean to be used without a lid?
I don't know what's going on with Thangs. it's showing my pictures twice and my comments seem to have disappeared. Ugh.
Where are the internal ribs you can see in the photos? The outer rim just slips around loosely on the bin.
Never mind, I had set detect thin walls to off. As soon as I had set "Slice gap closing radius" to 0 they appeared. My bad.
For anyone else, in Prusaslicer you can find it under Print Settings --> Advanced --> Slicing It's the first setting
I'm glad you sorted it out, and thanks for sharing the Prusa slicer setting 👍
What do you mean by "I suggest printing the 'bin' part with a 0.8 mm nozzle width (even with a 0.4mm nozzle) and 3-5 bottom layers."
Specifically, do you mean setting the various wall widths to 0.8mm, the layer height to 0.8mm, or telling Bambu Studio I have a 0.8mm nozzle even if I don't? I have a 0.4 and 0.6 nozzle, but I'm not sure what specific settings I should change once I sub-in the 0.6
Also do you have any reason why this wouldn't scale up to 150%? I think my X1C can handle that size.
Either nozzle should work, but I guess theoretically the 0.6 should be a bit more clean. In Bambu Studio 'Outer Wall' is the value you want to set to 0.8 to affect the vase mode walls. You can keep the 'Initial Layer' thickness at the default to ensure a good first layer.
150% scale would probably work alright, The fit of the lid and hinge will be a little bit more loose but I imagine it would be okay. Do let us know how it goes if you try!