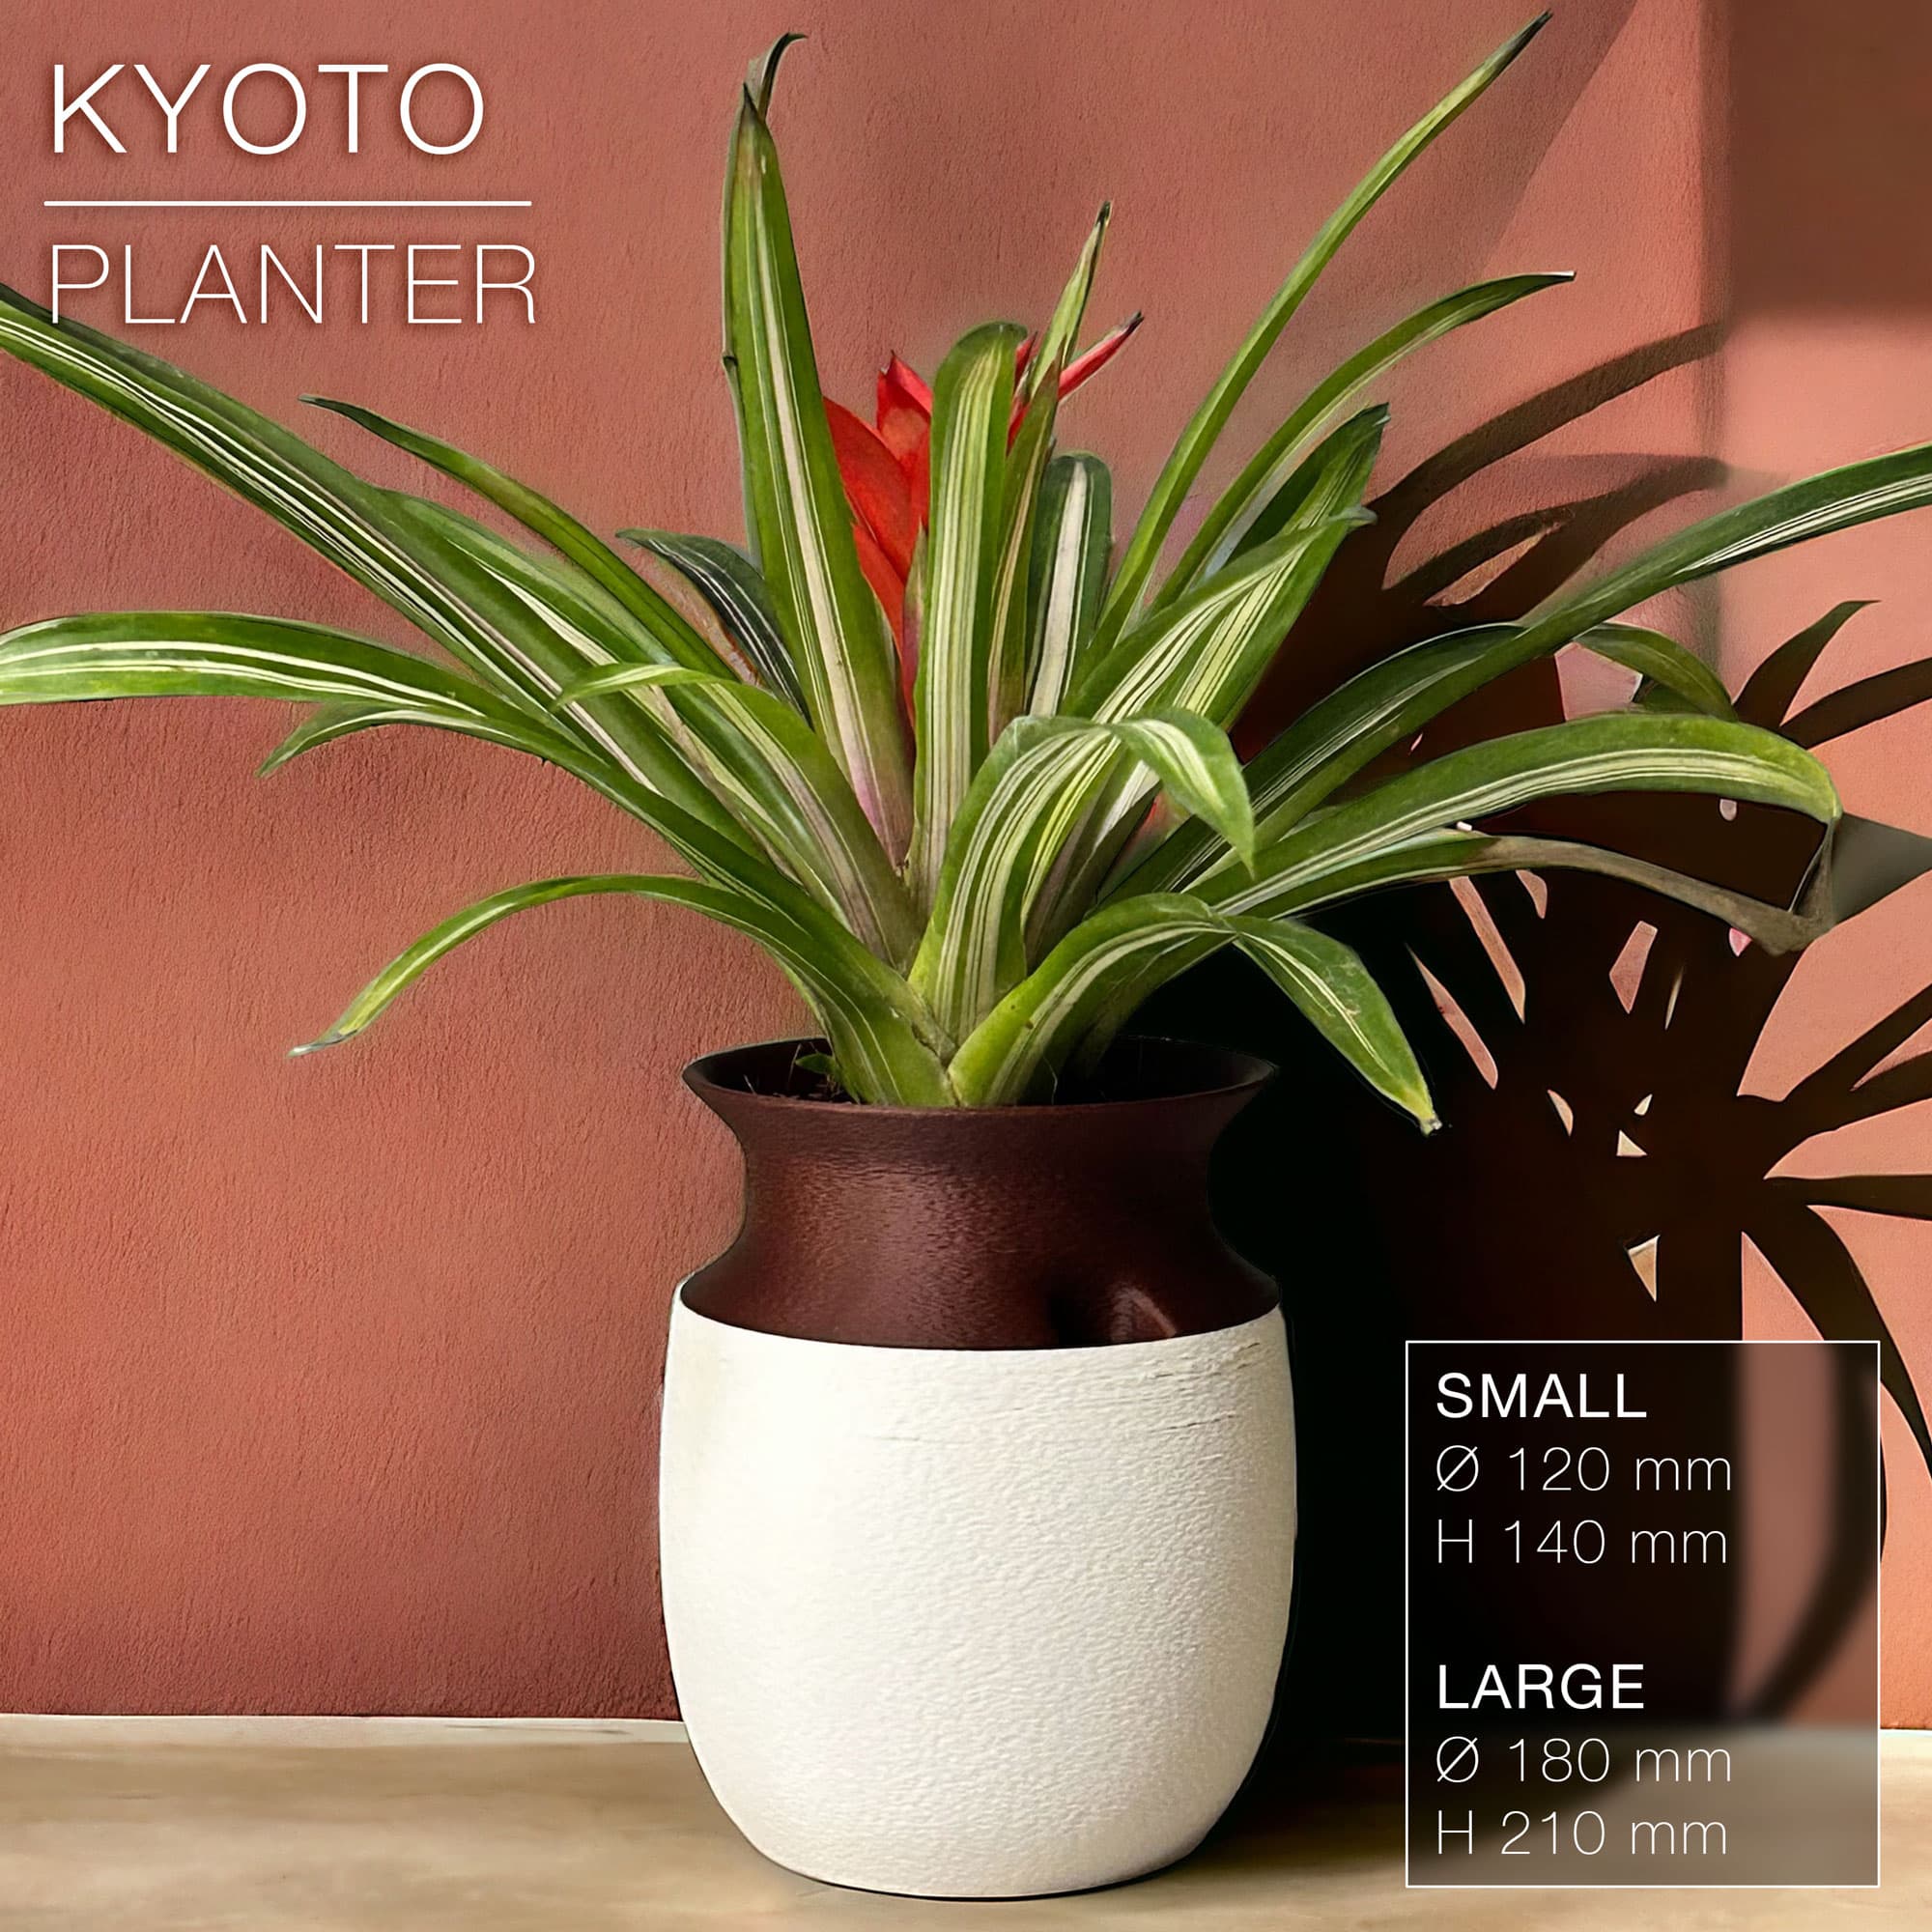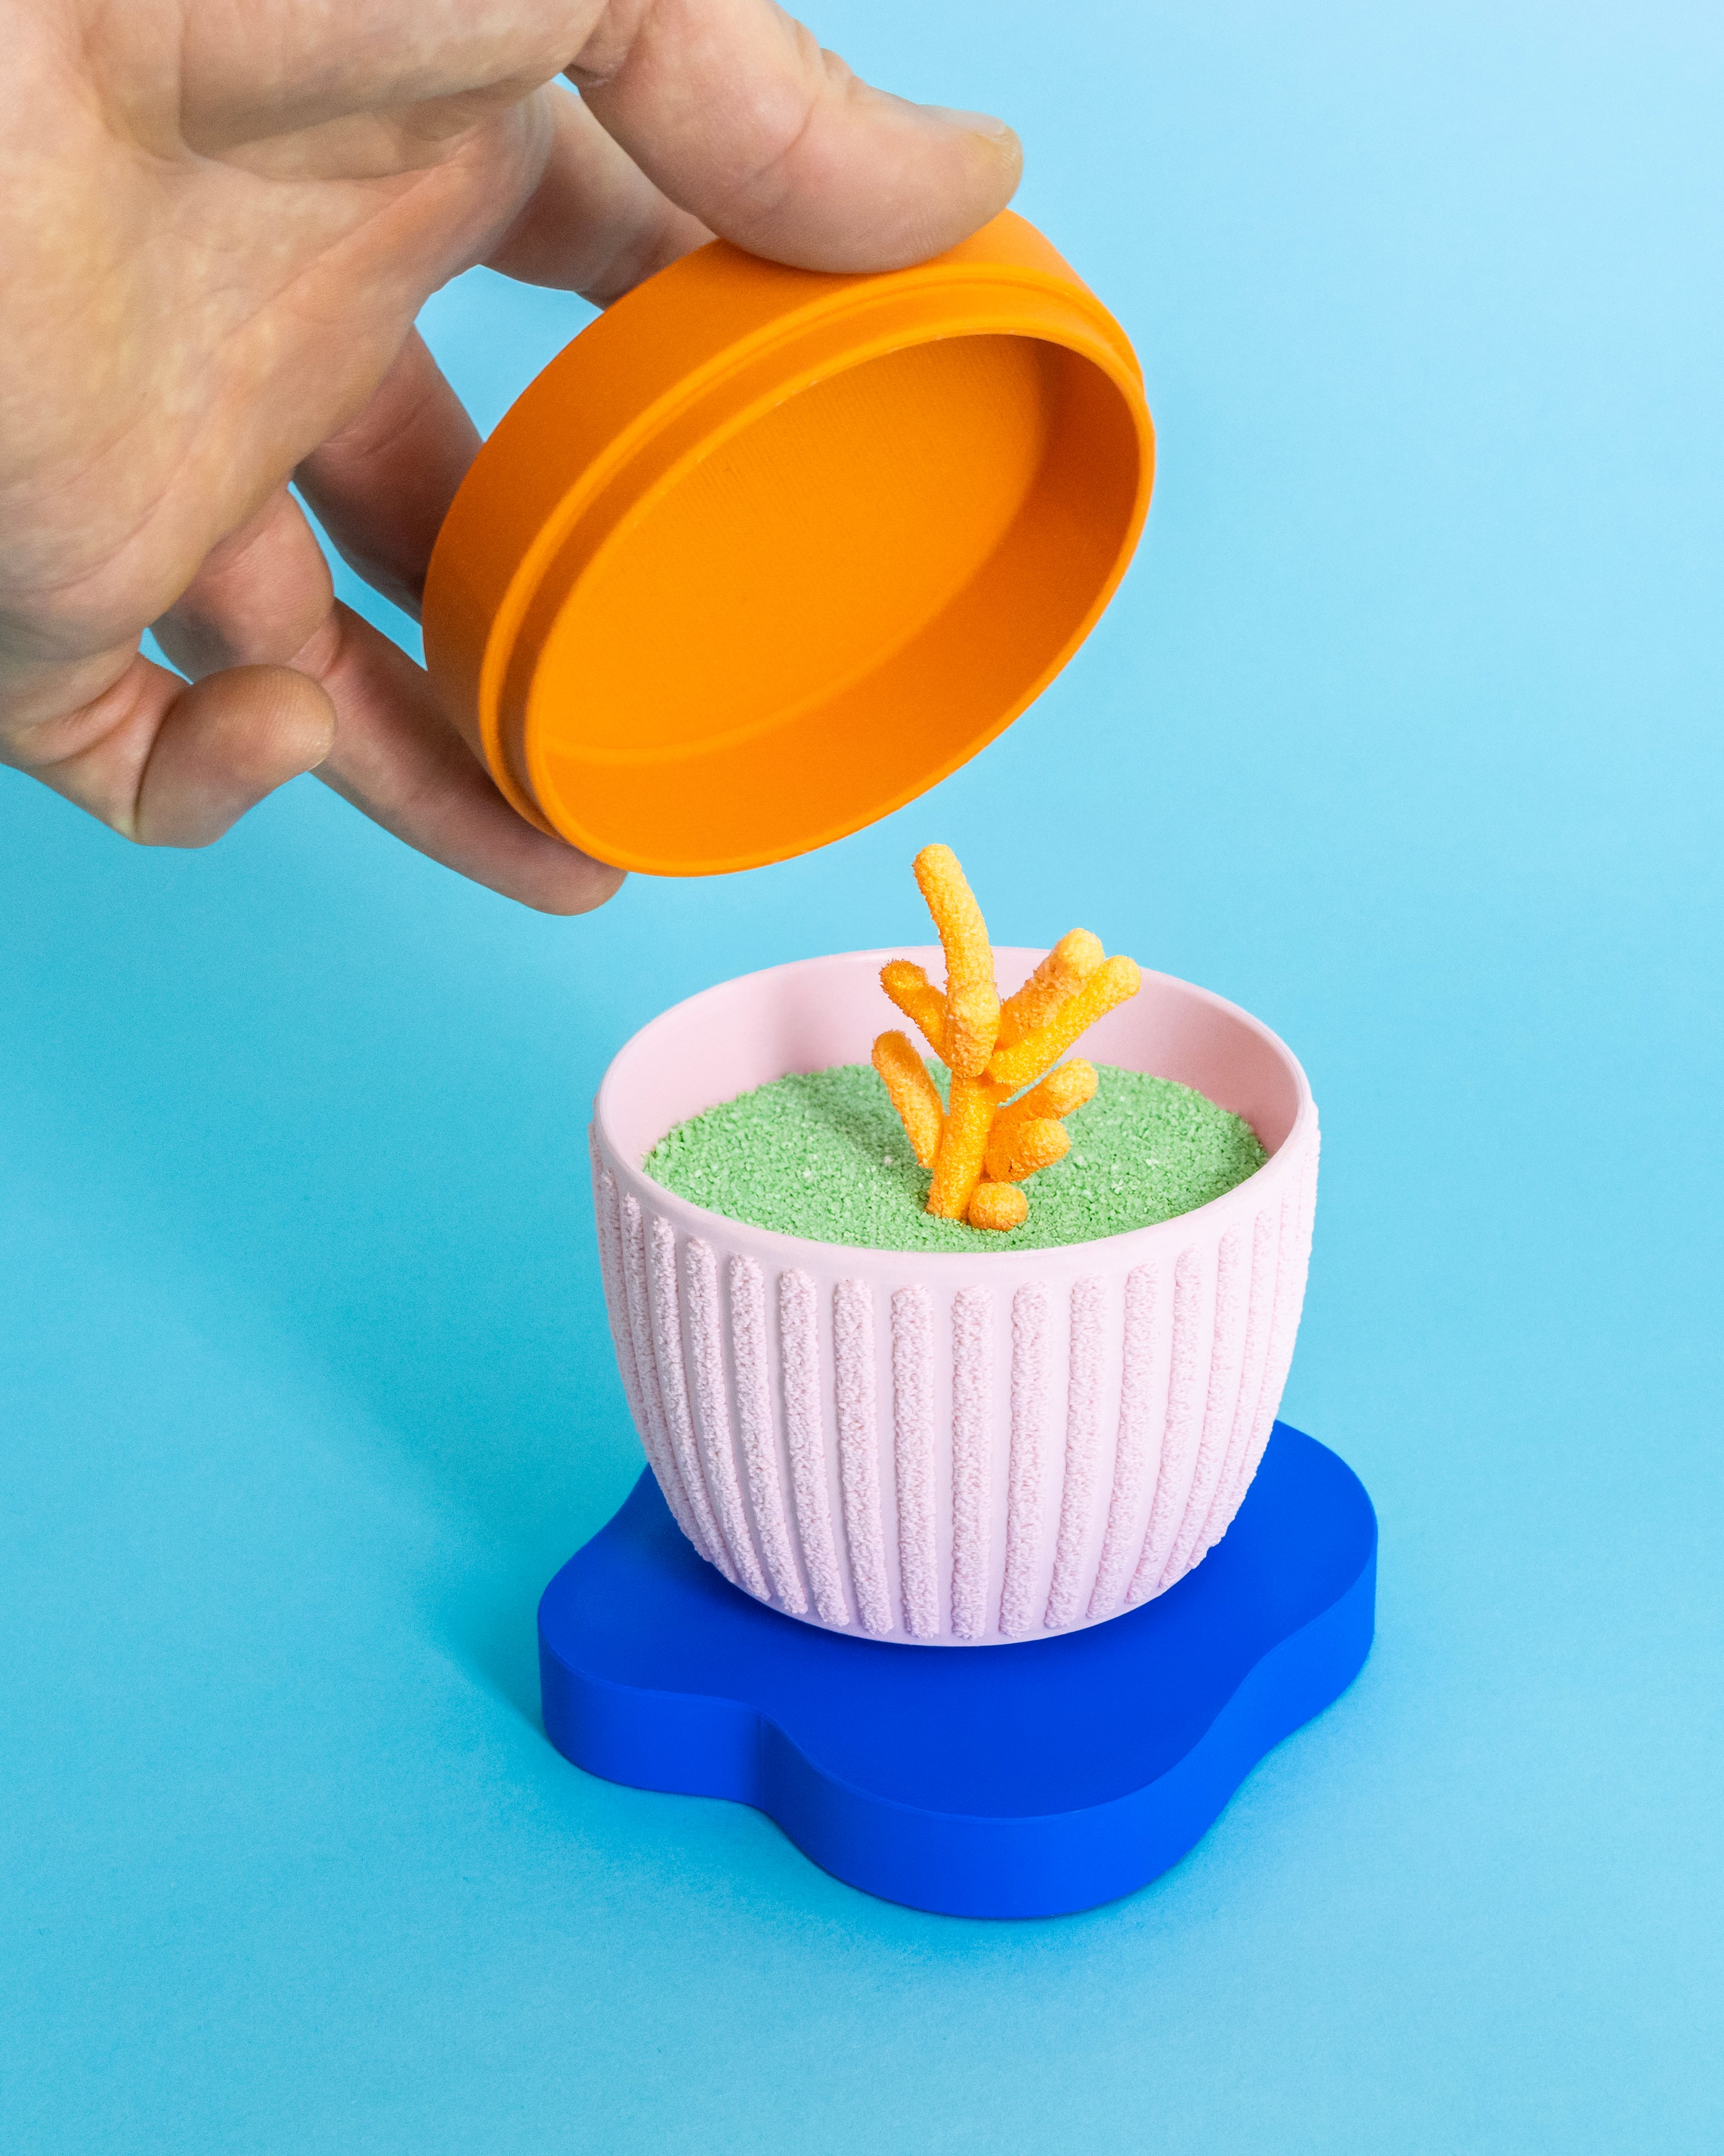


Fuzzy Stripes Planter // 90x60mm
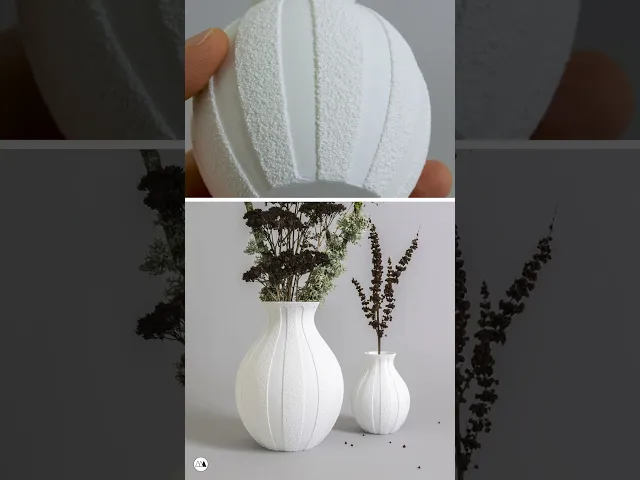
This print combines standard and 'Fuzzy Skin' printing in thin, orderly stripes for a mesmerizing multi-textured appearance. Follow the printing guidelines below for a successful result!
Download includes versions with and without holes (Planter vs Container), as well as a lid, and a drip tray (other drip trays shown in the photos may not be included).
This version of the planter is 90mm in diameter and 60mm tall.
Printing Guidelines
-
3MF files for Bambu Studio and Prusa Slicer are included with the multi-texture settings already applied, but I still suggest you review the settings and slicer preview to make sure everything looks right for your setup
-
Combine 'Main' and 'Fuzzy' parts to print together. For the 'Main' body I used 0.16mm layer height, 1 perimeter, 5 top layers, 0% infill). For the 'Fuzzy' part, set perimeters to 1, infill to 0%, and enable Fuzzy Skin on 'All walls' with point distance of '0.3mm' and thickness of '0.6mm'.
-
You can save some time and material by reducing the default value for 'Minimum sparse infill threshold' to 5mm².
Importing STLs as multipart models
-
For Bambu Studio/Orca Slicer, drag both files into the slicer together and select 'Yes' to the prompt 'Load these files as a single object with multiple parts?' Now you can individually modify parameters under the 'Objects' setting tab.
-
For Prusa Slicer, ensure that you are in 'Expert Mode'. First, import the 'Main' body, then right click on the name in the lefthand parts list, and click 'Add Part>Load' to add the 'Fuzzy' body. Now you can right click that part in the same list and go to 'Add Settings' to add 'Layers and Perimeters > Perimeters' + 'Infill > Fill density' + 'Fuzzy Skin > Fuzzy Skin + Fuzzy skin point distance + Fuzzy skin thickness'. That will add the ability to adjust those settings individually.
I also made a video about the process
Related Models
Photographed model was printed on the Bambu Lab X1-Carbon 3D Printer using eSUN ePLA Matte Peach Pink (Amazon)*
*These affiliate links give me a commission on sales at no additional cost to you. Thanks for supporting Make Anything!
Fuzzy Stripes Planter // 90x60mm

Mailbox Indicator Flap // Spider

Clover // Flatland Keychain Magnet

Starburst // Flatland Keychain Magnet

Mailbox Indicator Flap // Raccoon

Mailbox Indicator Flap // Fuschia Flower

Drill Mixer // Stirring Stick

Super Plunger // Sink and Shower Drain Plunger

Palpa Hummingbird

Nazca Condor // Líneas de Nazca
75mm PERSPEKTIVA Cube

Raindrop Cup Top

Awesome Blossom // Rejected Animals Decal

Great Wide Shark // Rejected Animals Decal

Cloud // Flatland Keychain Magnet

Tsugite Cube 3x3 Puzzle (Version A)

Puddle // Flatland Keychain Magnet
Tsugite Cube 2x2 Puzzle (3 sizes)

Dastardly Dovetail Box (Round Magnetic)

Dastardly Dovetail Box (Large)