


TRAMA | Wall Clock
TRAMA | Wall Clock
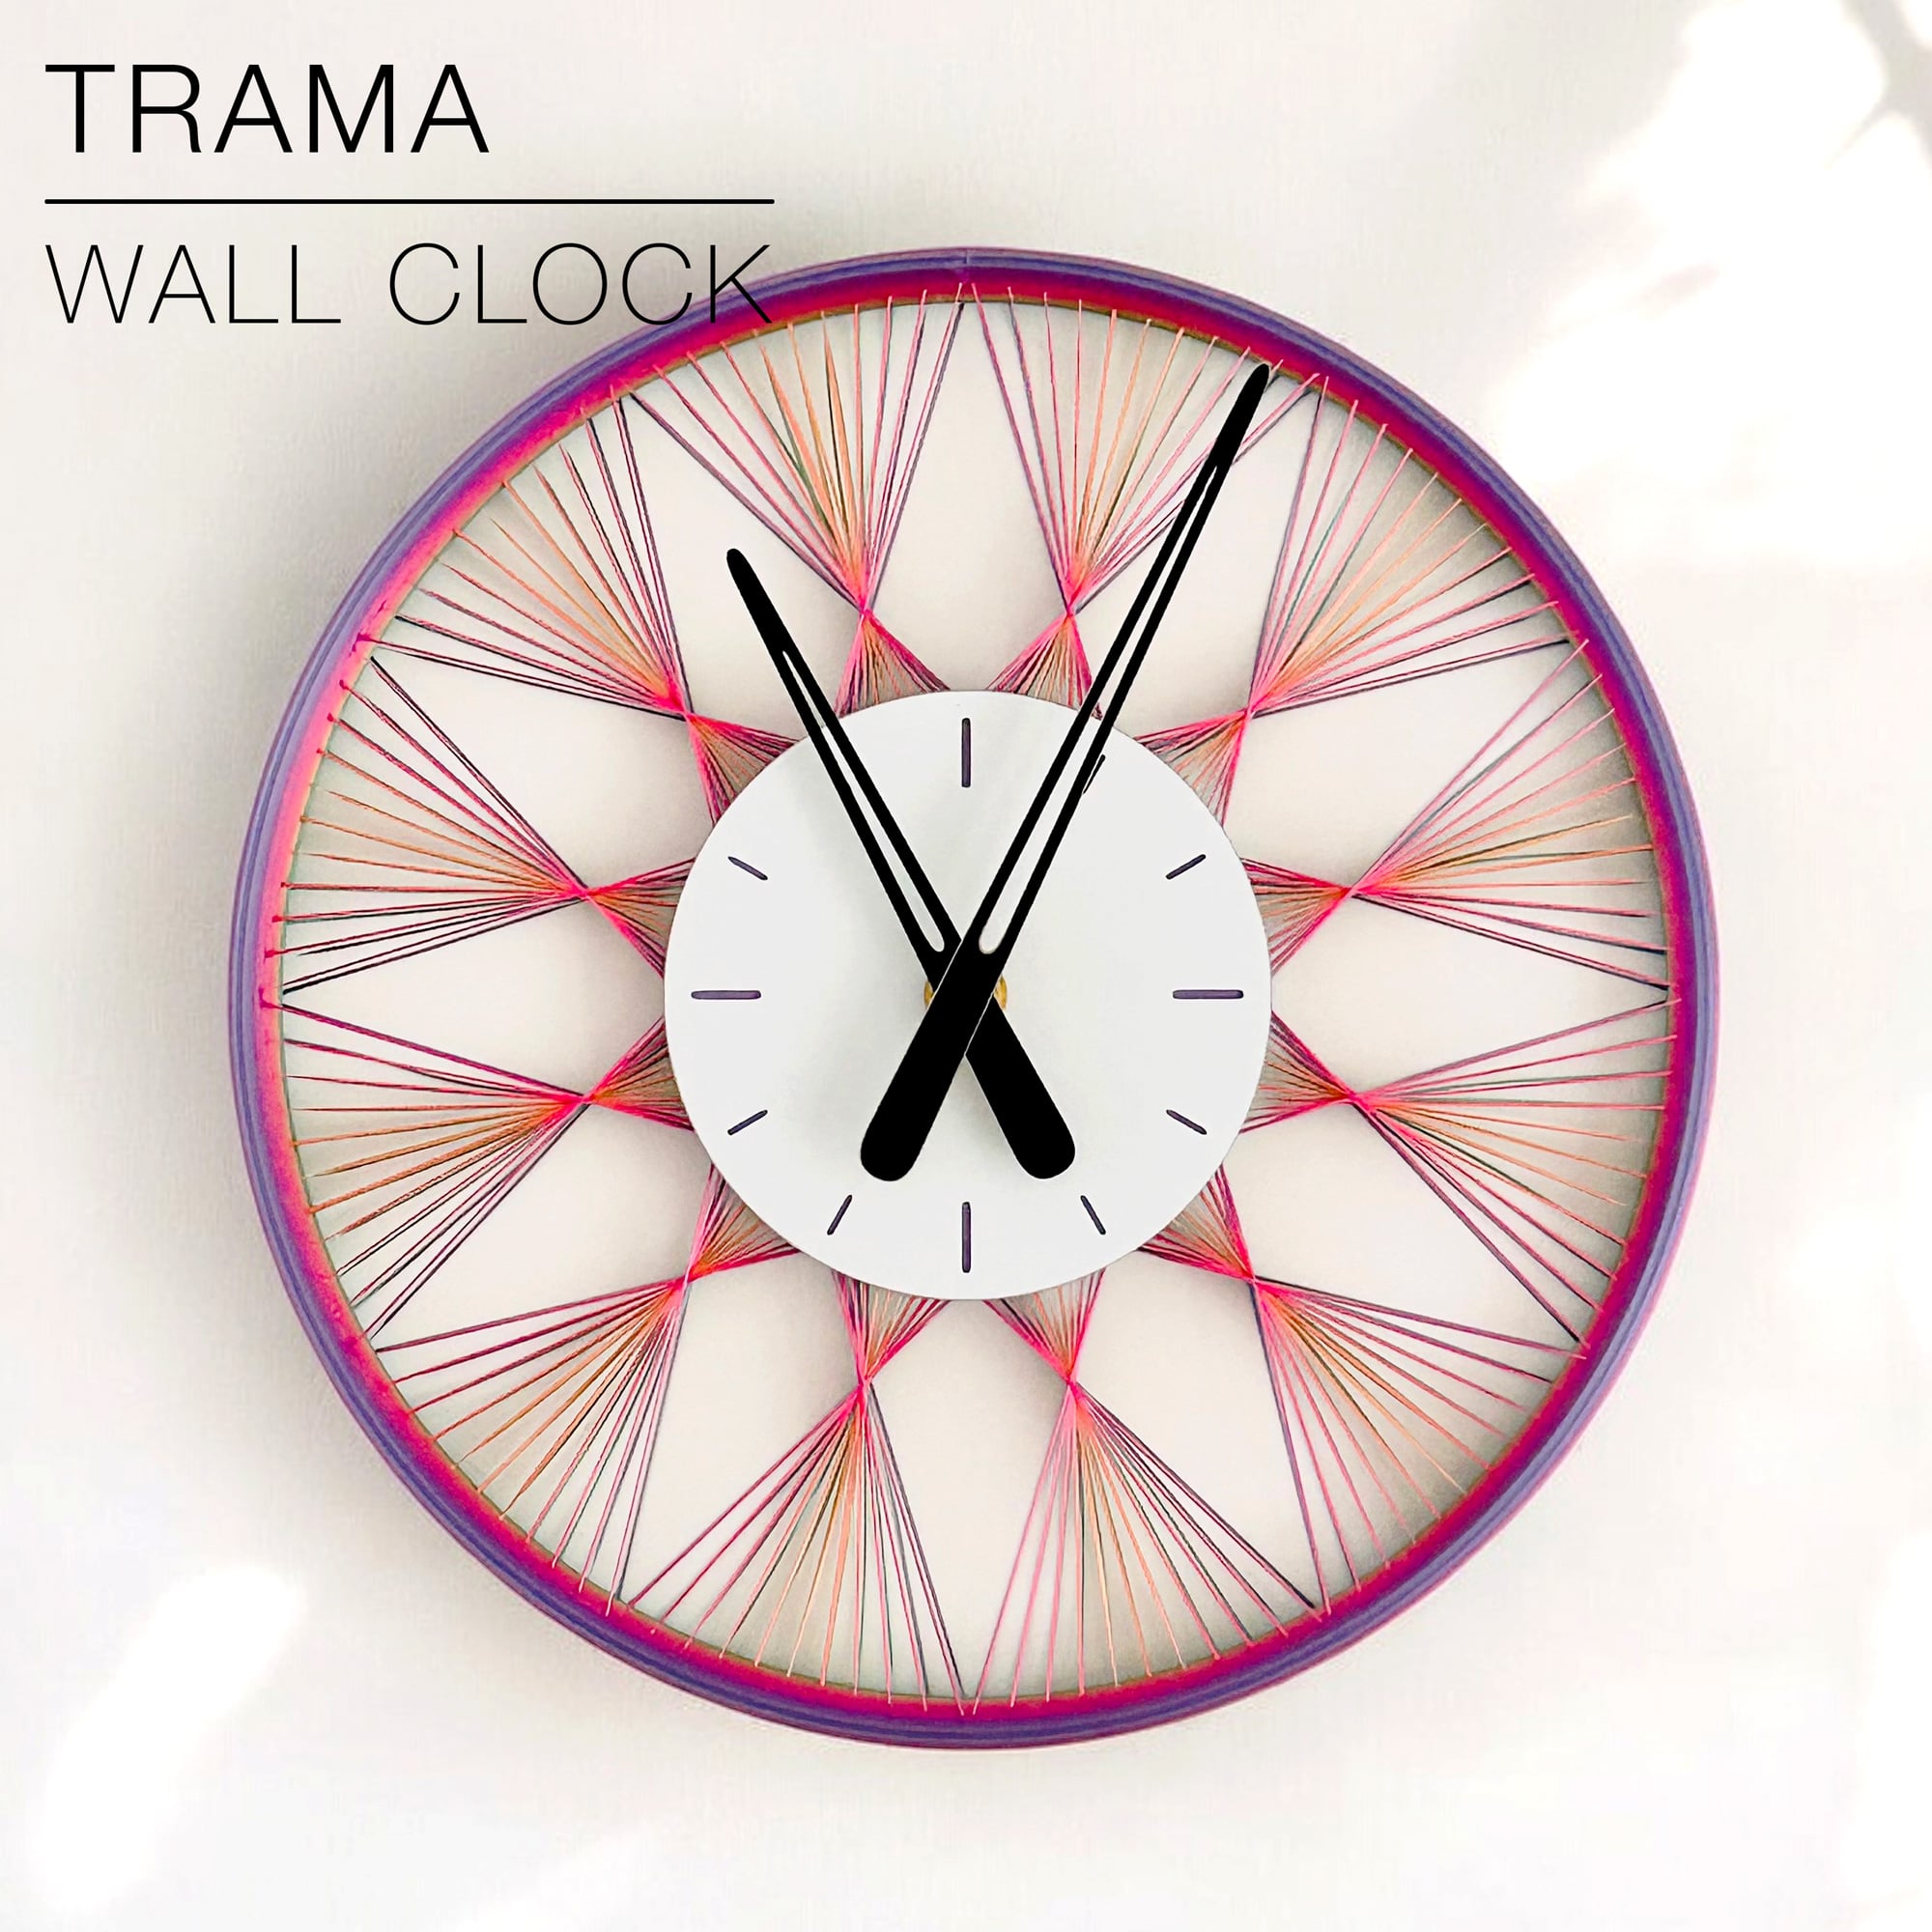
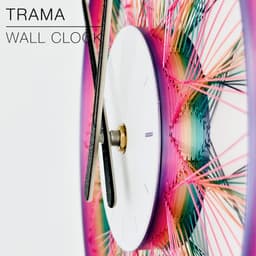
A "string art" wall clock.
It works with the Bambu Lab clock component kit, or with standard clock mechanisms of 56x56x16mm or 2.2x2.2x0.64in.
You can fix the base to the wall with a screw.
Happy printing!
DIMENSIONS | Ø 250 mm x H20 mm
3D PRINT SETTINGS:
The STL files are already oriented properly. You need to print 4 parts:
- 1 "string art" clock body
- 1 centerpiece
- 2 clock hands (1 "minute hand" + 1 "hour hand")
STRING ART CLOCK BODY: The strings print better with a 0.4mm nozzle, but can also be printed with a 0.8mm nozzle.
The only trick for the discs is to set the layer height to 0.3mm. You may have to set the "line width" to about 0.42mm and the "overhang speed" to 30mm/s. This is by default in Bambu Studio, but you may have to set it manually if you use other slicers and printers.
For BambuLab users, turn on "Arachne" mode in the "Wall Generator" settings.
Wall line count: 2 or 3 for a better surface finish Layer height: 0.3mm/layer or less Infill: 20% Build adhesion type: None Supports: None
Finally, if you want the back of the clock plate to be white like on the pictures, program a "pause" or "filament change" at layer 3.
CENTER-PIECE: Use default print settings. I used 0.2mm per layer and 20% infill. I printed the first 2 layers in white, then switched to a coloured filament to make the hour markers more visible.
CLOCK HANDS: Print with 0.2mm per layer. The fit should be just right, but it can vary depending of the brand or type of PLA you use. If it's too tight or too loose, try scaling the clock-hands up or down by 0.02% (so scale up with 1.02%, or scale down with 0.98%).
TRAMA | Wall Clock

SAKURA | Scalable Pencil Holder

SYZYGY | Heart Vase, scalable

ARYZ Plus | Pendant light E26/27

CARLA | Table Lamp E14 & E26/27

CAPA | Corner Soap Dish

MINKY | Desktop bin

GRANO | Desktop bin
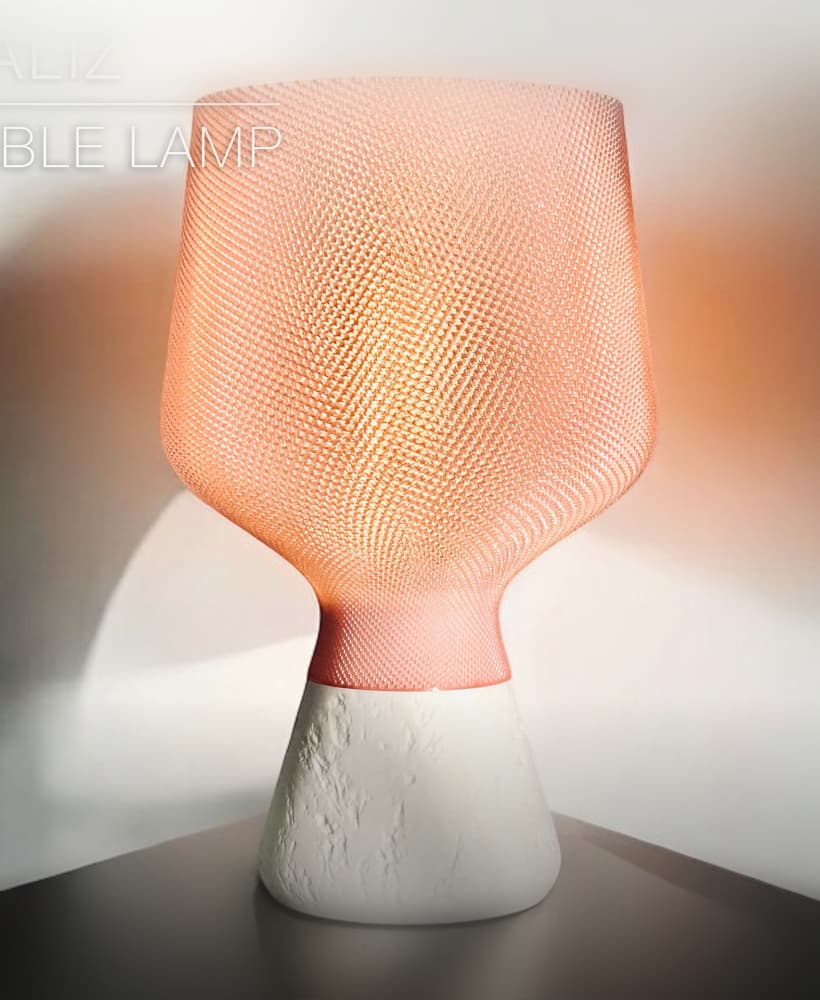
CALIZ | Woven Table Lamp E14 & E26/27

ORIGAMI STILT | Table Lamp E14, E26, E27 print-in-place

MALLA MINI | Woven Table Lamp E14/26/27

MALLA | Woven Pendant light E26/27

FREYA | Standing Planter Pot

DOLCE | Indoor Planter Pot

NEST | Wicker Tissue Box
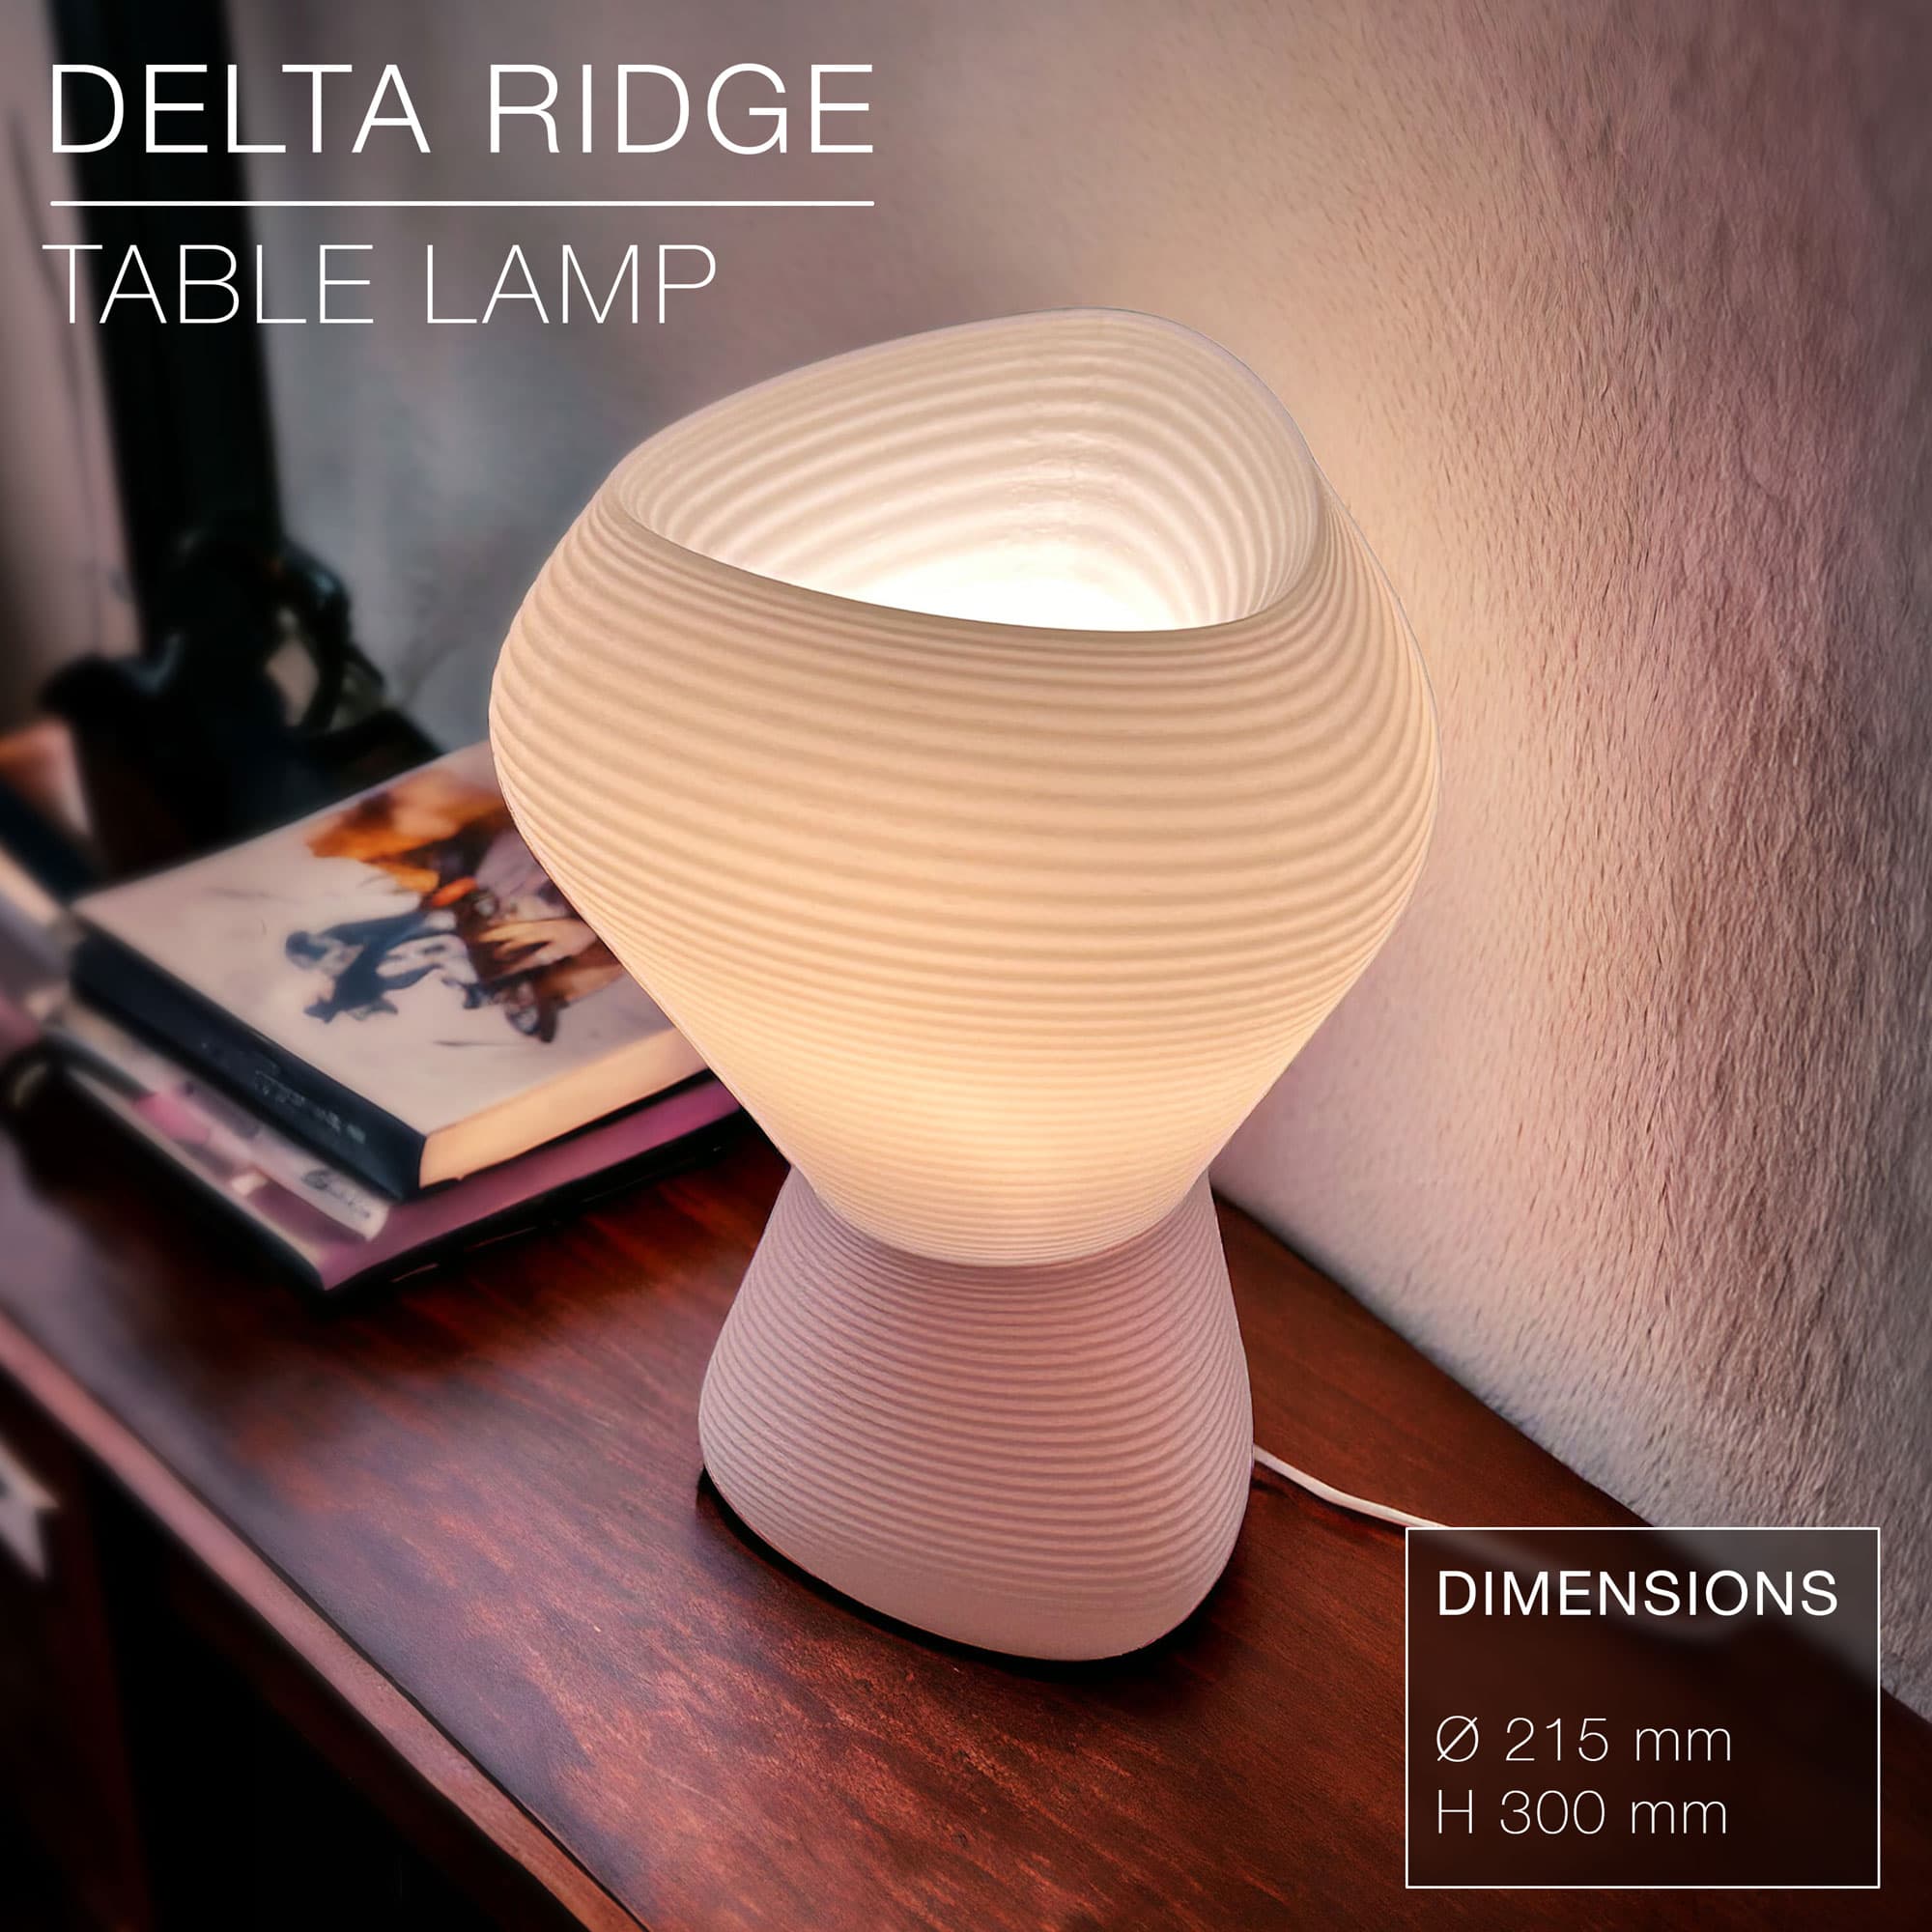
DELTA RIDGE | Table lamp E14 & E27 fast-print
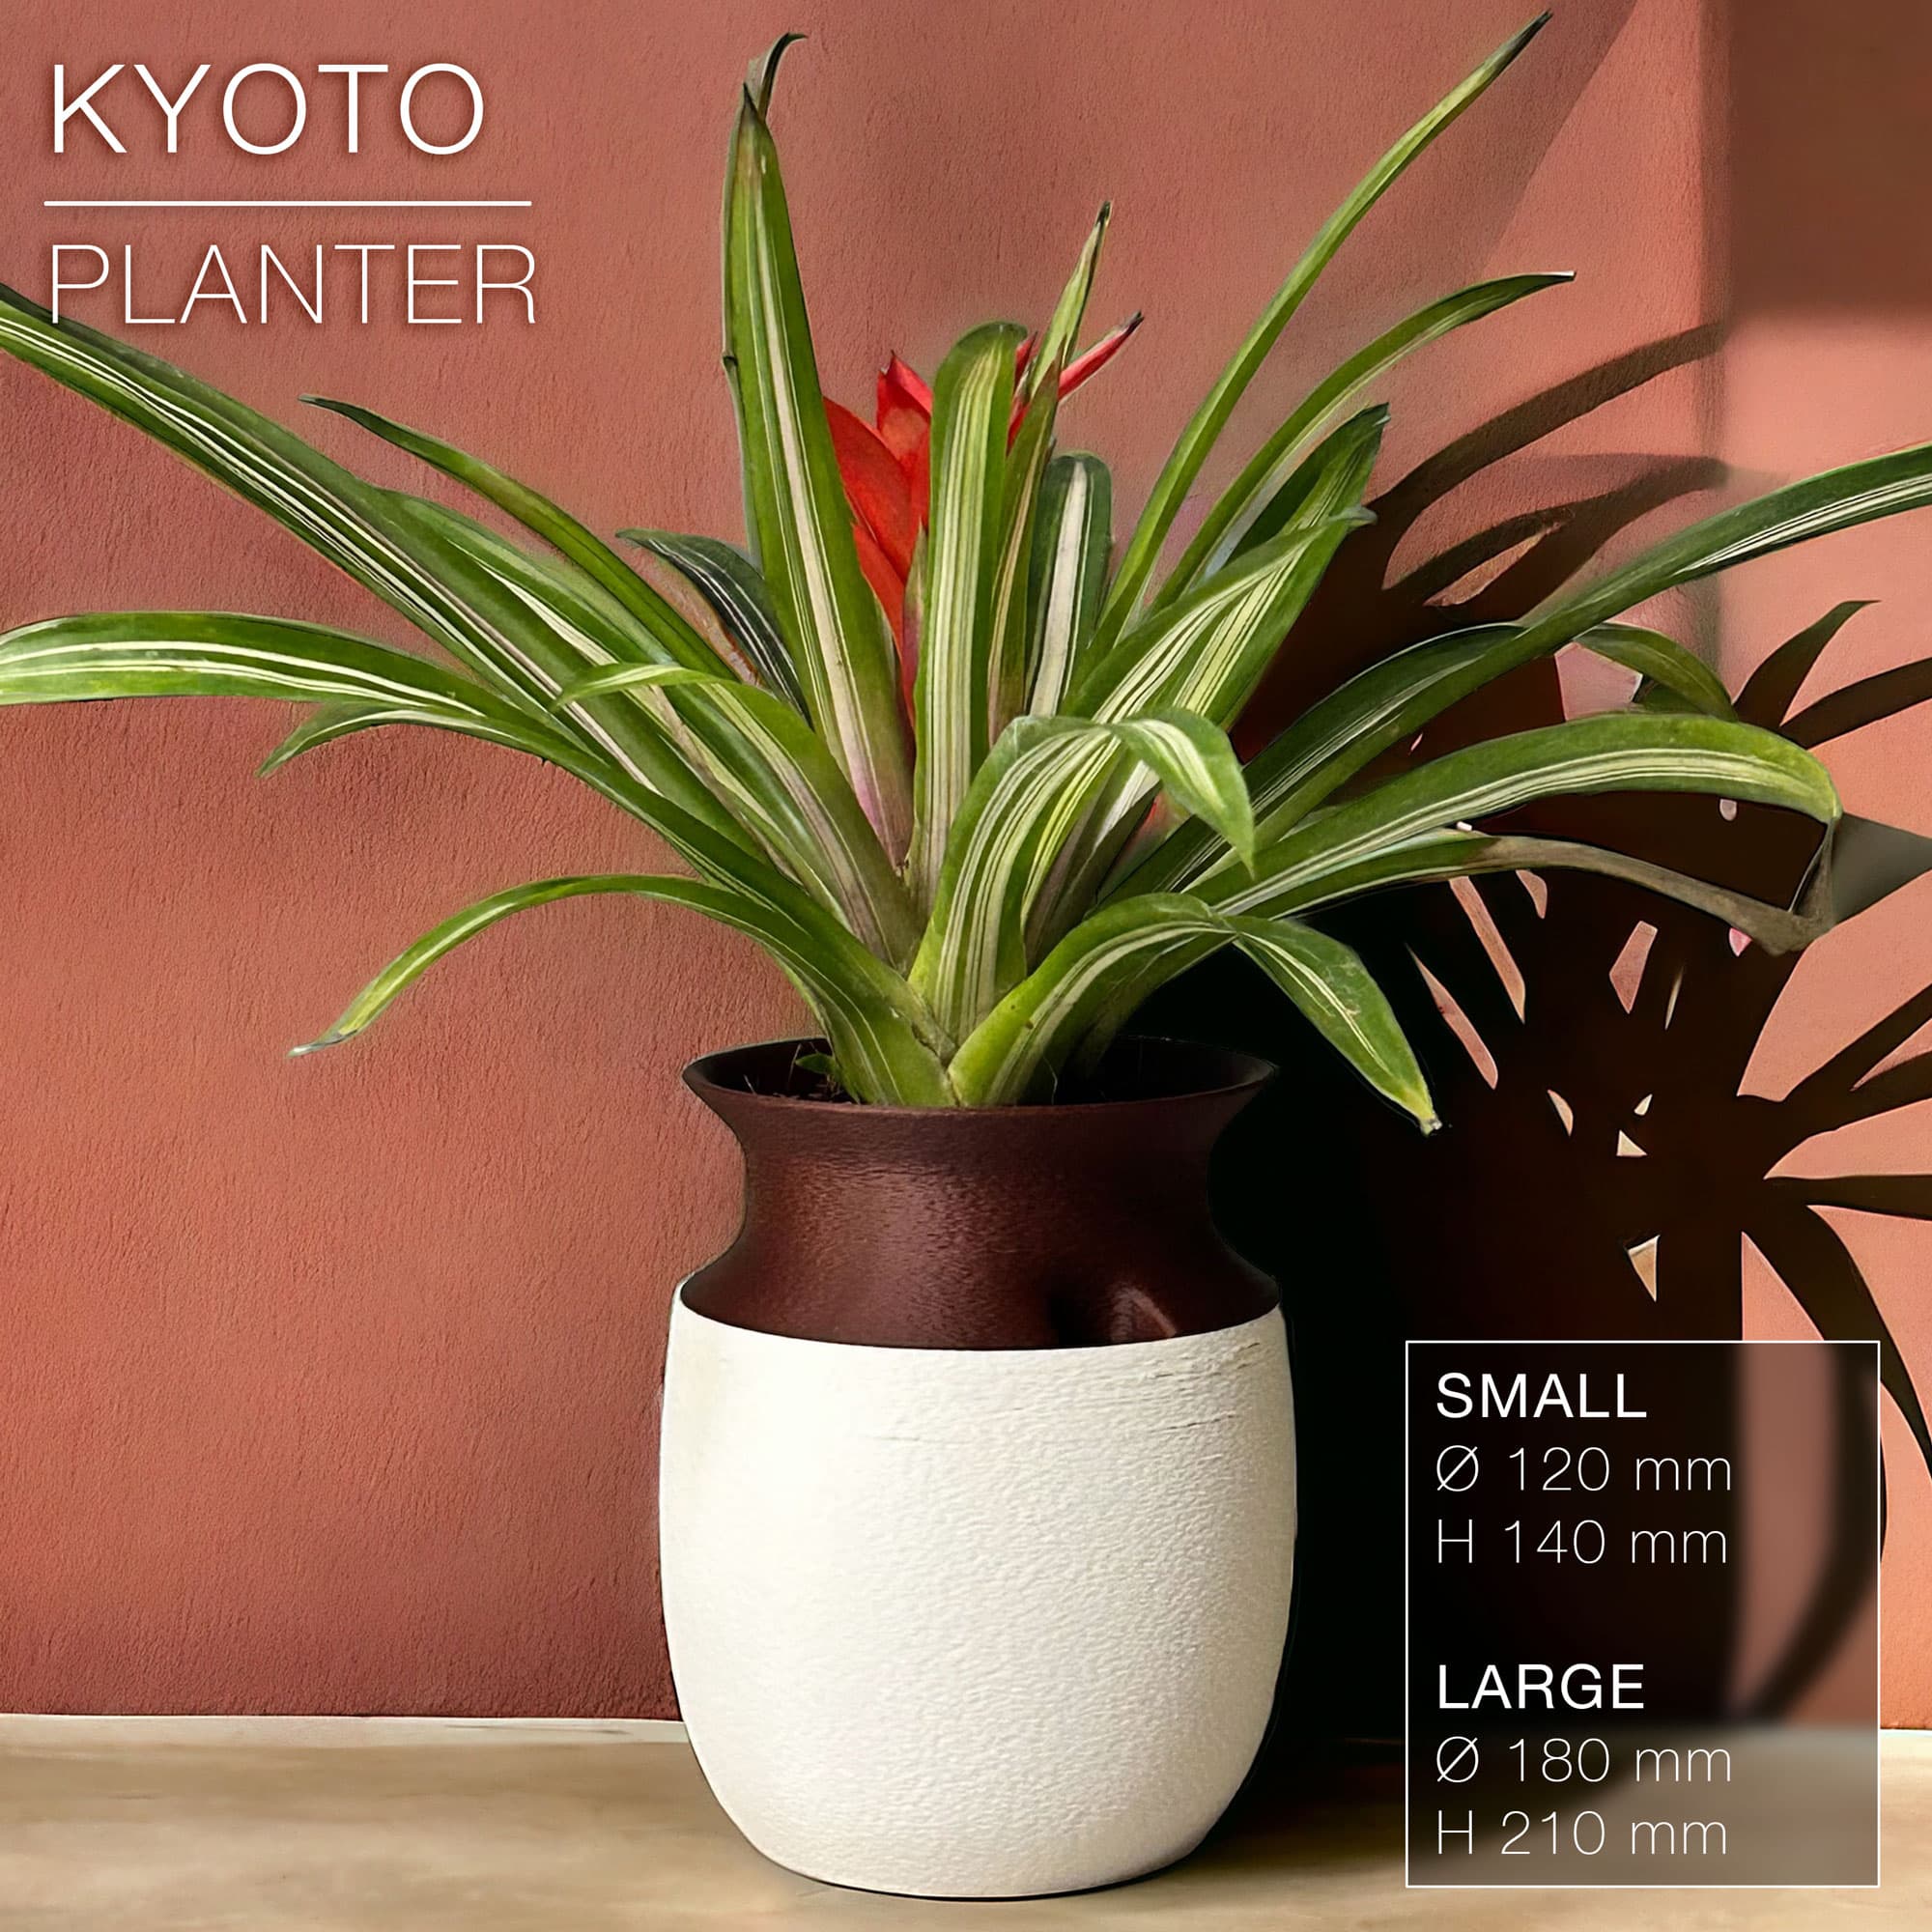
KYOTO | Self-Watering Planter
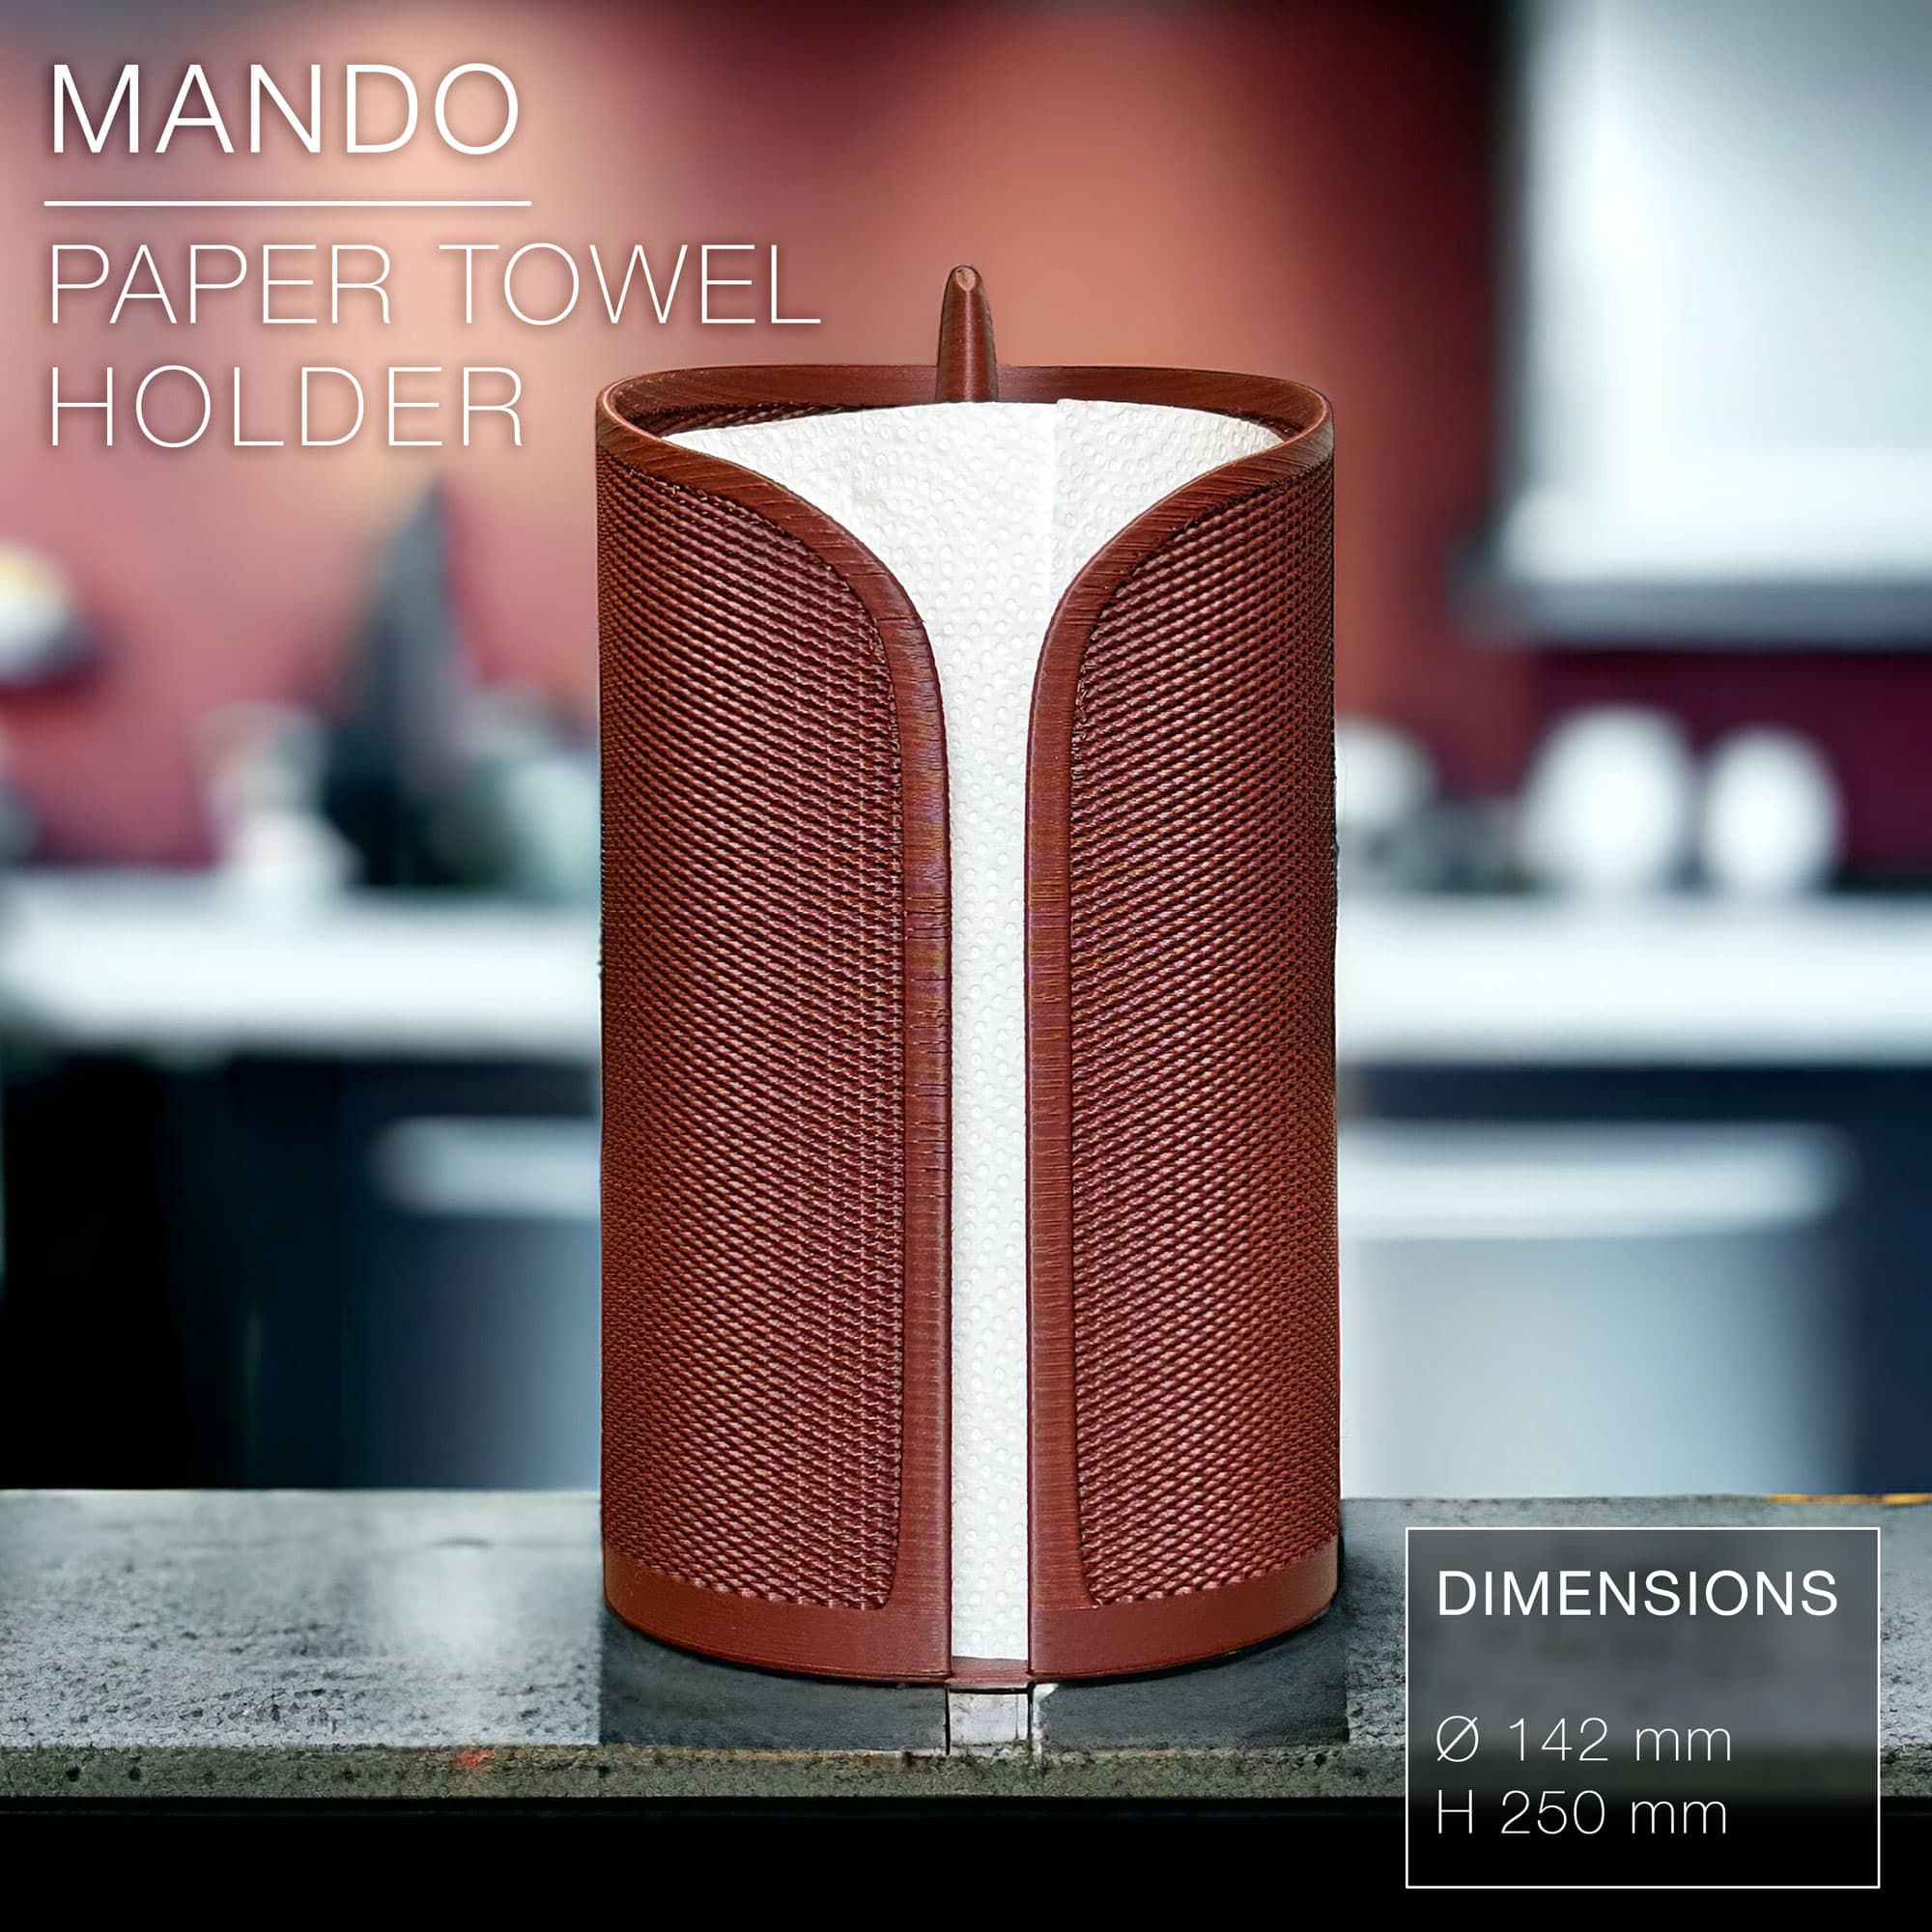
MANDO | paper towel roll holder
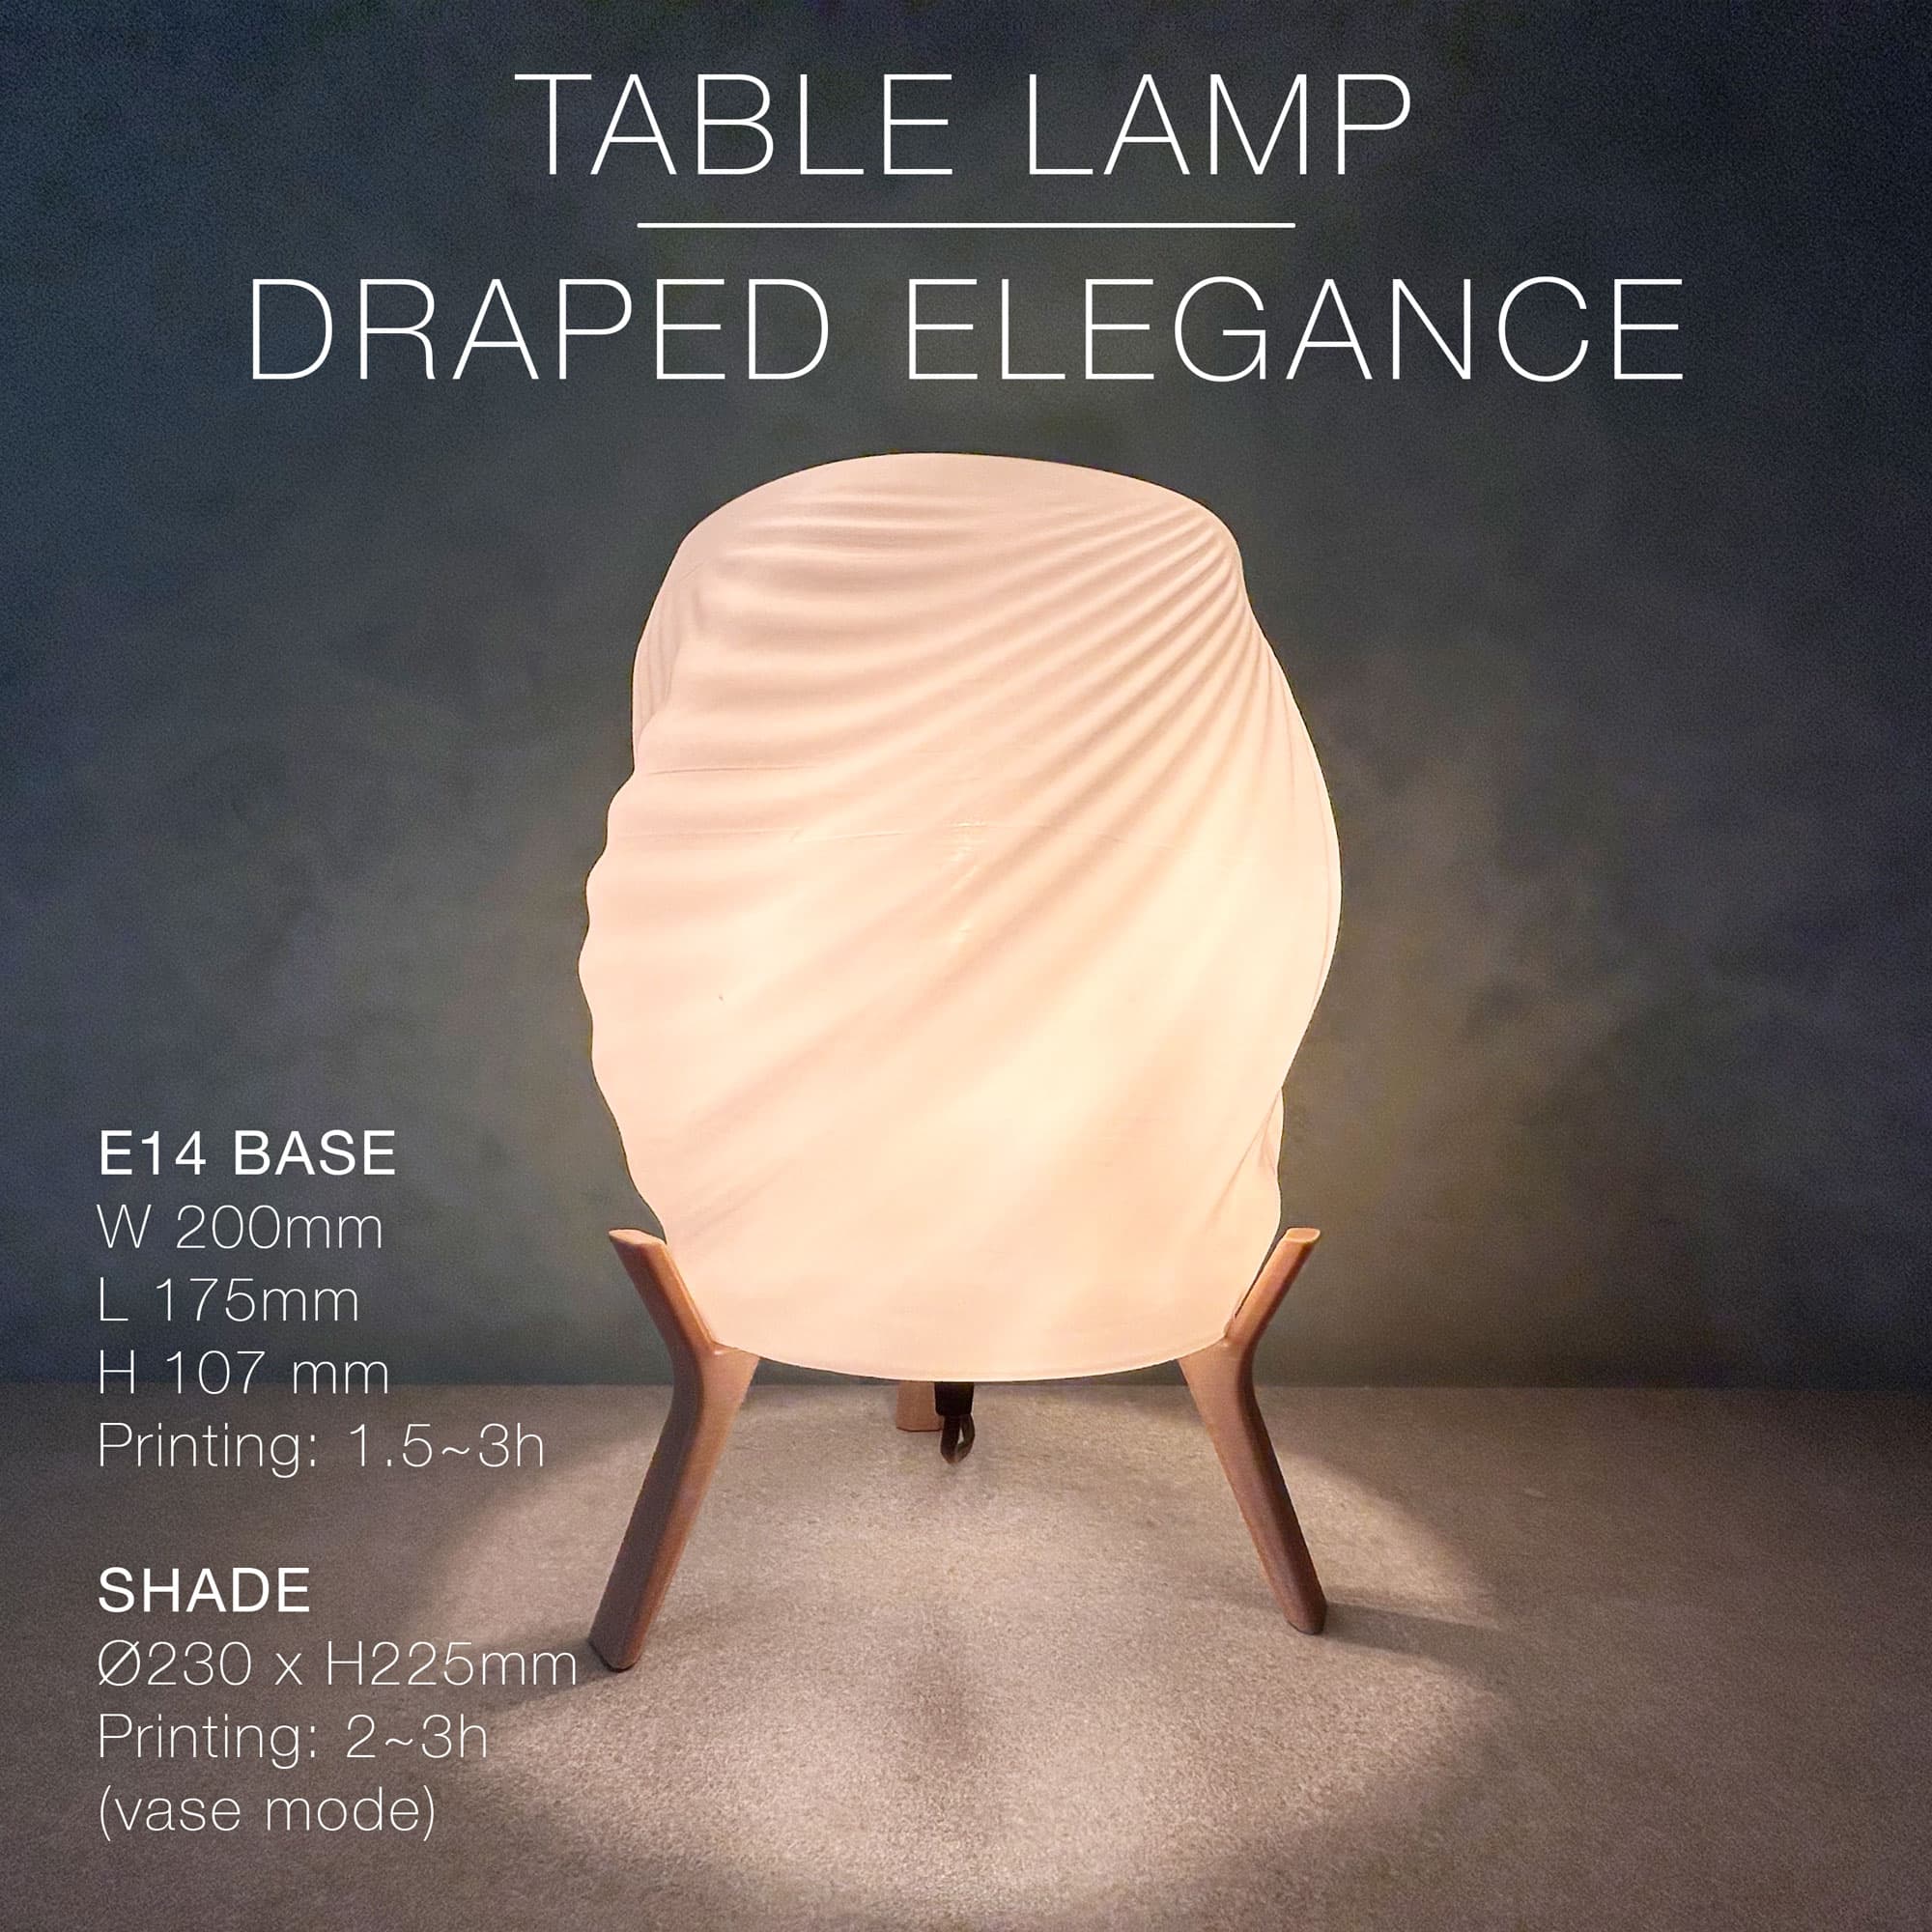
DRAPED ELEGANCE | Table Lamp
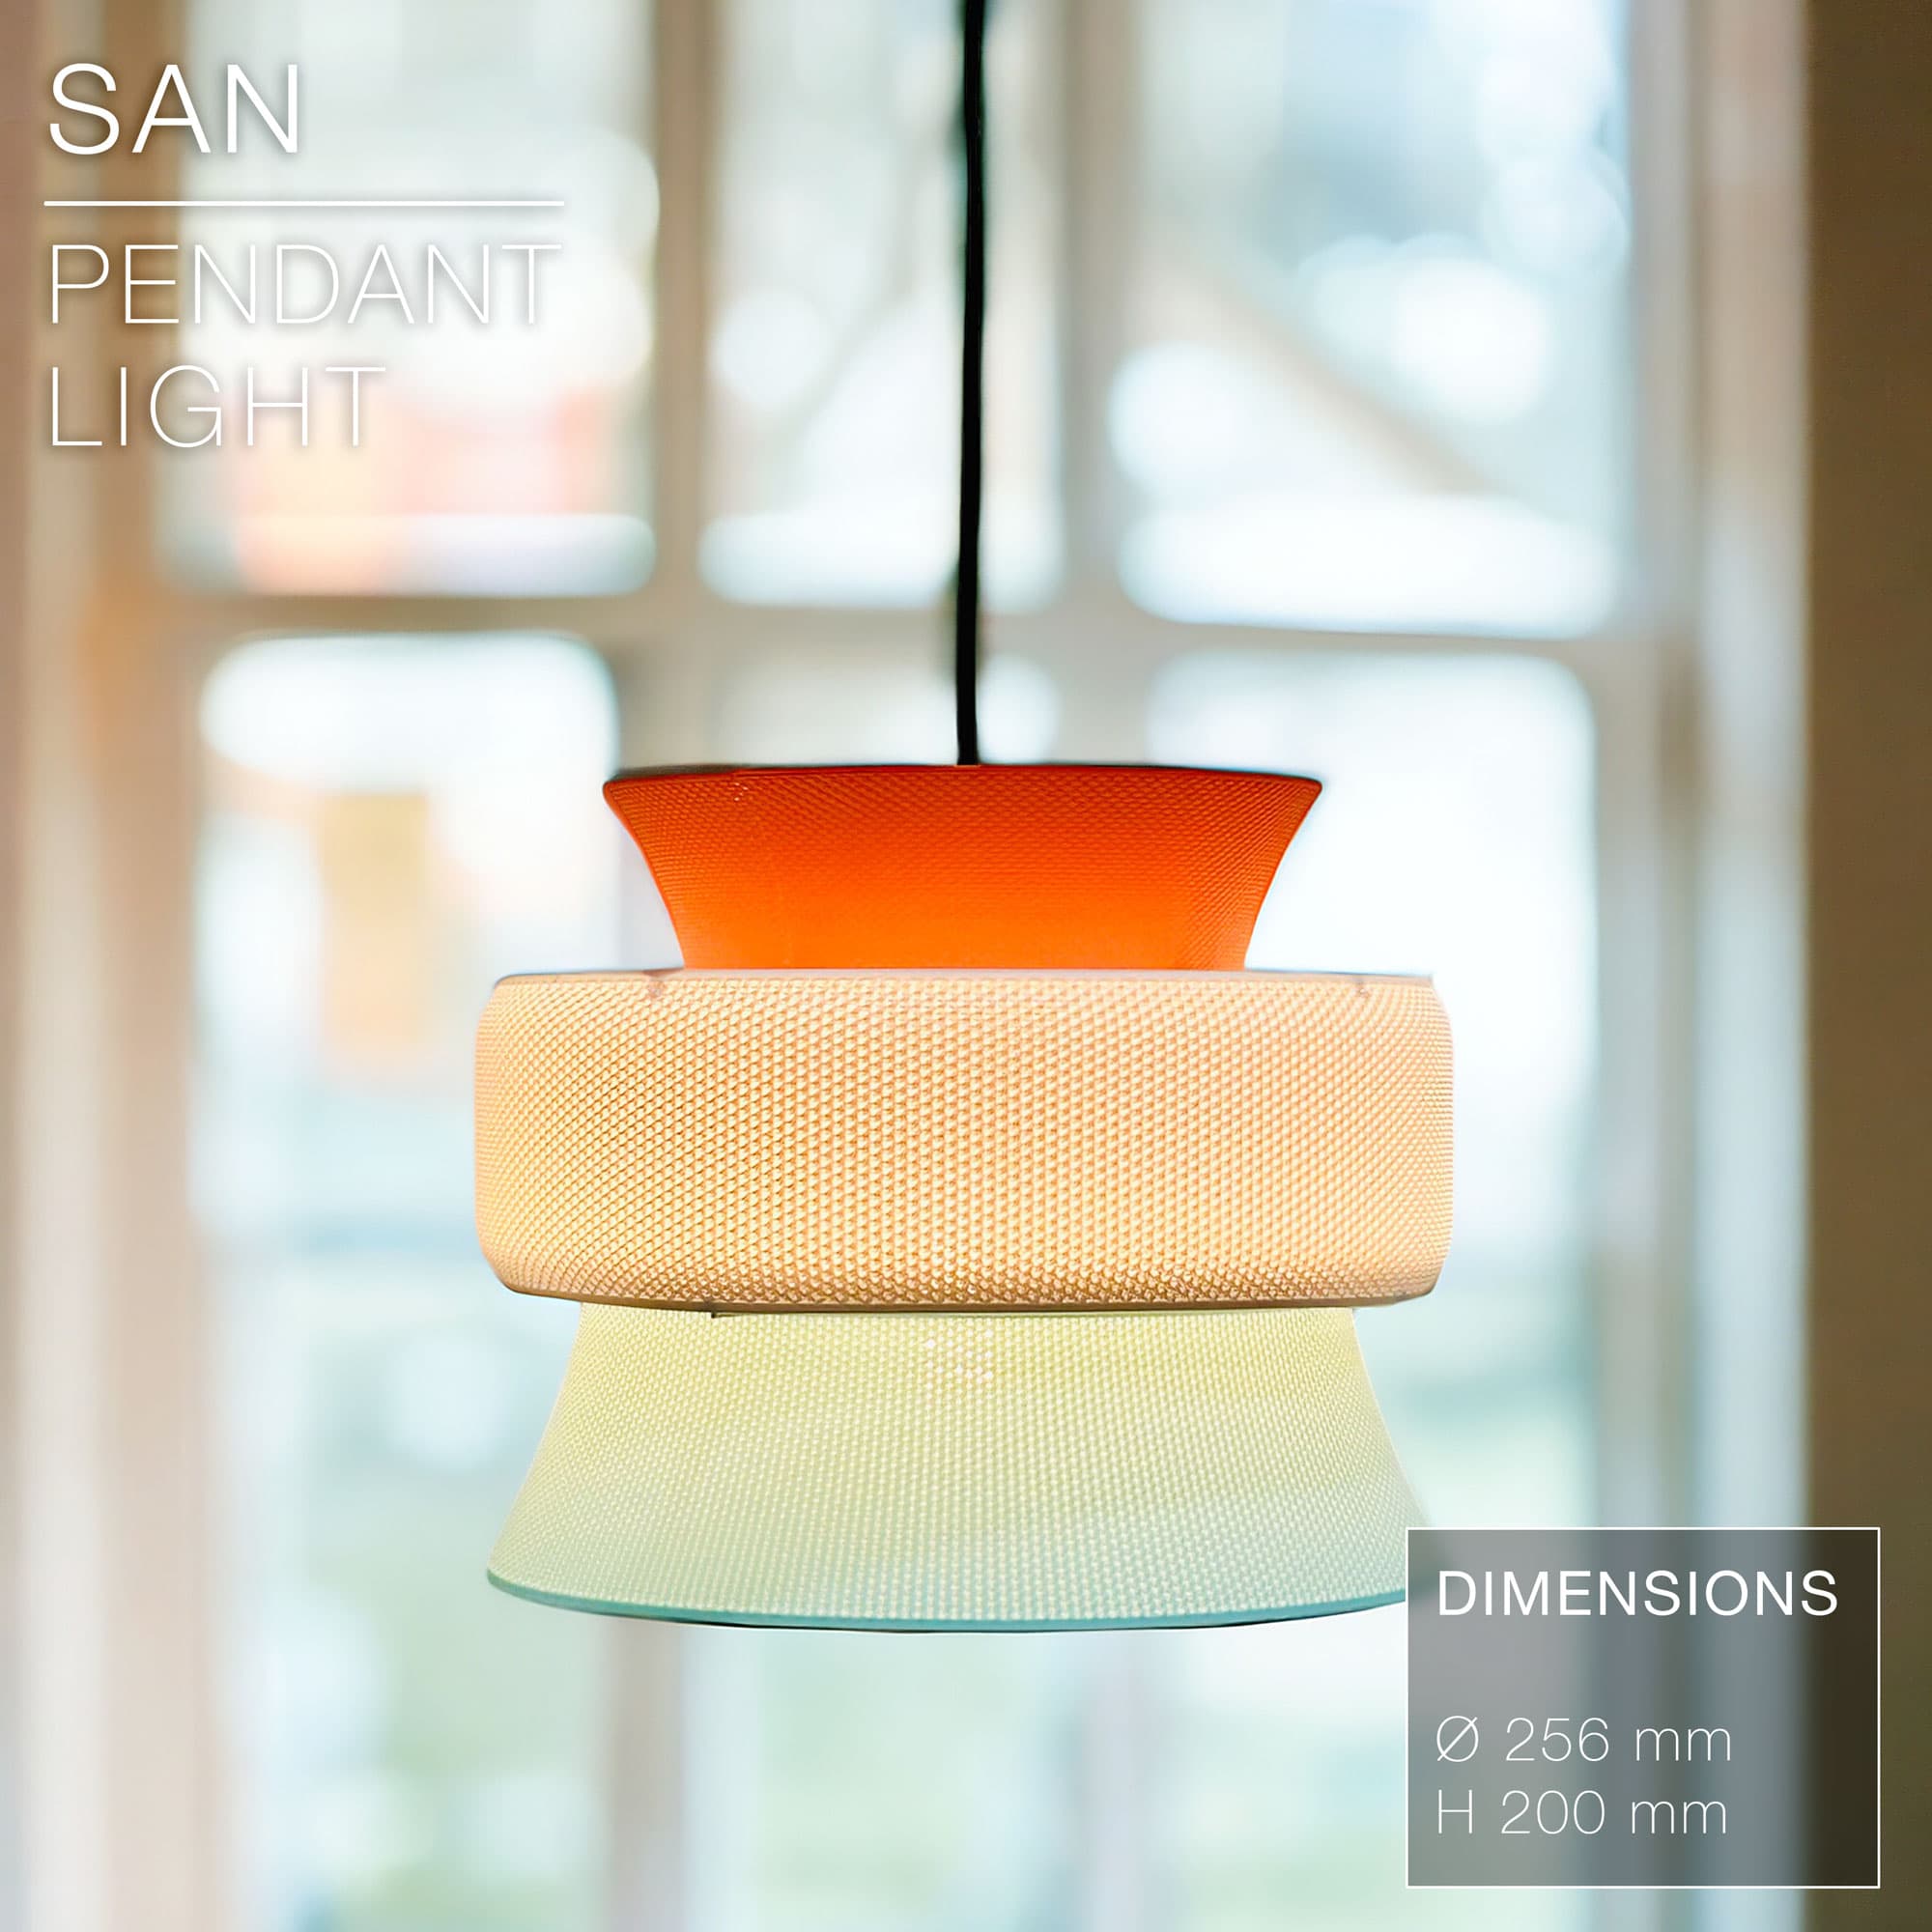
SAN | Pendant Light E27 & E26 fast print

hello, what filament color should I buy for this? is this supposed the by the gradient one?
Hi! Yes, I used a rainbow PLA filament by StrongHero3D. But you can use anything you want. A plain colour PLA would work too.
got it! thank you! looks great by the way!