


S!MPLE Filament Dry Box
The reduced to the max filament dry box!
Design If you are looking for a fancy dry box with filament feeder and spool holder and hygrometer and whatnot then this one is NOT for you! This is the most simple, not to say stupid, but at the same time most effective, handy and cheap filament dry storage box we could imagine. But why so reduced? We do not print directly from dry boxes in our printer farm for a few reasons that might be worth considering for your own use of dry boxes:
-
Within 15 years of experience there have only been a very few, rare cases with PA / Nylon where we could observe that the moisture uptake during really long prints (in very humid weather conditions) had a significant impact on print quality. In 99.99% of the cases it is just fine to take the filament from the dry box, print and then put it back to the dry box.
-
Printing from the box requires additional hardware, a spool holder / roller within the box, Bowden connectors and PTFE tubes. These unnecessarily add up to the cost and complexity of the dry box (and do not forget that the more you build into the box the more will potentially fail) and the additional couplings and PTFE tubes add friction to the filament path, with the adverse effects that has. So we have one reliable spool holder setup at the printer and can be sure everything goes well, even for very long print durations.
-
Another reason why we prefer this simple setup is the number of spools we are juggling. We are using a lot of materials in a lot of different colors and some of the very special materials are really just used once in ages. It makes no sense to include all the spool holder and print out of the box equipment therefore.
-
You might ask yourself why not use bigger containers, like the many IKEA Samla setups there are? Well simply because opening the bigger container always exchanges a bigger volume of moist air from the outside that affects all the spools in the container. So one spool, one container and a very small volume of air.
If you find that reasonable you can get yourself a drying solution for less than €8 per box!
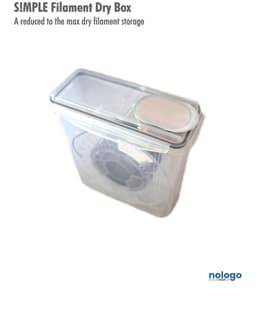
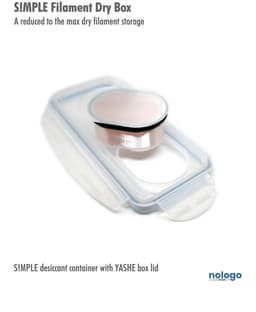
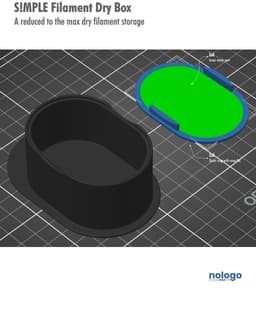
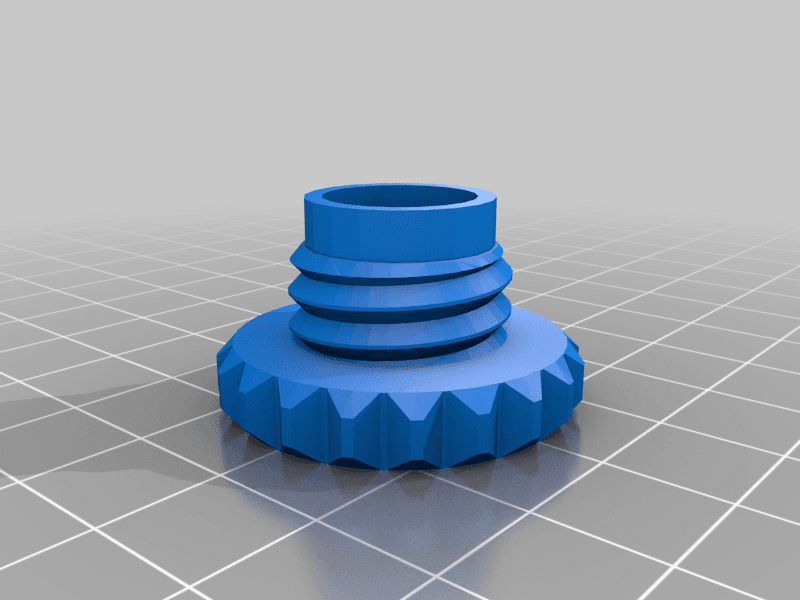
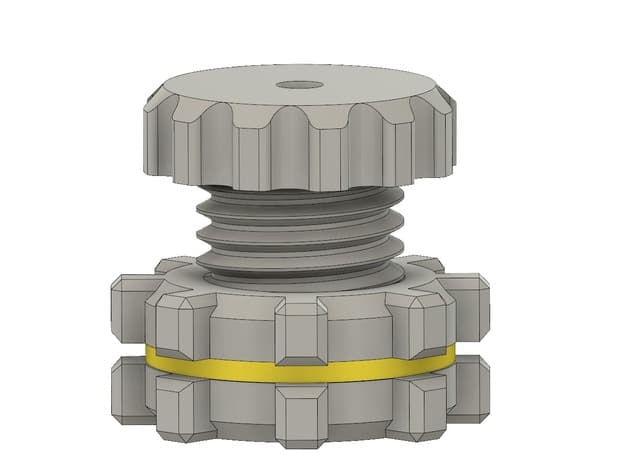
Construction There are two printable parts, the container and the lid, which are optimized for printing with a 0.4mm nozzle. The container has sufficient wall thickness (4 perimeters) to be watertight in order to avoid moisture entering from the outside and fits, together with the original gasket, exactly into the opening the Yashe box has at the top. The lid has to sub parts, an outer rim with the snap fits to attach it to the container plus an inner filling part that will make up the mesh, later letting the air into the desiccant, when printing (see 'Slicing & Printing'). In addition to that you will need a Yashe storage box which you can find online (link below).
Slicing & Printing Although the parts would print with standard settings there are a few parameters and settings (already set in the 3mf file) that will greatly improve the result:
For the container we suggest to set the bottom and top layers to zero and the infill to 100% aligned rectilinear. When printing with a translucent material (like e.g. PETG, which we used because it is almost not hygroscopic at all) you will get the maximum translucency on the lid, which will help you see the state of the desiccant at a glance (see also 'Assembly' below).
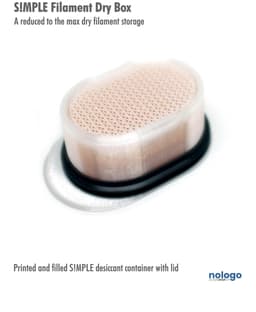
The lid has two sub parts, the outer ring / rim with the snap fits and the inner area making up the mesh. To simply achieve the mesh the inner part should be set to zero perimeters, zero bottom and top layers and 30 - 35% gyroid infill. This results in a solid outer ring with just the gyroid mesh in the middle and is probably the fastest way to print such a structure that lets the air permeate into the desiccant.
All in all it uses approx. 25 g of filament and prints in less than an hour.
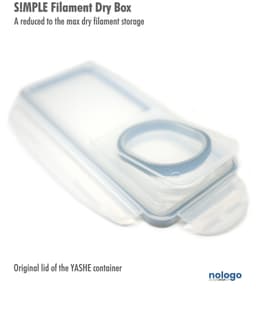
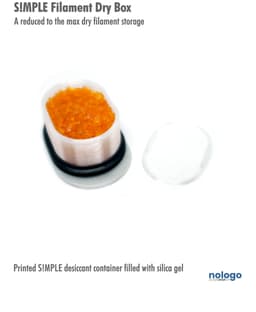
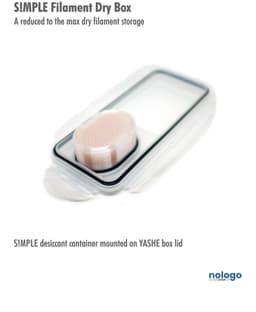
Assembly Take the original lid off the Yashe box and remove the gasket, paying attention to its orientation on the lid. With the same orientation you put the gasket on the printed container all the way until it touches the top. Then you fill the printed container, with the gasket mounted, with desiccant (you need approx. 70 - 80 g) and snap the lid on. Now you can place the container on the box in the same place the original lid was in. One of the edges of the lid is extended and should be oriented to the front of the box, which makes removing (for e.g. refreshing or exchanging the desiccant) it easier. We use silica dry gel (link below) that changes color from orange to green when it gets moist and looses its effectivity. The translucent lid lets you observe that at a glance and you know when it is about time to refresh the desiccant in the microwave or oven.
Material Links The links provided here are affiliate links and we will get a few cents of your purchase but hope you will still be using them since we are providing the model for free...
Keep it simple, keep it dry, happy printing!
S!MPLE Filament Dry Box
.png&w=3840&q=75)
Heated 3D Printer Filament Dry Box / Hot Box

Filament Dry Box

filament storage dry box

Silica Filament Dry Box Base.3mf

Modified Lid for Combined Desiccant Cup / Hygrometer Mount for Filament Dry Box

FLSUN T1 Pro Cereal Container Filament Dry Box Holder
Filament Dry Box Grommet

Dry box for filament spools
Dry-box Filament Pass-Through

Filament Dry Box Label
.png&w=3840&q=75)
2 inch PVC holder mount for filament dry box project
.png&w=3840&q=75)
Filament Spool Container Dry Box / 3d print Accessory Gadget Smart
Polymaker Filament Swatch Box

Jam-Free Cereal Dry Box

Tool Box Base for 60 Filament Swatches with Easy Access Frikarte3D.stl

Filament Box Storage System

Tool Box Base for 30 Filament Swatches with Easy Access and 2 Back Compartments

Filament Box Upcycling Frame

Tool Box Base for 30 Filament Swatches with Easy Access and 2 Front Compartments
