


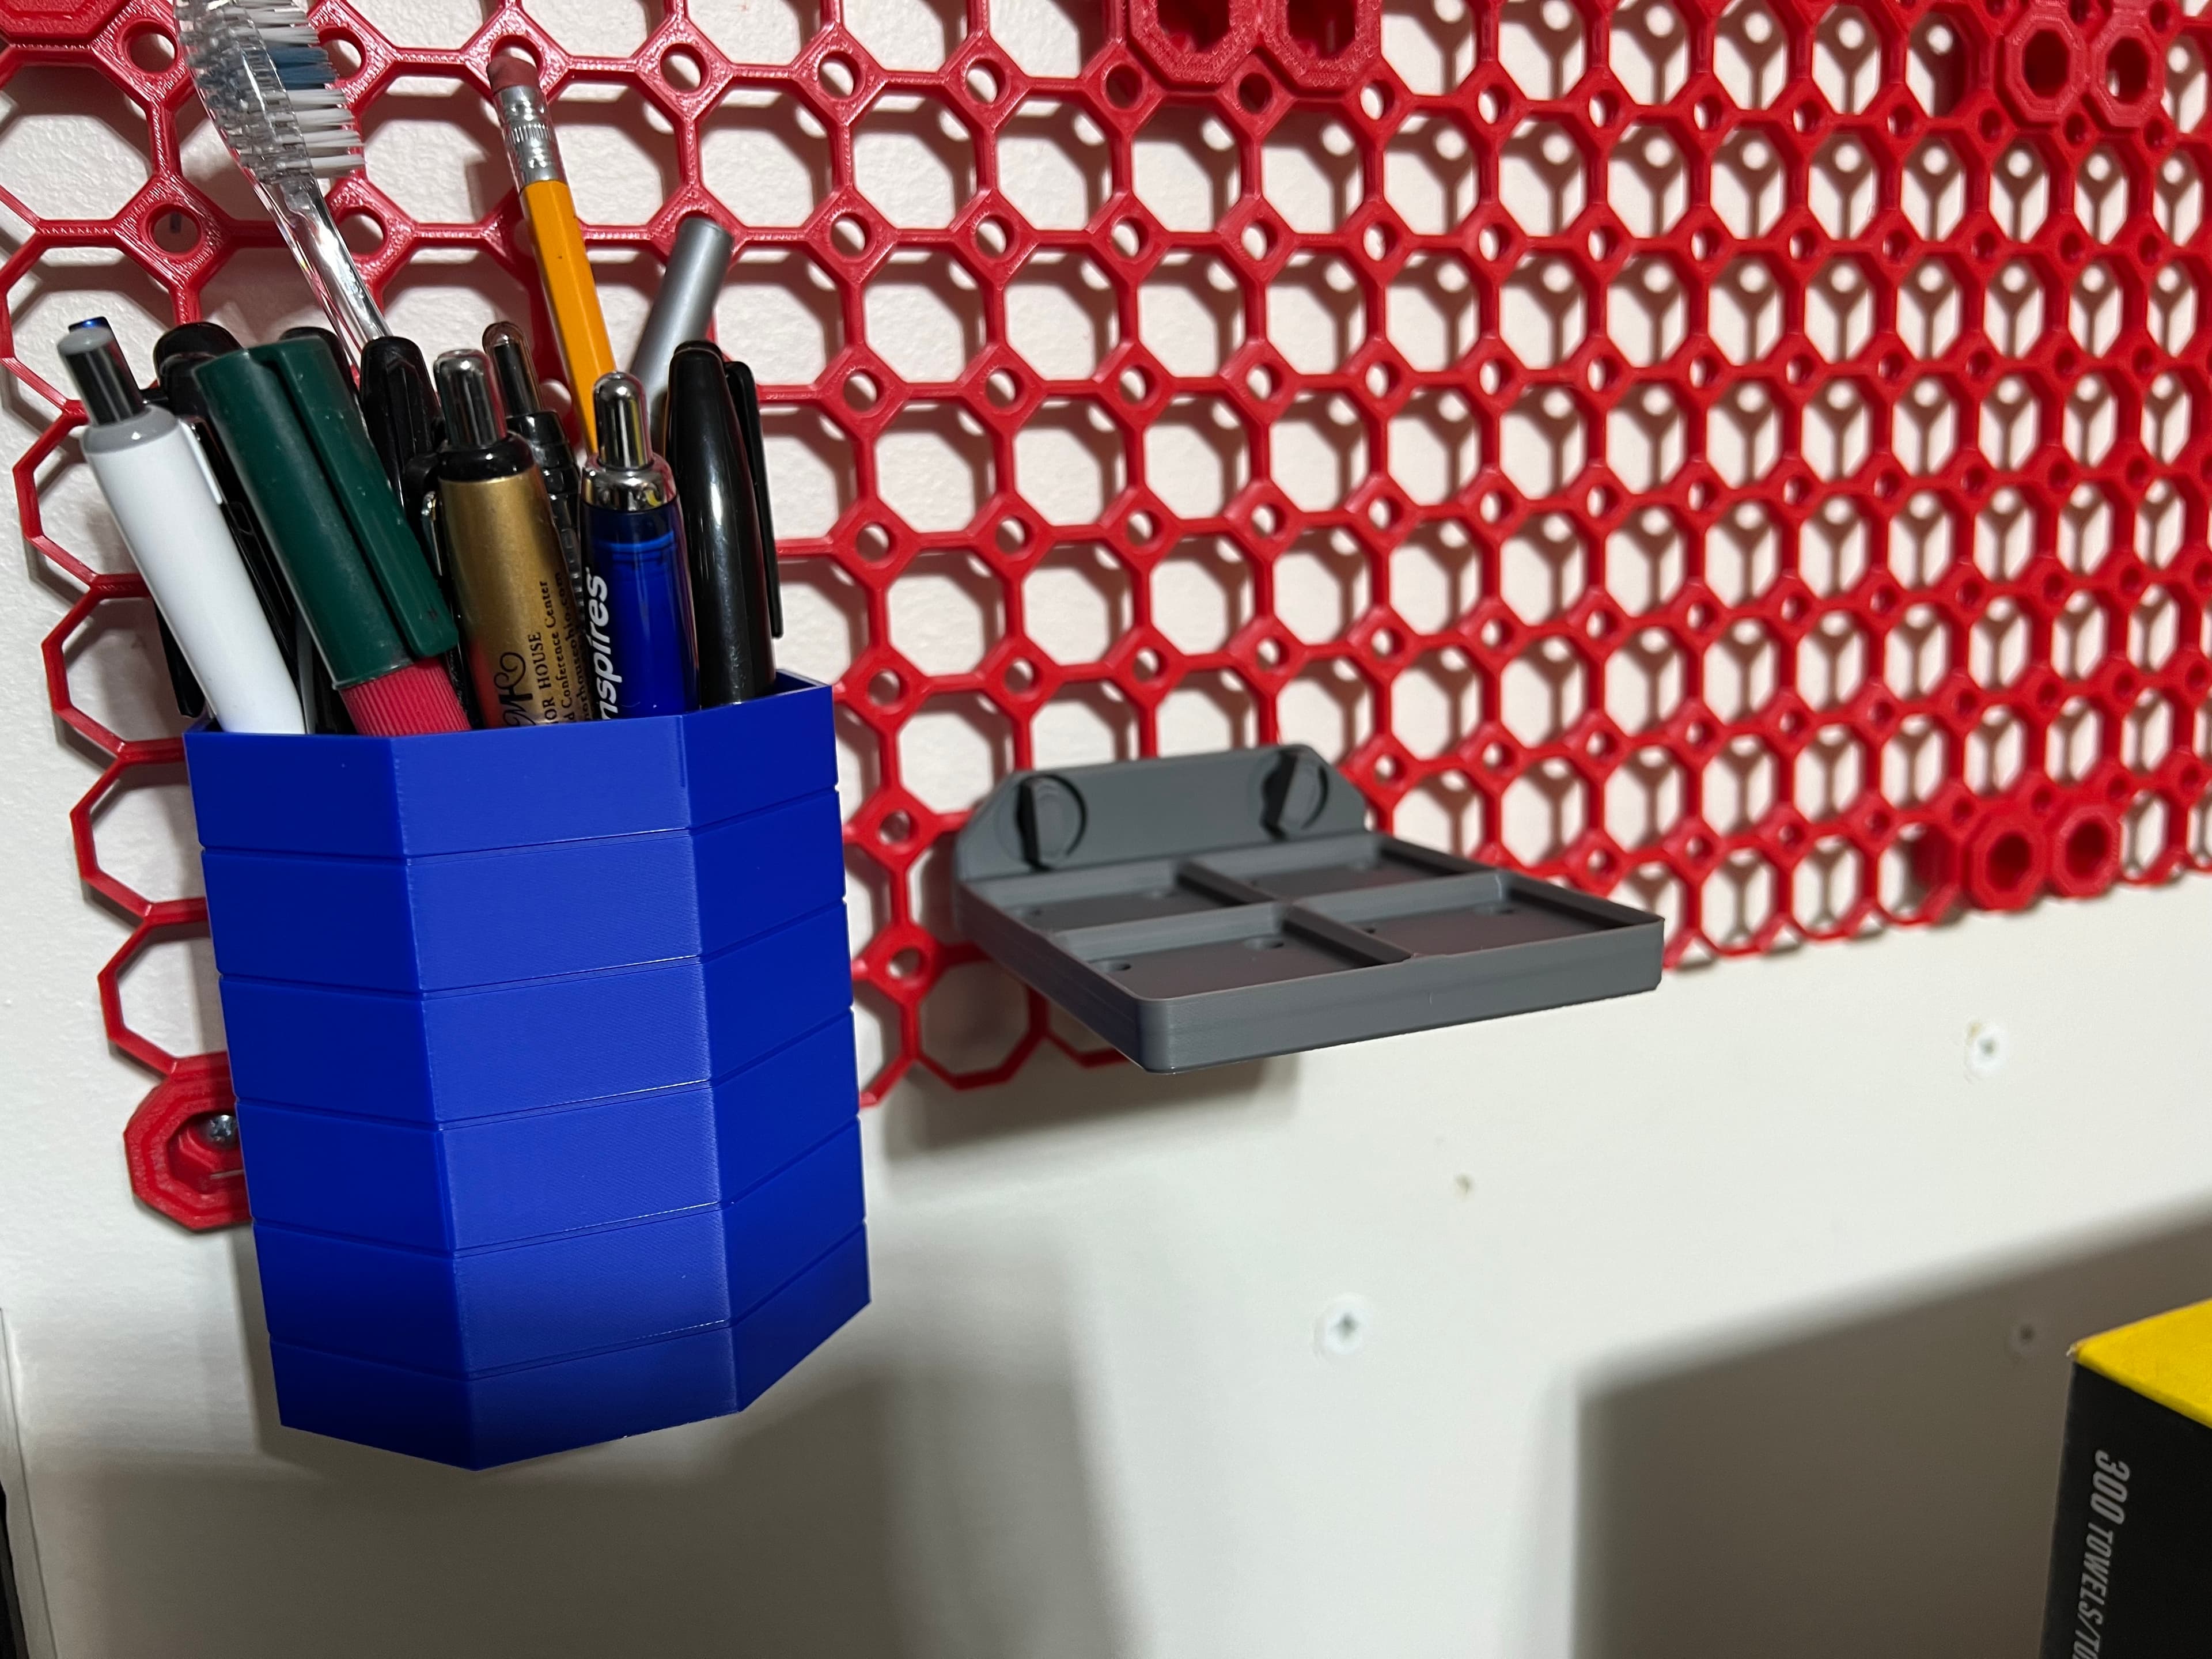
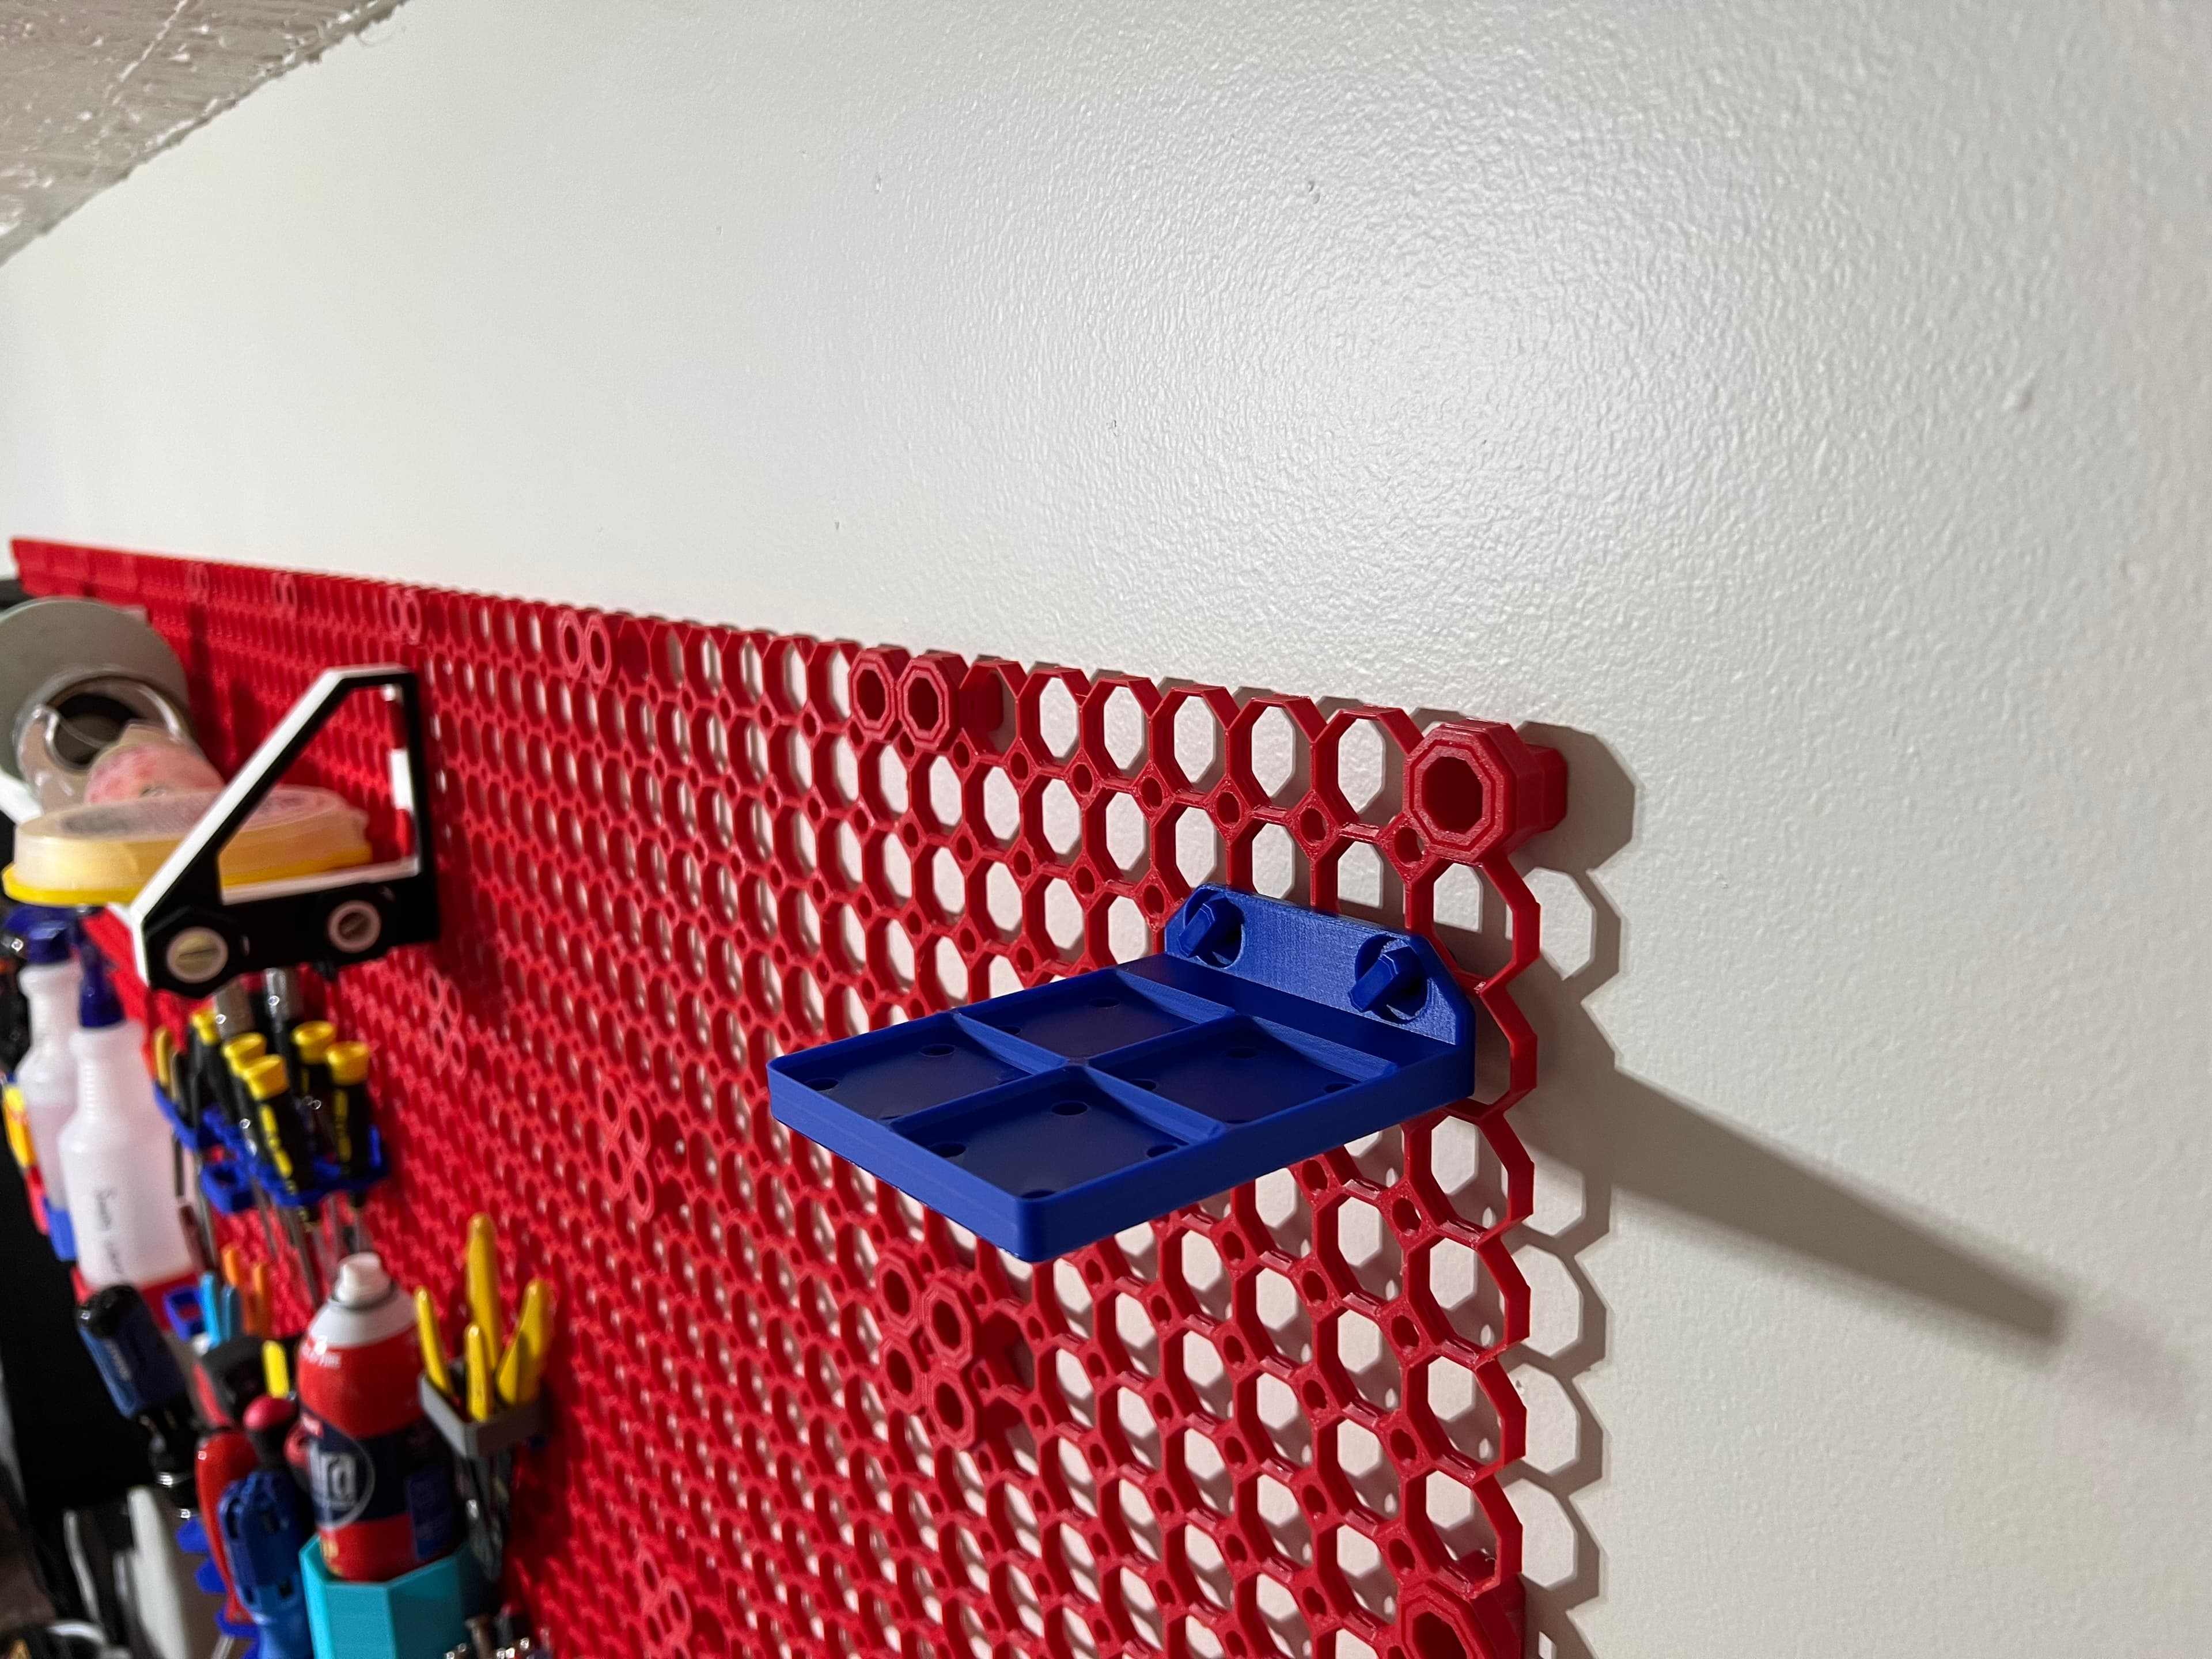
Gridfinity Baseplate PETG-Stacked
Hey All! This is my attempt at printing multiple Gridfinity baseplates stacked on top of each other, using PETG as the support material. This was partly inspired by YouTuber "3D Printing Nerd", specifically this video: https://www.youtube.com/watch?v=RAciAS1ssuc
I use a 0.4mm nozzle, and this was printed on a Bambu Lab X1 Carbon with the used filaments in the AMS. I have not tried other configurations, and can not guarantee successful prints! Use a small baseplate for your first print to reduce filament waste on a potential failure!
Included is a sample OrcaSlicer project, from which you can save the (not so important) Bambu PETG Support which is based on Bambu Labs PETG Basic preset, but with the following changes:
**- Filament -> Max Volymetric Speed: 13 -> 8
- Cooling -> Min Print Speed: 10 -> 8**
This is to try and improve the support adhesion to the print, since PLA and PETG don't really like sticking together (coincidentally why It's an excellent candidate for a support material when printing PLA!)
More important is the Process preset used, called 0.25mm Stacked Gridfinity It inherits 0.16mm Optimal @BBL X1C (don't ask me why), and the important changes are: **- Quality -> Layer height: 0.16 -> 0.25
- Quality -> First layer height: 0.2 -> 0.25mm
- Quality -> Avoid crossing walls: False -> True
- Strength -> Wall Loops: 2 -> 3
- Strength -> Top shell layers: 6 -> 2 (To improve print time)
- Strength -> Bottom shell layers: 4 -> 2 (To improve print time
- Strength -> Sparse infill density: 15 -> 30 (I don't think this matters)
- Strength -> Sparse infill pattern: Grid -> Lightning (I don't think this matters)
- Speed -> Support: 150 -> 100 (to improve chances of support sticking)
- Support -> Enable Support: False -> True
- Support -> Style: Default -> Snug (to dramatically reduce filament swap count)
- Support -> Support/raft base: Default -> PETG
- Support -> Support/raft interface: Default -> PETG
- Support -> Top Z distance: 0.2 -> 0
- Support -> Bottom Z distance: 0.2 -> 0
- Support -> Interface pattern: Default -> Rectilinear (shouldn't matter, but just to be sure)
- Support -> Top interface spacing: 0.5 -> 0
- Support -> Bottom interface spacing: 0.5 -> 0
- Support -> Support/object xy distance: 0.35 -> 0.5
- Others -> Prime Tower -> Enable: True -> False
- Others -> Flush into objects' support: True -> False**
If I missed any changes, let me know, above list may be incomplete!
How to use
- Add the Gridfinity baseplate STL you want to print
- Right Click the part, and in the menu select Add Part -> Load... and once again select your Gridfinity baseplate STL, repeat this until you have as many copies as you want to print
- Use the "Move" tool to place all your parts in the exact same location
- Use the "Move" tool again, and place all your parts on top of eachother, with 0.25mm empty space between each part. If you don't like math, see the Cheat-sheet below.
- Slice plate and print!
I doubt this is optimal by any means, but it works for me. I encourage you to experiment with parameters and share your results so that we all may improve our prints!
Stacking Cheat sheet h = model height in mm (5) l = layer height in mm (0.25) n = row number z = result Z-value
z = (h + l) * n
Row -> Z-value 0 -> 0mm (bottom part) 1 -> 5.25mm 2 -> 10.5mm 3 -> 15.75mm 4 -> 21mm 5 -> 26.25mm 6 -> 31.5mm 7 -> 36.75mm 8 -> 42mm 9 -> 47.25mm 10 -> 52.5mm 11 -> 57.75mm 12 -> 63mm 13 -> 68.25mm 14 -> 73.5mm 15 -> 78.75mm 16 -> 84mm 17 -> 89.25mm 18 -> 94.5mm 19 -> 99.75mm 20 -> 105mm
Gridfinity Baseplate PETG-Stacked

Gridfinity Stack Printing baseplate

Magnet Bottom Gridfinity Baseplate

Support-less Weighted Gridfinity Baseplates (CadQuery Customizable)

JIGFINITY: All-in-One Gridfinity Magnet Baseplate Bin Jig

Gridfinity Baseplate 4 x N

Gridfinity Baseplate 7 x N
Multiboard Mounted 2x2 Gridfinity Baseplate

gridfinity baseplate magnet jig

Gridfinity Baseplate 2 x N

Gridfinity Baseplate 1 x N

US General Series 3 27in Roll Cab Gridfinity Baseplate

Gridfinity Baseplate Magnet Jig
Deep Multiboard Mounted 2x2 Gridfinity Baseplate

Gridfinity Baseplate 5 x N

Gridfinity Baseplate 6 x N

Gridfinity Baseplate 3 x N
![Gridfinity Baseplate Basket [PARAMETRIC] 3d model](/_next/image?url=https%3A%2F%2Fstorage.googleapis.com%2Fproduction-thangs-public%2Fuploads%2Fenhanced_images%2Fv1%2F7ca87366-e186-4613-9025-3522ef3a842e%2F0_IMG_4601-2.jpg&w=3840&q=75)
Gridfinity Baseplate Basket [PARAMETRIC]

Glue-on 1x2 Angled Gridfinity Baseplates

Gridfinity Baseplate - Lite or Solid - less filament

Is it correct that you have roughly 10 filament changes per 2 layers? For me, the interface layer prints at the same layer heights as the grids, so the slicer shows a lot of changes.
Am I missing a print setting that is enabling this or is this expected behaviour? I tried to compare all the print settings to see I ahven't done anything differently. Thanks!
I had warping issues that trying this on both an A1 and P1S and I noticed when removing the plates prior to finishing a stack of 6 that the bottom one was very flexible and then realized the filament profile for the PETG had the bed temp at 70C. Going to try again with the temp at 55C like normal for PLA and see if it makes a difference. Good news is I still had 3 recoverable plates.