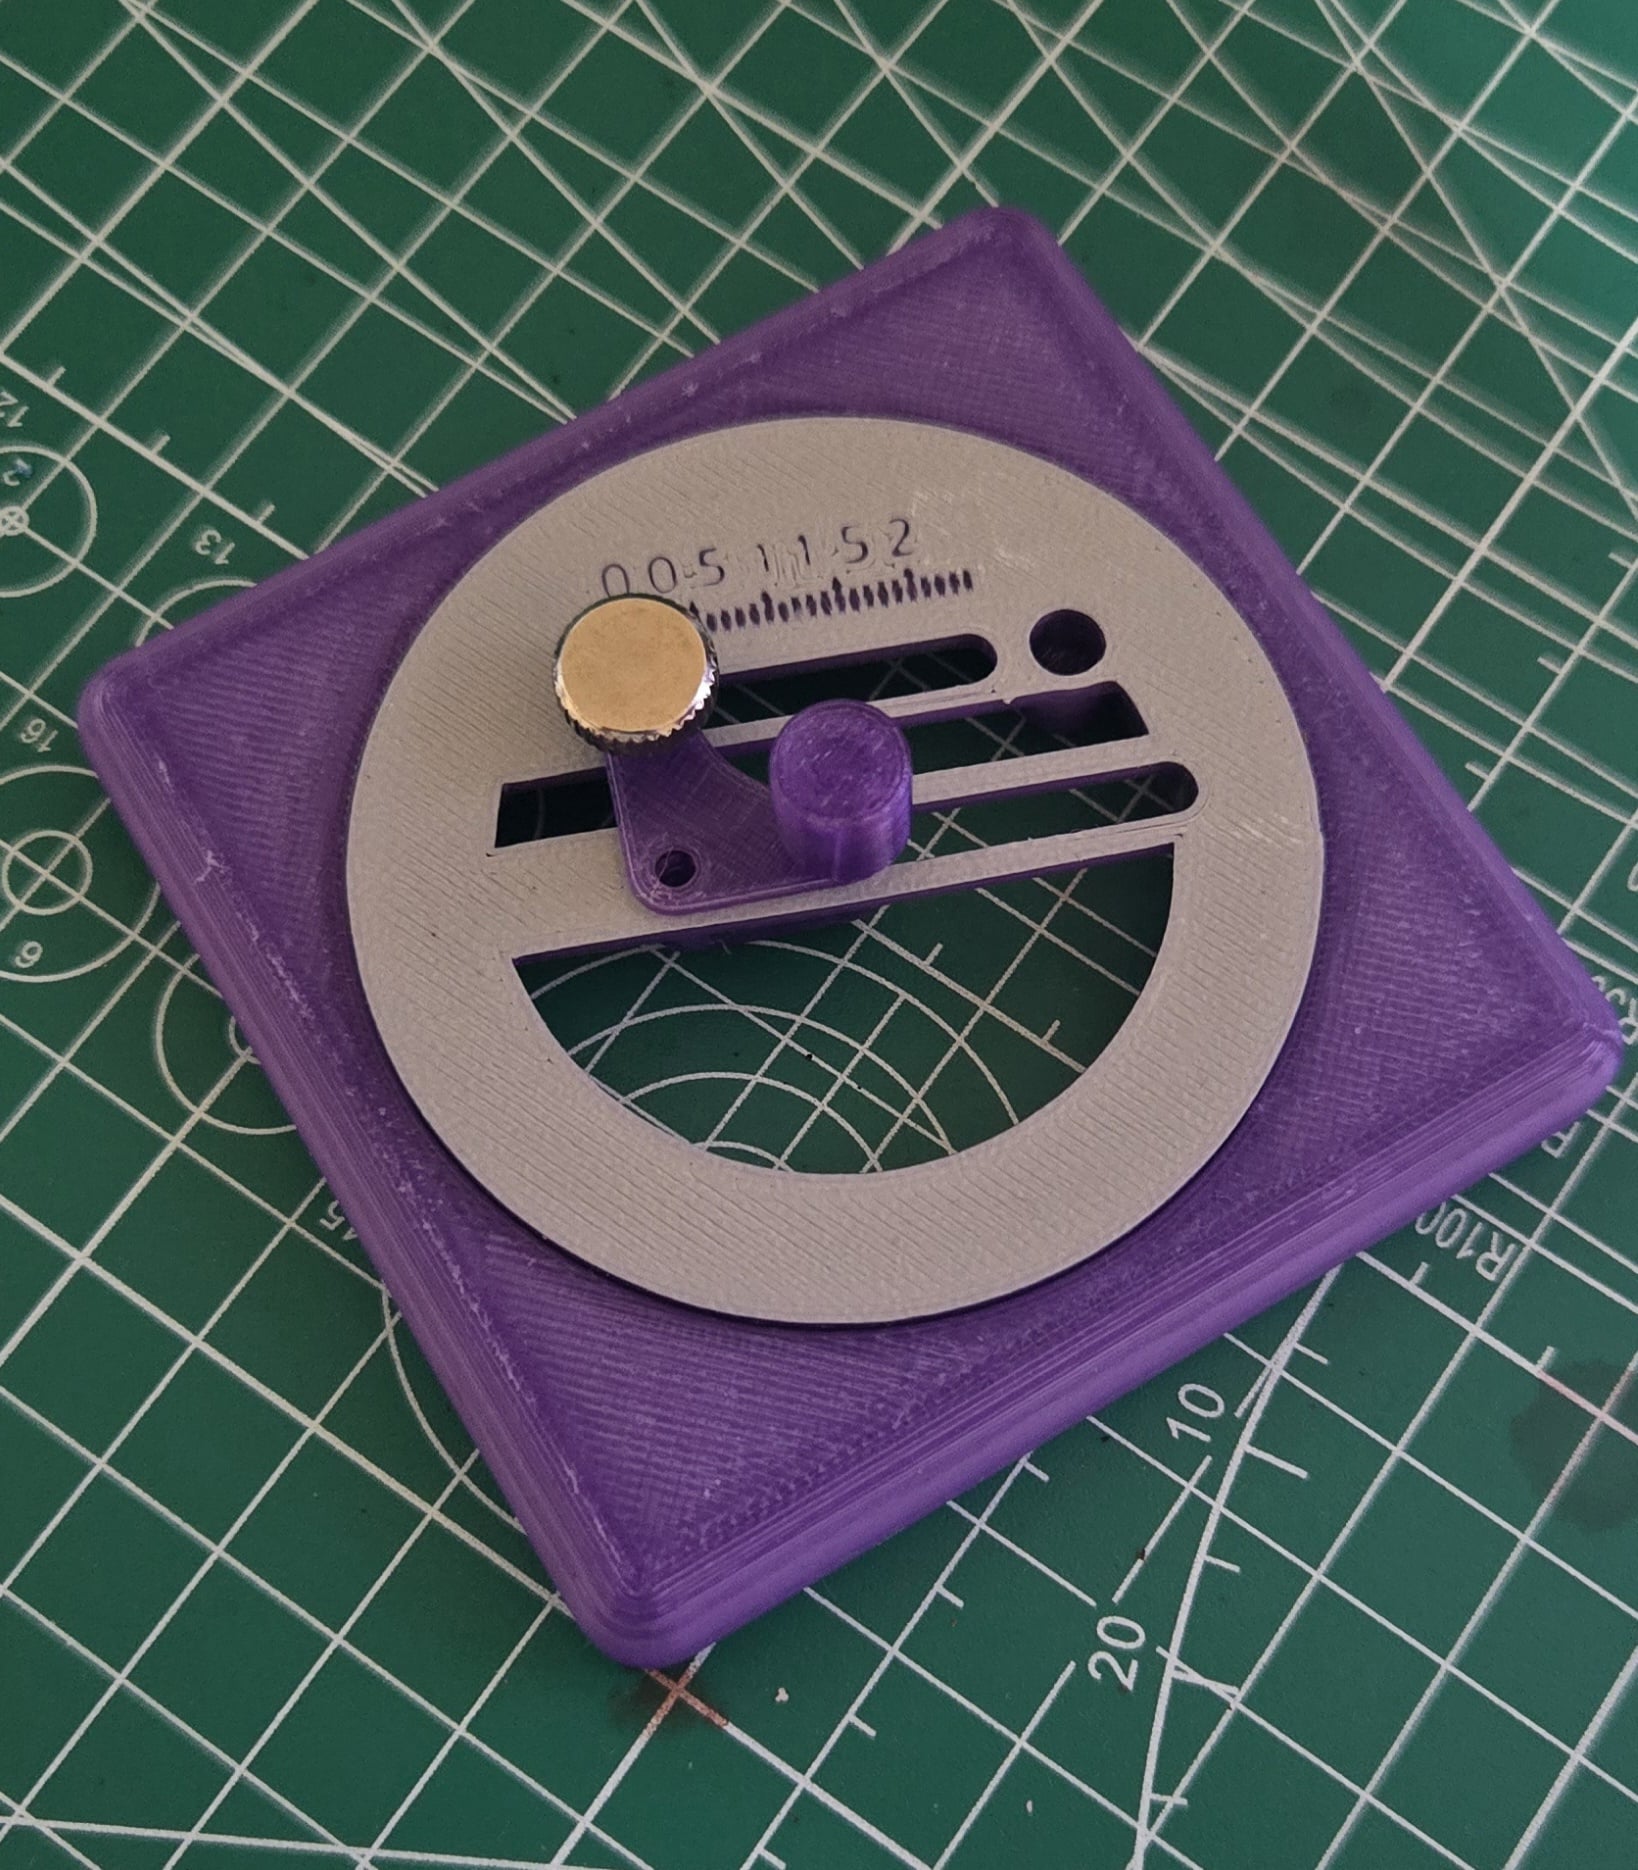


Multi Material Circle cutter
A multi-material circle cutter for masking tape.
Everything should be included inside the CircleCutter.3mf file.
This is designed for multi-material printing, you may try to print the bearing using only a single material but it will likely fail.
It can be printed with a single material, if you are not printing the bearing. I recommend doing the "filament swap" trick to print out the ruler and numbers in a different color.
Here are the recommended materials: Balls for the bearing: PLA -> Slow down the printing speed, I have mine set at a max of 5mm³. Basically everything else: PETG I used two colors of PETG for the bearing, but it's not required. Print settings: 0.2mm layer heights, consider using 0.1 if the plastic threads aren't working well.
You can opt not to print the bearing and use a 50mm ID 65mm OD and 7mm bore bearing.
Buy list (links are affiliate links): Heatset inserts: ~4.2 mm m3 heatset inserts. This is required, you need to tighten the thumbscrew so the blade wont slide in the rail on it's own. Variety Kit Cutter blades: Any blade with a 2mm shaft will do Plotter Cutter Blades M3 thumscrew: To secure the cradle while cutting M3 thumbscrew
Optional Bearing
Assembly:
- Insert a heatset insert in the top hole of the "CradeBottom". This should be done from the back
- Optionally, do the same for the other big hole if the cradle isn't stable enough
- Make sure you can thread in the thumbscrew
- The the inner part, and bottom of the cradle,. Insert the raised part of the bottom cradle inside the lower slot of the inner part.
- Attach the top of the cradle using the thumbscrew, lining up the arrow with the ruler. If you added a second heatset insert, you may use an m3 screw to further secure the cradle
- If you printed the bearing, using a bit of grease might make it turn better, add some silicone grease or lithium grease inside the bearing, a blunt tip syringe will help. A little grease goes a long way.
- Assemble the base, bearing and inner part together. If they are loose, adding a little electric tape, or any somewhat thick tape, between the bearing and the loose part should fix the issue. By design there is some slack in the tolerances.
- Press-fit a blade inside the printed thumbscrew, use pliers to hold the shaft and insert it, be careful not to cut yourself.
- Screw the blade into the cradle carefully and align it with your cutting mat. Placing the blade too low will gouge your cutting mat.
- This is the most tedious part, you need to try to align the blade with the cutting direction. You can either: 10.1 Grab the tip of the blade with pliers, and the top of the thumbscrew and turn the blade, risking the chipping of the blade OR 10.2 Screw and unscrew the thumbscrew, adjusting the blade by holding the shaft and screw until it's good enough
Perfect alignment is not necessary, but it will reduce tearing.
Here is some general advice
- Sometimes, doing a counterclockwise turn or two after the initial turns helps finish the cut.
- When cutting small circles, removing the surrounding tape is often easier than fishing out a tiny piece with an exactor blade.
Multi Material Circle cutter

Circle Shape Cutter Set, 18 Sizes, Perfect for Cookies, Fondant & Clay PRODUCT_104

Mandala Shape Cutter & Stamp Set, Geometric Circle & Decorative Pattern for Cookie & Fondant, 3 Sizes S/M/L, 6 Piece Collection PRODUCT_5173

Circle Monster Cookie & Fondant Shape Cutter Stamp Set, Cartoon Character Design, S/M/L Sizes, 6 Pieces PRODUCT_2999

Mandala Stamp Tile, Multi-Size Pattern Disc Collection, 5-Piece Set for Clay, Cookies & Fondant, Abstract Geometric & Oriental Design PRODUCT_5196

Mandala Shape Cutter & Stamp Set, Geometric Ethnic Patterns for Cookies or Fondant, 6 Pieces, Sizes S/M/L PRODUCT_5157

Magic Ball Stamp Tile Set, 5 Motif Sizes: 20-40mm, Perfect for Clay, Cookies & Fondant, Halloween Party Decoration PRODUCT_4136

Circle Pop Fidget (Multi-material design)
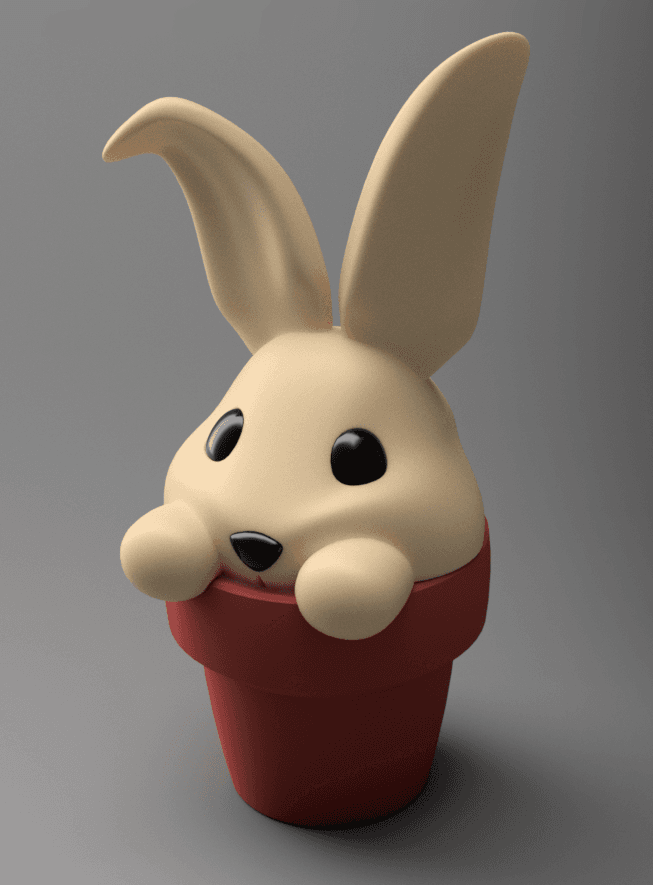
Bunny Pot - Single and Multi-material

Bunny Hat - Single and Multi-material - For magicians

Circle Cookie Cutter, Biscuit Cutter

Circle Cookie Cutter, Biscuit Cutter

Circle Cookie Cutter, Biscuit Cutter

Circle Star Cookie Cutter, Biscuit Cutter
.png&w=3840&q=75)
Multi-Material Stack - Test Print

Semi Circle Shape Cutter Set, 18 Sizes 0.75"-5", Perfect for Cookies, Fondant & Clay, Geometry Design PRODUCT_1161

8x8 MU - Center Grid Interfitted - MultiBoard Octagon Plate - 4x Multi-Material Stack
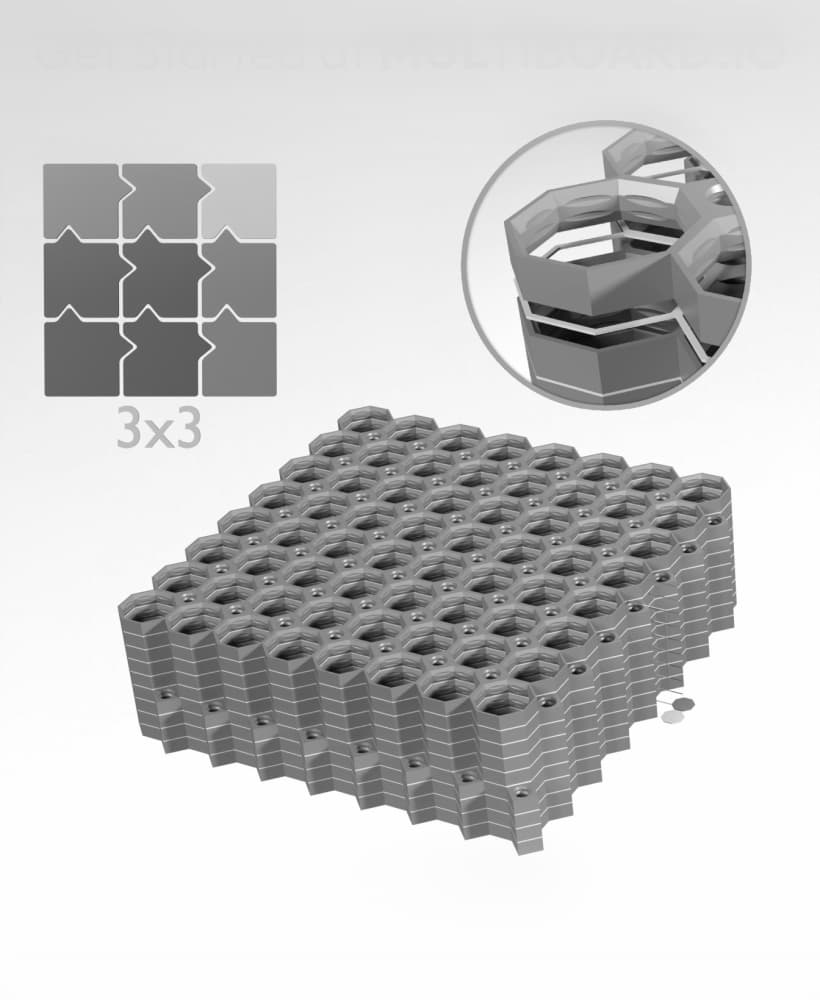
8x8 Legacy Tiles - 3x3 Board - Multi-Material Stack

9x9 MU - Center Grid Interfitted - MultiBoard Octagon Plate - 4x Multi-Material Stack

8x8 Multiboard Side Legacy Tile - x4 Multi-Material Stack
