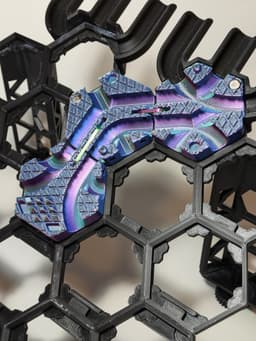


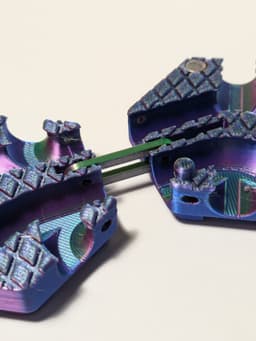

Hextraction World Serpent Tile
Ragnarök begins when Jörmungandr the World Serpent makes it to the board. Introducing the first customizable-triple-folding-combo-forbidden-effect-tile for Hextraction! Let's get into it.
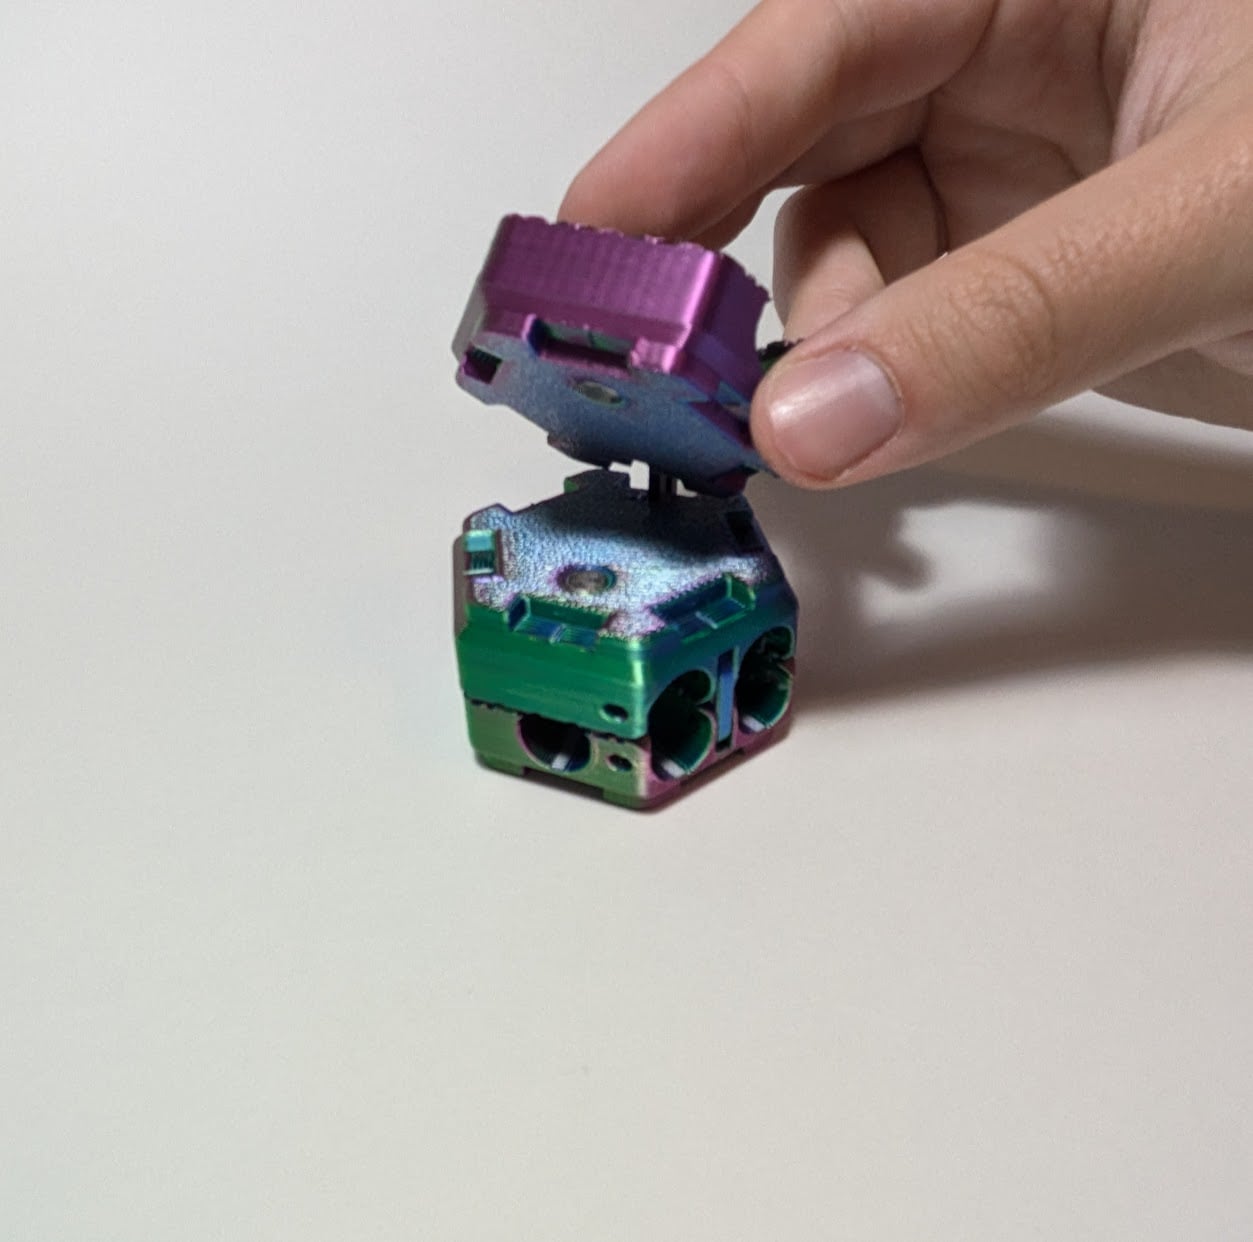
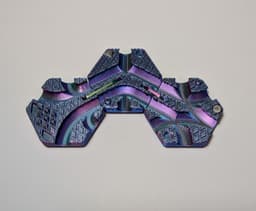
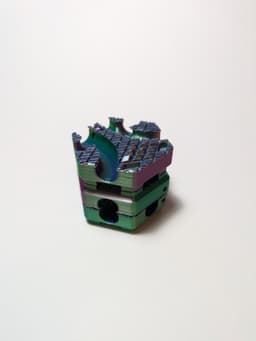
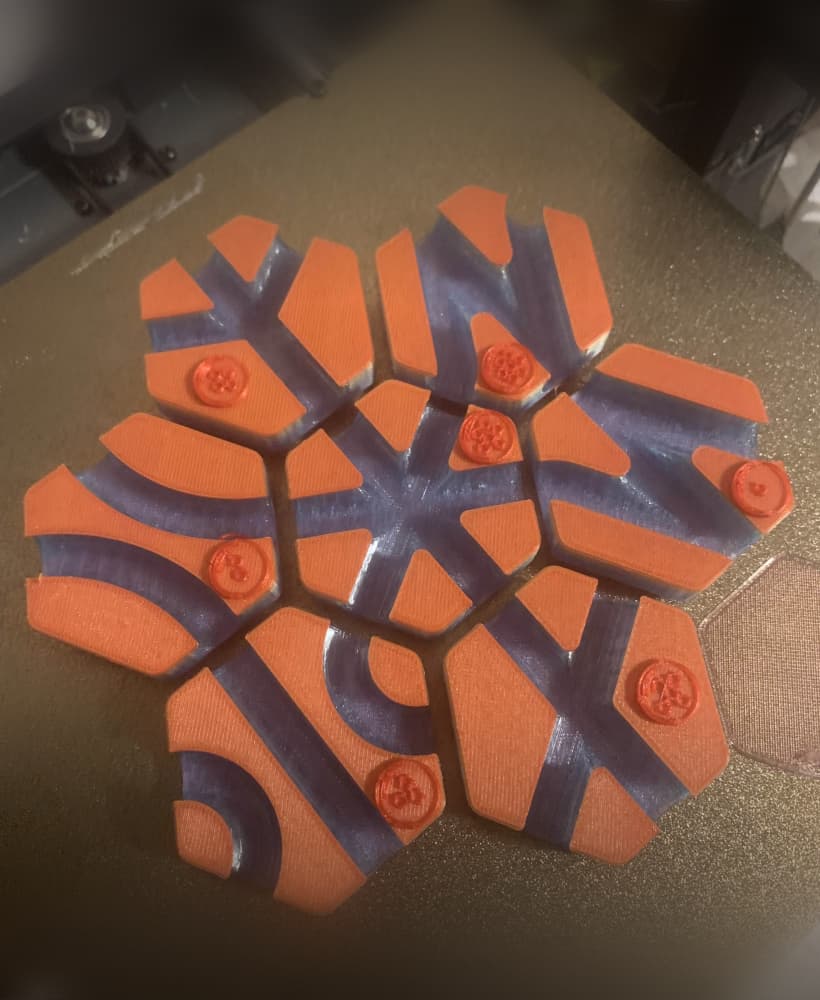
This tile is a triple folding combo: each tile is connected via links and magnets keep it closed when not in use. Simply unfold, tuck the long link into the middle, and place it on the board if space is available.
Its customizable: the tail can be swapped out for any standard double lane tile (e.g. original double lanes or my Riptide exit). The head and middle cannot be swapped, else the assembly couldn't deploy or fold properly.
The forbidden effect: Honestly, I suggest voting the effect off and enjoying the novelty of the tile itself, but it's there if you want it! Overdrive without a full board is the diastrous reality of Ragnarök, and is thus Forbidden. If you are a fan of Norse mythos and have a ton of Hammer tiles, you are in luck.
Rules Card Text Forbidden - Ongoing: Overdrive is active while this tile is on the board. This tile can only be destroyed by a Hammer tile.
Assembly Instructions
- Print the 3 body tiles, 1 standard link, and 1 long link.
- Match the shorter link slots up on the Tail and Middle. Put the standard link in place and jam snippets of filament through the hinge axis, then cut the filament flush.
- Match the Head to the Middle's longer link slot. Put the long link in place, repeat the filament hinge install step.
- Test that balls can roll through and that the combo folds properly. When folding, the bottom of Head and Middle should contact, and the top of Middle and Tail should contact.
- (Optional) Glue 4 6x2mm magnets in place (Head: 1 on bottom; Middle: 1 on top and bottom; Tail: 1 on top).


Hextraction World Serpent Tile

Hextraction Double Lane Tiles

Hextraction: The World's Most Annoying Tile in the World

OLD Hextraction - Bishop Tile Chess Tiles

Hextraction - King tile Chess Tiles

OLD Hextraction - Rook tile Chess Tiles
OLD Hextraction - Knight Tile Chess Tiles
OLD Hextraction - Pawn Tile Chess Tiles
NEW Hextraction - Knight Chess Tiles
Hextraction - Queen Tile - Chess Tiles
Hextraction - Angel Down Tile
Hextraction - Angel Up tile

Hextraction - High-Consistency Trap Tiles
Hextraction - Dip Tile
NEW Hextraction - Rook Chess Tiles

Hextraction Shahrazad Tile Lid - Secret Tile Compatible

Hextraction - Holo XC tile - One peice

Hextraction - XC Holo Tile

Hextraction - Dip and hill tile

Hextraction - Rubber band Trampoline Tile
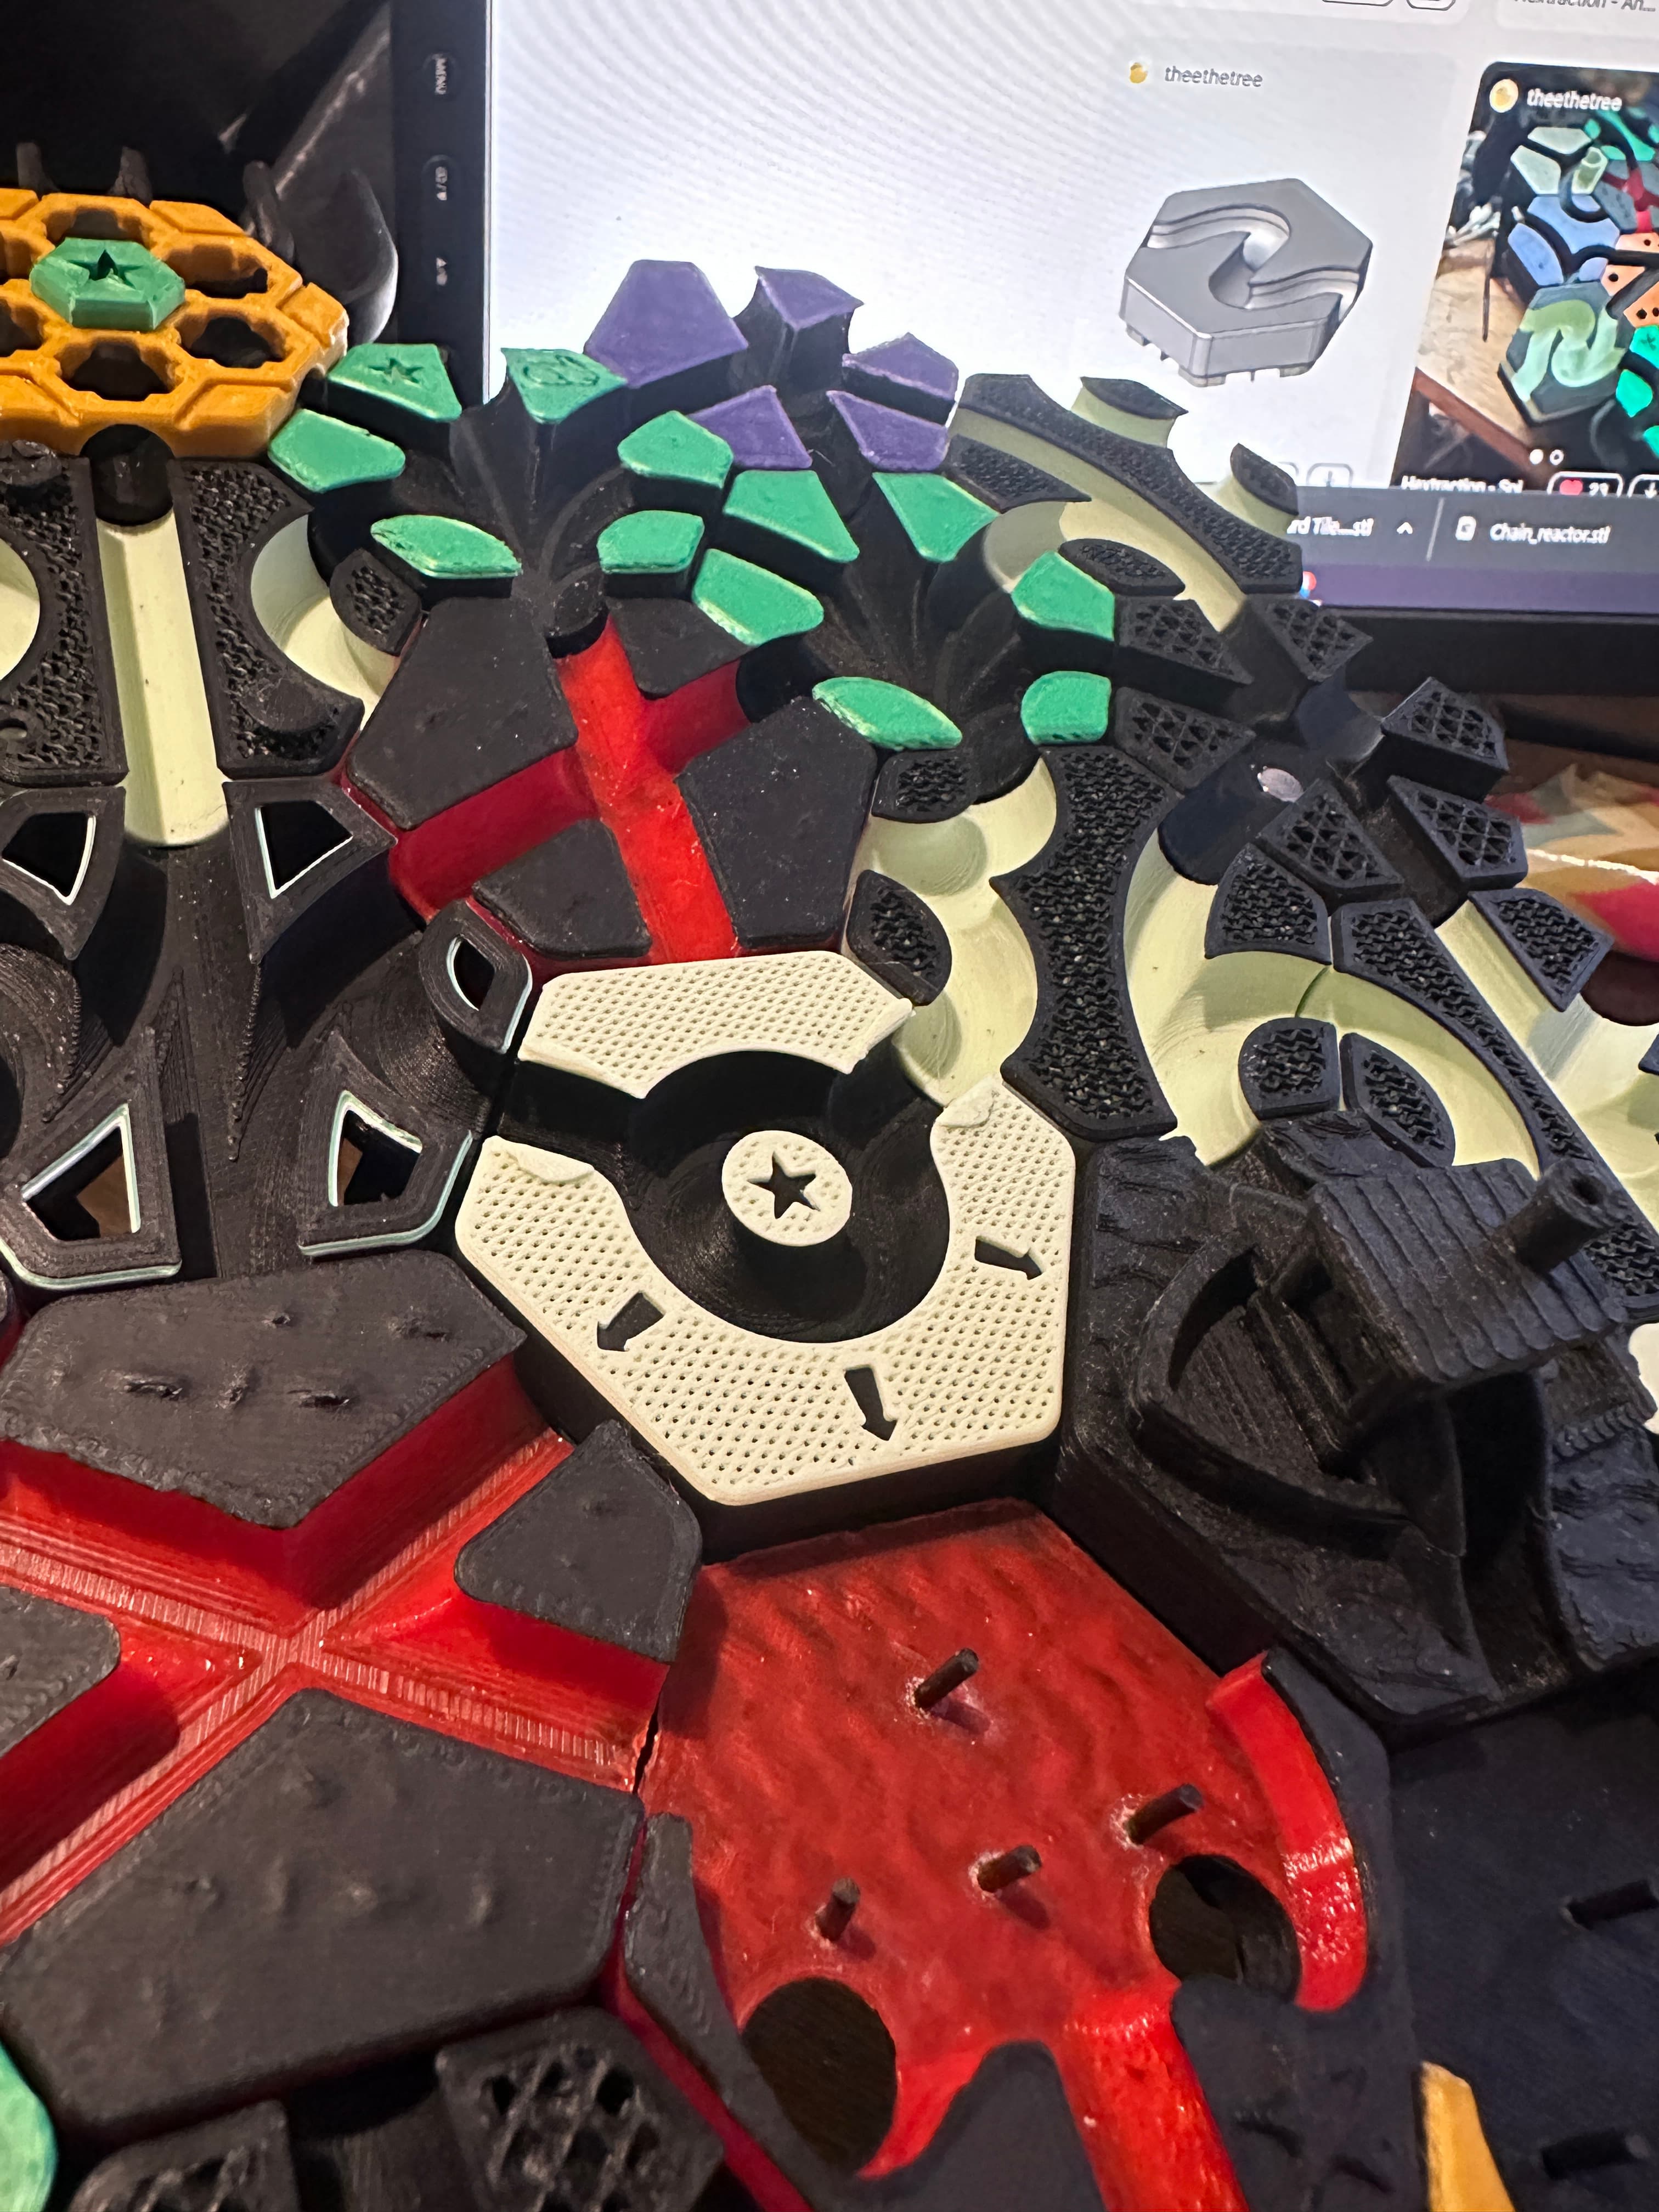
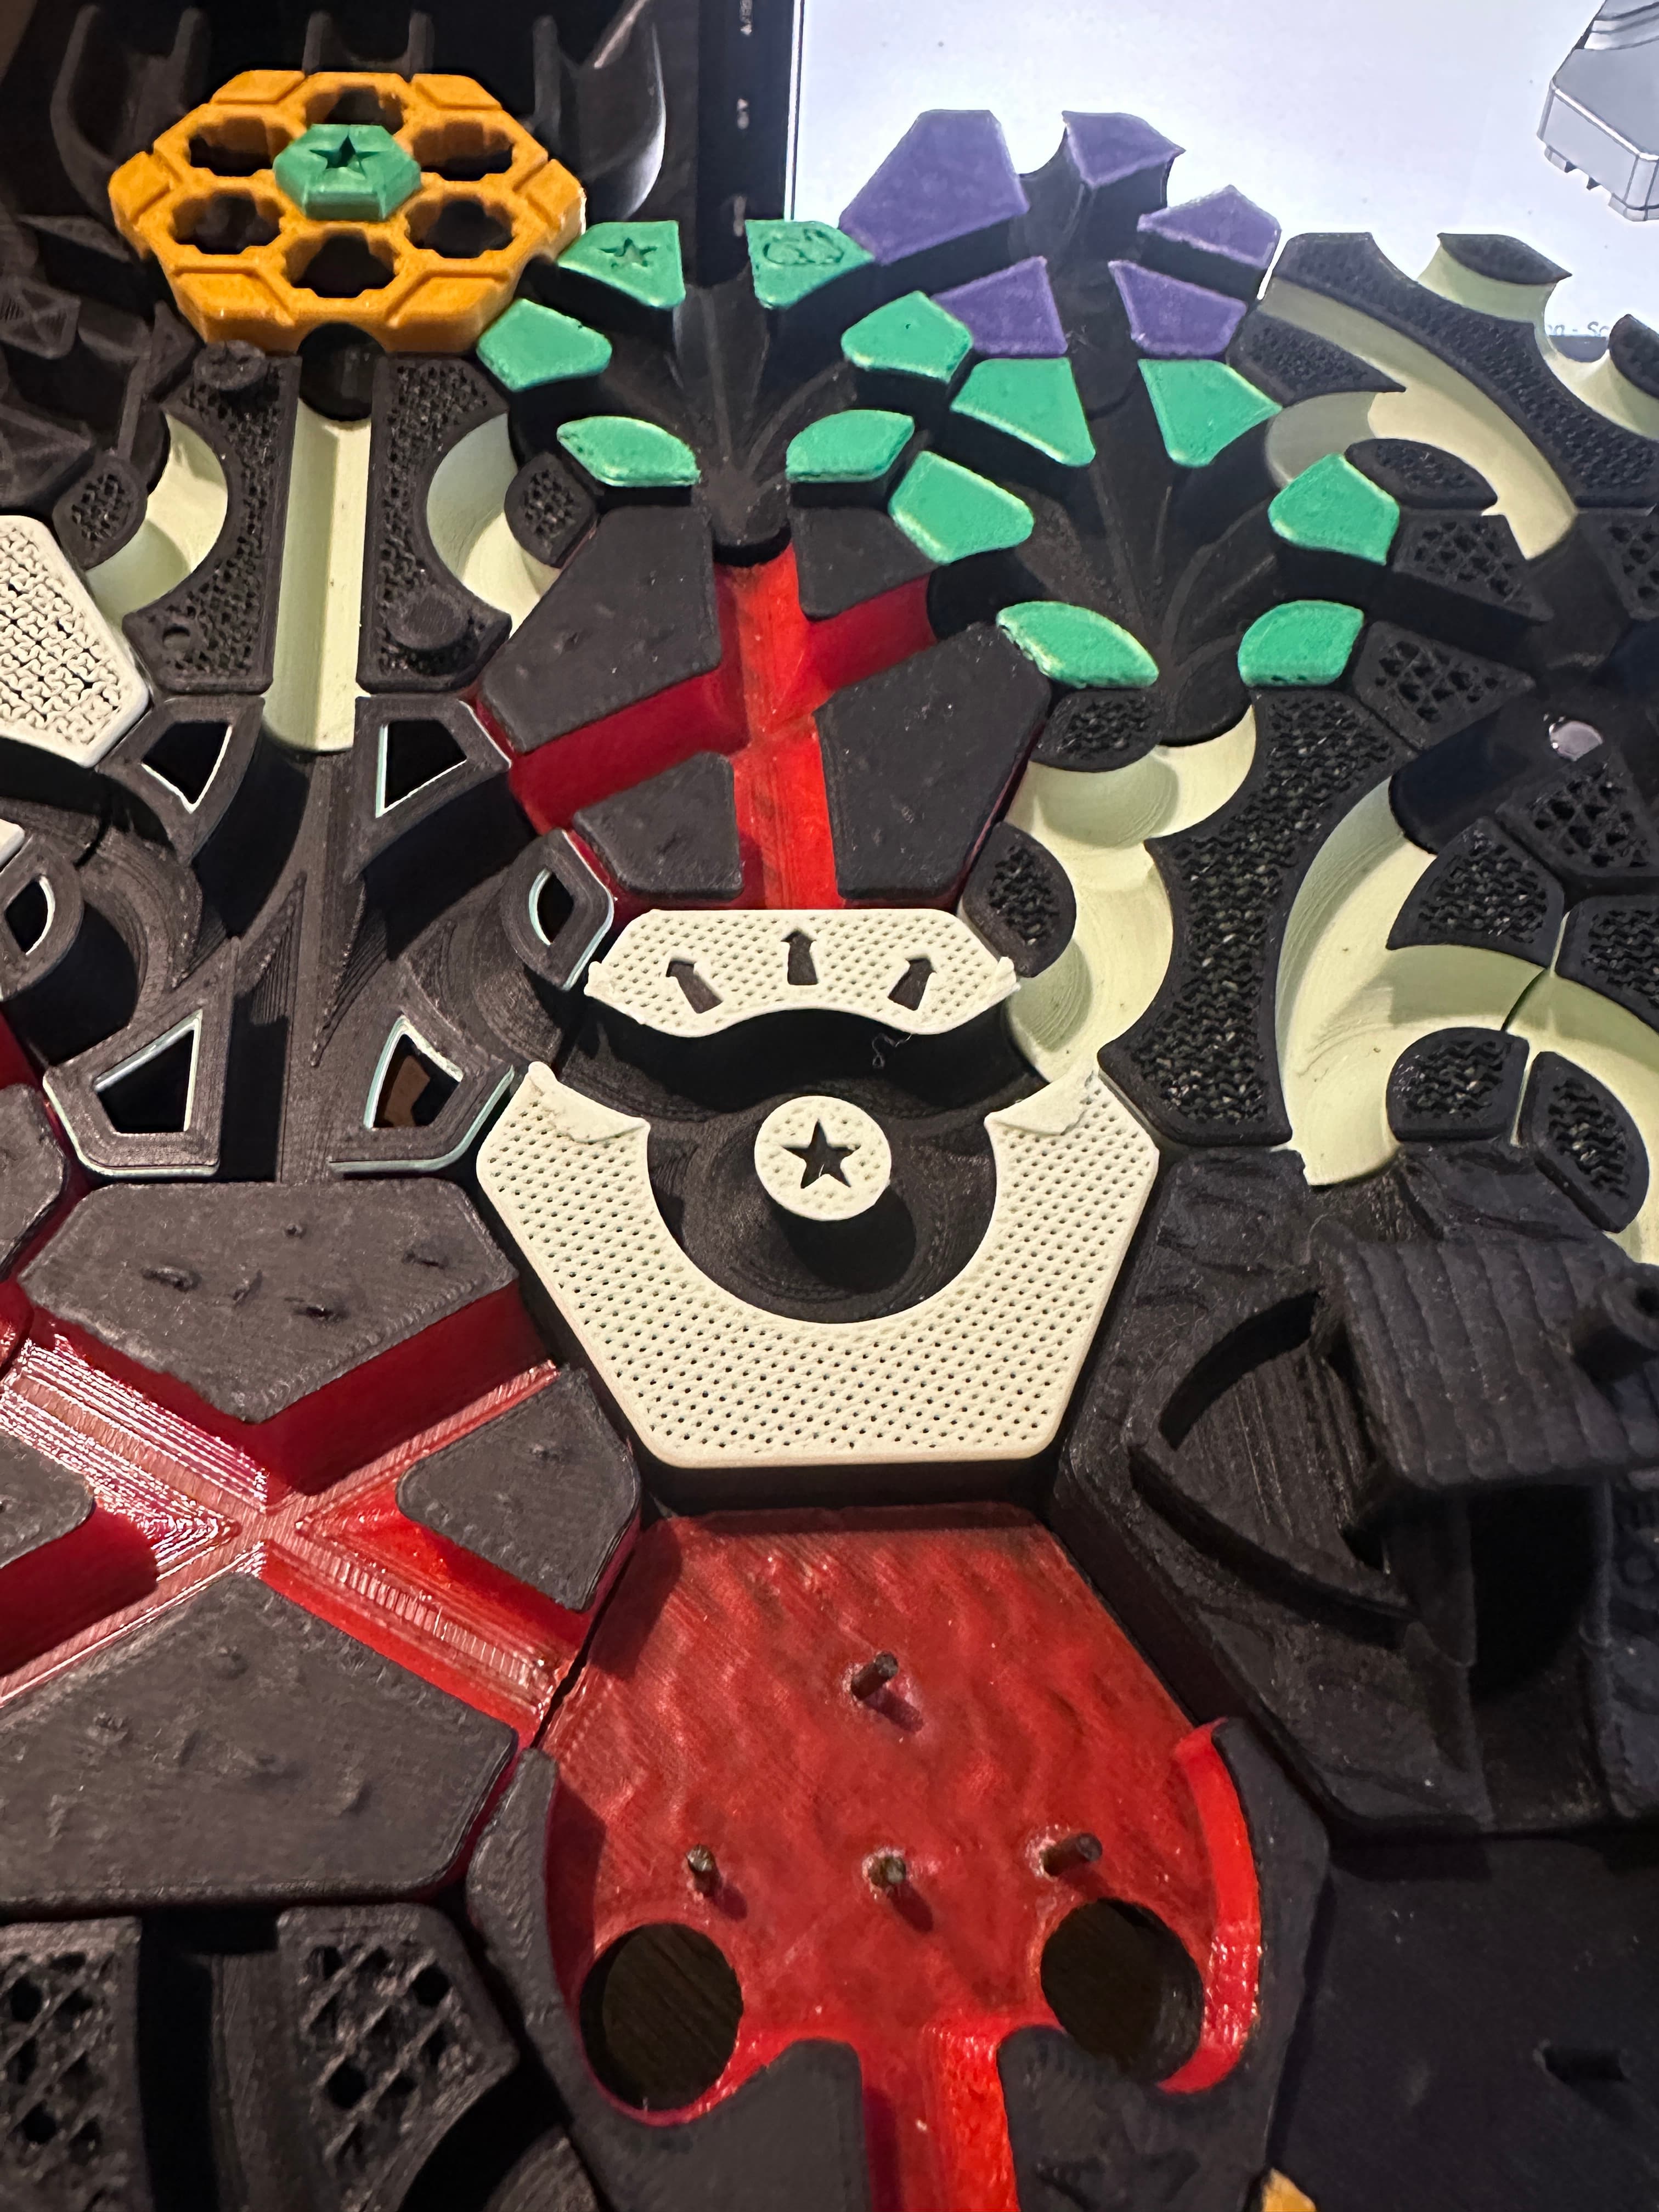
Nice touch with the second color for the scales. Hope you have fun with it!