


Hextraction Gumball Machine Tile
Dispense balls like candy with the Gumball Machine Tile for Hextraction!
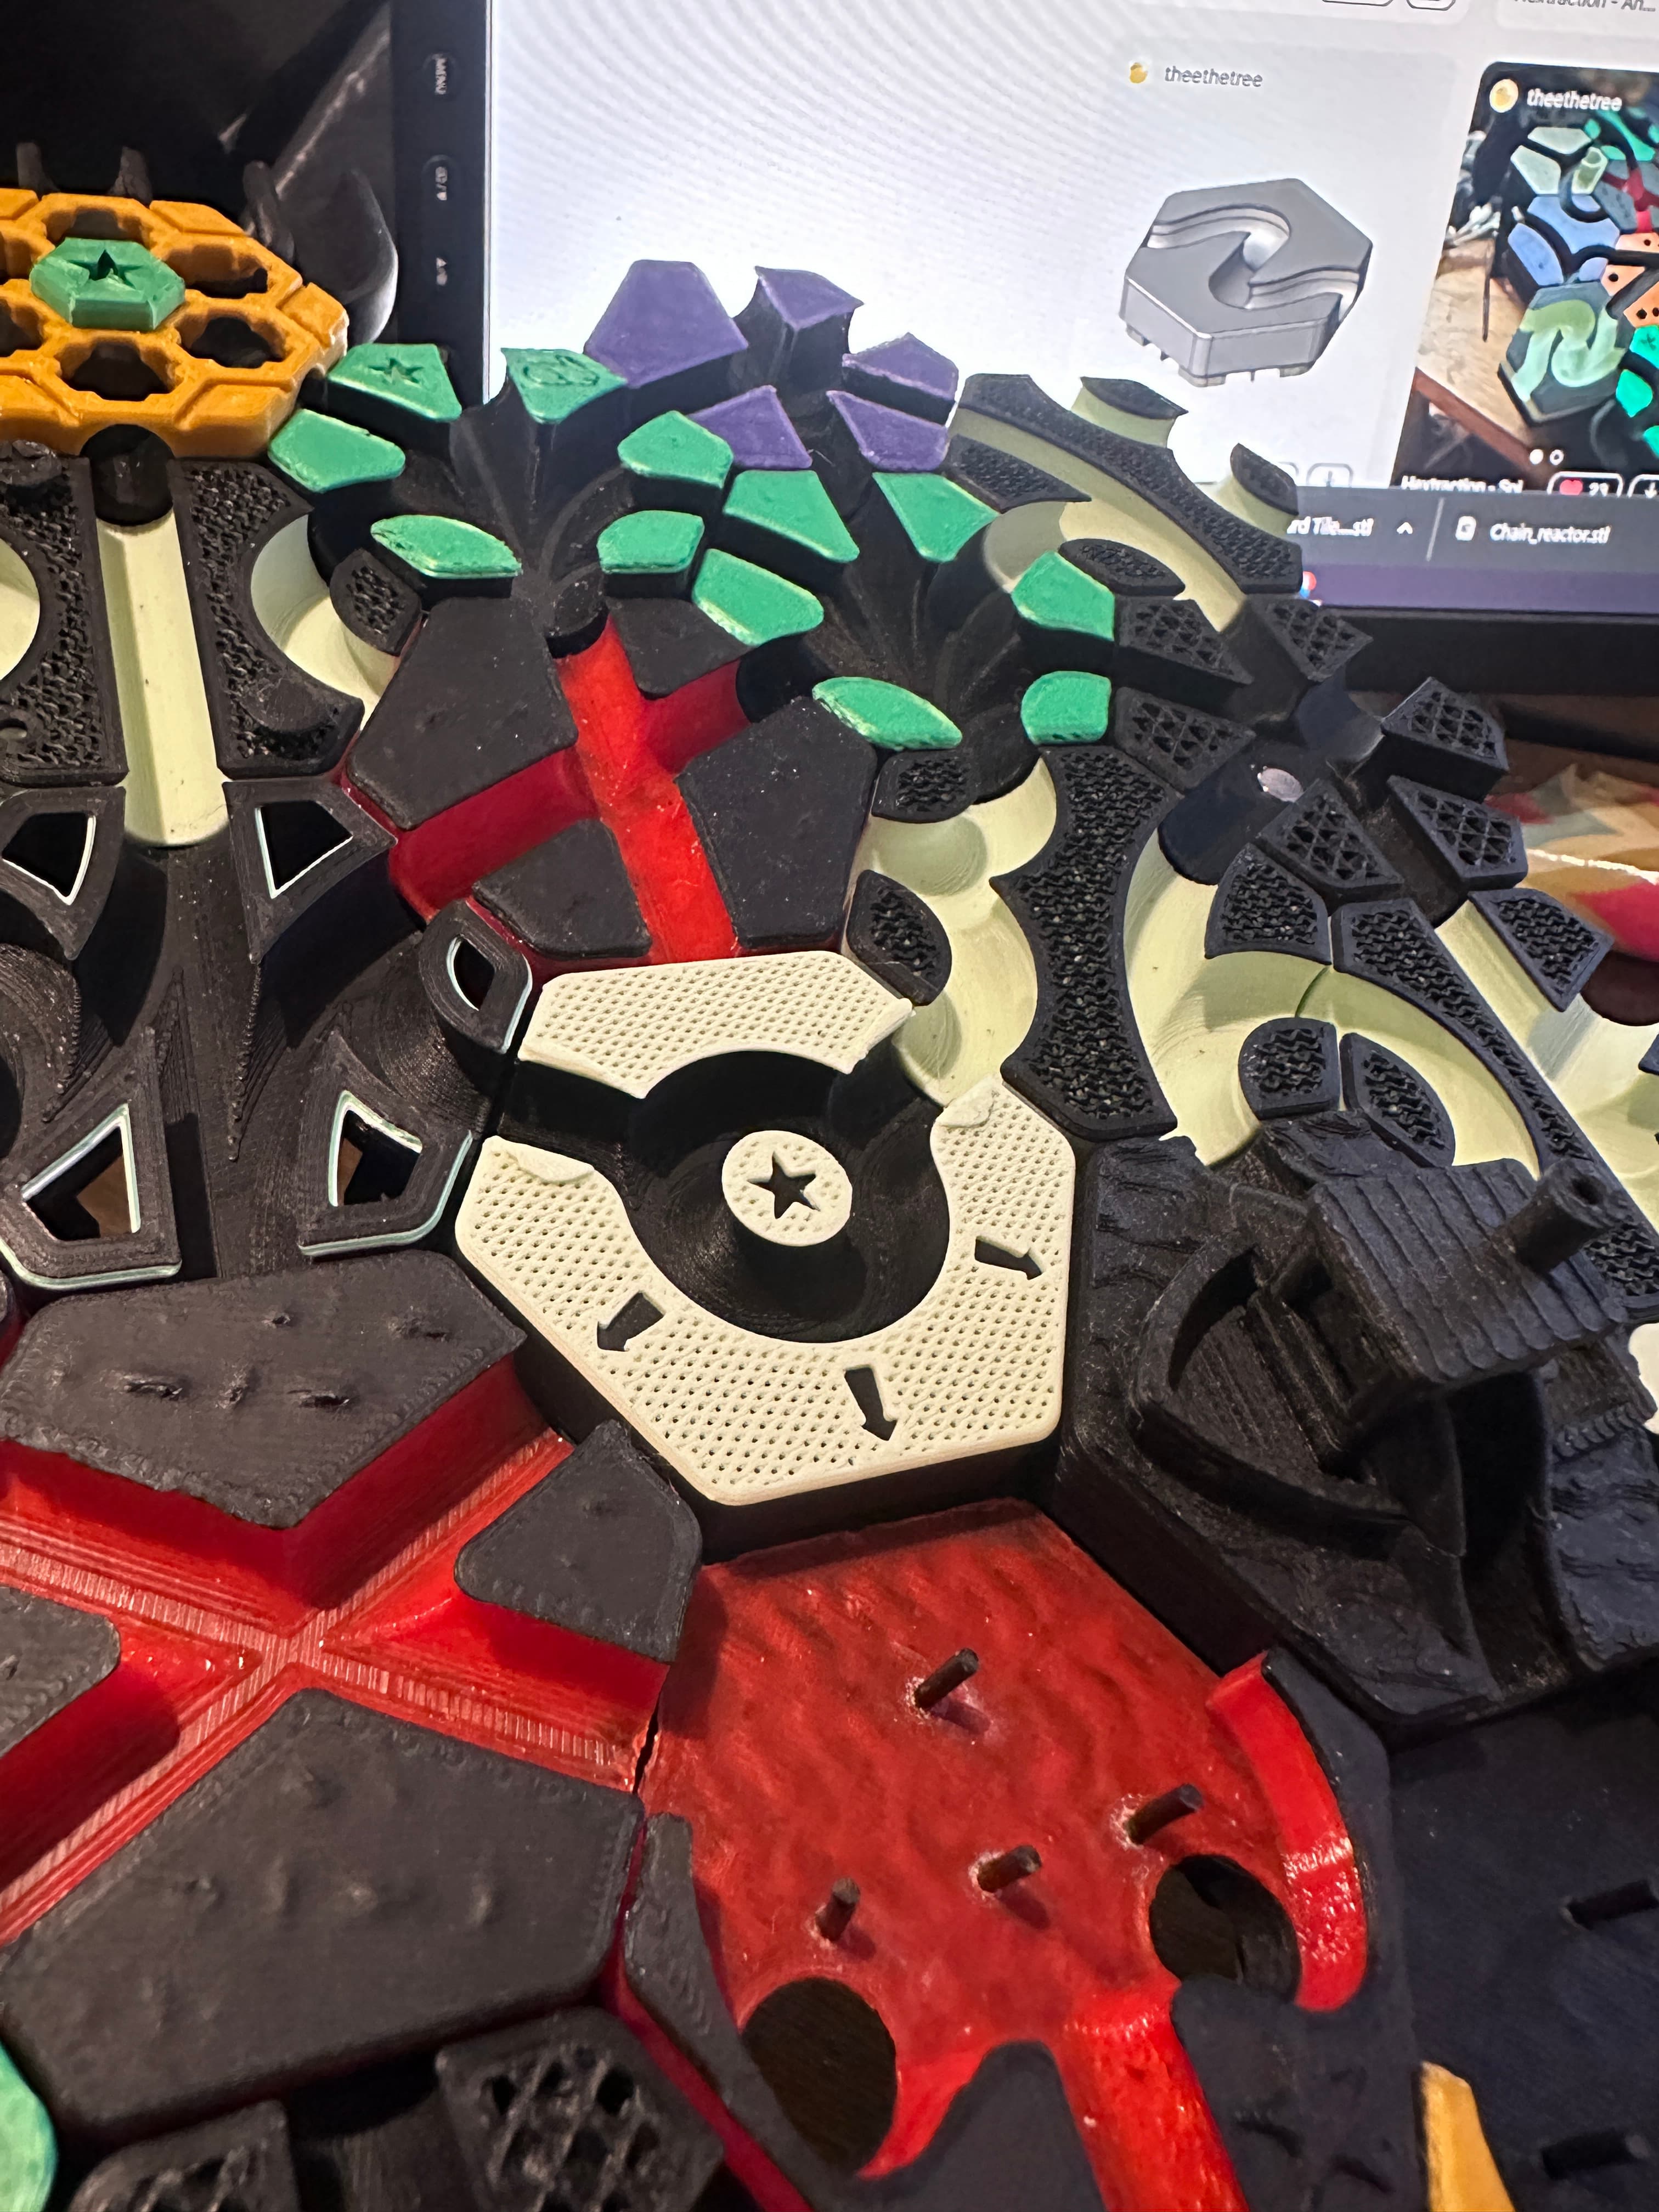
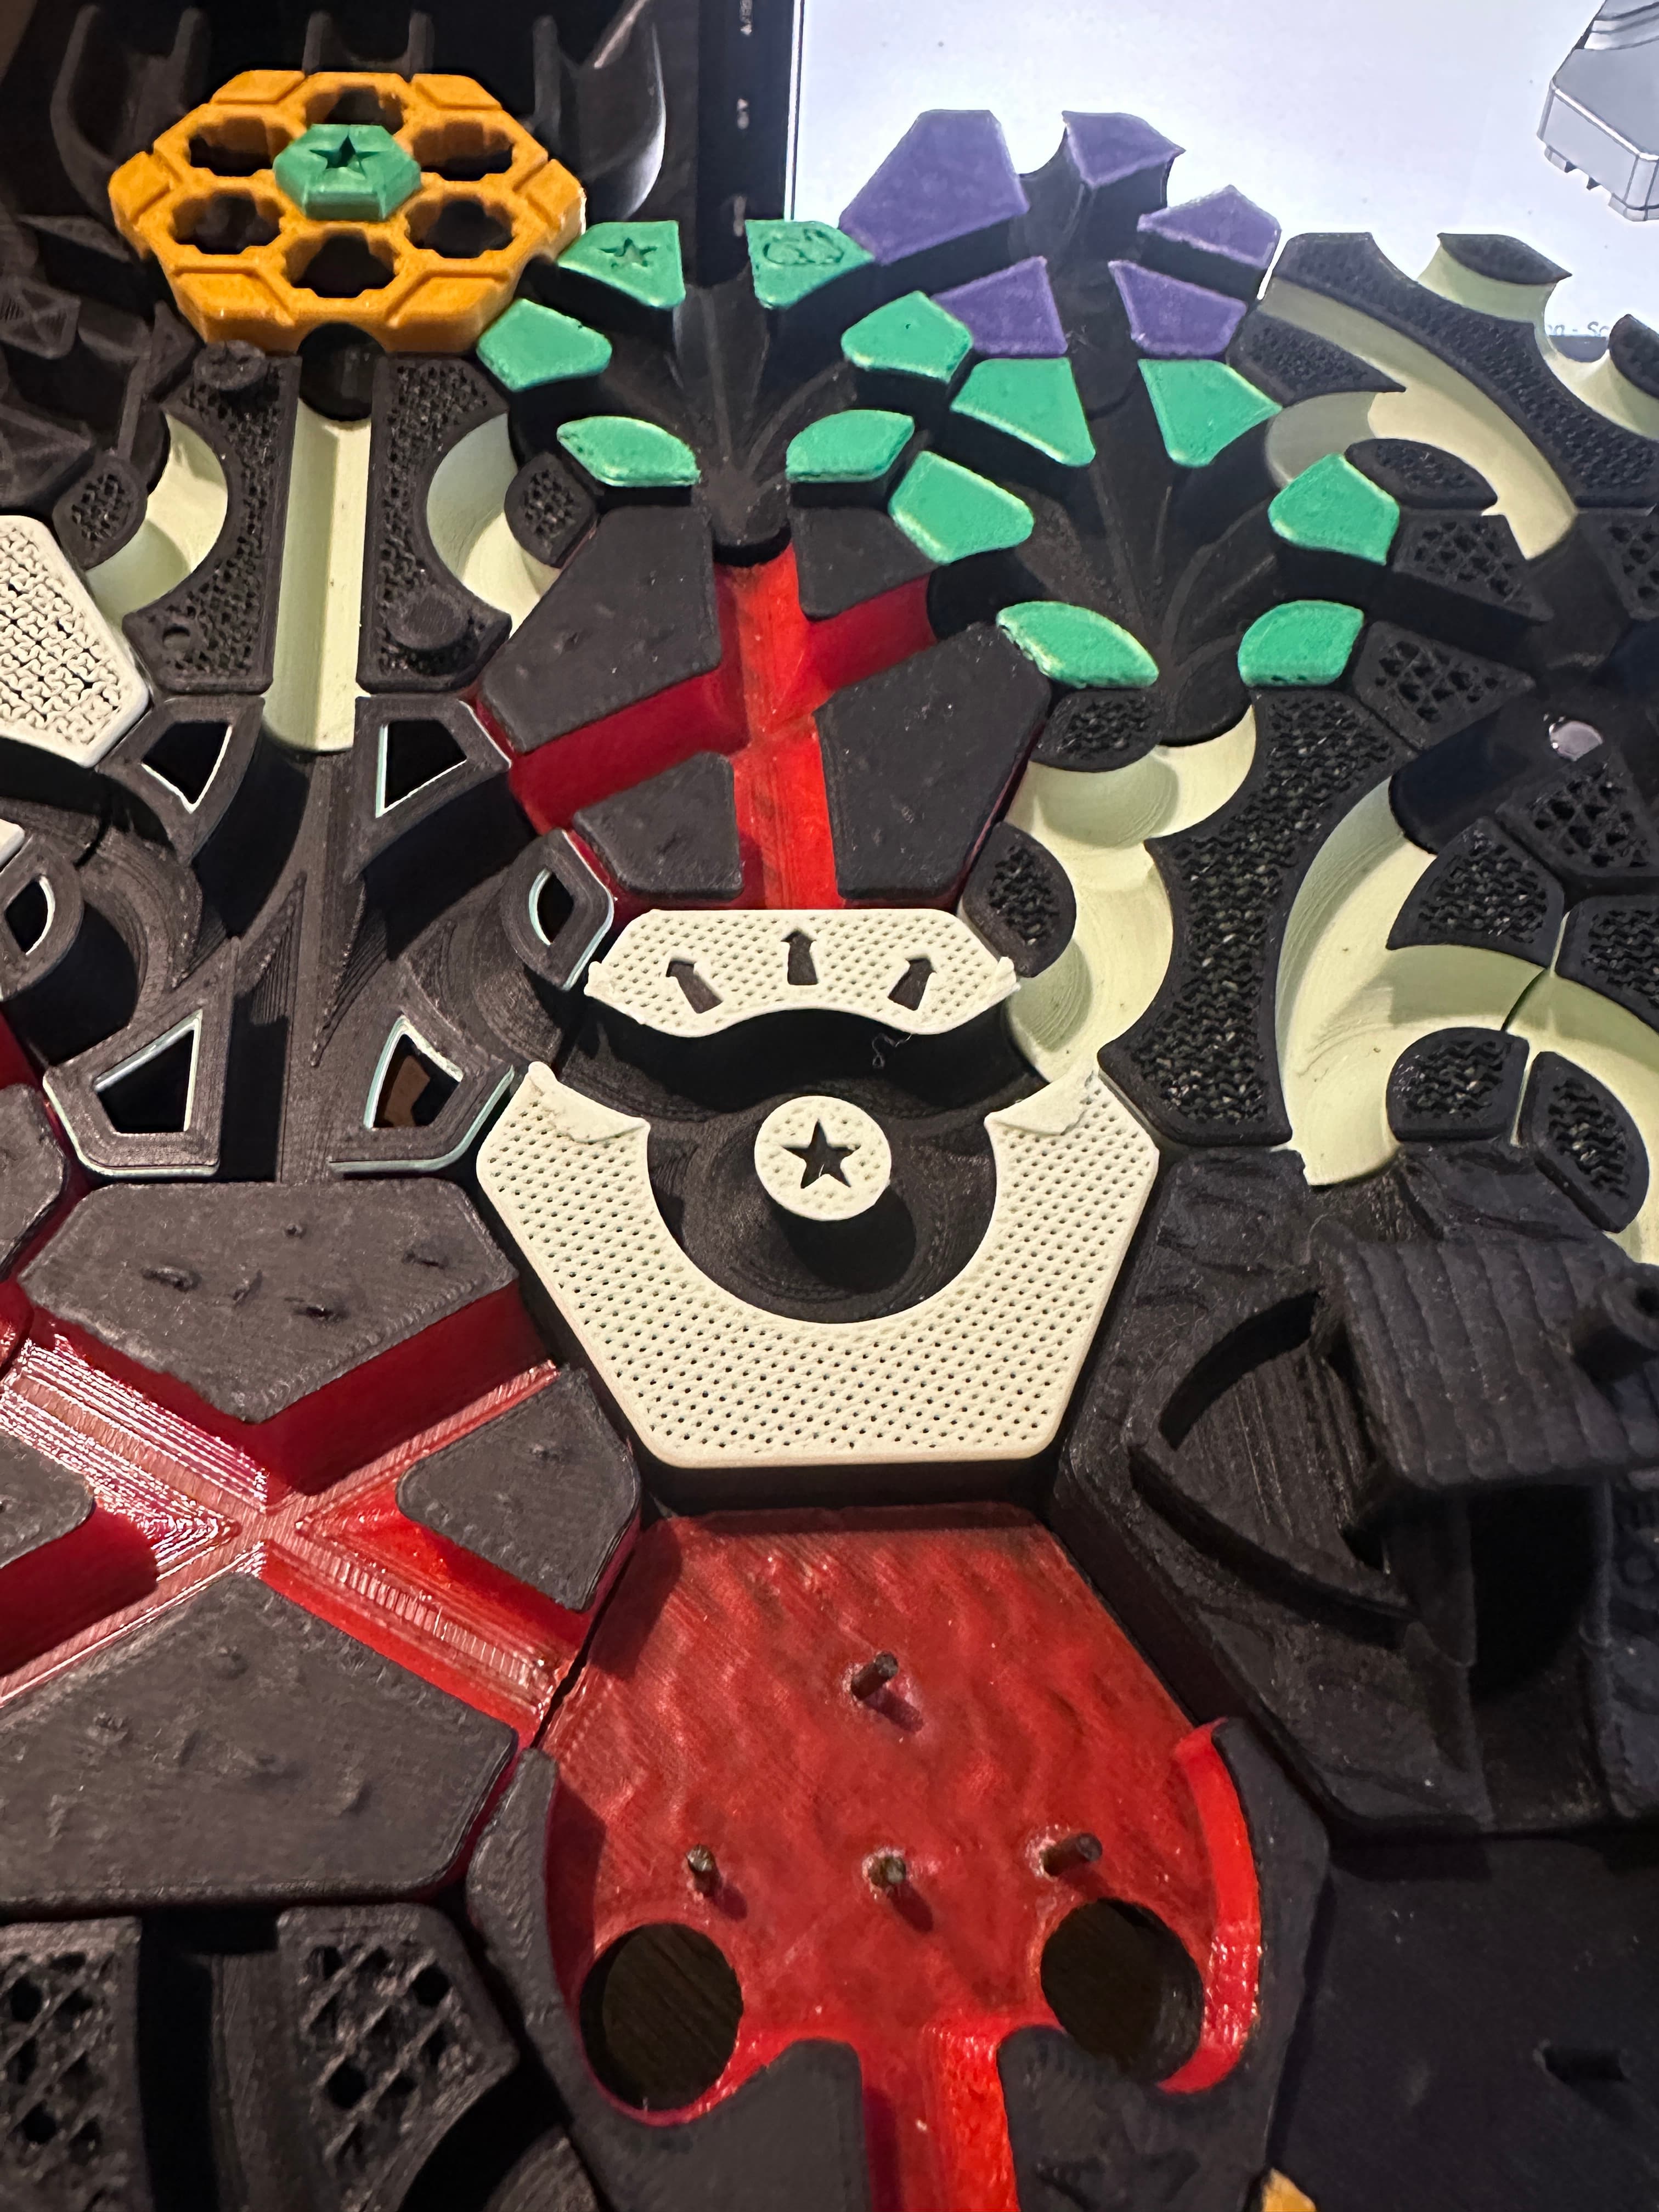
Despite the charming look, the tile is very simple - when a ball rolls through either of the DC paths, you can turn the crank to dispense a ball! A proxy tile is offered to alleviate risk of the main tile being damaged in the pool. I have also modeled two globes. 'globe.stl' fits 18 balls, but is prone to jamming. 'globe_cylinder.stl' has a cylinder within which limits it to 3 (4 if you prime the first) balls, but will not jam. That is my preferred globe. Lastly, I have no specific rule for reloading the machine. Feel free to come up with a house rule for it.
Rules Gumball Machine Proxy - Setup: Overwrite this with a Gumball Machine. Gumball Machine - Virtual Setup: Place 3+ balls in the globe, exclude these from the 3-ball rule. Trigger: Release one ball.
Printing Suggestions
- Consider a transparent filament for the globe(s).
- Consider painting the crank, crank_panel, and crank screw. I printed those parts in black, then along with my black socket head screws painted them all silver. It has a nice, unified look.
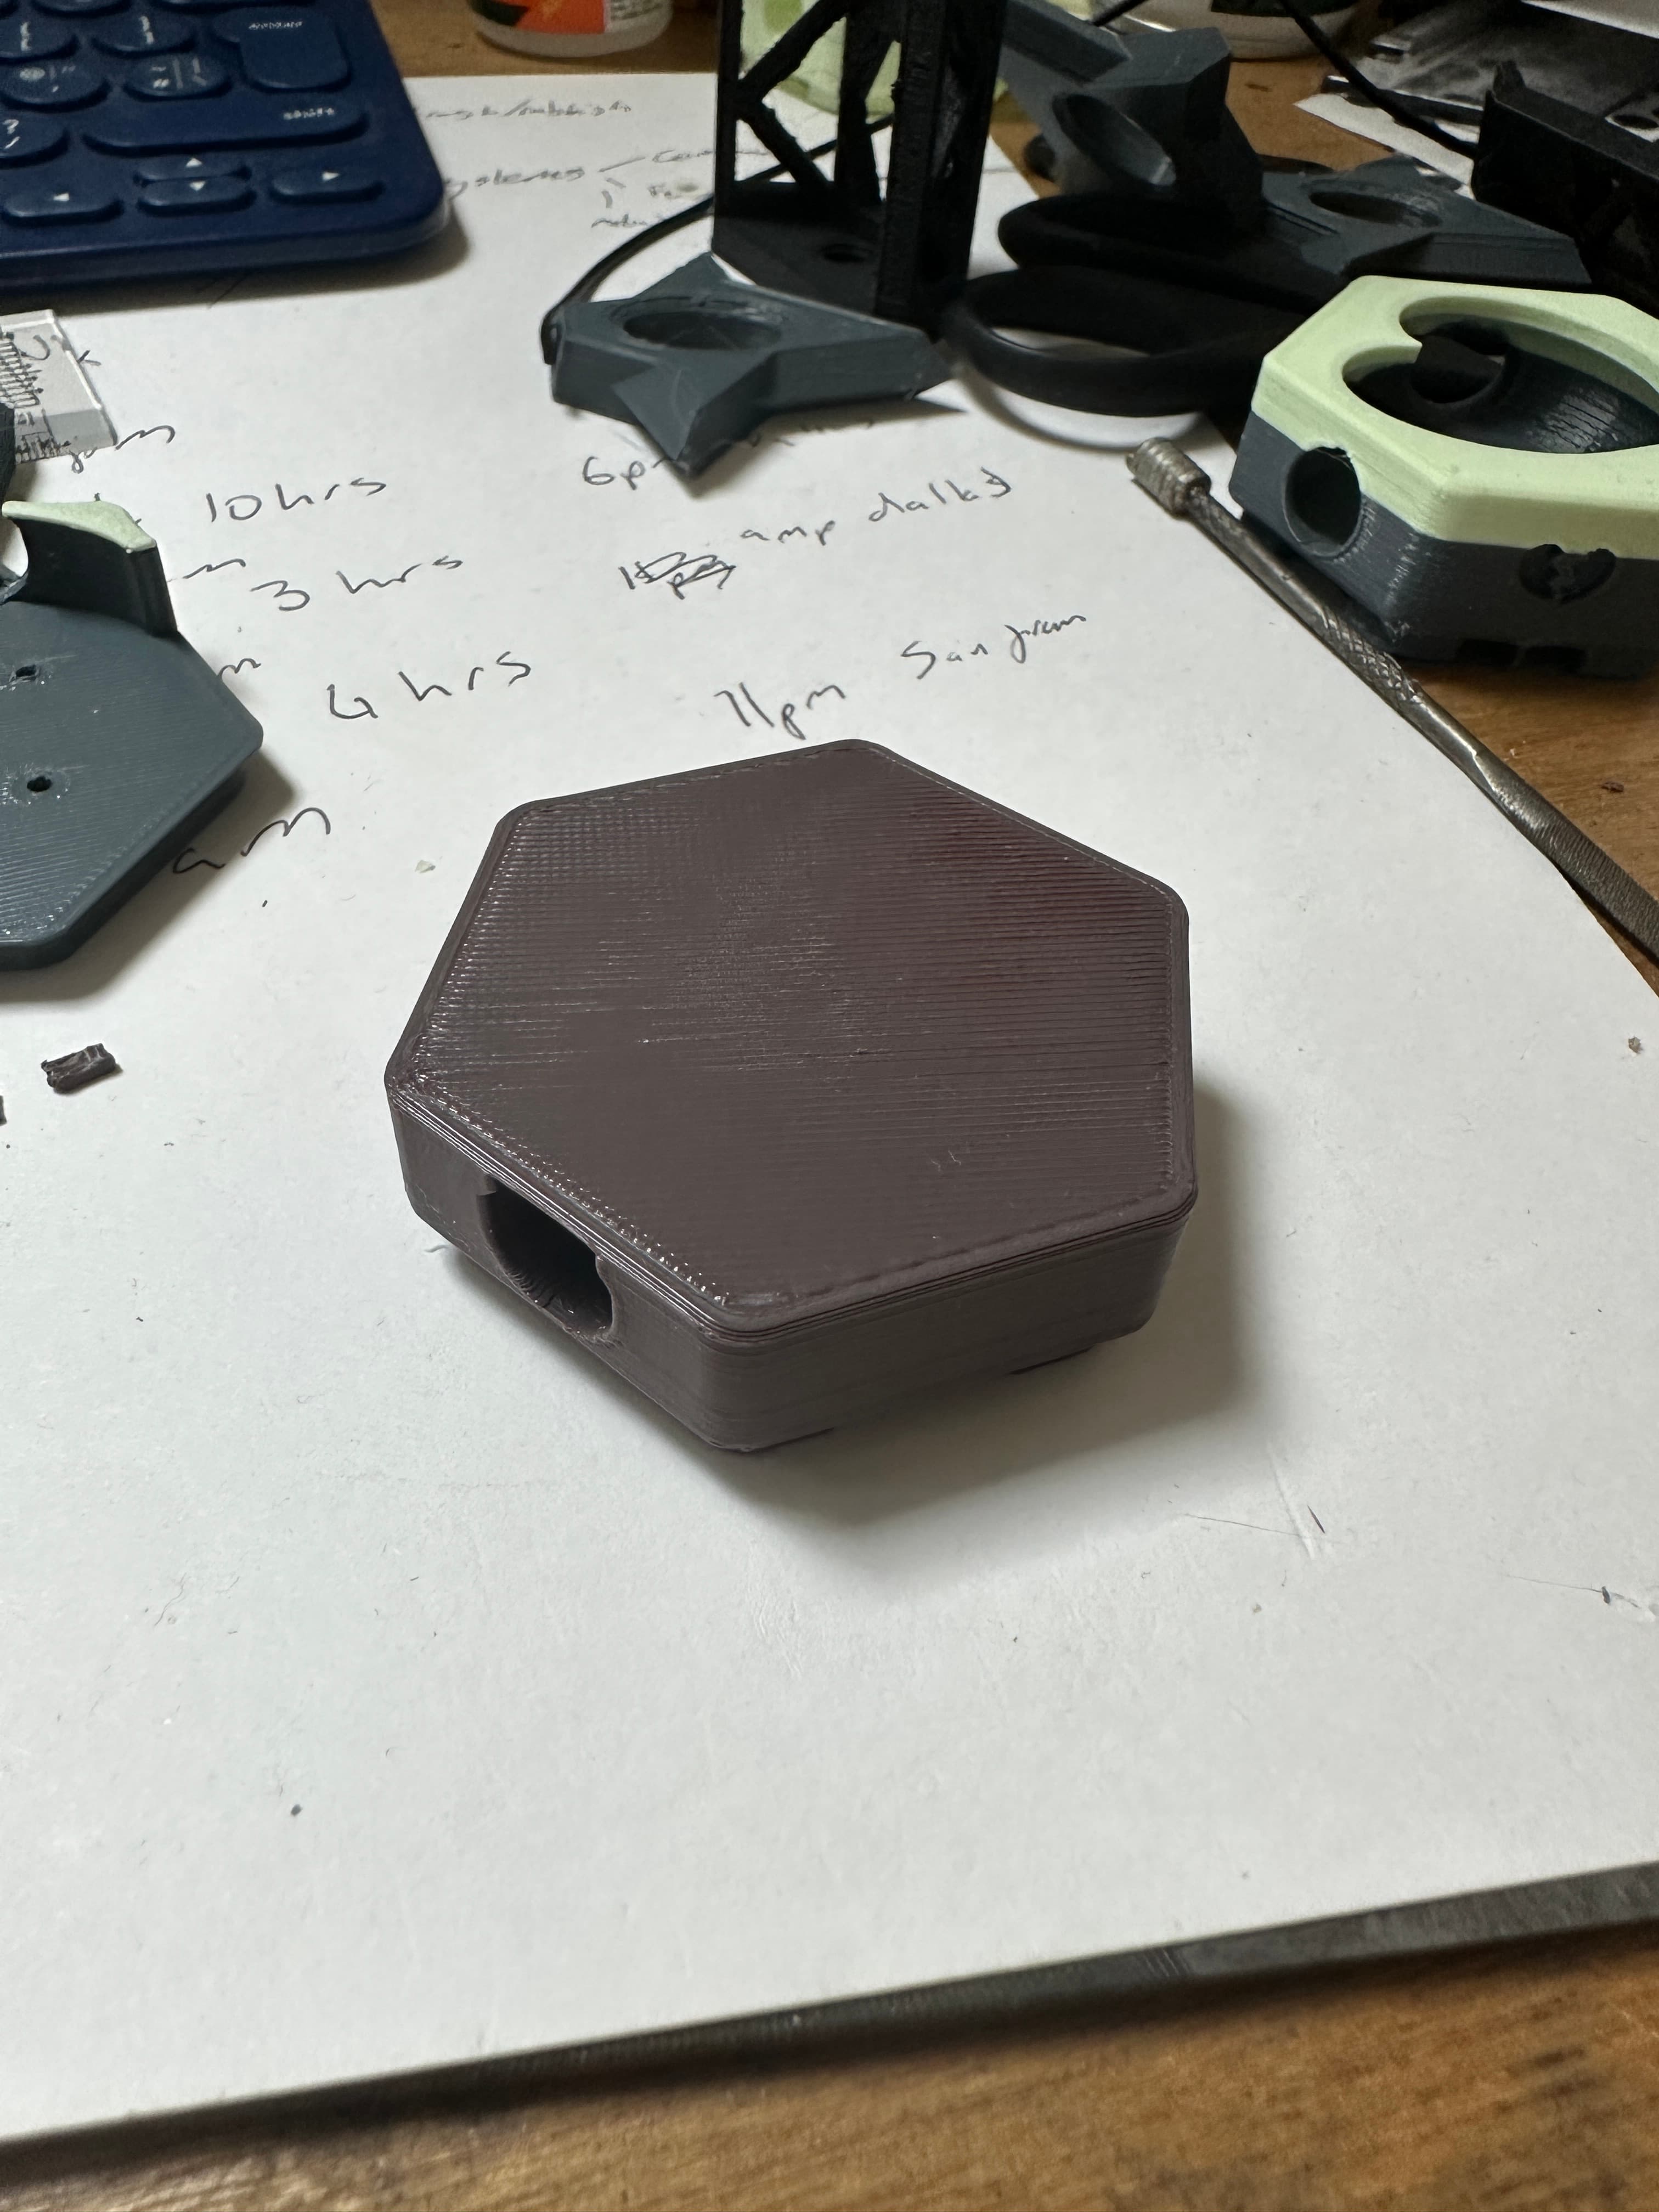
Assembly Instructions This assumes you are starting from tile_base_option1.stl.
- Glue gate to the base.
- Glue crank_panel to the base, make sure a screw can pass through cleanly.
- Press dispenser into the cavity in the base. You'll need a decent amount of pressure. Make sure it can rotate once in place.
- Drive a M3x10mm screw through the crank handle model.
- Line up the dispenser; drive the crank with screw through the front of the model into the dispenser. Make sure it is secure, but that the dispenser can move with the crank when you turn it.
- Drive an M3x4mm screw through the back of the model into the dispenser. You can skip this if you want, but it helps keep the dispenser supported and in stable. Again, make sure it is secure, but the dispenser can still move.
- Friction fit your globe of choice onto the base. It is designed to be easy to remove if needing to access the internals, but if you are confident you can glue the globe. I have had no issues without gluing.
- When not in play, or if desired after loading the tile during gameplay, friction fit the globe_lid onto the globe.
Variations
- If you start from tile_base_option2, you don't need to print or assemble the crank_panel or gate. I don't recommend this as it will produce a lot more MMS waste.
- I've also provided the tile base and the machine body as two separate parts for further customizaiton, if choosing to use them simply align them and glue the parts together.
Hextraction Gumball Machine Tile

OLD Hextraction - Bishop Tile Chess Tiles

Hextraction - King tile Chess Tiles

OLD Hextraction - Rook tile Chess Tiles
OLD Hextraction - Knight Tile Chess Tiles
OLD Hextraction - Pawn Tile Chess Tiles
NEW Hextraction - Knight Chess Tiles
Hextraction - Queen Tile - Chess Tiles
Hextraction - Angel Down Tile
Hextraction - Angel Up tile

Hextraction - High-Consistency Trap Tiles
Hextraction - Dip Tile
NEW Hextraction - Rook Chess Tiles

Hextraction Shahrazad Tile Lid - Secret Tile Compatible

Hextraction - Holo XC tile - One peice

Hextraction - XC Holo Tile

Hextraction - Dip and hill tile

Old Fashion Gumball Machine wall art antique candy machine wall art
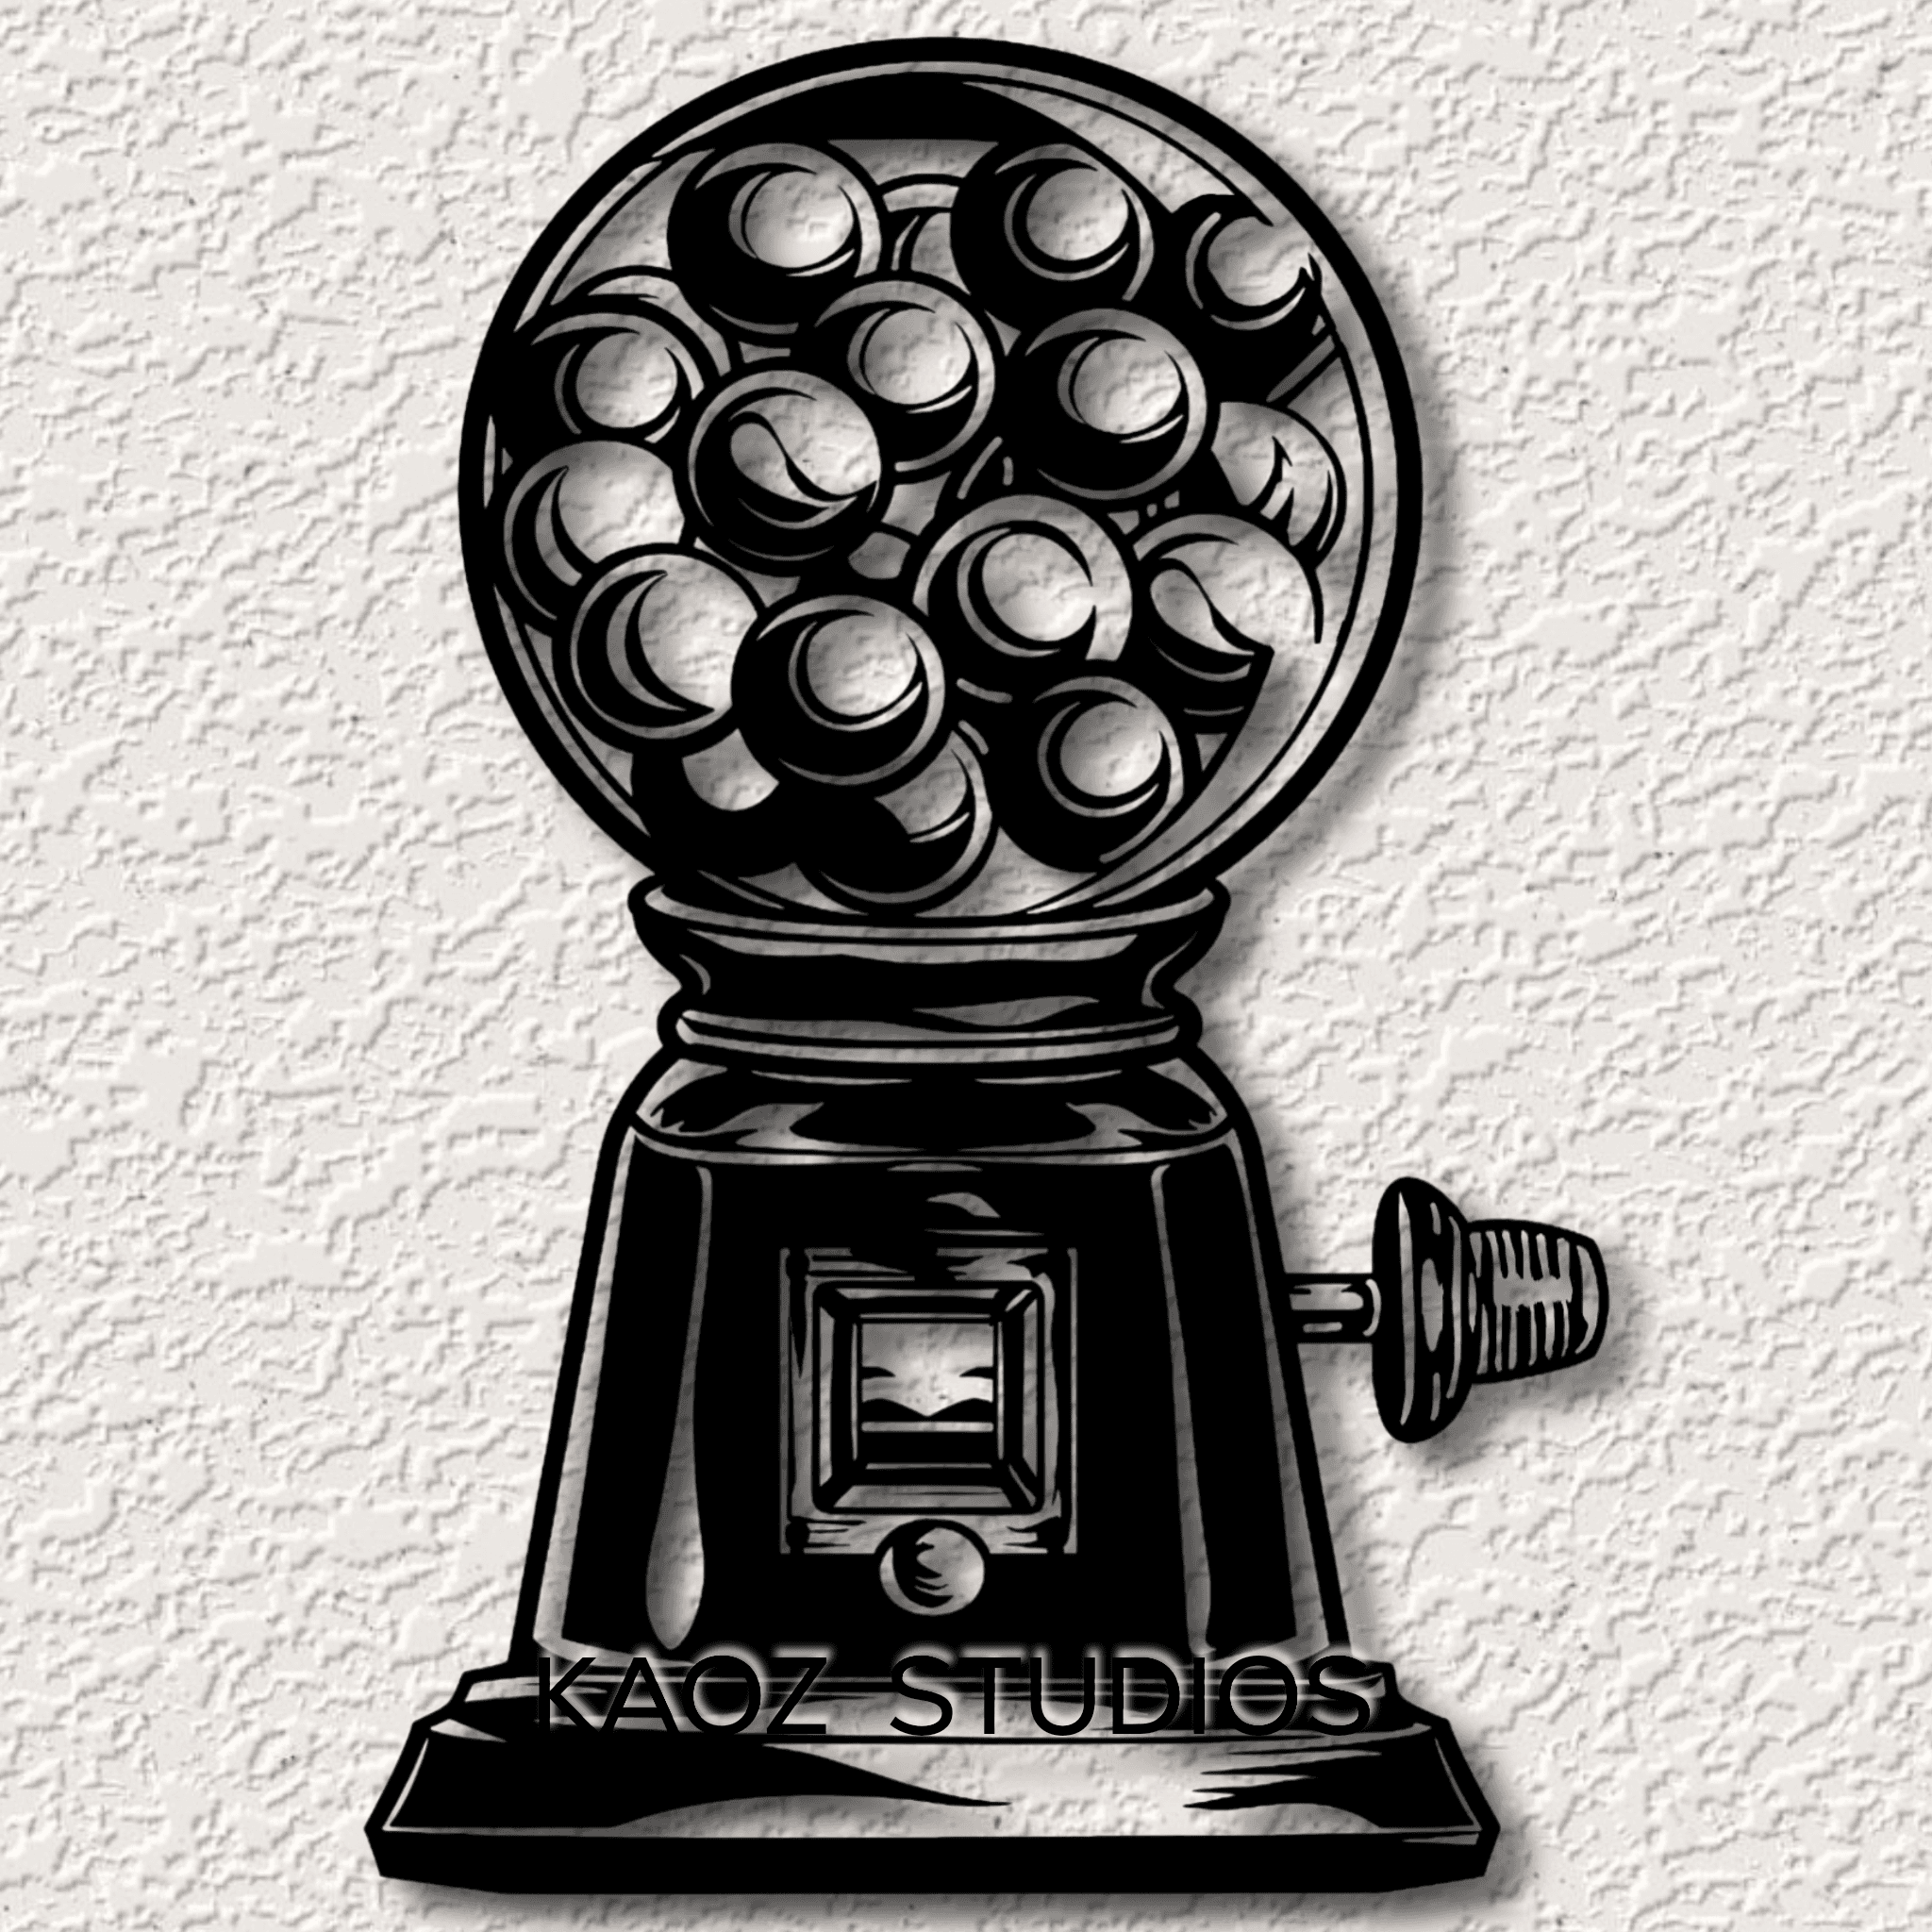
Old Fashion gumball machine wall art Antique candy machine wall decor

Hextraction - Rubber band Trampoline Tile
This is amazing! I want to give it little tiny Tom Servo arms.
You have outdone yourself. That's the most imaginative Hextraction tile I've seen. Bravo. Will be printing as soon as possible (+ boosting it elsewhere) !