
ExtrusionAl Covers for 3030 T-Slots
This is a remix/redesign of the T-slot extrusion covers by MegardStudio that was featured on the Voidstar Labs video of prints for your printer.
After printing out the full plate, I found the pieces were exceptionally difficult to snap into the channels, and the difference between PLA and PETG didn't make things any easier. So I went into Fusion 360 and reverse-engineered the shape and made some tweaks.
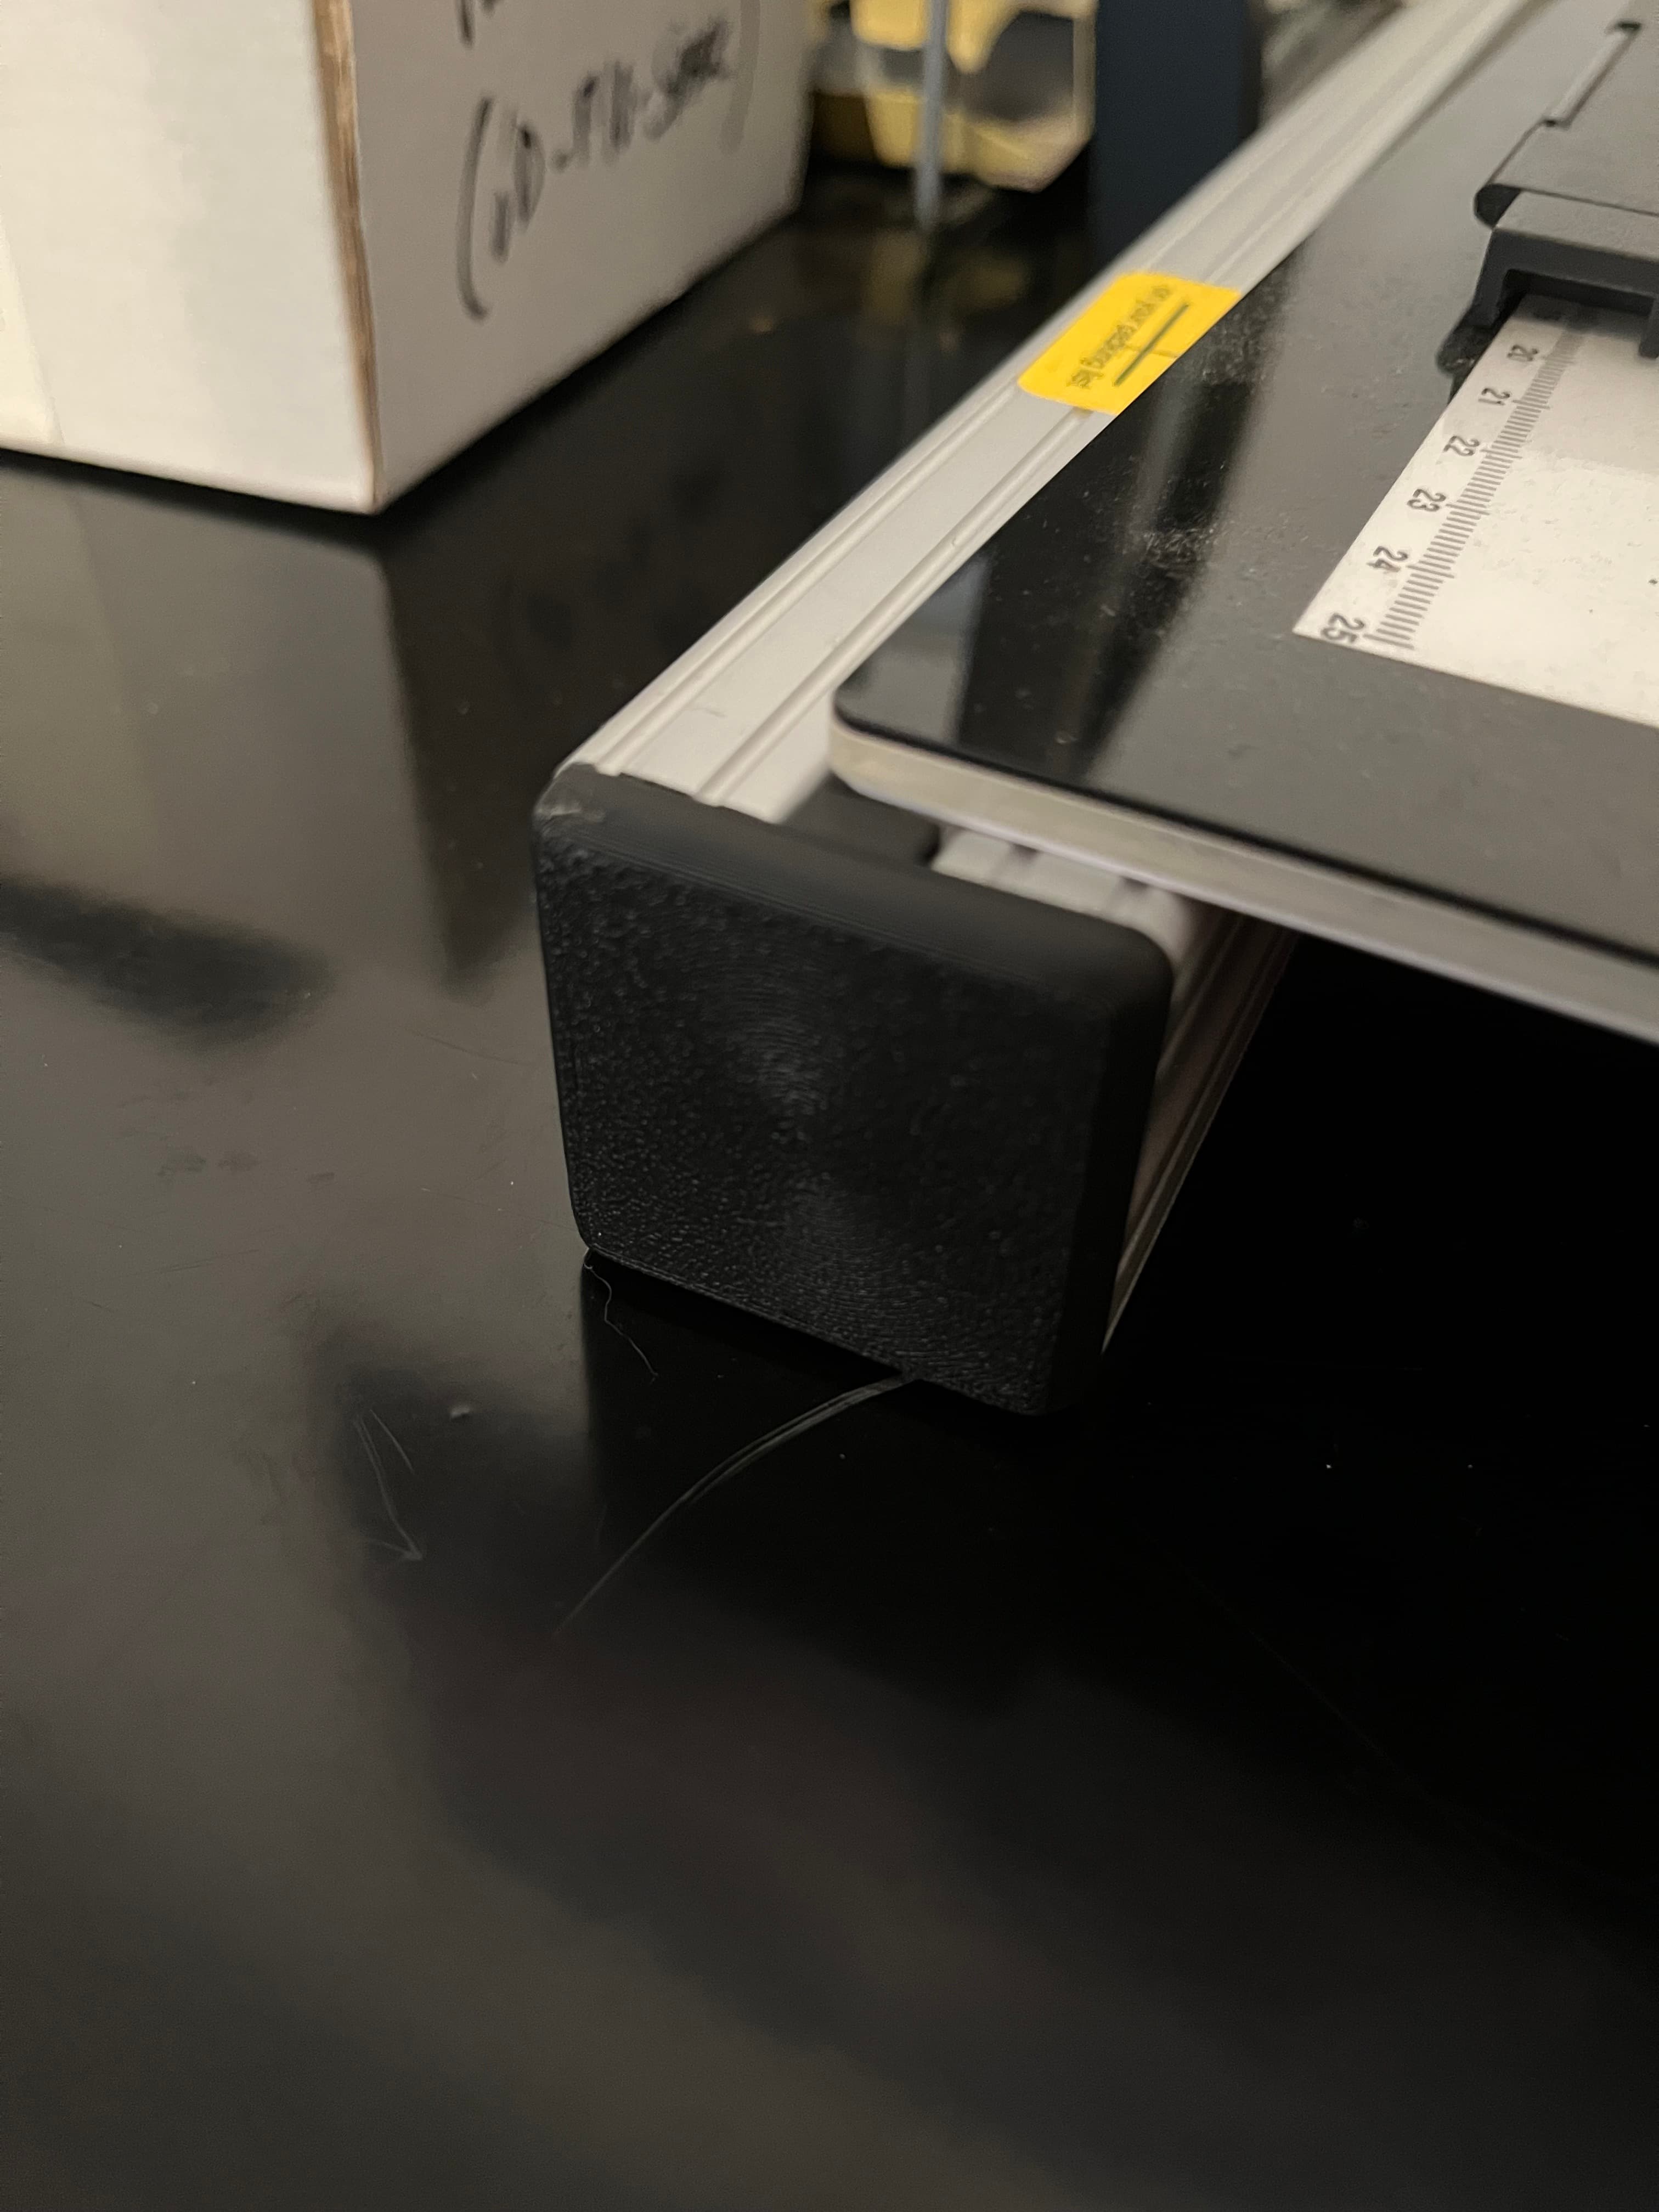
My final design fits oh so perfectly into the slots, whether you slide them in one end at a time, or by getting one side seated and snapping the other side into place. They also stay nice and secure without rattling, while still being fairly easy to “peel” out of their tracks. Skeptical? Try printing out the 22mm piece to test it in your rails before going for the full plate. I made the mistake of printing the original design full plate before testing and wasted 3 hours.
Assembly
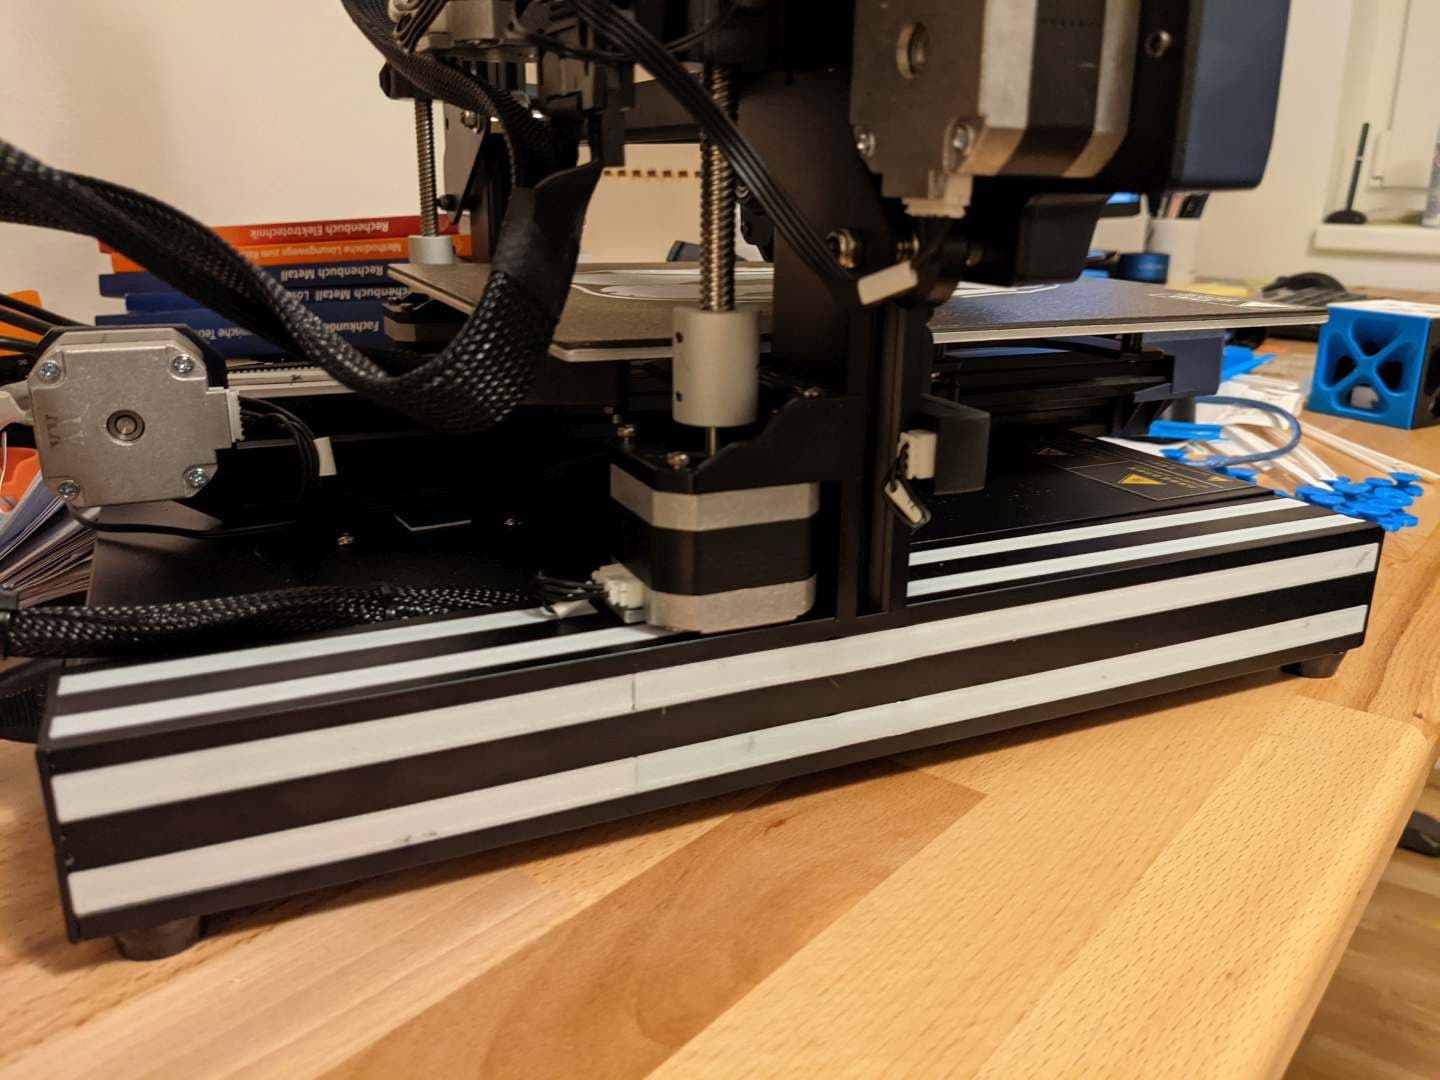
Black PSU
1x 16mm - Slots in behind the PSU under the power cable 5x 119mm - Slot into the Short extrusion pieces 1x 150mm - Slots into the Long extrusion where the display cables are running 2x 190mm - Slot into the Long extrusions underneath the Y-axis rails (I used an iFixit Spudger to press it into the channel, but anything like a pencil will do the same) 3x 204mm - Slot into the sides of the Long extrusions Silver PSU
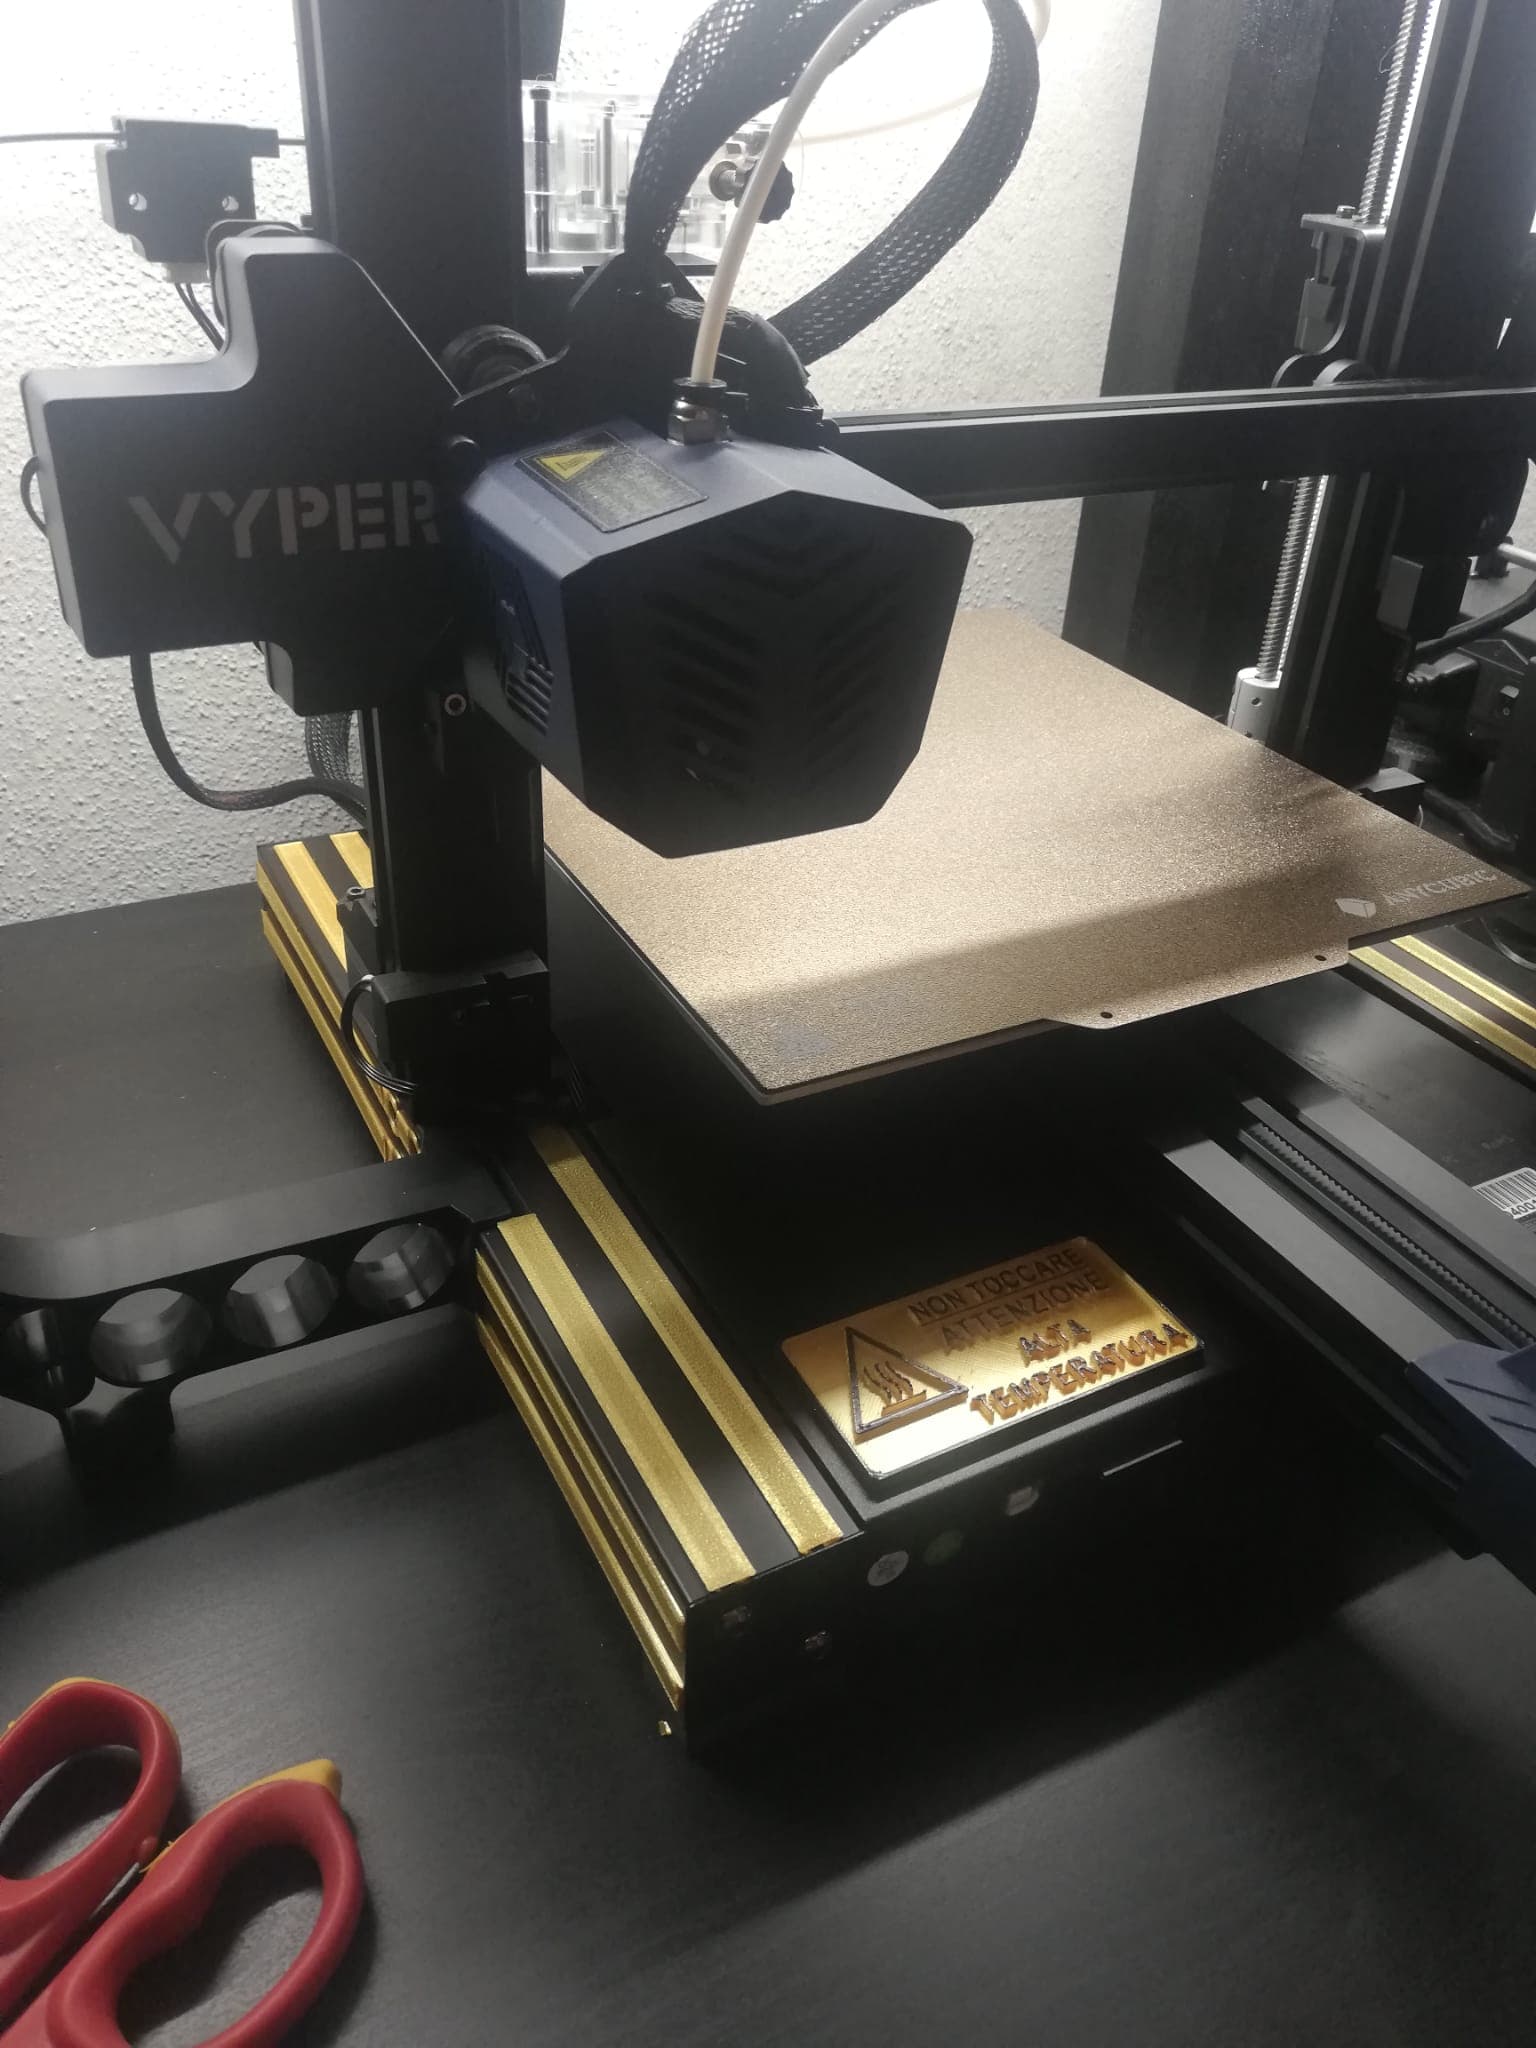
1x 22mm - Slots into the shorter section surrounding the T-lock mounting point for the Silver PSU (top of the right, Short extrusion) 1x 62mm - Slots into the longer section surround the T-lock mounting points for the Silver PSU 4x 119mm - Slot into the Short extrusion pieces 1x 150mm - Slots into the Long extrusion where the display cables are running 2x 190mm - Slot into the Long extrusions underneath the Y-axis rails (I used an iFixit Spudger to press it into the channel, but anything like a pencil will do the same) 3x 204mm - Slot into the sides of the Long extrusions
Bonus I debossed the lengths (in mm) into the underside for easy recognition. However, there are versions without the text available if that's your preference. Also, these models are a few layers shorter (only 13 at 0.2mm layer height) and have 0% infill, so they should shave an hour off your print time versus the original.
In addition to the STEP, Fusion, and STL files for each piece, you'll find pre-plated, full sets for your printer, depending on whether you have the Black or Silver PSU.
Also, the provided .gcode files were exported with the Verbose setting ticked so you can throw them at Octolapse without having to re-export ;)
ExtrusionAl Covers for 3030 T-Slots

Prusa Mk3 3030 T-Slot Extrusion Channel Cover Set

Camera Profile Slider for Aluminium T-Slot and V-Slot 2020

Ender 3 Slot cover

HP EliteDesk Slot Cover 800 G3 SFF

Anycubic Mega Zero 2.0 Front V-Slot Cover
T-Slotted Extrusion 1.5inx1.5in End Cap

Ender3 V Slot Covers

CR-6 se Push-in V-slot Covers (minimalist)

Ender 3 Pro Push-in V-slot covers (minimalist)

low profile GPU slot cover
Vyper V Slot cover Perfect Frme Fit
Vyper V Slot Cover

Tyvok Spider X1S - Frame Spacer (X0/Y0 Alignment + T-slot Mount)

Auto-Rewind Spool Holder - T-slot mount

Zip-tie Cable Clip for 15 Series T-Slot Extrusion

FHW: IKEA Pegboard (SKÅDIS) t-slot holder

100 mm aluminium T-Slot section.stl

T-SLOTTED FRAMING 1.500 OPEN GUSSET.STL

Arduino UNO 20mm T-Slot Case

Are these easy to snap into a pre-assembled mk3s? Also, for the rails below the y axis bearings, do you slide in half at a time and then push one piece to the back? Seems hard to get it in otherwise. Any advice?
Thank you so much for going out of the way to redesign this for the community!
Just wanted to say thank you for doing these. They worked great!
Fantastic updates to the model! Couldn't get the originals to fit in without snapping but these worked great! Now I can stop fishing out tiny globs of PETG that get stuck in the slots.