.png&w=3840&q=85)
.png&w=256&q=75)

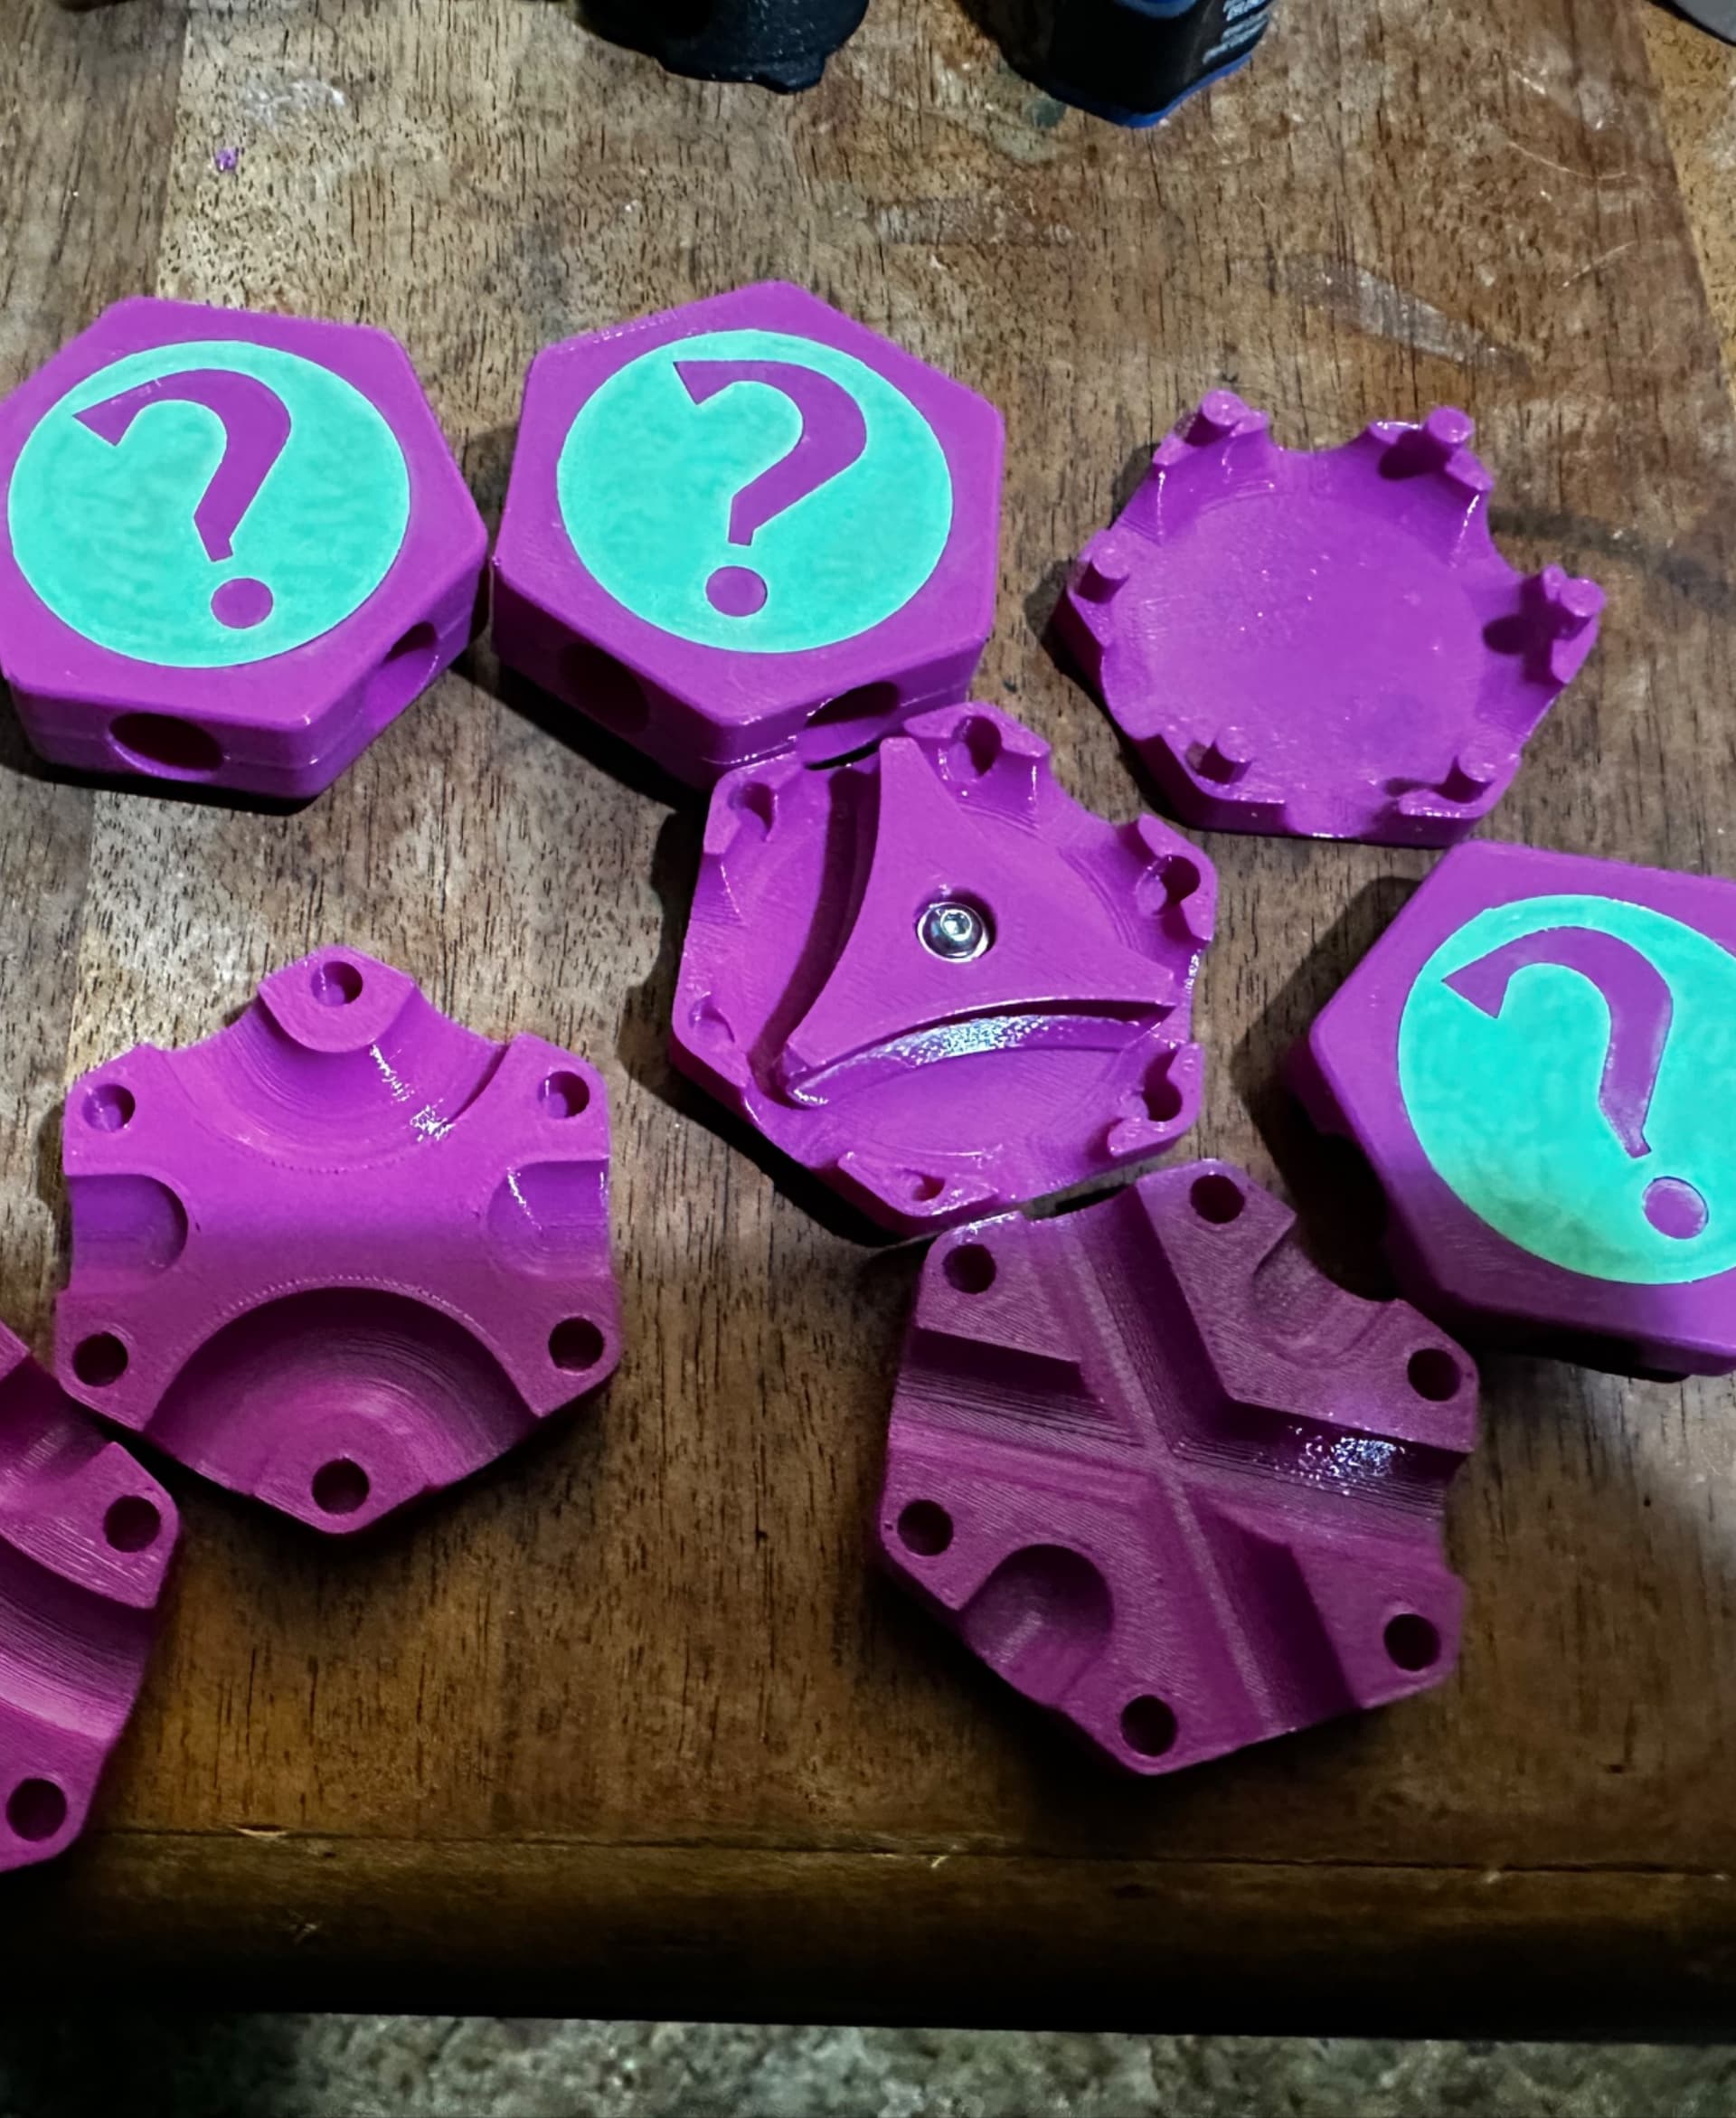
Hextraction Secret Tiles
Shroud your plays in mystery with these befuddlingly stealthy tiles for Hextraction, the hackable, 3D-printable board game.
With the lids off, these tiles look and act similarly to Basic and Flipper Tiles. But with the lids on, the inner workings are totally concealed, giving you a temporary informational edge while your opponents scratch their heads. Remember to pop the top off before you play it, to see what you've got!
These actually behave a bit differently than the standard versions; to make them totally identical, I put notches in all six positions. This means you can make "illegal" paths that connect top edge to top edge, and bottom to bottom. Balls need a significant amount of momentum to pass through these, so use with caution, and if balls get stuck, you'll have to mentally track when you can remove the tile.
The Secret Flipper is also unique in that it has entrances on all six sides. The upper-left and upper-right entrances are actually always usable, always lead to the corresponding bottom edge, and always tip the flipper in that direction, so the sneaky sidegrade enables more advanced plays. The Secret Flipper uses the same flipper as the regular version, and installs the same way, so visit that page to download the missing piece and get assembly instructions.
The lids should fit the tiles snugly; loose enough to pry off, but tight enough to stay put during a shuffle. You may need to adjust your slicer's hole/circle settings, or slightly scale the Lid up. If you have a multi-material printer, drag the Lid and the Inlay into the slicer together, so the Inlay is aligned with the slot and question mark. Otherwise, print them separately, no supports, and glue the Overlay in place.
Fusion 360 source: https://a360.co/3pFeM4U
All of my Hextraction tiles have a built-in sacrificial support under each notch - remember to snap it off after printing. Enable the brim if these detach from the bed.
Hextraction is a 3D-printable, modder-friendly board game designed by me, Zack Freedman of Voidstar Lab. In addition to tiles, you'll also need 10mm steel balls or 3/8" slingshot ammo and a game board. To learn the rules and how to get started, watch the Hextraction video!
Hextraction is absolutely free - it's free of charge - all of my models are here on Thangs, commercial use allowed. It's free-form - you can play with any number of opponents, even zero. It's free to modify - you can create your own tiles and configure your own board.
For more information, visit https://playhextraction.com.


Hextraction Secret Tiles

Gridfinity Utility Belt Module for Modular Utility Belt

Gridfinity Carousel Carriage w Magnets

Gridfinity Kit for Dungeon Master's Tome

Shargeek USB Power Bank Gridfinity Cradle

Gridfinity Raspberry Pi 400 Tray (for Cyberdecks)

Inland Folding Keyboard Gridfinity Tray (for Cyberdecks)

Gridfinity 7" Mini-Monitor (for Cyberdeck)

WaveShare AMOLED Panel Mount Frame (With rgbleds!)

North XL Extra-Tall Rgbled Feet

RGB Silicone-Sleeved AIO Tube Clamp Comb Clip Thingamajiggler

Silverstone IceMyst Custom Emblem

Authentic Faux RAM (Looks like G.Skill Trident Z5 RGB) (Download More RAM)

Transwarp Saya - High-Density Nerf Mag Holder for Talon, Katana, and Zinc

MakerChip: Zack Freedman/Voidstar Lab

MakerChip Gridfinity Holder (also fits poker chips)

Benchy Tier List!

ESP32 30-Pin Devkit V1 Expansion Board Enclosure Thingy

Lilygo T-Relay H516 Enclosure

Hextraction: Take the Tilepill

lil DC has 5mm deep holes, the rest have 3mm deep holes and the lid has 4.5mm tall posts. This is another part that needs a remix/fix. It feels like Zack rushed this whole thing.
For anyone having trouble print the secret click tiles instead https://thangs.com/designer/NoStepOnDeez/3d-model/Hextraction%20Secret%20Click%20Tiles-1134237
So I made the mistake of printing without reading comments. Before I go printing the fixed bodies, I have an additional problem which I don't think those fixes will help with.
I did the trick of flipping the lid upside down, and incorporated the inlay so my Prusa MK4S with MMU could do a nice single-object dual-color print (that part came out great at least). When I tested that lid on one of the DIC tiles (that has the right depth holes), one of the lid pins snapped off in the hole. (more)
I resliced it, increasing the infill from 15% to 90%, and the problem persists.
Is this due to using PLA Silk instead of PLA? I had gone with that as I had this really cool three-color PLA silk filament.
the lids don't fit, like at all really want this to work as i spent 5 and a half hours printing this
How do you print the lids? I tried with question mark down but the question mark seems to easily detach from the rest of the lid.
Hey Zack. I think I found an issue.
Except for the lil DC the lids don't snap on al have a 1mm gap. They also fall off when in the bin. Is this intentional?
I removed 2mm from the connector pins then scaled the lid and inlay 1% in the X and Y directions and they fit together pretty well and don't fall off as easily.
I tested it out and performing a simple cut in prusa slicer to remove the top 2mm of the lids "posts" works great and it's still a nice fit on all the lower "body" parts. The flipper body becomes pretty loose but it's easy enough to put a couple of dabs of super glue on a few of the posts to hold the body together. Hopefully Zack updates these parts soon.
Same issue for me too. Taking a few mm off the pegs might help, but the pegs are largest at the ends. I think that would make the fit even looser
Yeah, same issue here.
Had the exact same issue taking off 2mm from the little connector pins and seeing how it goes.