Hextraction Tour Zu Tile
5 downloads · 1 month ago · Combines the mechanics of the [T-Detour](https://thangs.com/designer/NoStep/3d-model/Hextraction%252
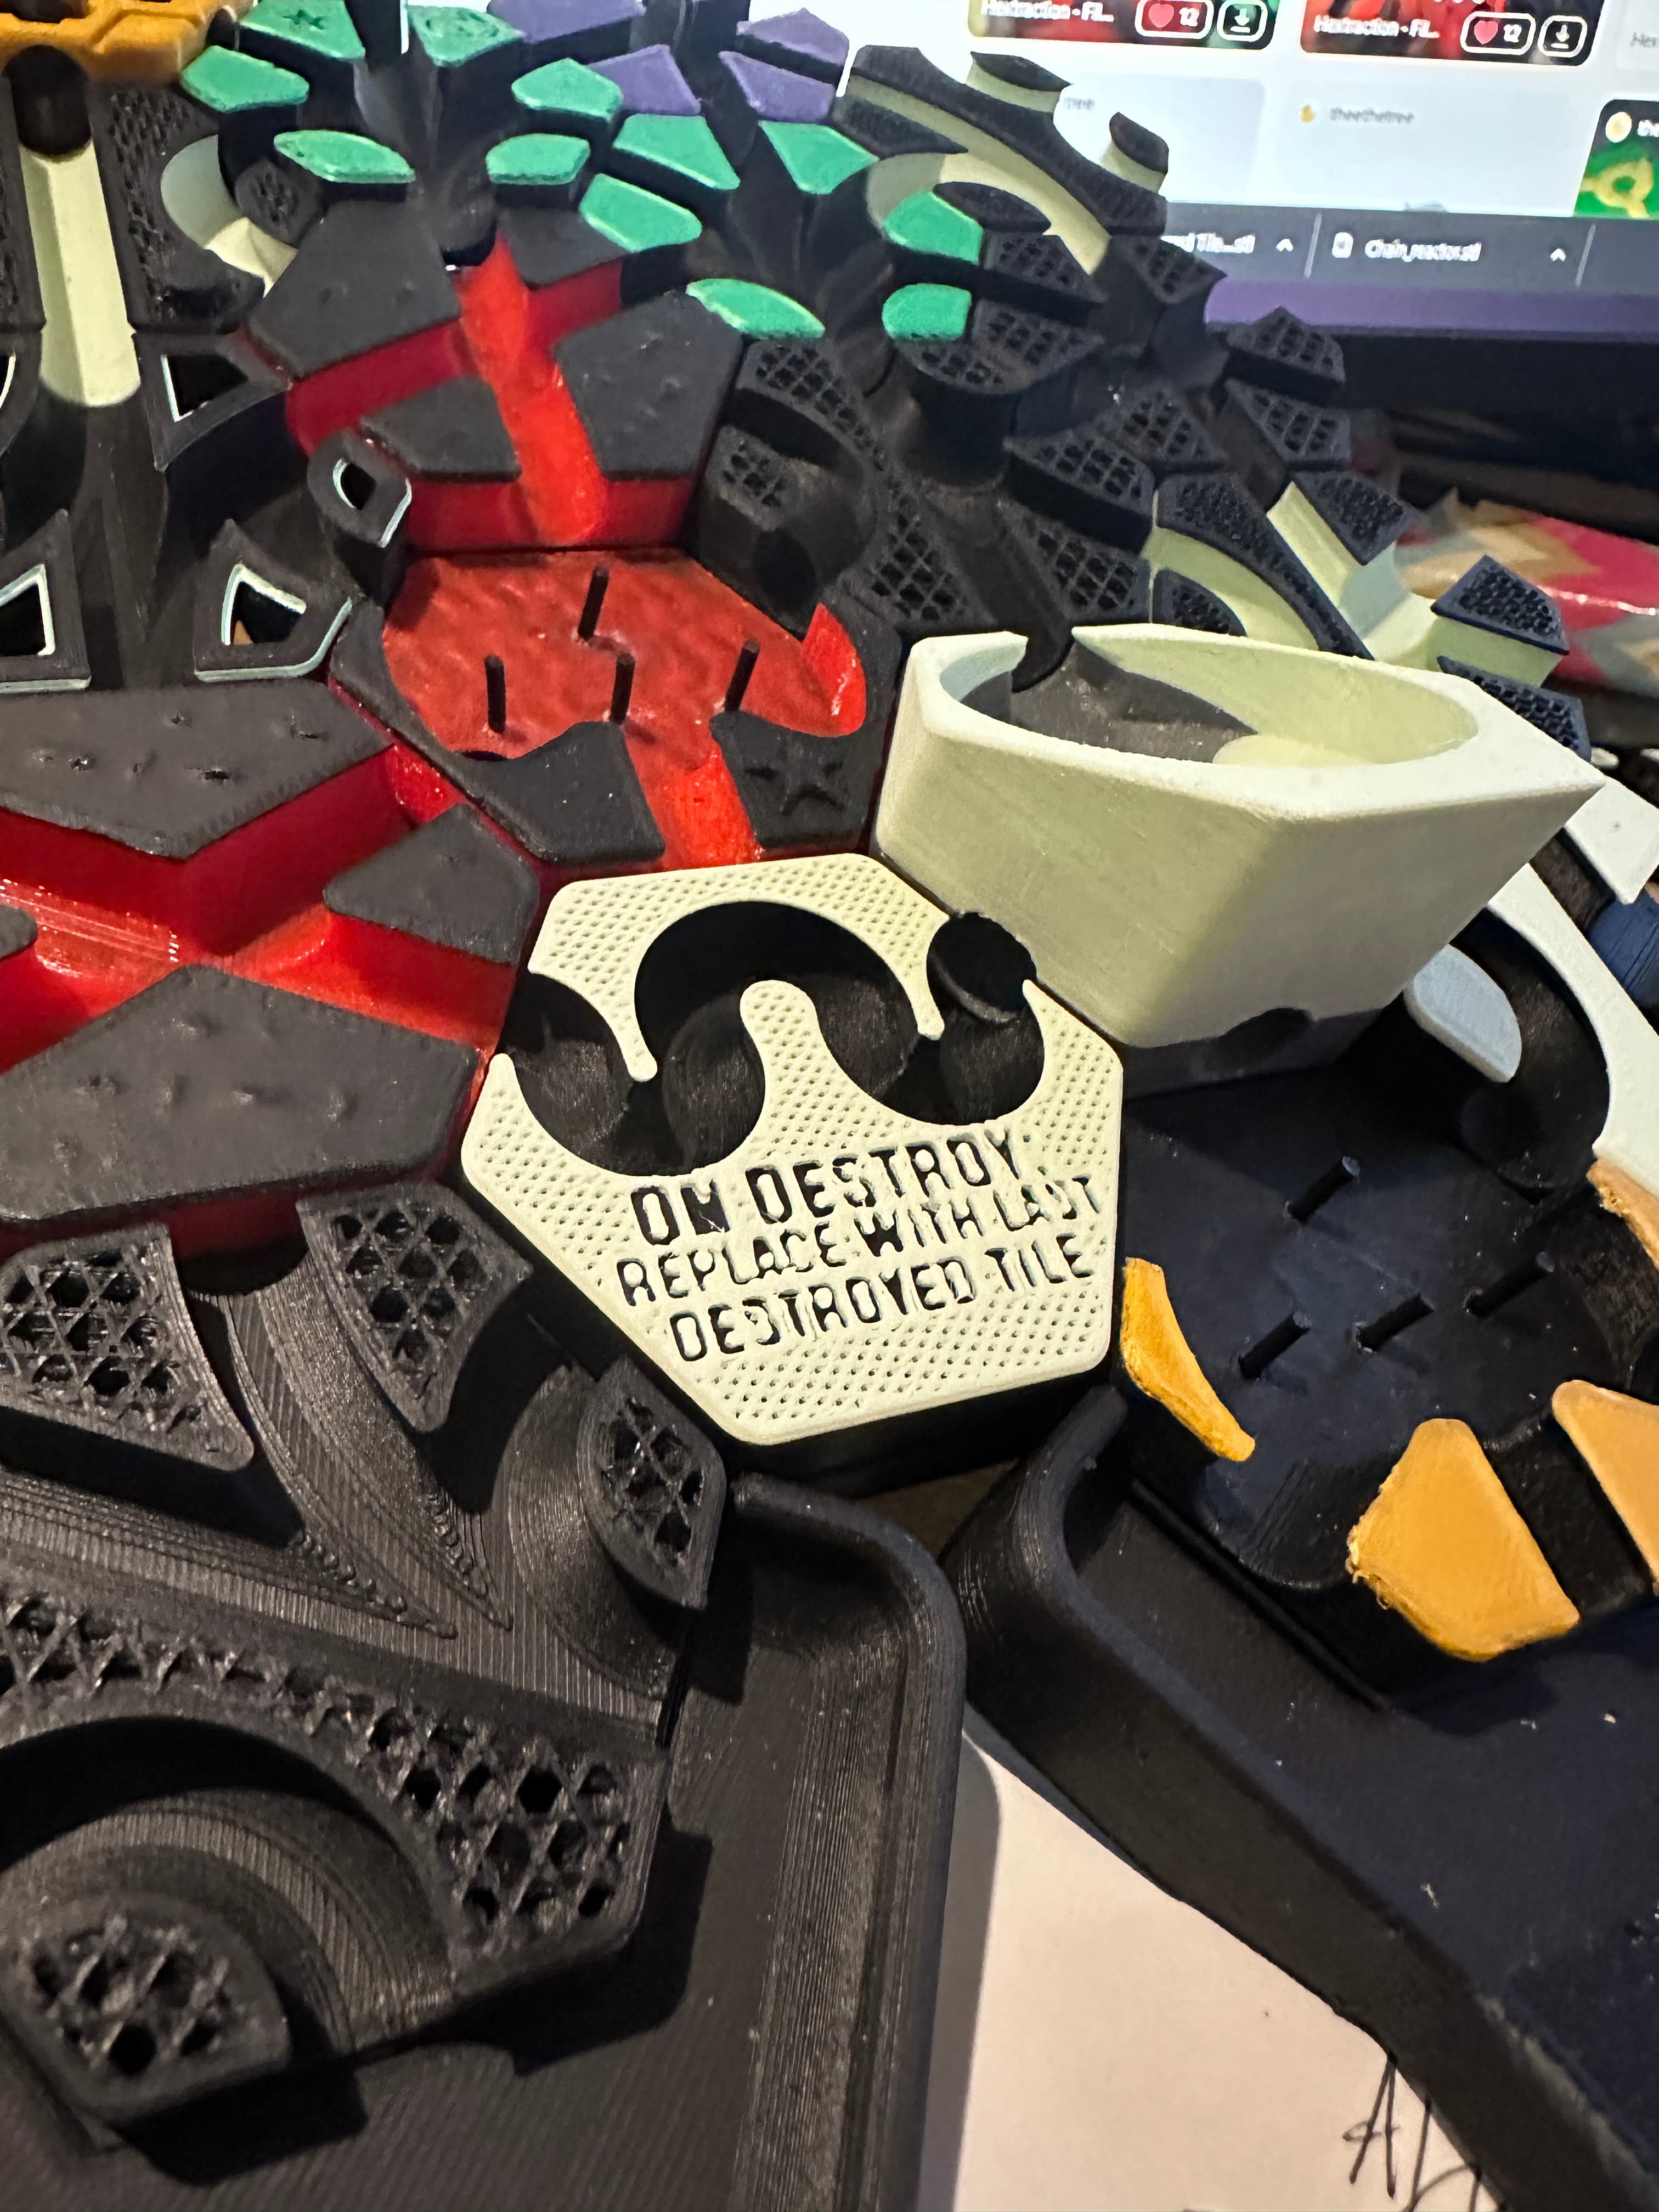
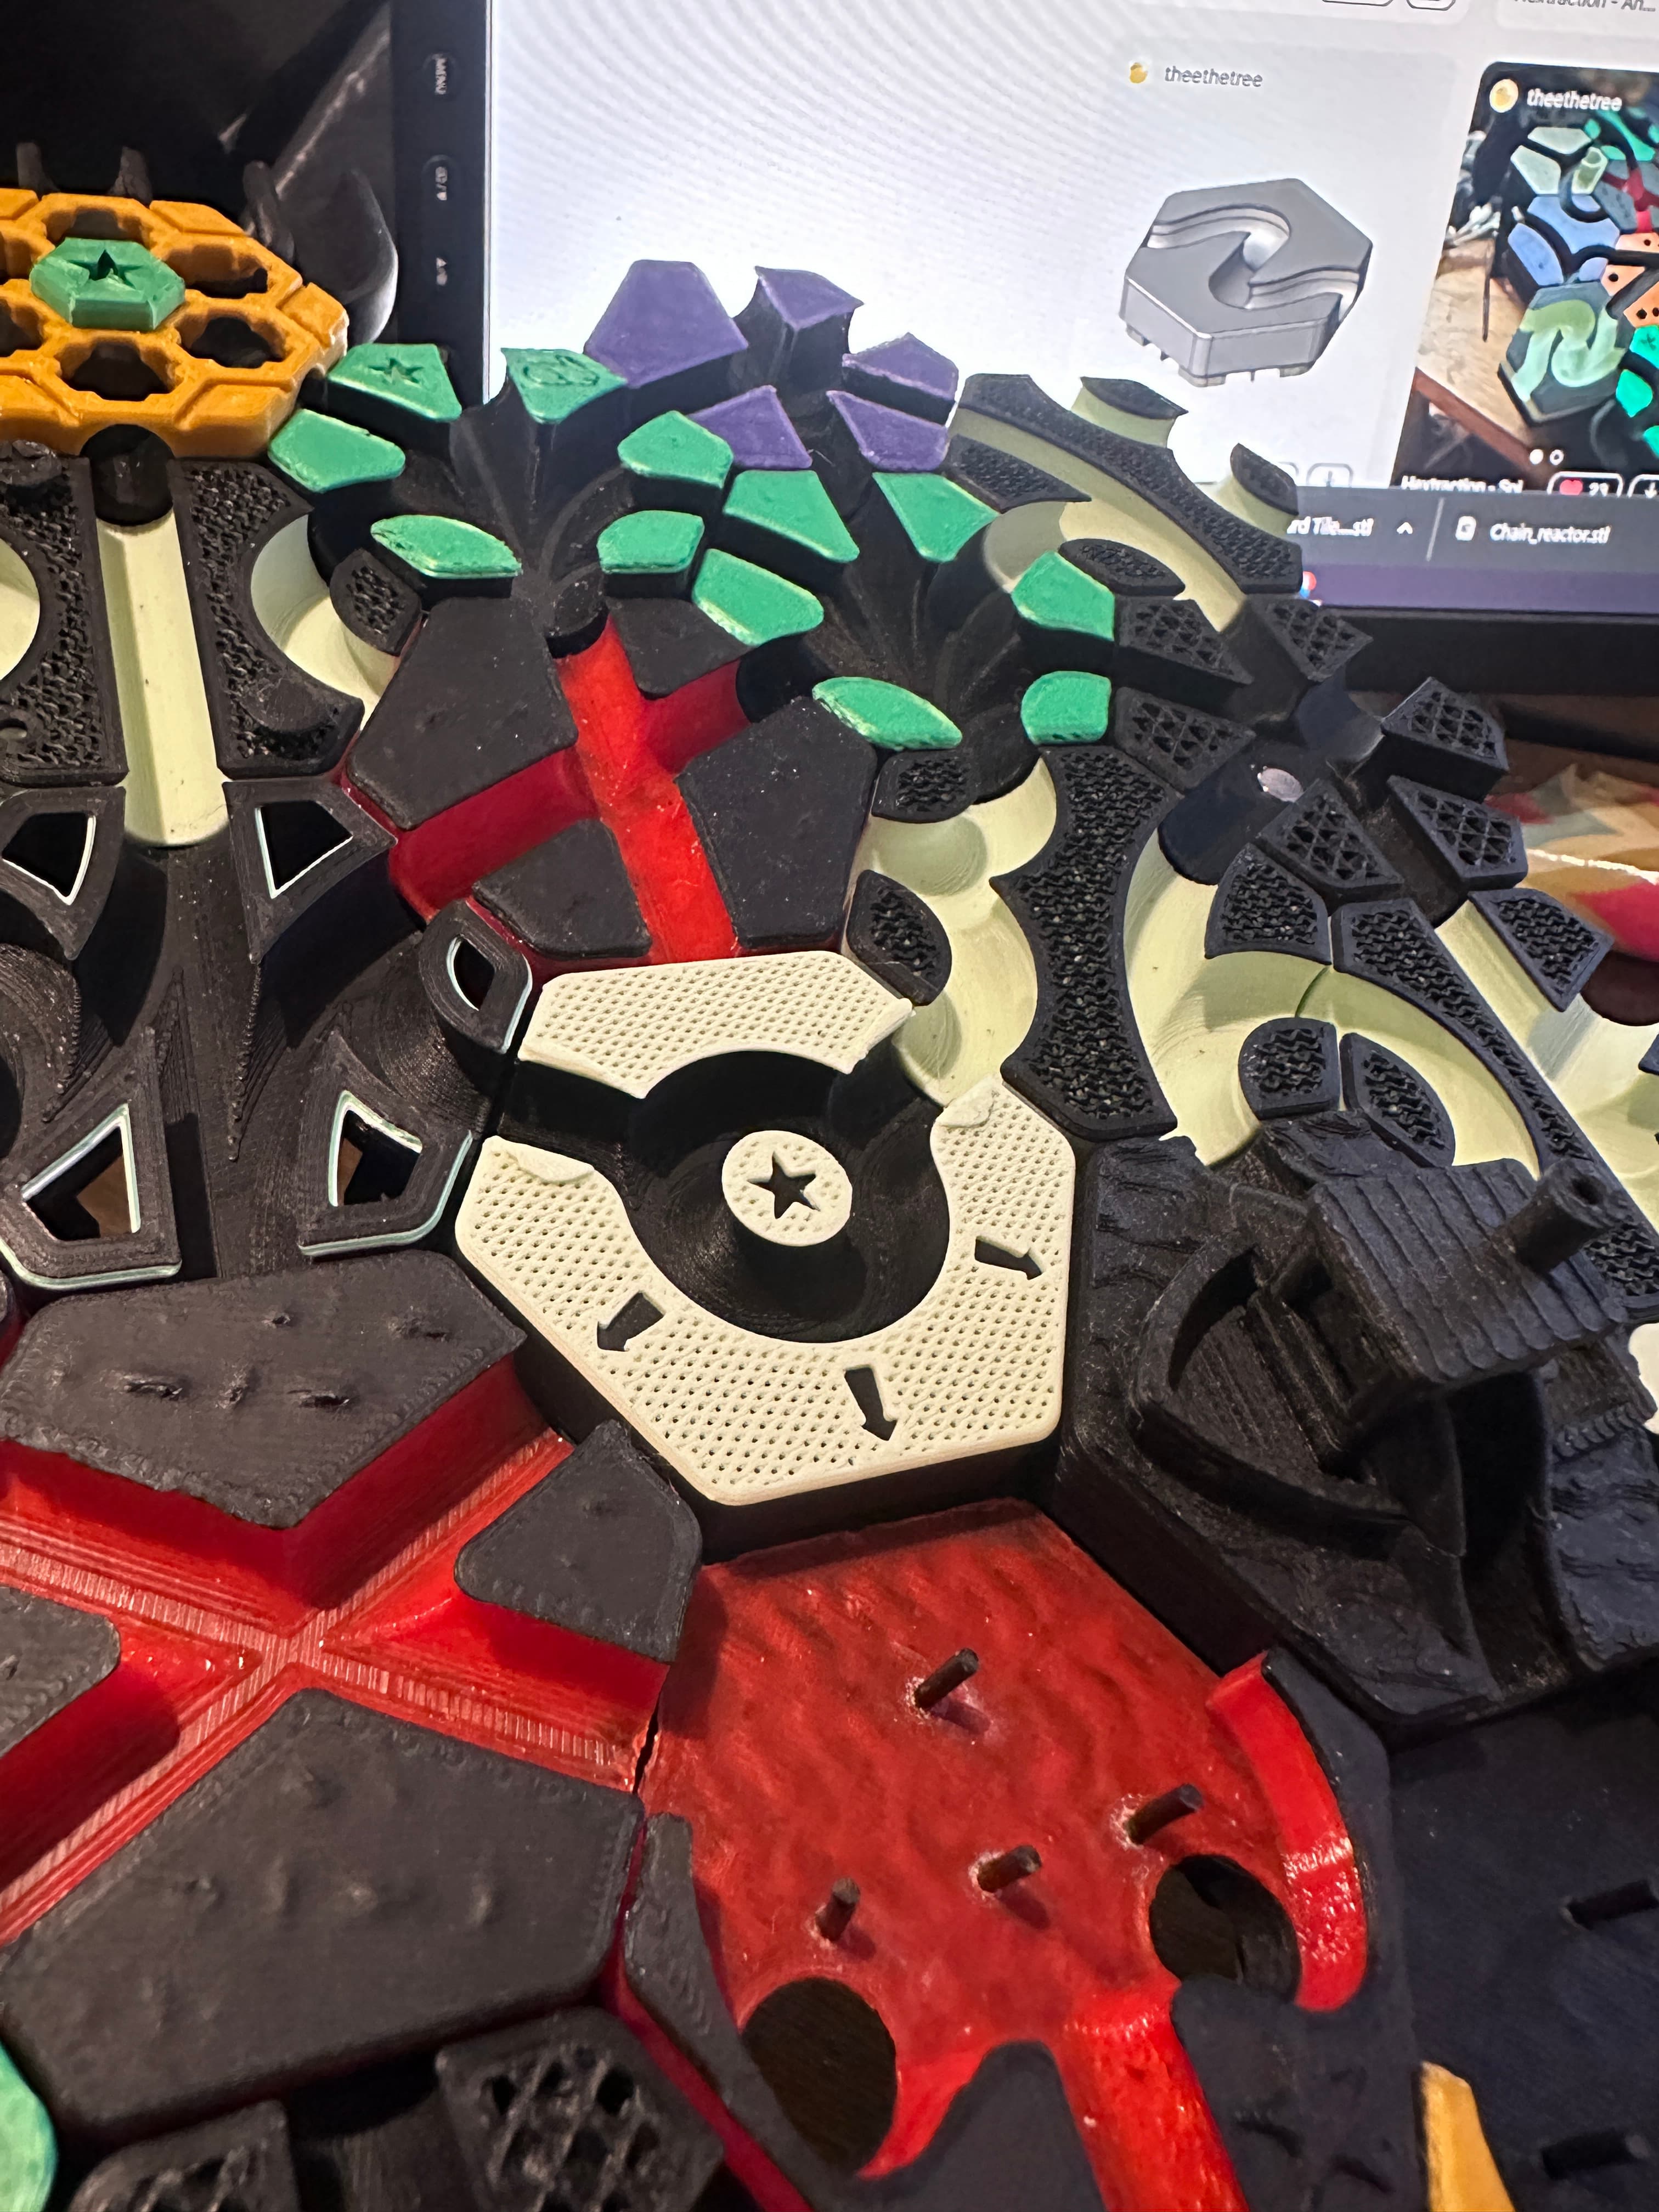
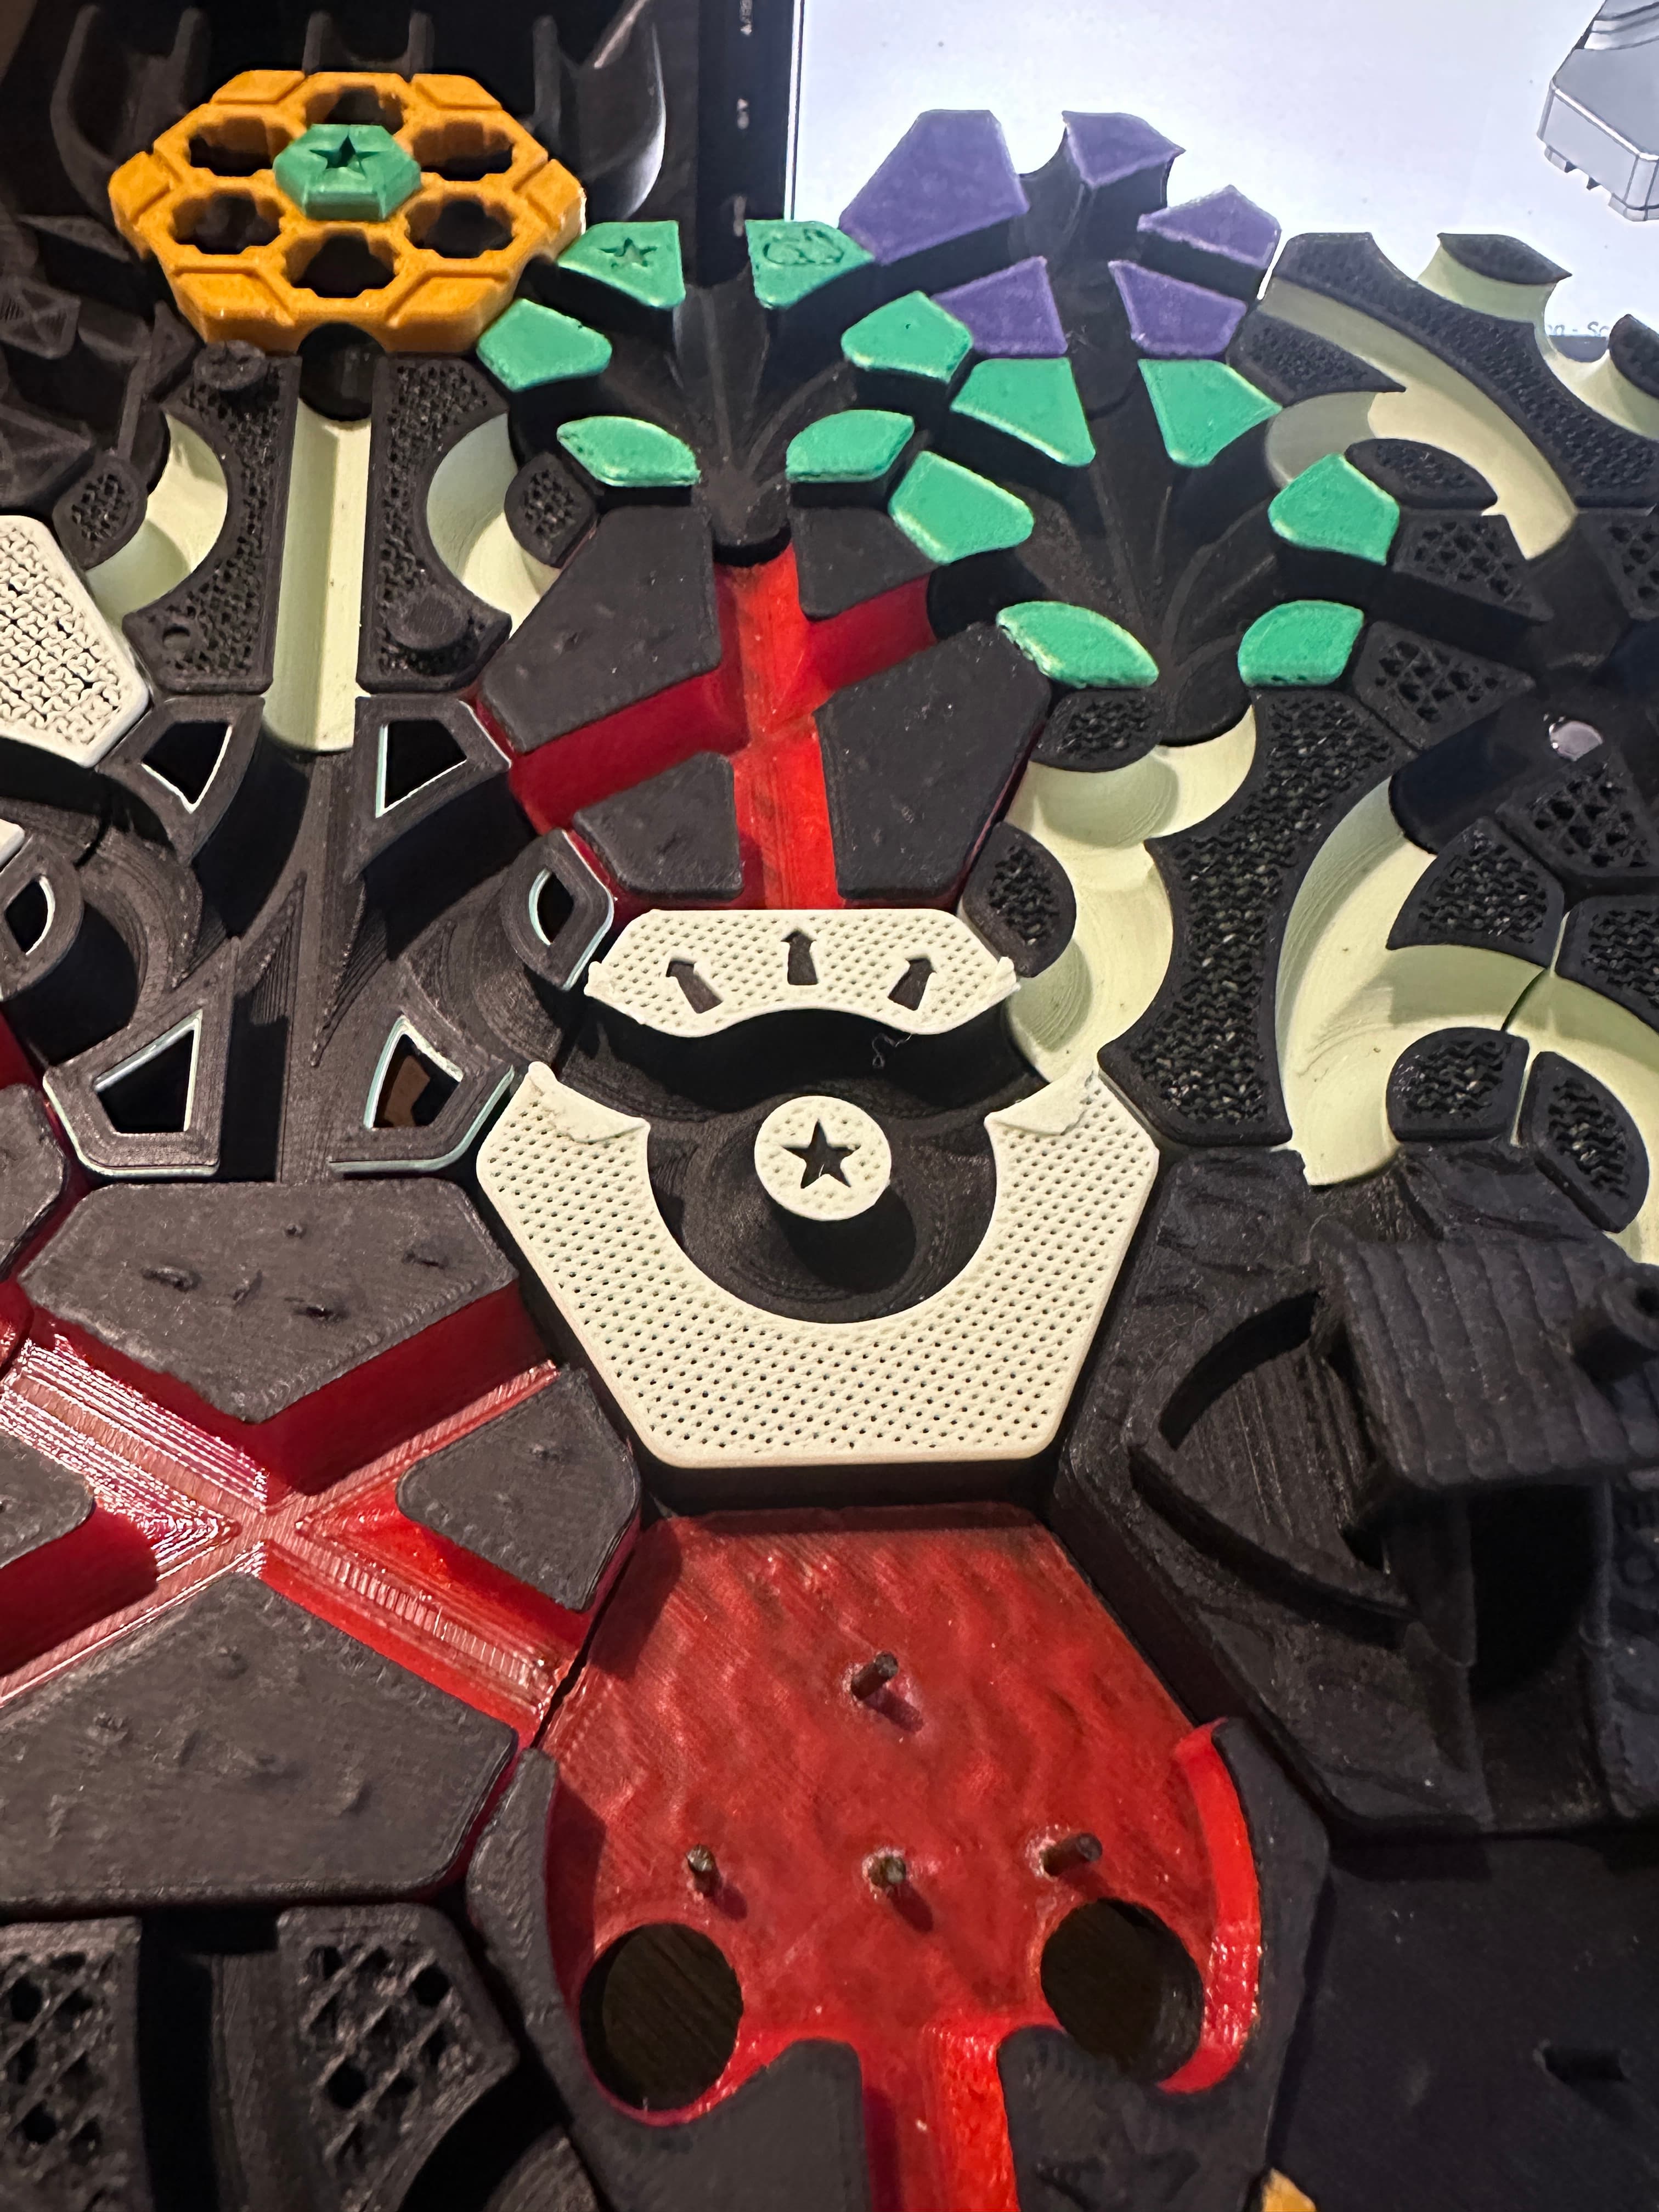
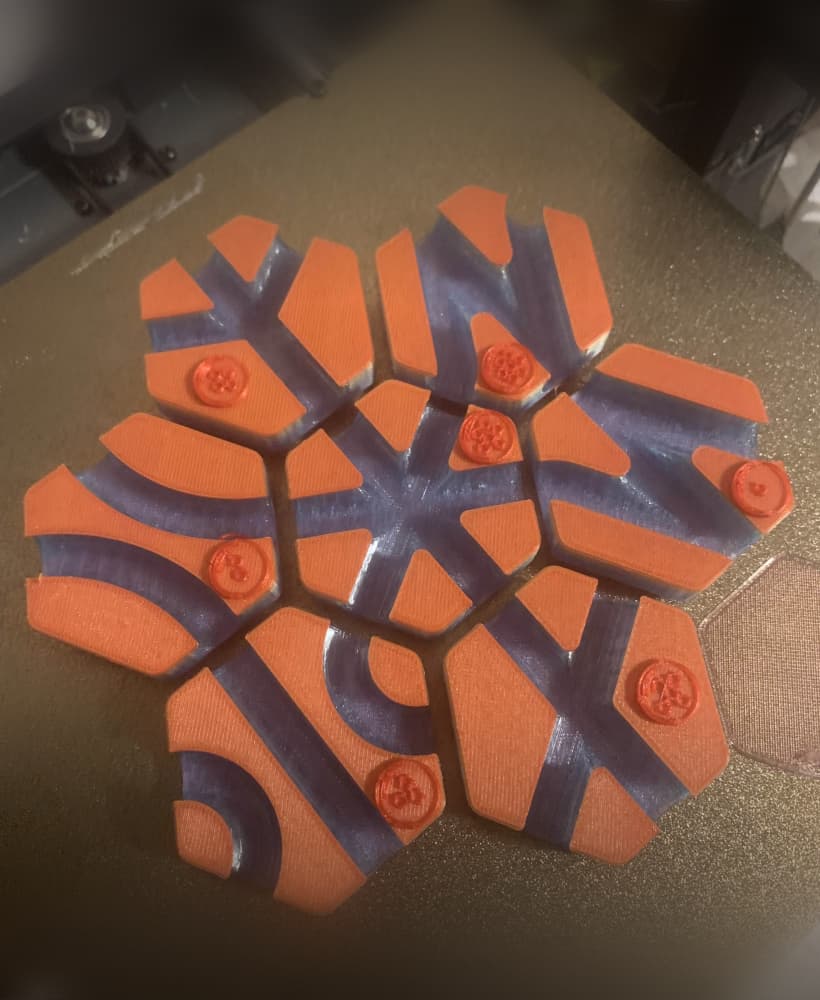
Combines the mechanics of the T-Detour, Tri-Switch and AltWave to create a tile that's a tri-state passthrough flipper when empty. When filled in the counterweight slot, it becomes a double dispenser with inverse center-in pathing via detour logic. That makes this the first penta-state tile! Confused? Check out the video. Verified reliable with 10mm and 3/8".
Hardware / Printing
- One M3x8 screw
- One M3 washer
- Two M2x12 screws (or longer)
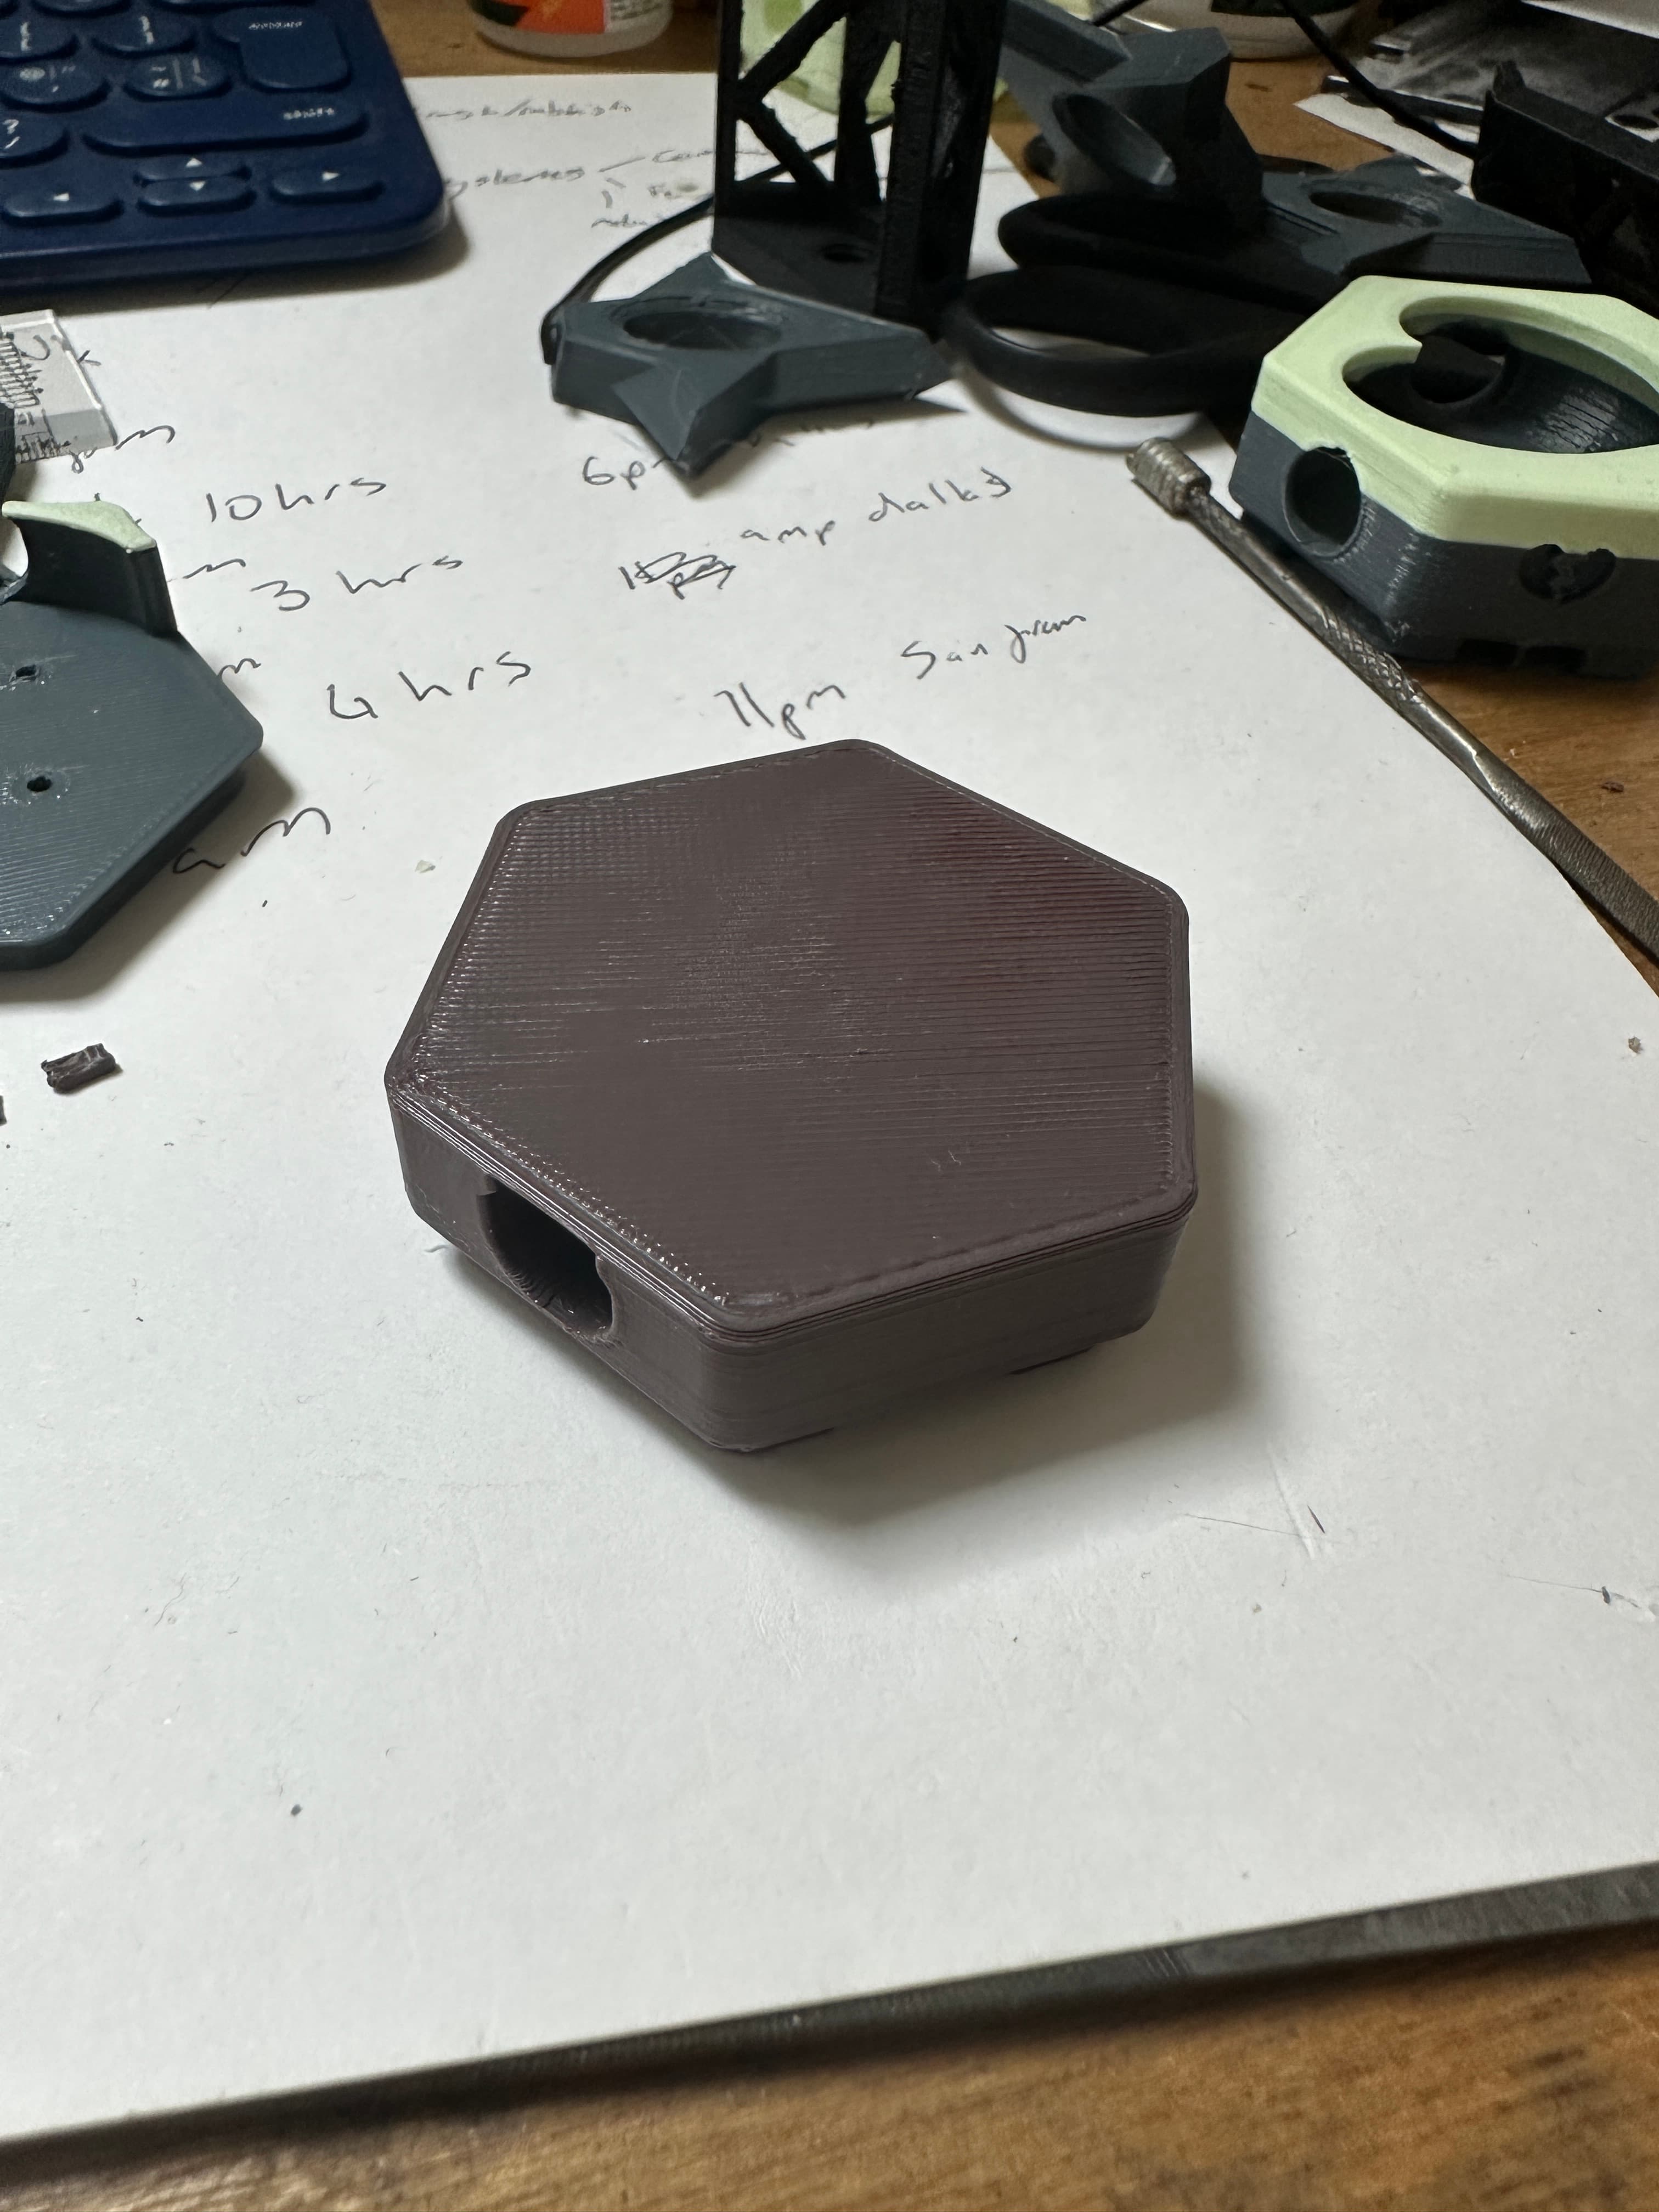
- PLA, 2 walls, 10% infill, no supports
- Base needs normal supports.
- Flipper needs tree supports. Tick true on "Support critical regions only".
- Insert does not require support.
Assembly
- Carefully remove all supports from parts.
- Install an M3x8 screw into the Flipper, stack a washer on the screw.
- Place the Insert inside the Flipper. The Insert's orientation should give clearance between its self and the Flipper's floor.
- Install the subassembly loose into the Base. The Insert should be floating inside the tile.
- Align the Insert's holes with the Base's holes. Apply pressure to the Insert with a small, narrow tool, like an Allen key, to hold it in place.
- Install two M2x12 screws into the base while applying pressure to the Insert. The screw heads should be on the bottom on the tile.
- On the M3 screw, crank it down until it stops rotating freely. Slowly back it out 1/8th of a turn. Repeat until the flipper freely rotates. Note: If assembly is too tedious I can make a jig to help. Let me know in the comments.
Hextraction Tour Zu Tile
5 downloads · 1 month ago in

Hextraction K-zu Tile

OLD Hextraction - Bishop Tile Chess Tiles

Hextraction - King tile Chess Tiles

OLD Hextraction - Rook tile Chess Tiles
OLD Hextraction - Knight Tile Chess Tiles
OLD Hextraction - Pawn Tile Chess Tiles
NEW Hextraction - Knight Chess Tiles
Hextraction - Queen Tile - Chess Tiles
Hextraction - Angel Down Tile
Hextraction - Angel Up tile

Hextraction - High-Consistency Trap Tiles
Hextraction - Dip Tile
NEW Hextraction - Rook Chess Tiles

Hextraction Shahrazad Tile Lid - Secret Tile Compatible

Hextraction - Holo XC tile - One peice

Hextraction - XC Holo Tile

Hextraction - Dip and hill tile

Hextraction - Rubber band Trampoline Tile
Dragon Ball Hextraction Tiles