


Hextraction JL Flop Tile
74 downloads · 1 year ago · A [DC Flipper](https://thangs.com/designer/timothyjackman/3d-model/Hextraction%20DC%20Flipper-942625
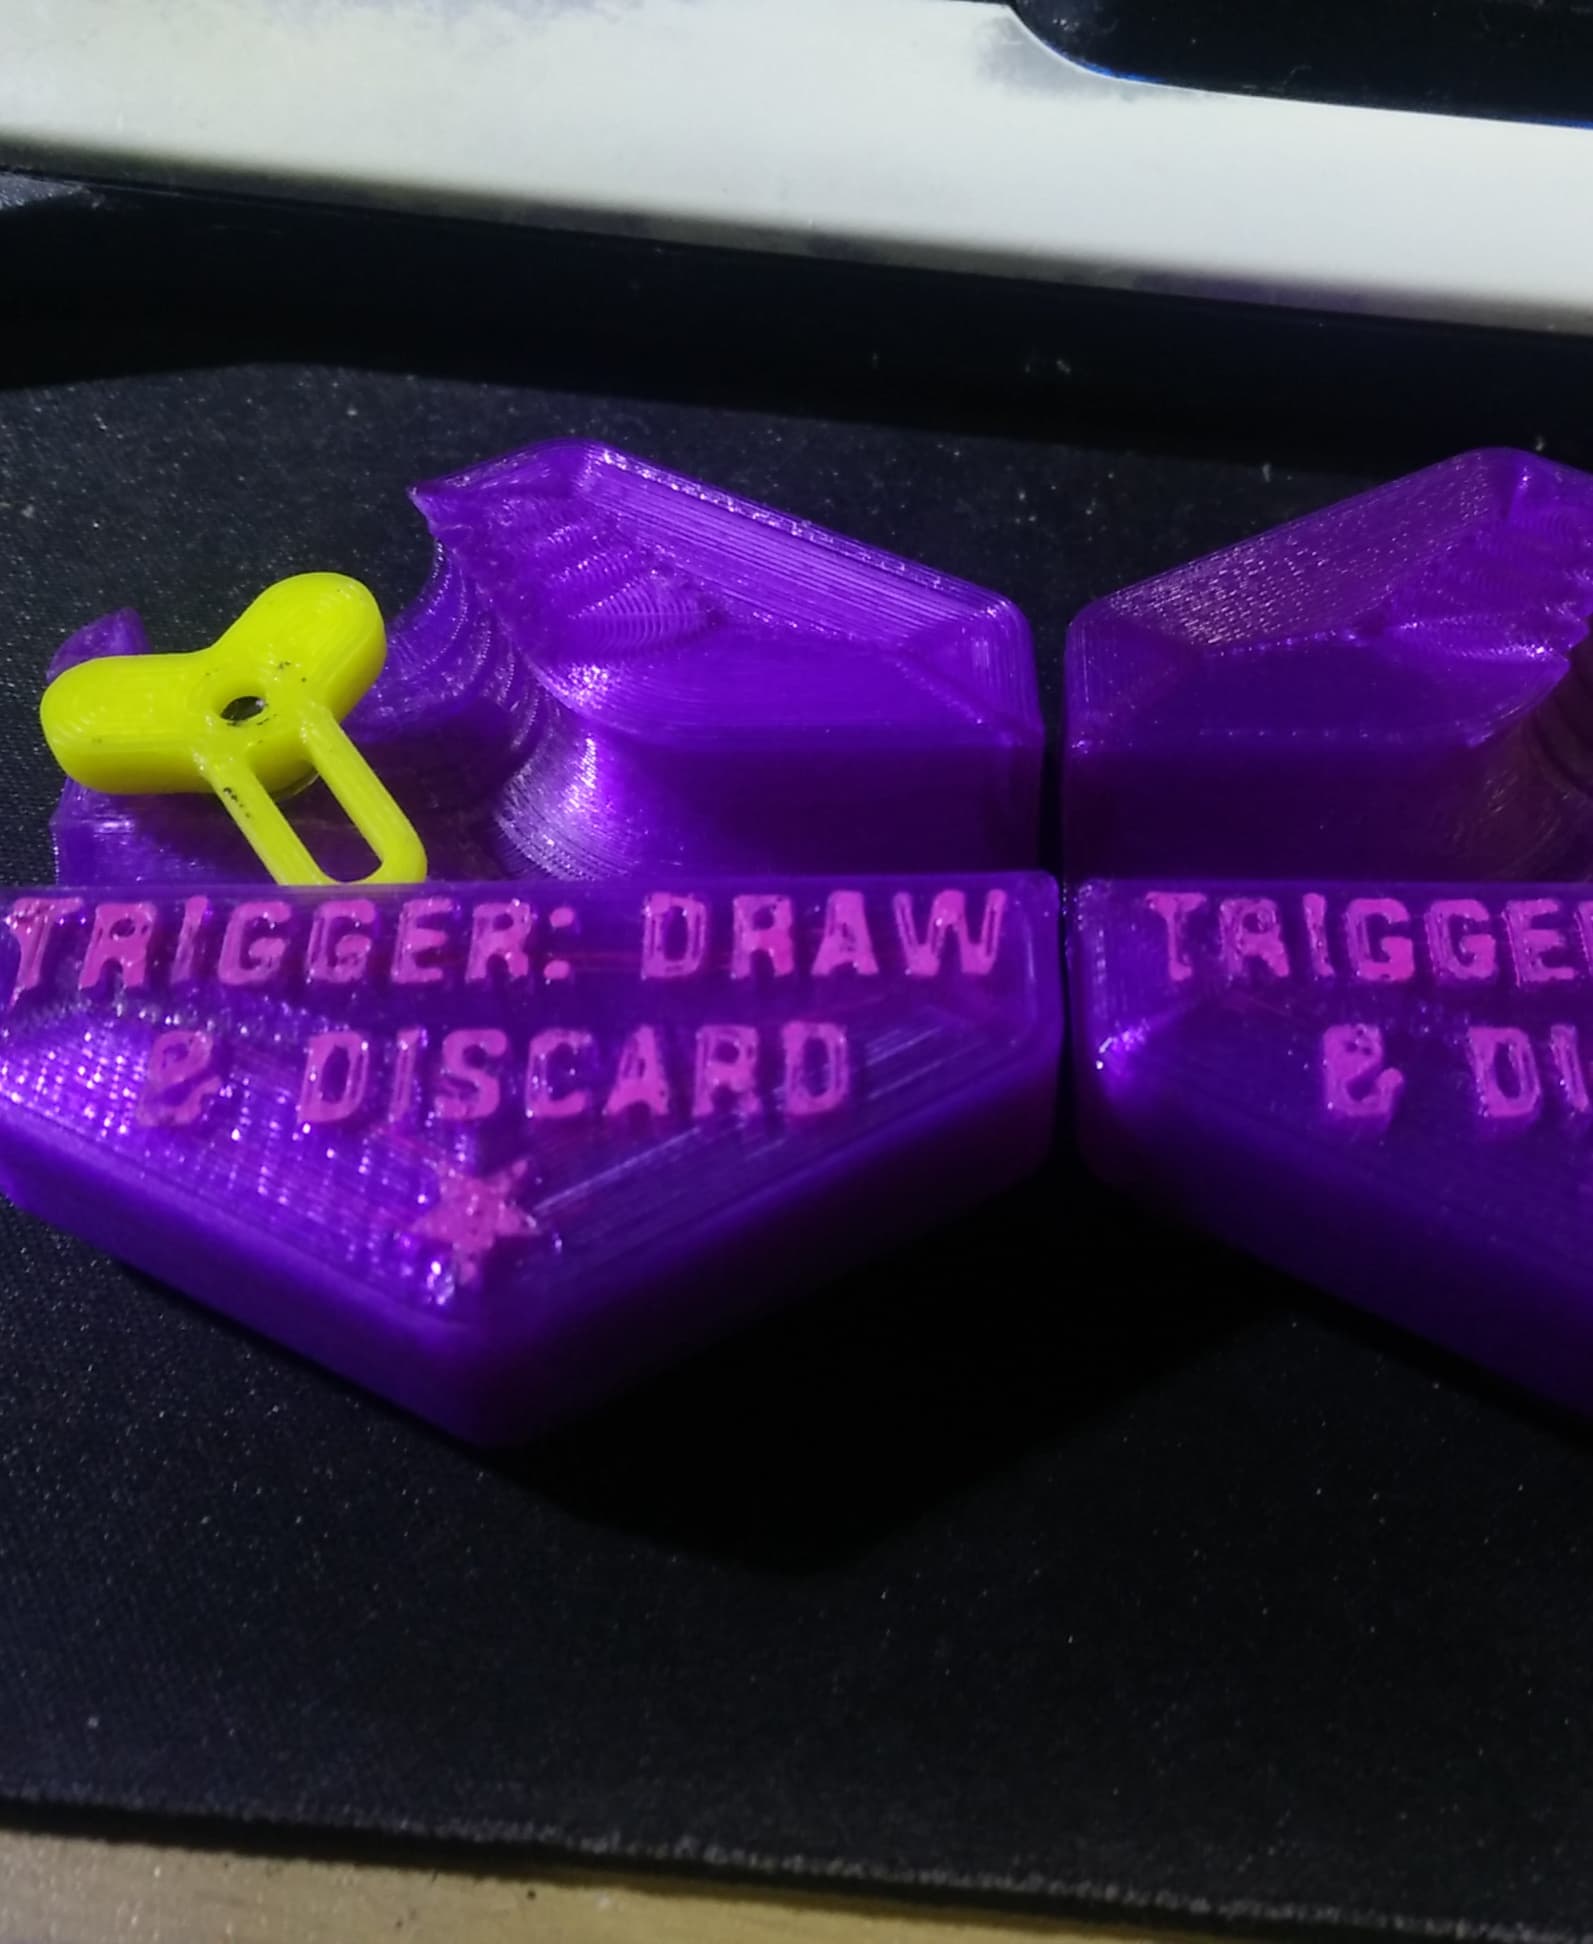
A DC Flipper remake designed for consistent, reliable logic. Watch the video to see it in action.
Hardware / Printing
- One M3x14 screw (or longer)
- One M2x12 screw
- One M3 washer
- PLA, 2 walls, 10% infill
- Base requires supports (Structure = Normal, Placement = Everywhere, Overhang Angle = 50+)
- Flipper prints with no supports
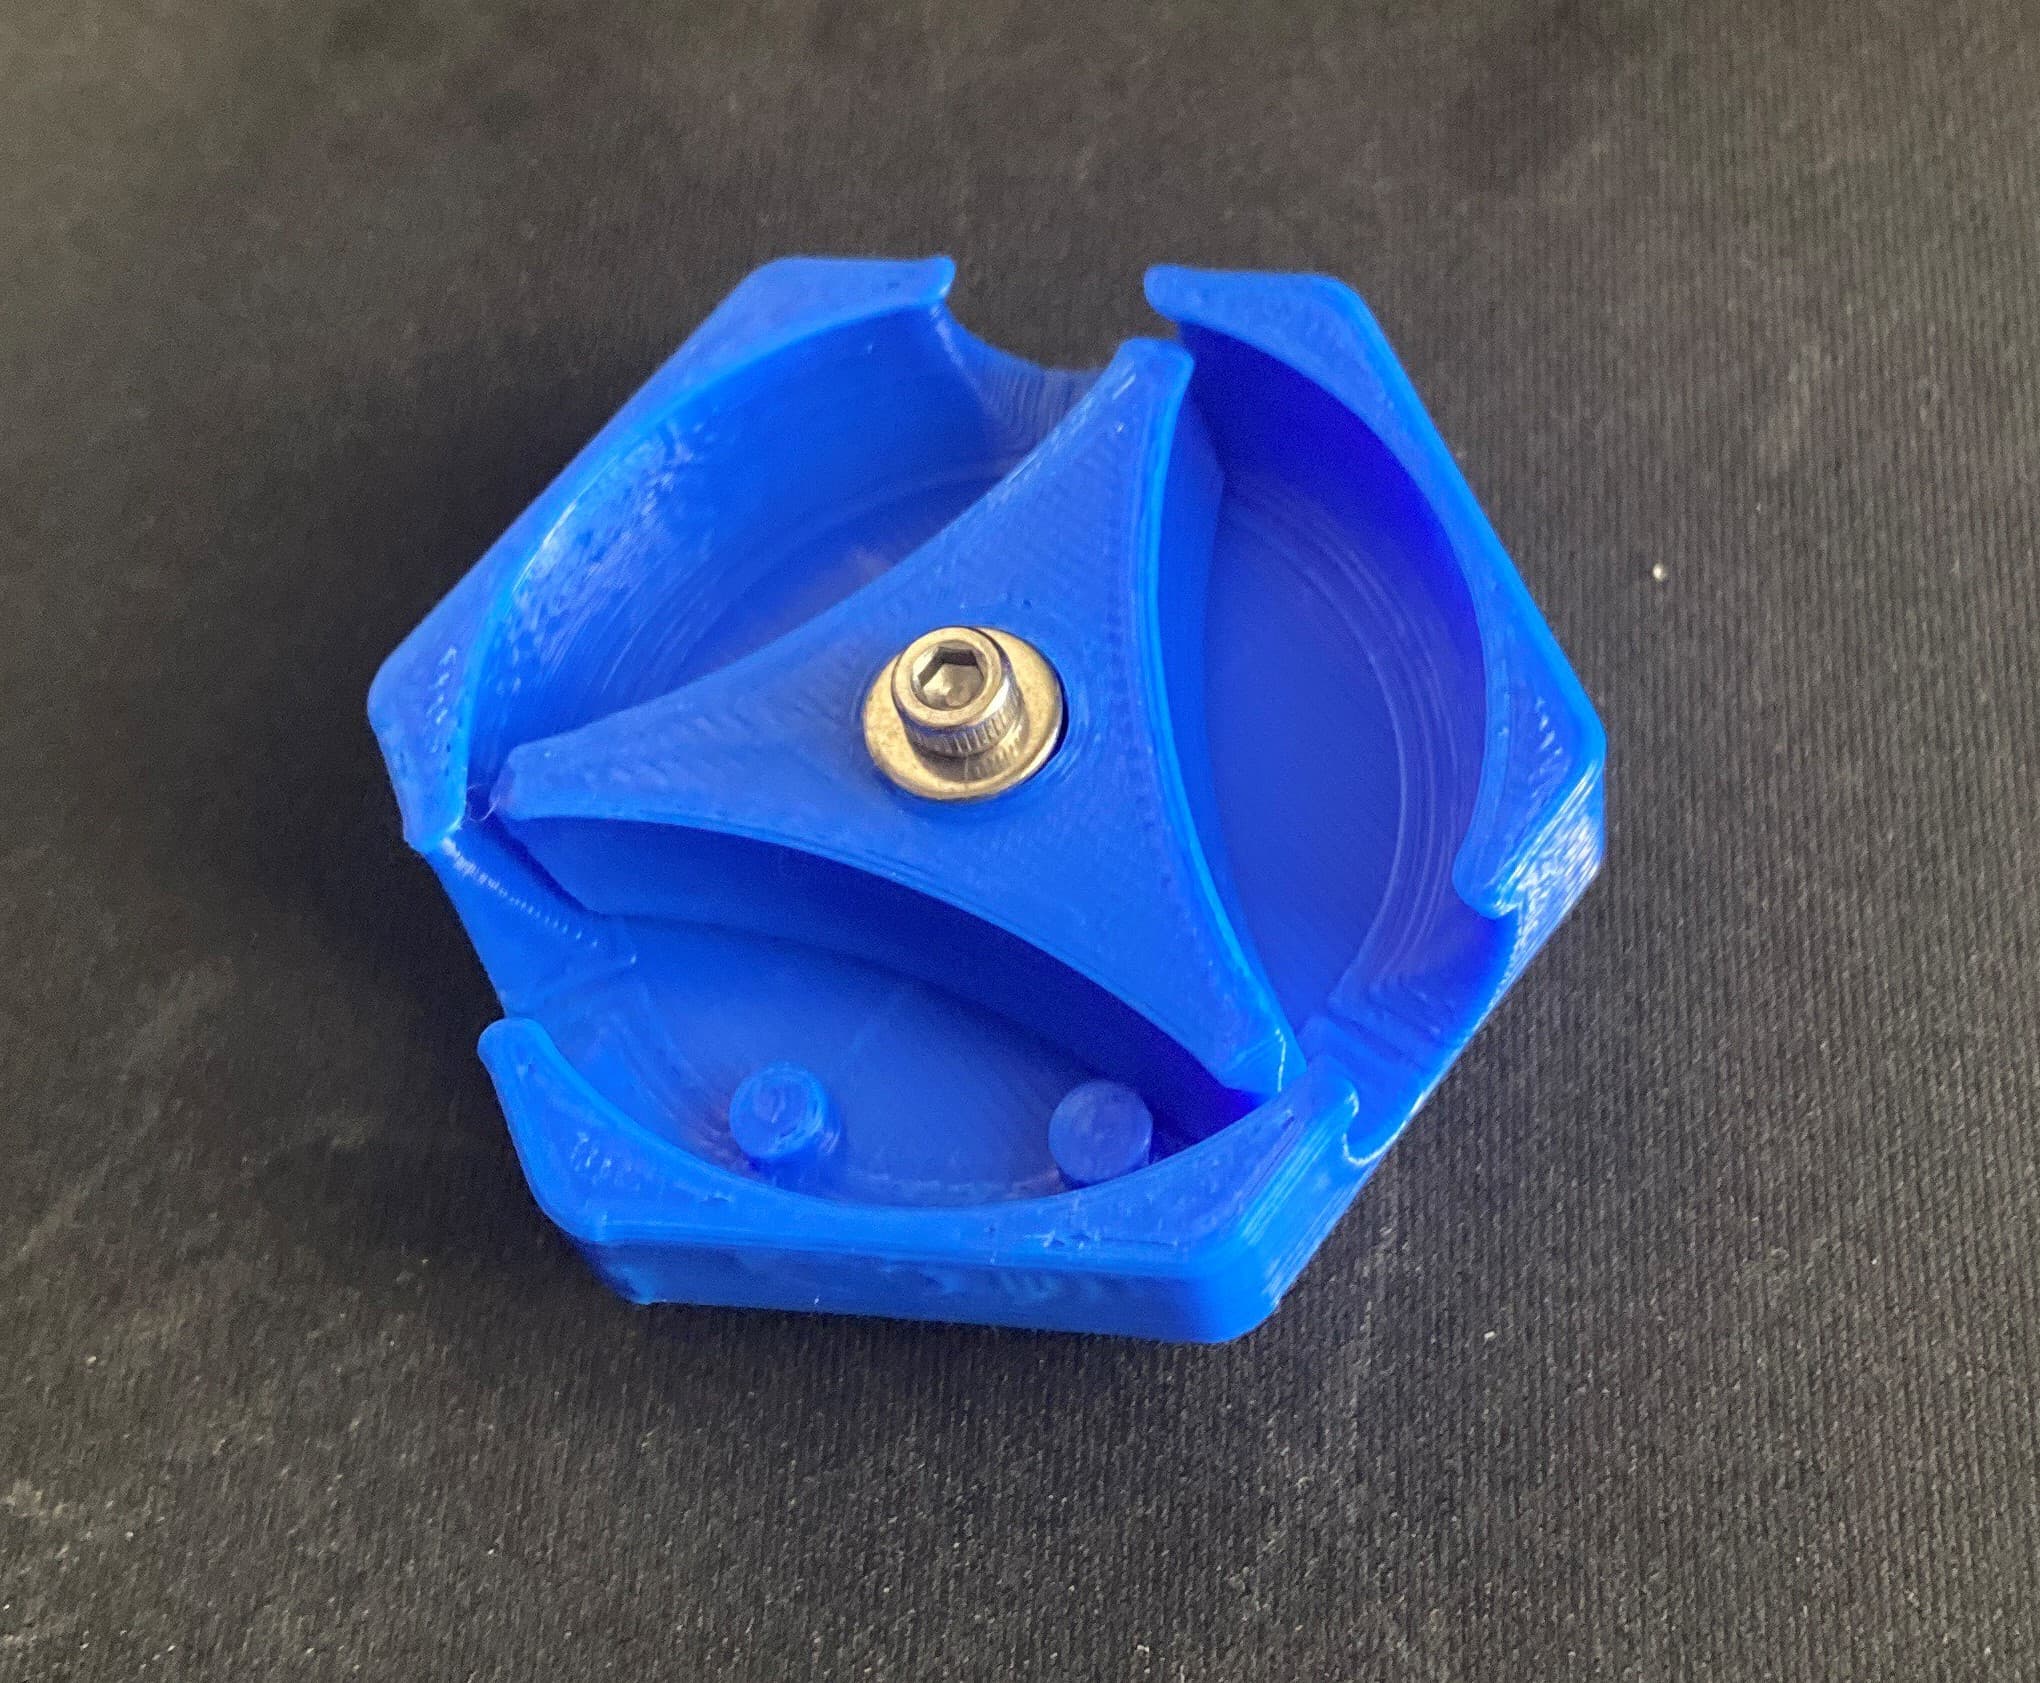
Assembly
- Remove supports from the Base. Deburr and sand if necessary.
- Insert an M3x14 screw into the flipper, stack a washer on the screw, then install the flipper loose. Must insert the flipper into the base at an angle.
- Align the flipper’s rotation lock slot with the hole in the base. Install an M2x12 screw into the base.
- Tighten the M3 screw until the flipper doesn’t rotate. Slowly back out the M3 screw 1/8th of a turn. Repeat until the flipper freely rotates.
This tile is part of my Mechanical Flippers Pack. Check the others out.
- 180 https://than.gs/m/1116280
- Alternator https://than.gs/m/1116292
- Bounce Flop https://than.gs/m/1327656
- Follower https://than.gs/m/1228246
- I-Flop https://than.gs/m/1288093
- JL Flop https://than.gs/m/1327657
- Omni-Flip https://than.gs/m/1228247
- Side Flop https://than.gs/m/1116295
- T-Switch https://than.gs/m/1116307
- Trident https://than.gs/m/1228248
- Tri-Switch https://than.gs/m/1288137
- XC Flop https://than.gs/m/1327667
Hextraction JL Flop Tile
74 downloads · 1 year ago in and

Hextraction Side Flop Tile

Hextraction Bounce Flop Tile

Hextraction XC Flop Tile

Hextraction I-Flop Tile

Hextraction Alternator Tile

Hextraction Follower Flipper Tile

Hextraction 180 Tile

Hextraction Trident Flipper Tile

Hextraction T-Switch Tile

Hextraction Omni-Flip Tile

Hextraction Tri-Switch Tile

Hextraction - Flat Flop Tile

Hextraction Flip-Flop Tile Tabless
.png&w=3840&q=75)
Hextraction Flip-Flop Tile
Remix of Hextraction Flip-Flop Tile
Remix of Hextraction Flip-Flop Tile
Hextraction Looting Flip-Flop Tile

OLD Hextraction - Bishop Tile Chess Tiles

Hextraction - King tile Chess Tiles
