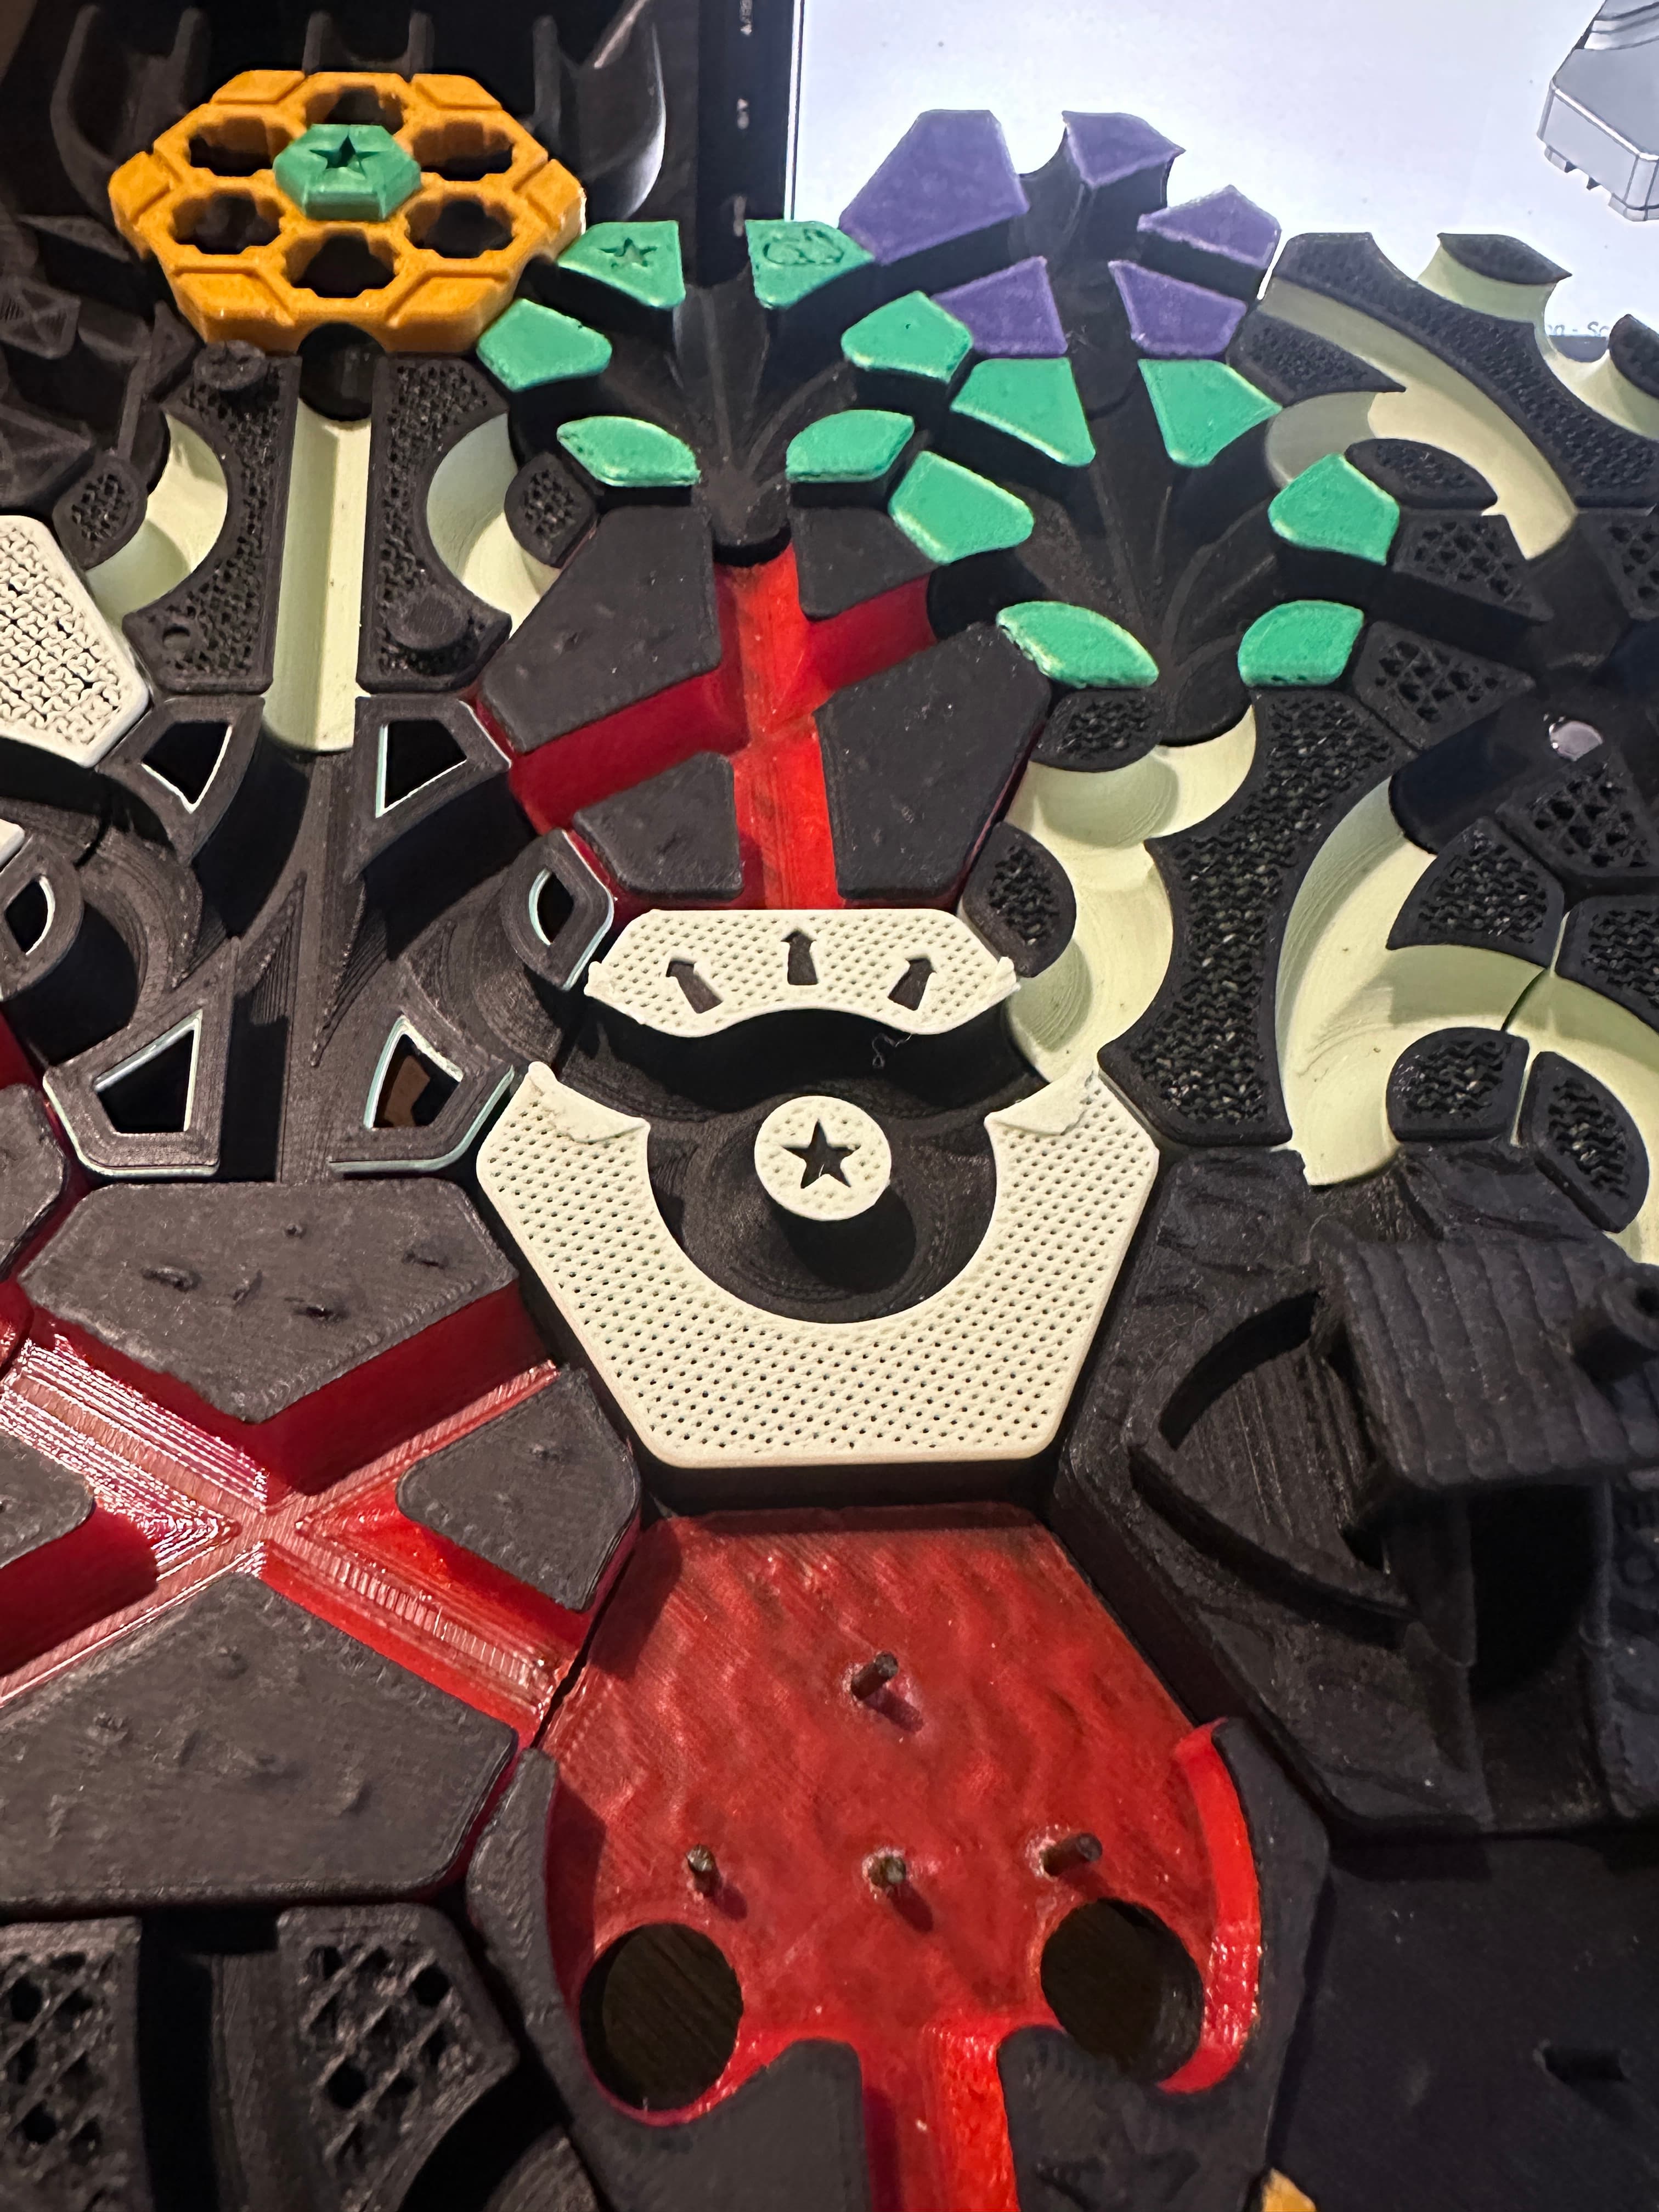
Hextraction Gear Train Tile
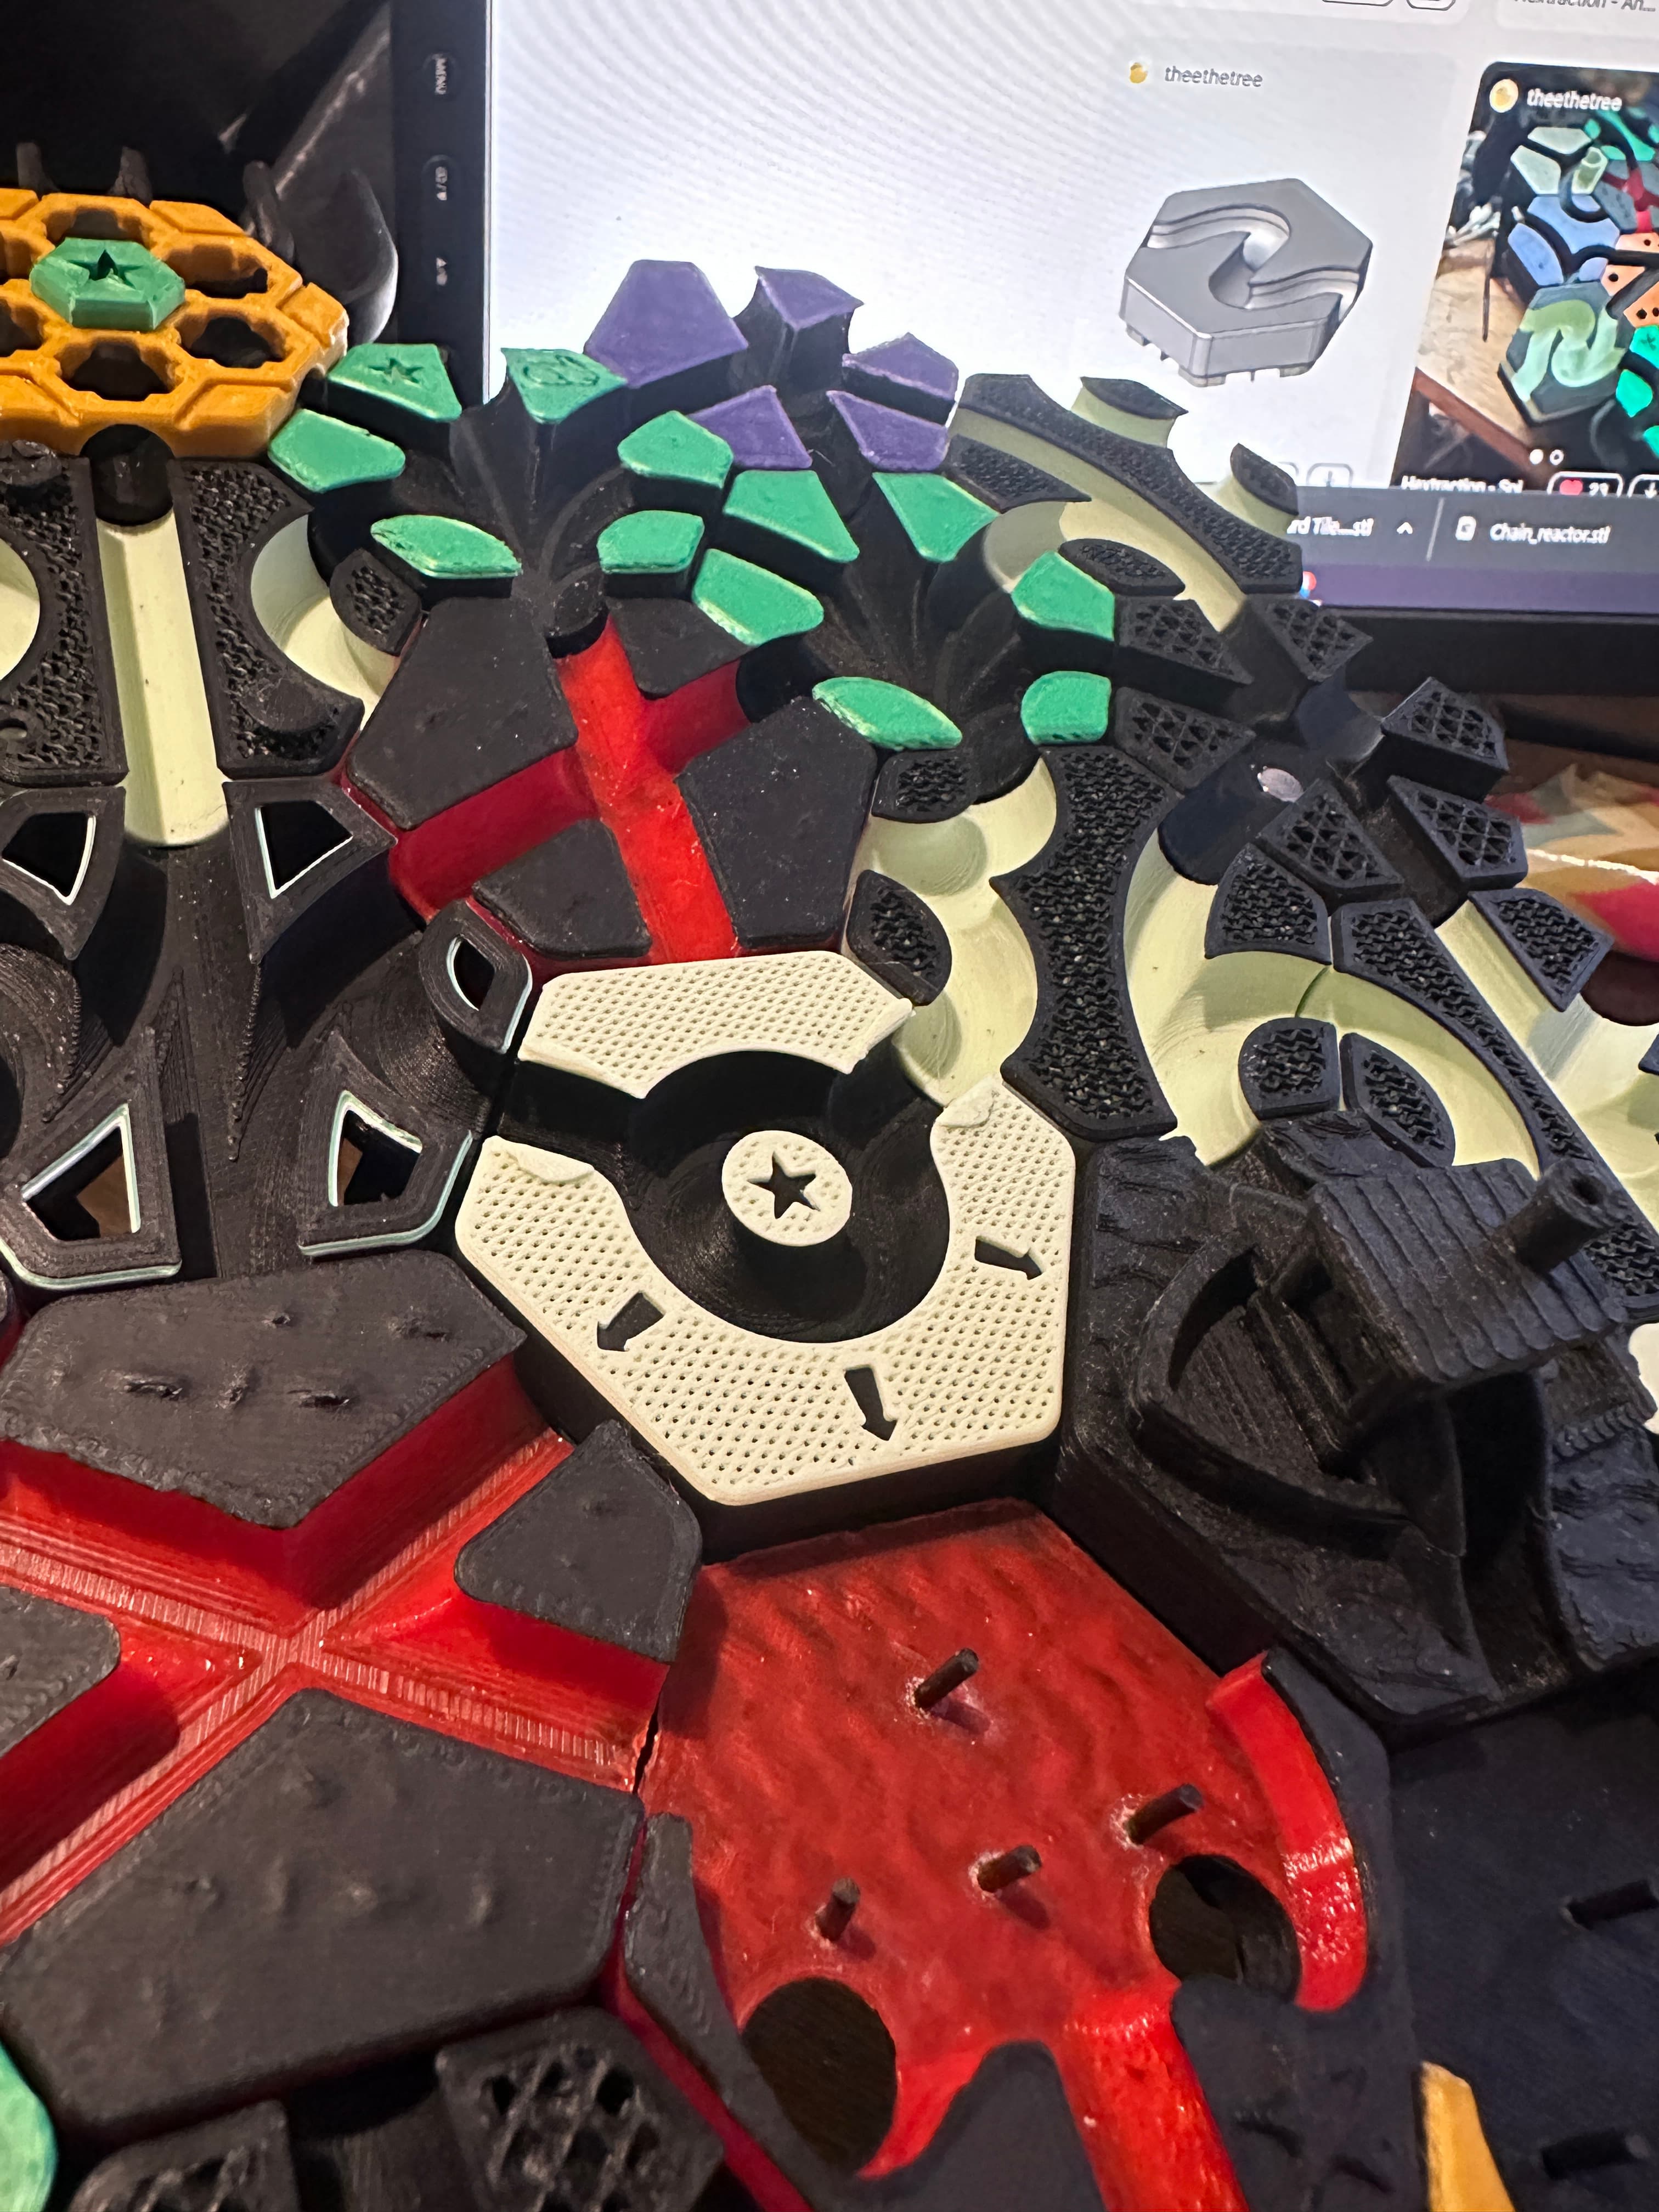
104 downloads · 1 year ago · All aboard! A folding tile designed for two flippers to be connected together with gears. Watch the
All aboard! A folding tile designed for two flippers to be connected together with gears. Watch the video to see it in action.
Rules Combo Open Me! Setup: Center both flippers, then connect with gears. Verify full motion. Orient as desired.
Hardware / Printing
- Two M3x4 screws
- Two M3 washers
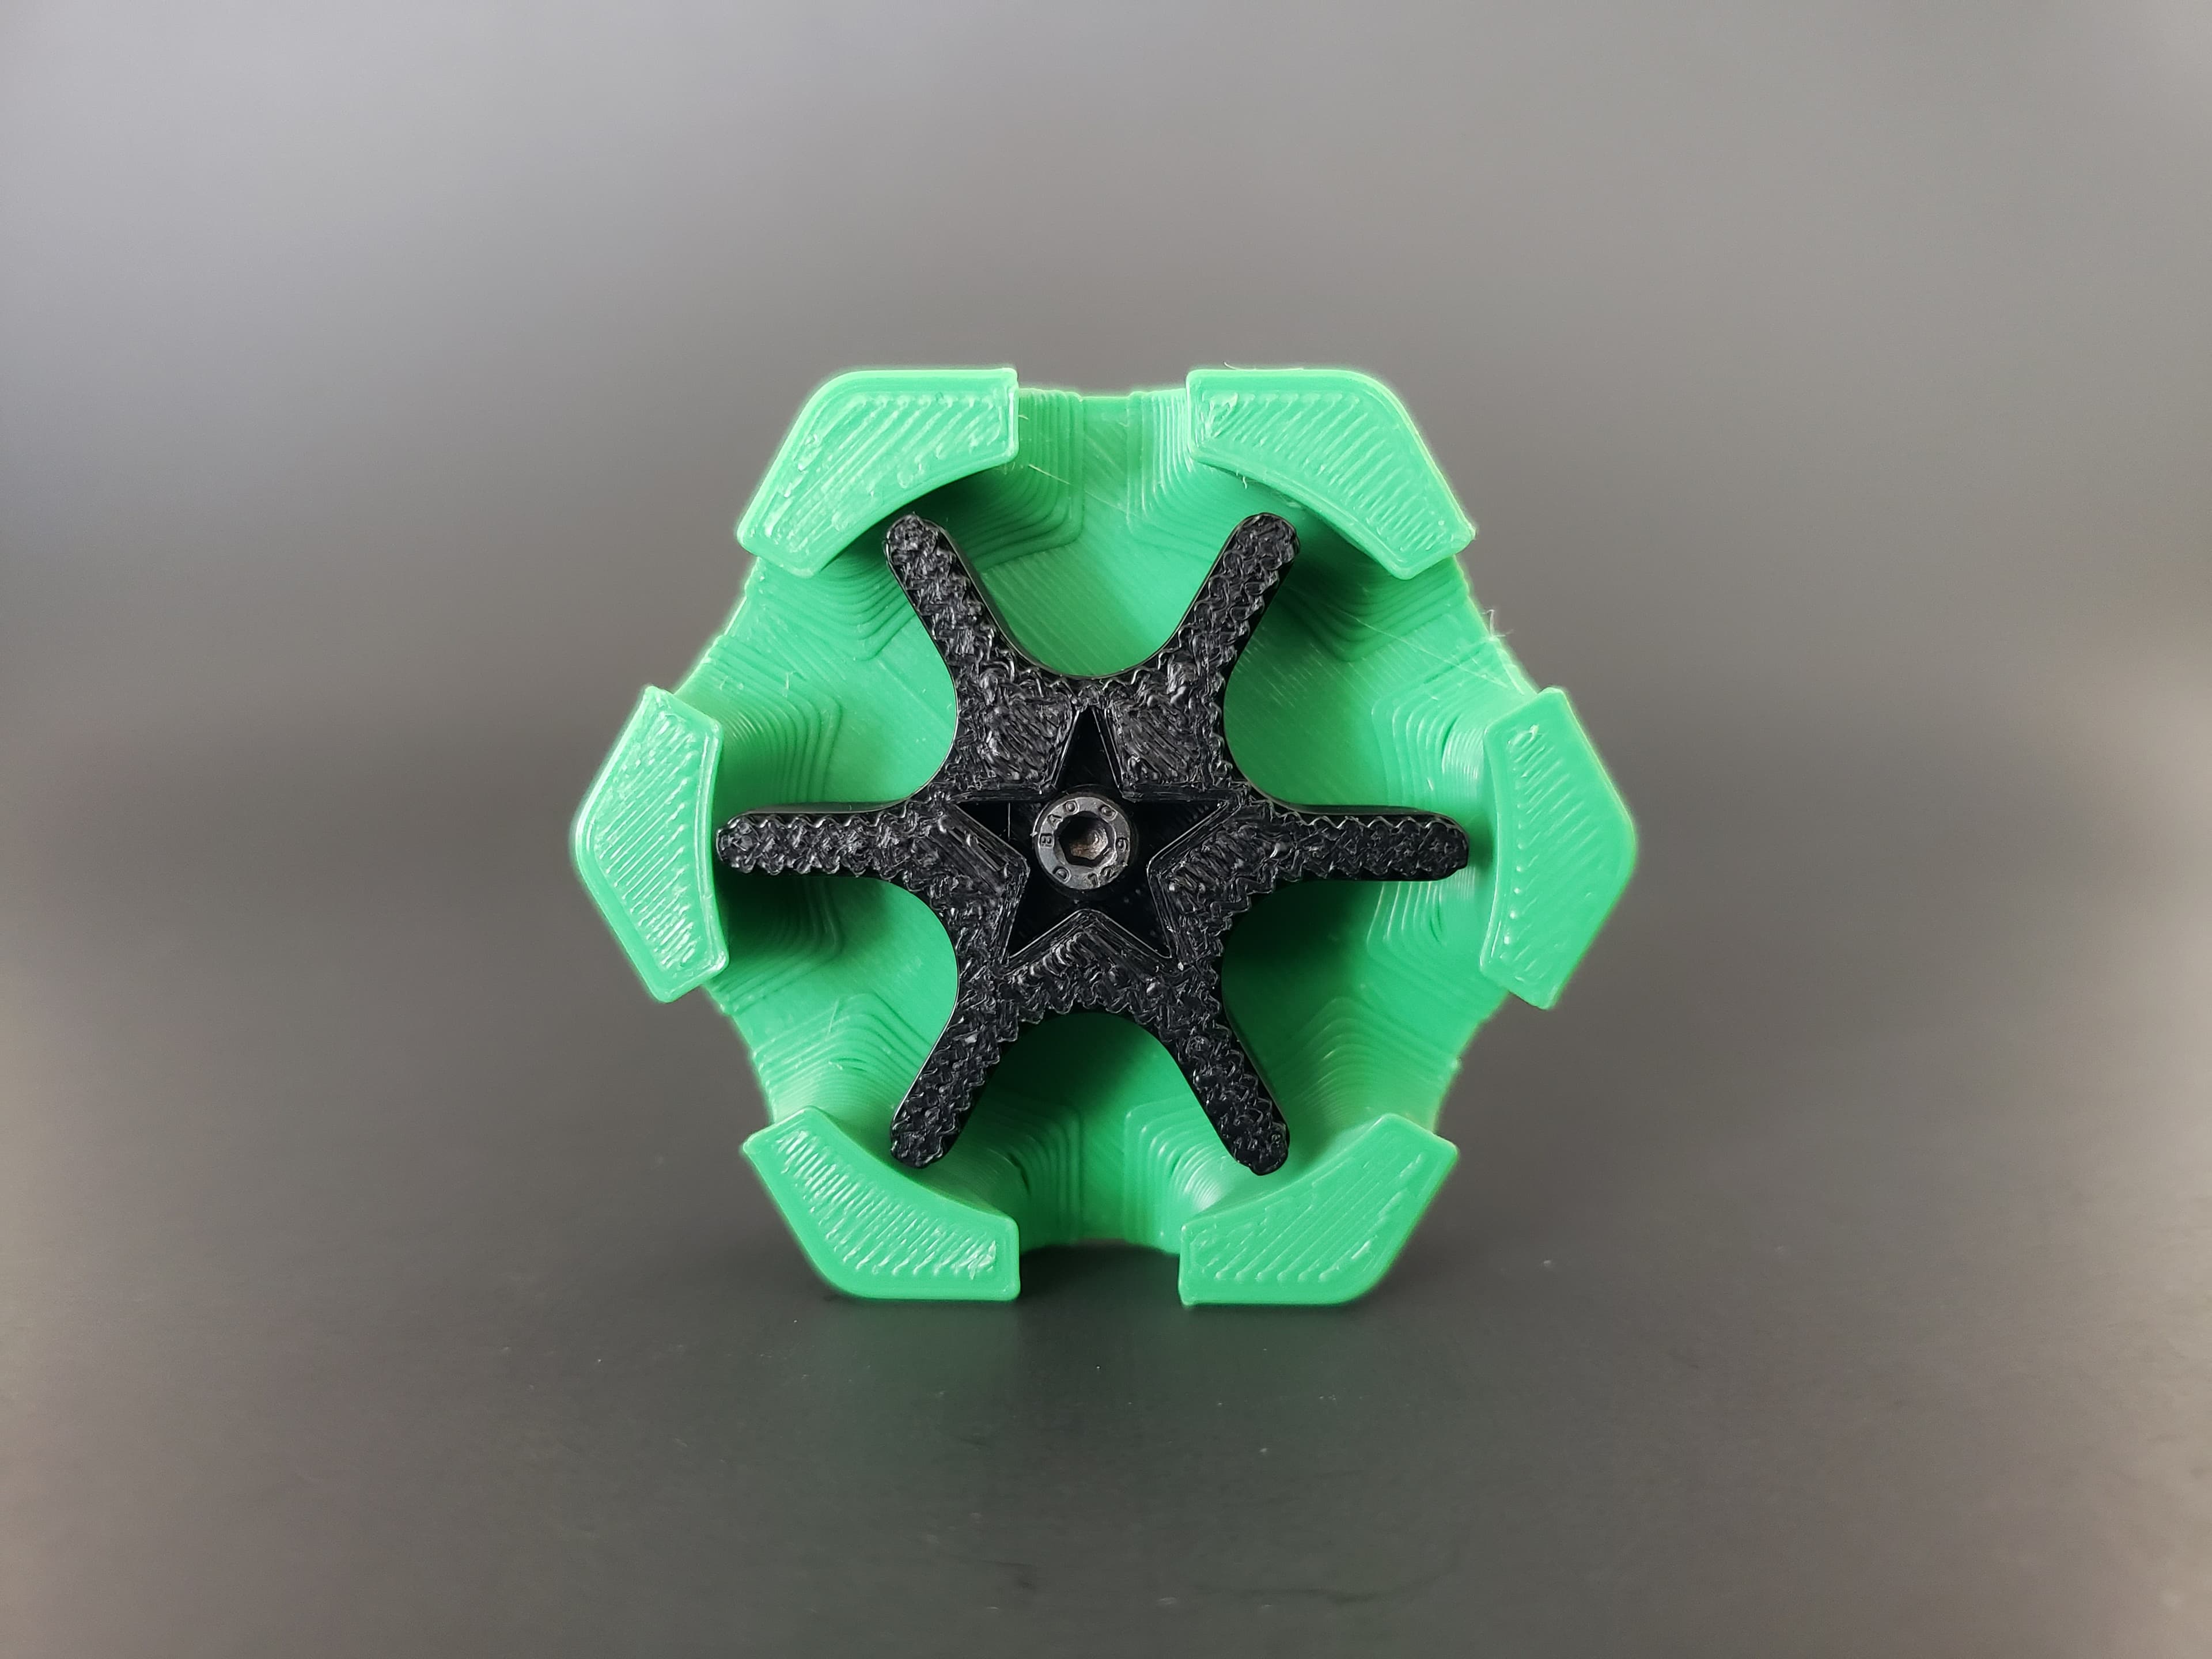
- Four 6x2mm magnets
- PLA, 2 walls, 10% infill
- Bases require supports (Structure = Normal, Placement = Everywhere, Overhang Angle = 50+)
- Flippers, Gears and Links print with no supports
- Print 2 Gears and 2 Links per combo. Print 1 each of all other tile components.
- Recommended to print the Gears with a high-contrast color to your board.
- 1 part and 3 part card variations available.
Assembly
- Remove supports from the Bases. Deburr and sand if necessary.
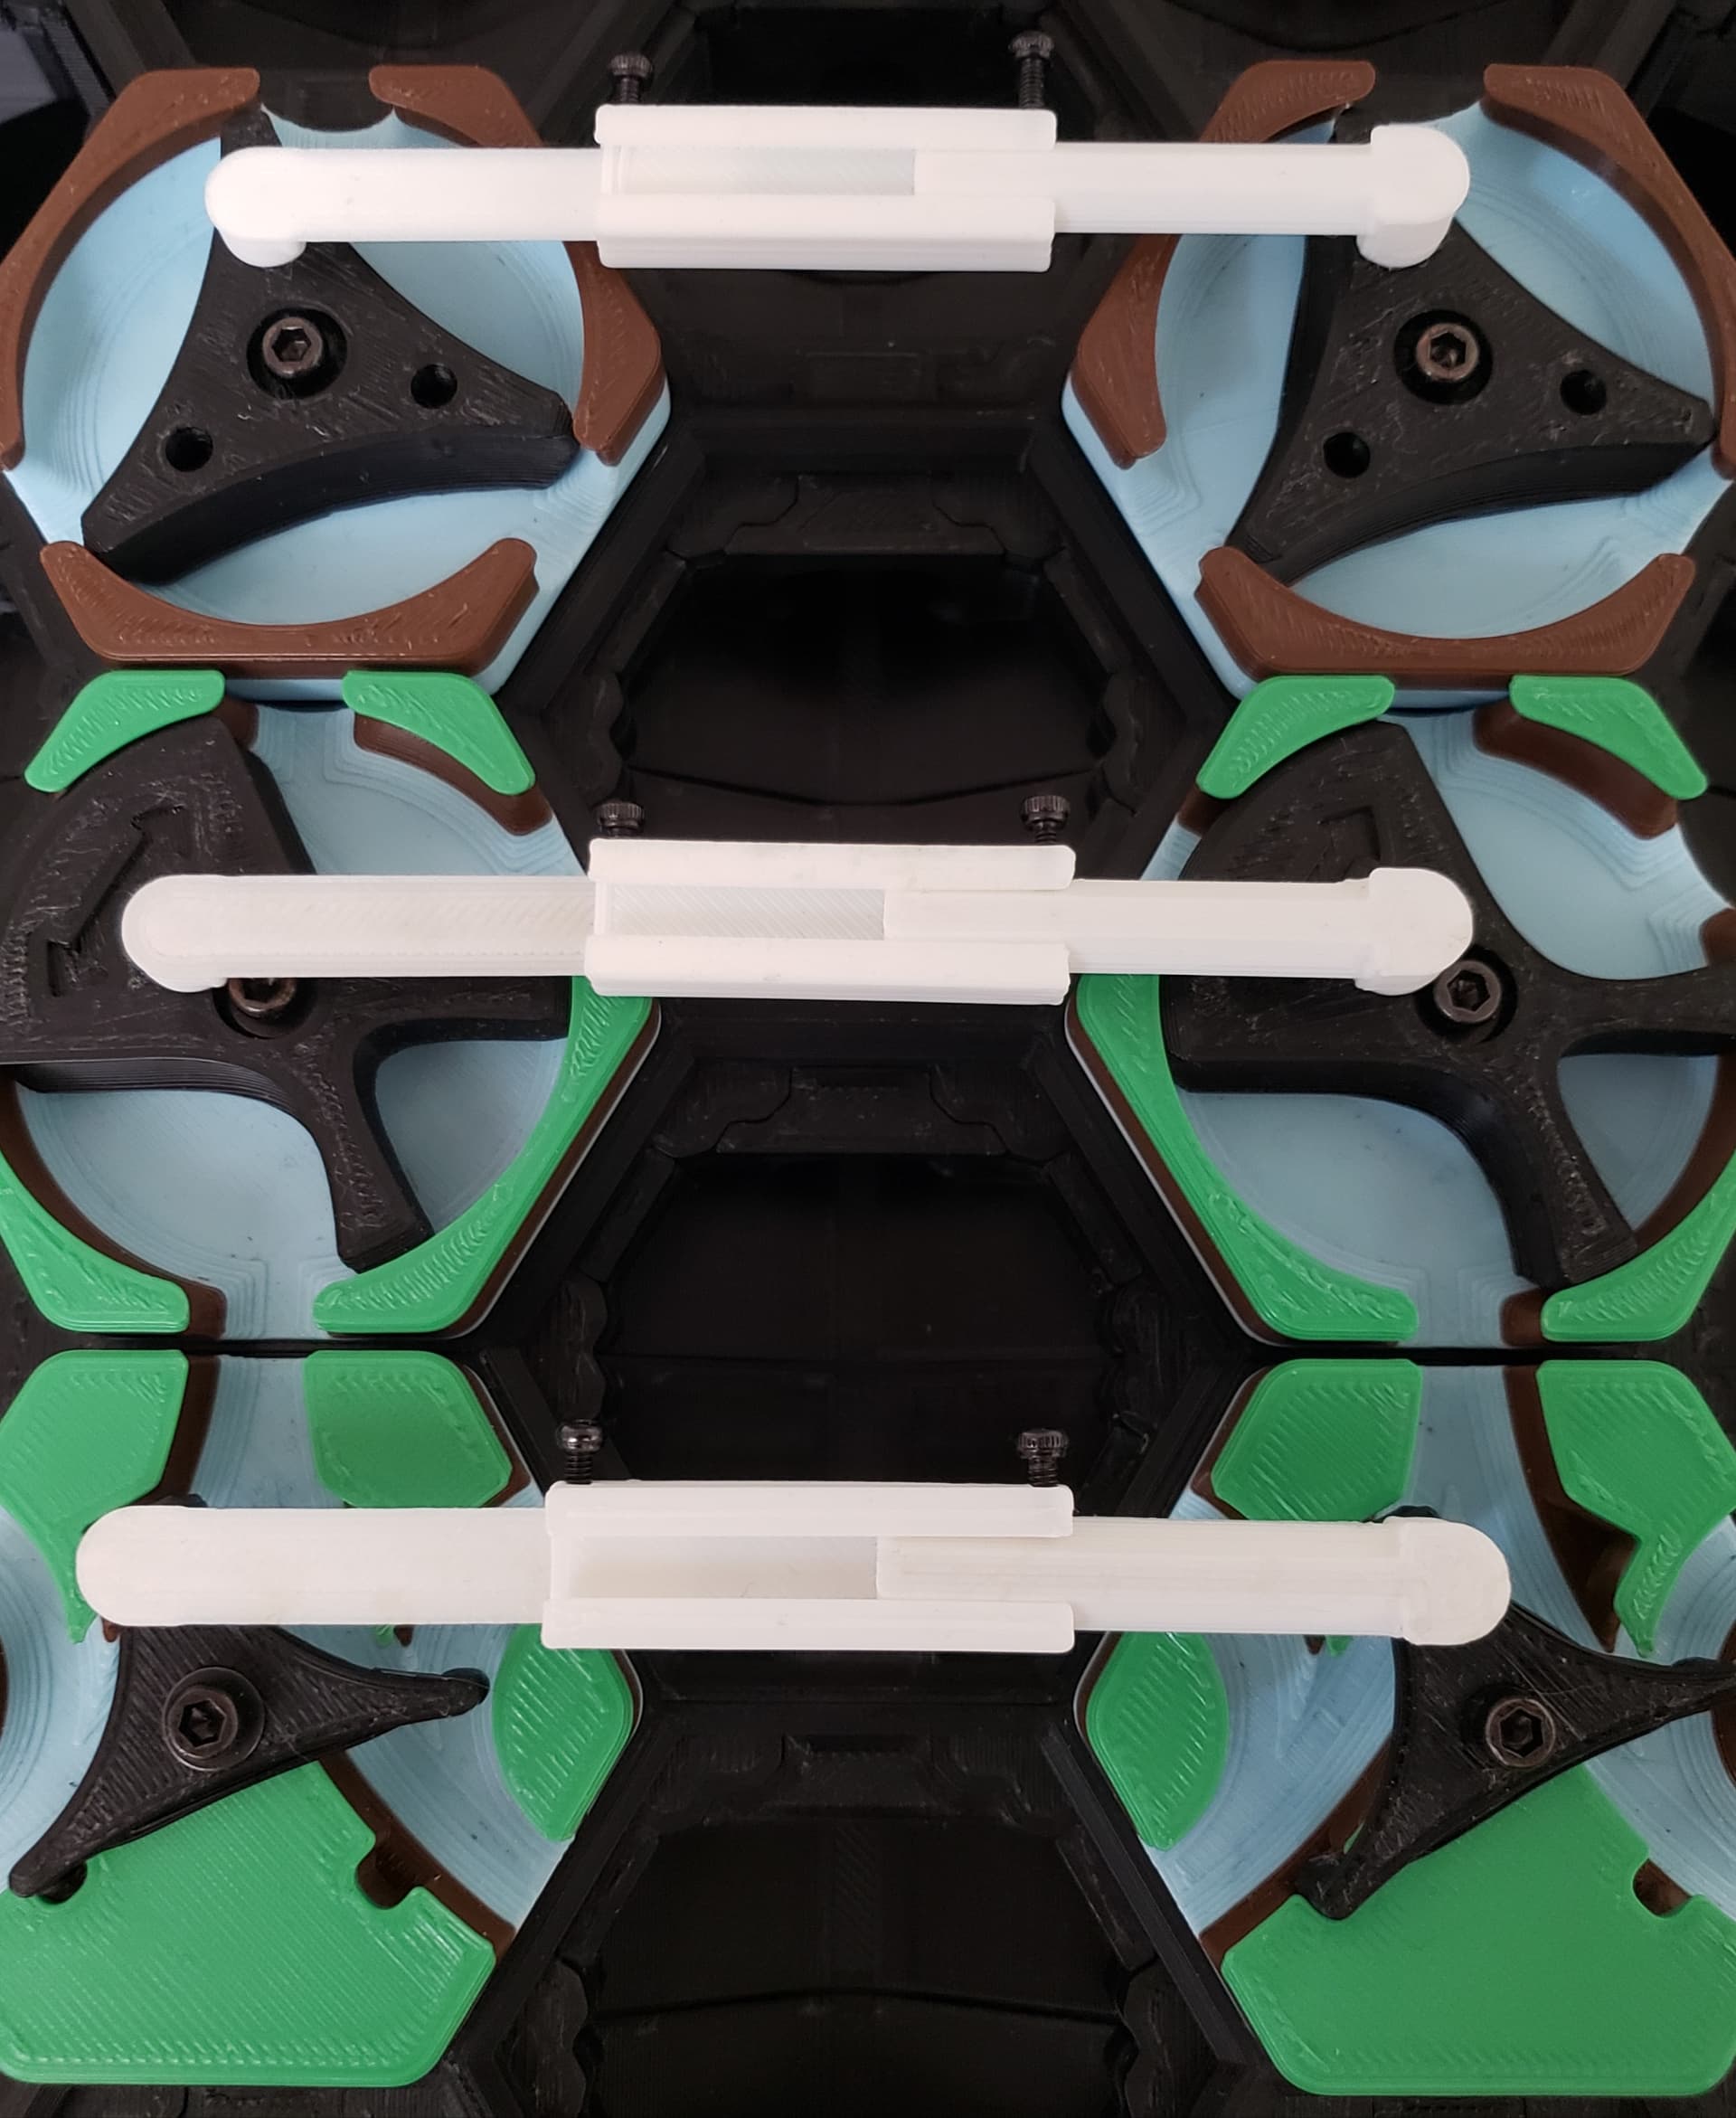
- Grab the Flipper Lower and Base Lower.
- Insert an M3x4 screw into the flipper, stack a washer on the screw, then install the flipper very loose. Must insert the flipper into the base at an angle.
- Repeat step 3 with the Flipper Upper and Base upper.
- Insert a link in a Base’s hinge slot.
- Jam a snippet of filament into the hinge axis. Ensure the filament isn’t protruding past the Gear-side wall, then flush cut the filament on the exterior wall.
- Repeat steps 5 & 6 on the other side of the base.
- Grab the other Base and repeat step 6 for both Links, joining the two Bases.
- Open the combo. Glue four 6x2mm magnets in the magnet holes. Use the + and - for magnet polarity. Allow for glue dry time before closing the combo.
- Test closing the combo with the Gears stacked on the Lower Flippers screw mount. Also, play test the combo on the board, refer to the setup rules. If the Flippers jam when a ball enters, cycle the flippers back and forth to grind down any over-extrusion on the components. If motion doesn’t improve, lightly sand the Gear’s teeth.
This tile is part of my Connections Pack. Check the others out.
- Double Lane https://than.gs/m/1061128
- Folding Latch https://than.gs/m/1333371
- Gear Train https://than.gs/m/1333372
- Mechanical Link https://than.gs/m/1061125
- Roadblock Wall https://than.gs/m/1093407
- Skyrail https://than.gs/m/1061124
- Snek https://than.gs/m/1349731
- Triple Lane https://than.gs/m/1333373

akoppee1 year ago
Very cool model, One thing to note is that if you want to hold the gears in place while letting them rotate, use a piece of filament that goes over the gear, but otherwise really nice.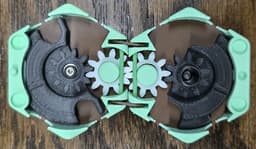
PrinterBambu Lab A1
MaterialPLA
Layer height0.2 mm
Infill density15 %
SupportsNone
Hextraction Gear Train Tile
104 downloads · 1 year ago in and

Hextraction Skyrail Tile

Hextraction Folding Latch Tile
Hextraction Mechanical Link Tile

Hextraction Double Lane Tiles

Hextraction Triple Lane Tile

Hextraction Roadblock Wall Tile

Hextraction Snek
.png&w=3840&q=75)
Hextraction Gear Tile

Hextraction Gear Tile Tabless

Hextraction Mechanical Link Tile Gear Lid
Hextraction Gear Spinner Tile

OLD Hextraction - Bishop Tile Chess Tiles

Hextraction - King tile Chess Tiles

OLD Hextraction - Rook tile Chess Tiles
OLD Hextraction - Knight Tile Chess Tiles
OLD Hextraction - Pawn Tile Chess Tiles
NEW Hextraction - Knight Chess Tiles
Hextraction - Queen Tile - Chess Tiles
Hextraction - Angel Down Tile