CN3D Shrincage test
Calibrate your filament's XY shrinkage with confidence.
This project includes three calibration bars designed for different printer sizes and accuracy requirements:
• 150 mm – Ideal for smaller printers or quick calibrations.
• 200 mm – Recommended. The best balance between print time and measurement accuracy.
• 270 mm – Maximum Accuracy. Recommended whenever your printer has enough build volume, especially if you print large functional parts where every fraction of a millimeter matters.
Designed specifically for the free CN3D Shrinkage Calculator:
https://docs.cn3d.eu/en/calibration/shrinkage
Print the selected bar at 100% scale.
After printing, measure the overall length using digital calipers and enter the measured value into the calculator. It will automatically determine your material's XY shrinkage and calculate the exact compensation value required for your slicer's XY Scale setting.
Why is the model printed at 45?
Every major slicer uses a single XY Scale value that affects both the X and Y axes equally.
Printing the calibration bar at a 45 angle allows the measurement to represent both axes simultaneously, producing a more accurate compensation than measuring along only X or Y.
Recommended Print Settings
• 0.20 mm layer height • 3–5 perimeters • 15–20% infill • 100% scale (no resizing) • Print at a 45 angle on the build plate
Use the same filament, temperatures, cooling and print settings that you normally use for your functional parts. The closer this print matches your real-world printing conditions, the more accurate the calculated compensation will be.
Looking for more free calibration tools?
Visit: https://docs.cn3d.eu
There you'll find our complete calibration suite, including:
• Extruder Calibration • PID Tuning • Temperature Tower • Maximum Flow Rate • Pressure Advance • Flow Rate • Retraction • Skew • Shrinkage
No spreadsheets. No complicated formulas. Just free calibration tools designed to help you achieve dimensionally accurate prints.
Happy calibrating!
Collapsing Drill Sword Print-in-Place
Collapsing Katana
Ironing Stack - Test Print - Key Chain

Forest Chess Set - Log and Mushroom Chess Board - Checkers
Collapsing Master Sword (Print-in-place)
Extra Long Bony Basilisk - Articulated Snap-Flex Fidget (Tight Joints)
Gridfinity Pen, Pencil, and Marker Holders
Sword-Saber Test Print
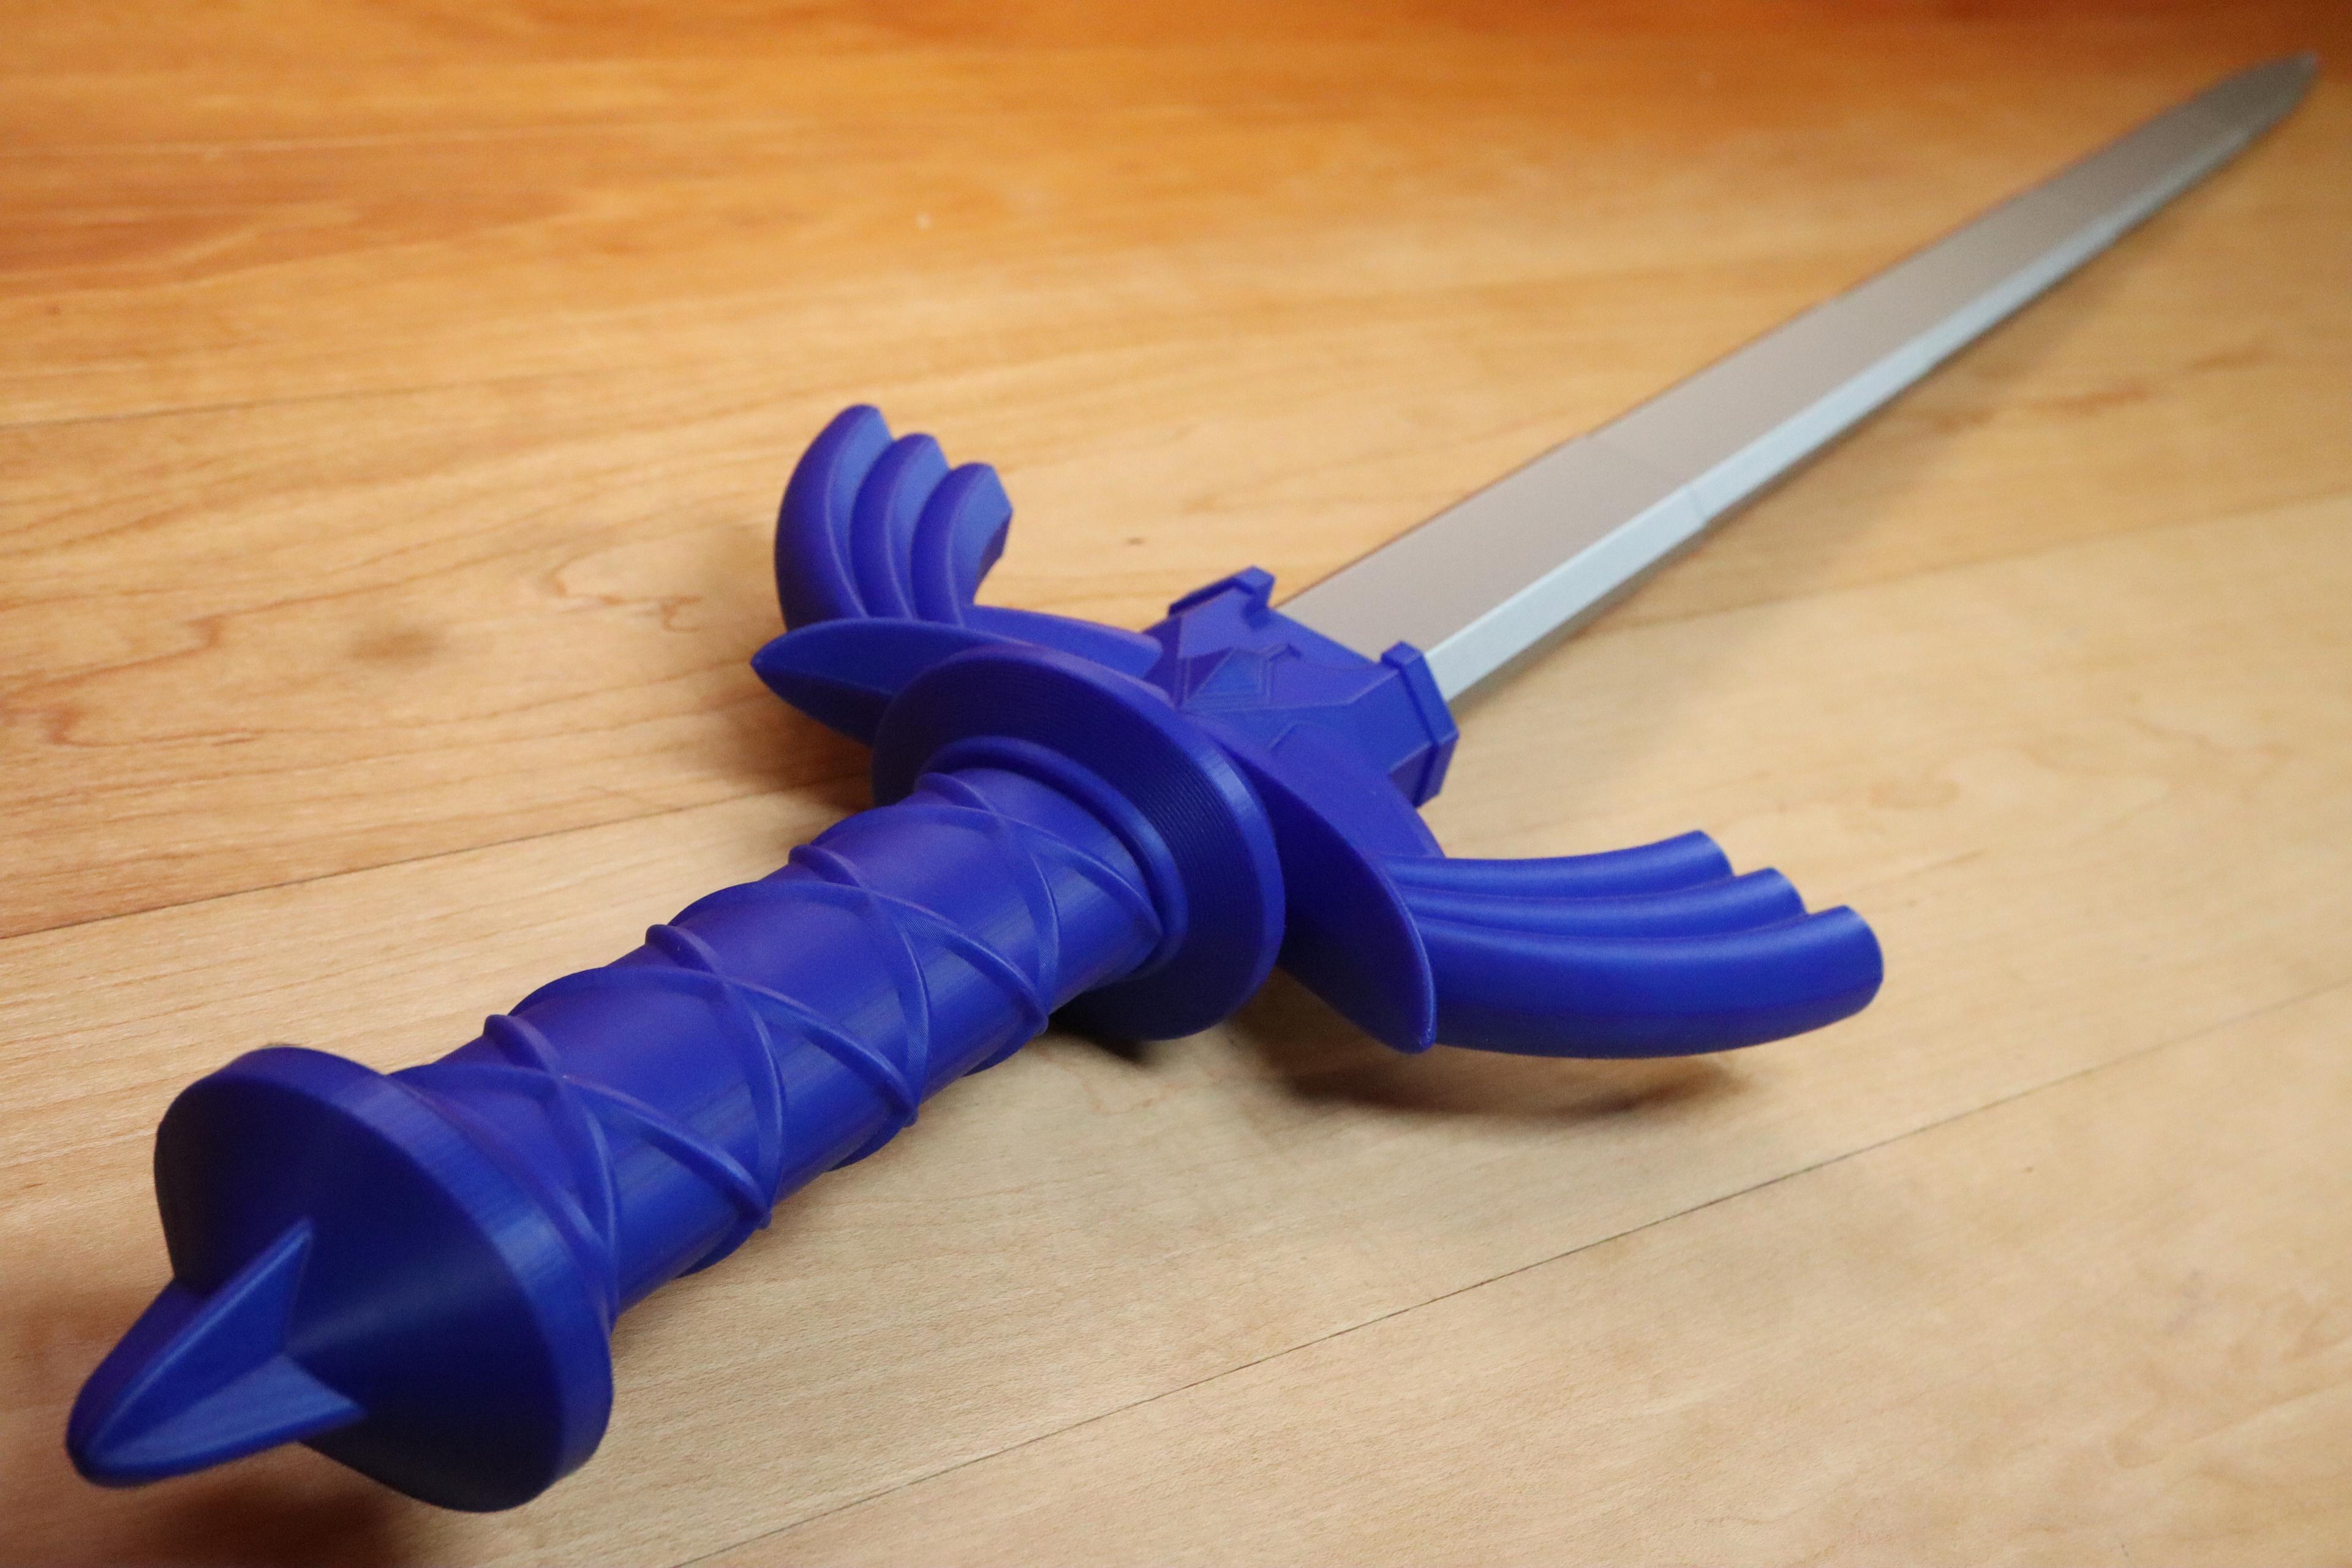
Collapsing Master Sword with Replaceable Blade
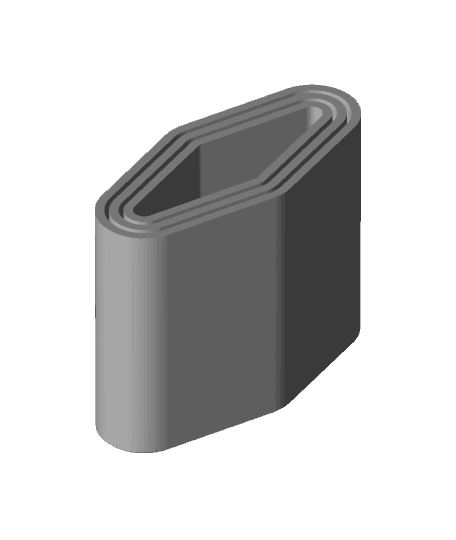
Katana Test Print
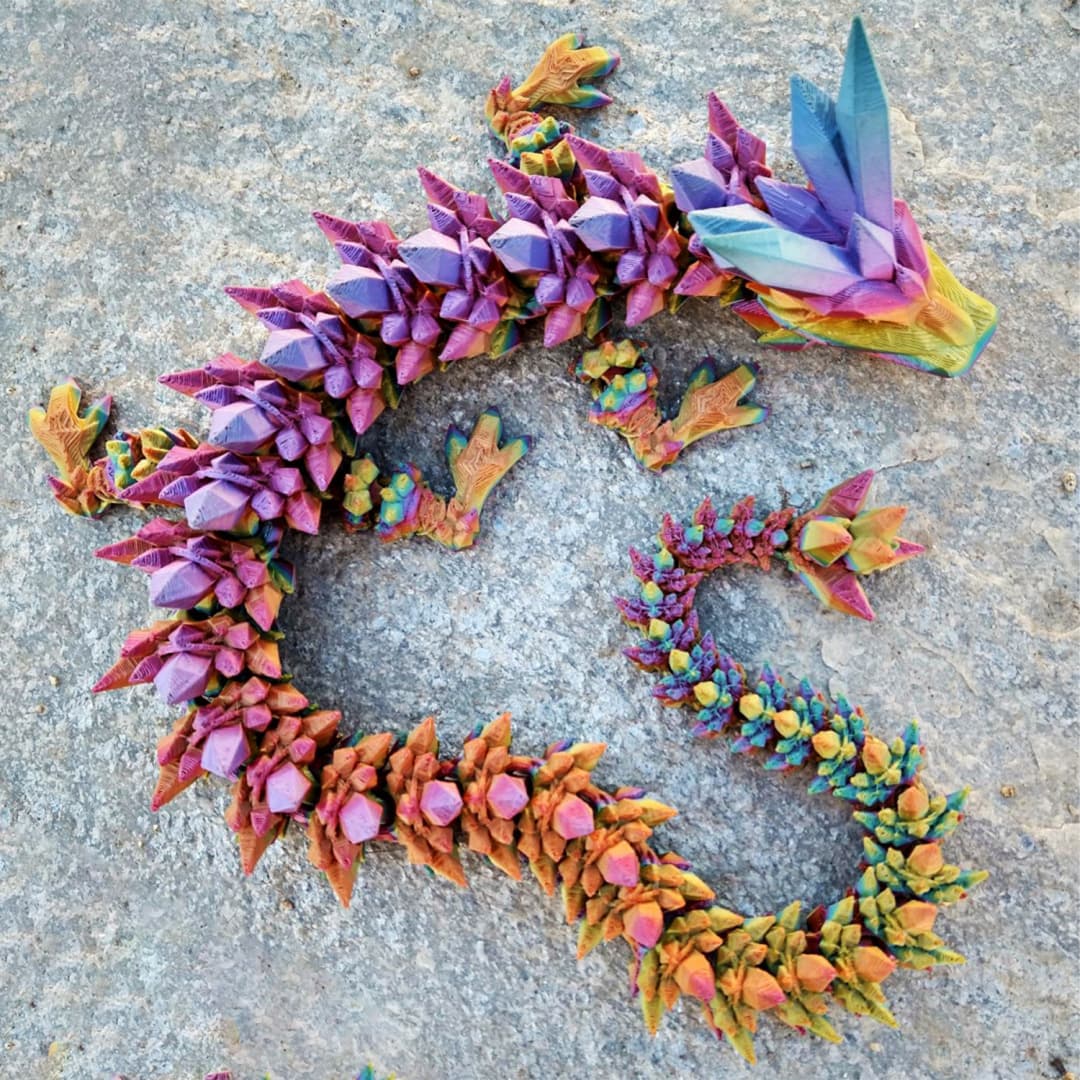
Crystal Dragon
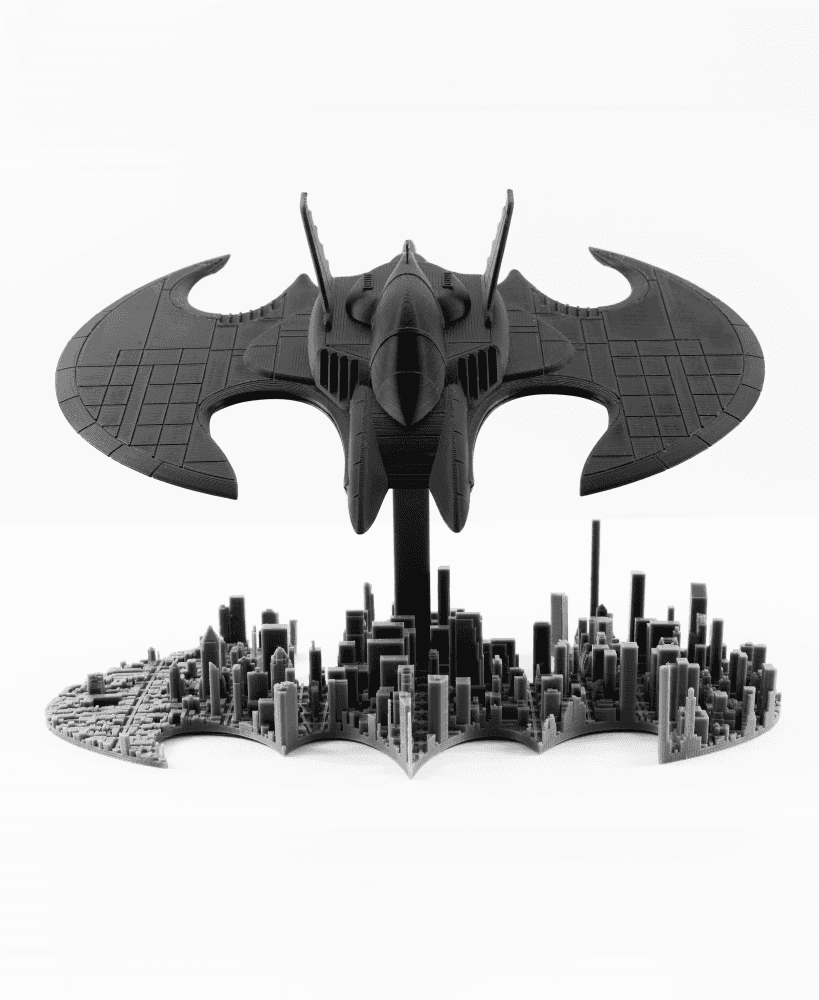
Batwing over Gotham City - Batman - DC - Fan Art - No Supports, No AMS
8x8 Legacy Tiles - 3x3 Board - Ironing Stack
Collapsing Sith Lightsaber

Bamboo Dragon Cinderwing3D X BambuLab
Crystal Dragon 2025
CHEP Cube - Calibration Cube

3D Flexi Baby Dragon Keychain

Desktop Disc Golf