


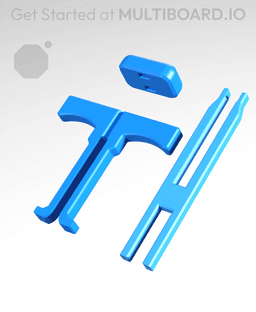

Offset Snaps Removal Tool
The “Offset Snaps Removal Tool” helps you to remove Snaps - DS Part B from the Offset Snaps - DS Part A.
It comes with three parts: The plunger, the handle, and the pad.
Slide the handle into the long side of the plunger, then push the pad onto the top.
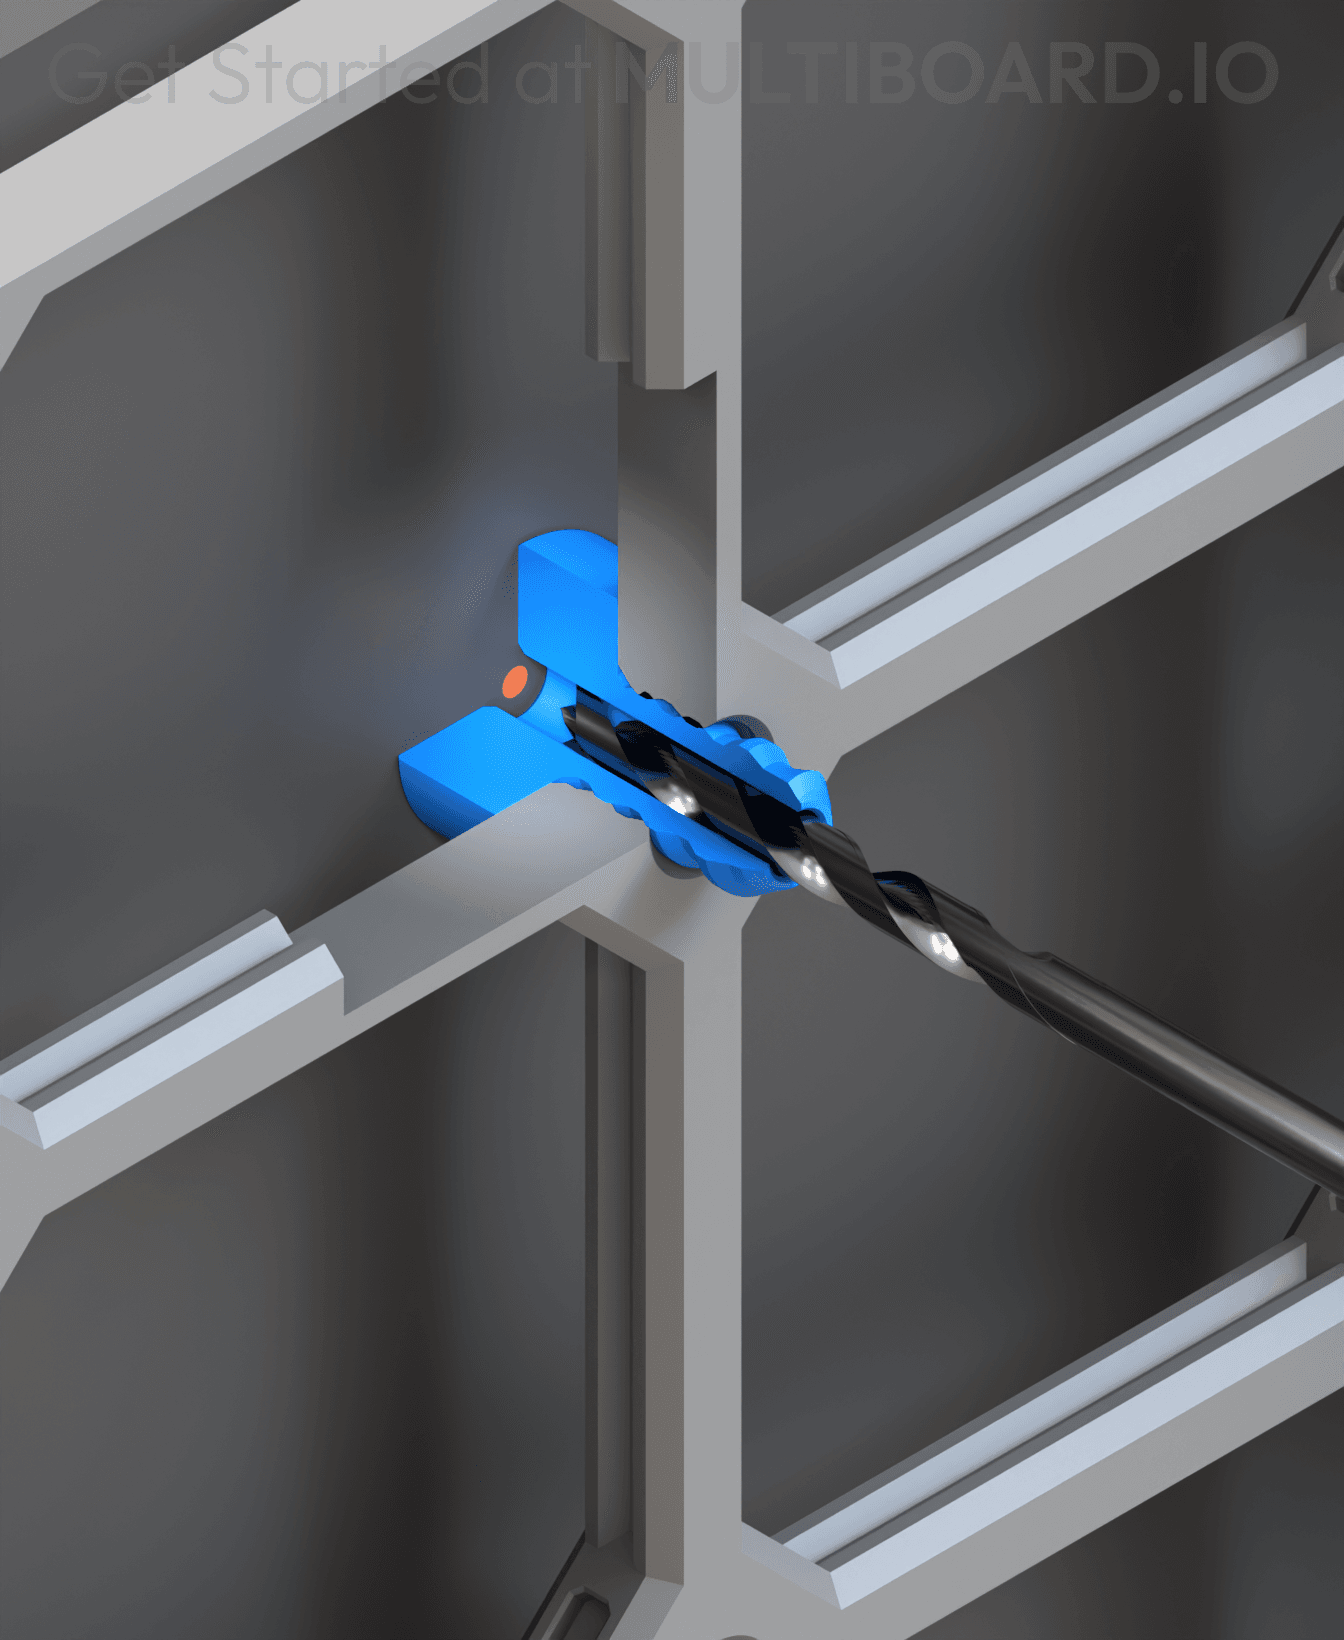
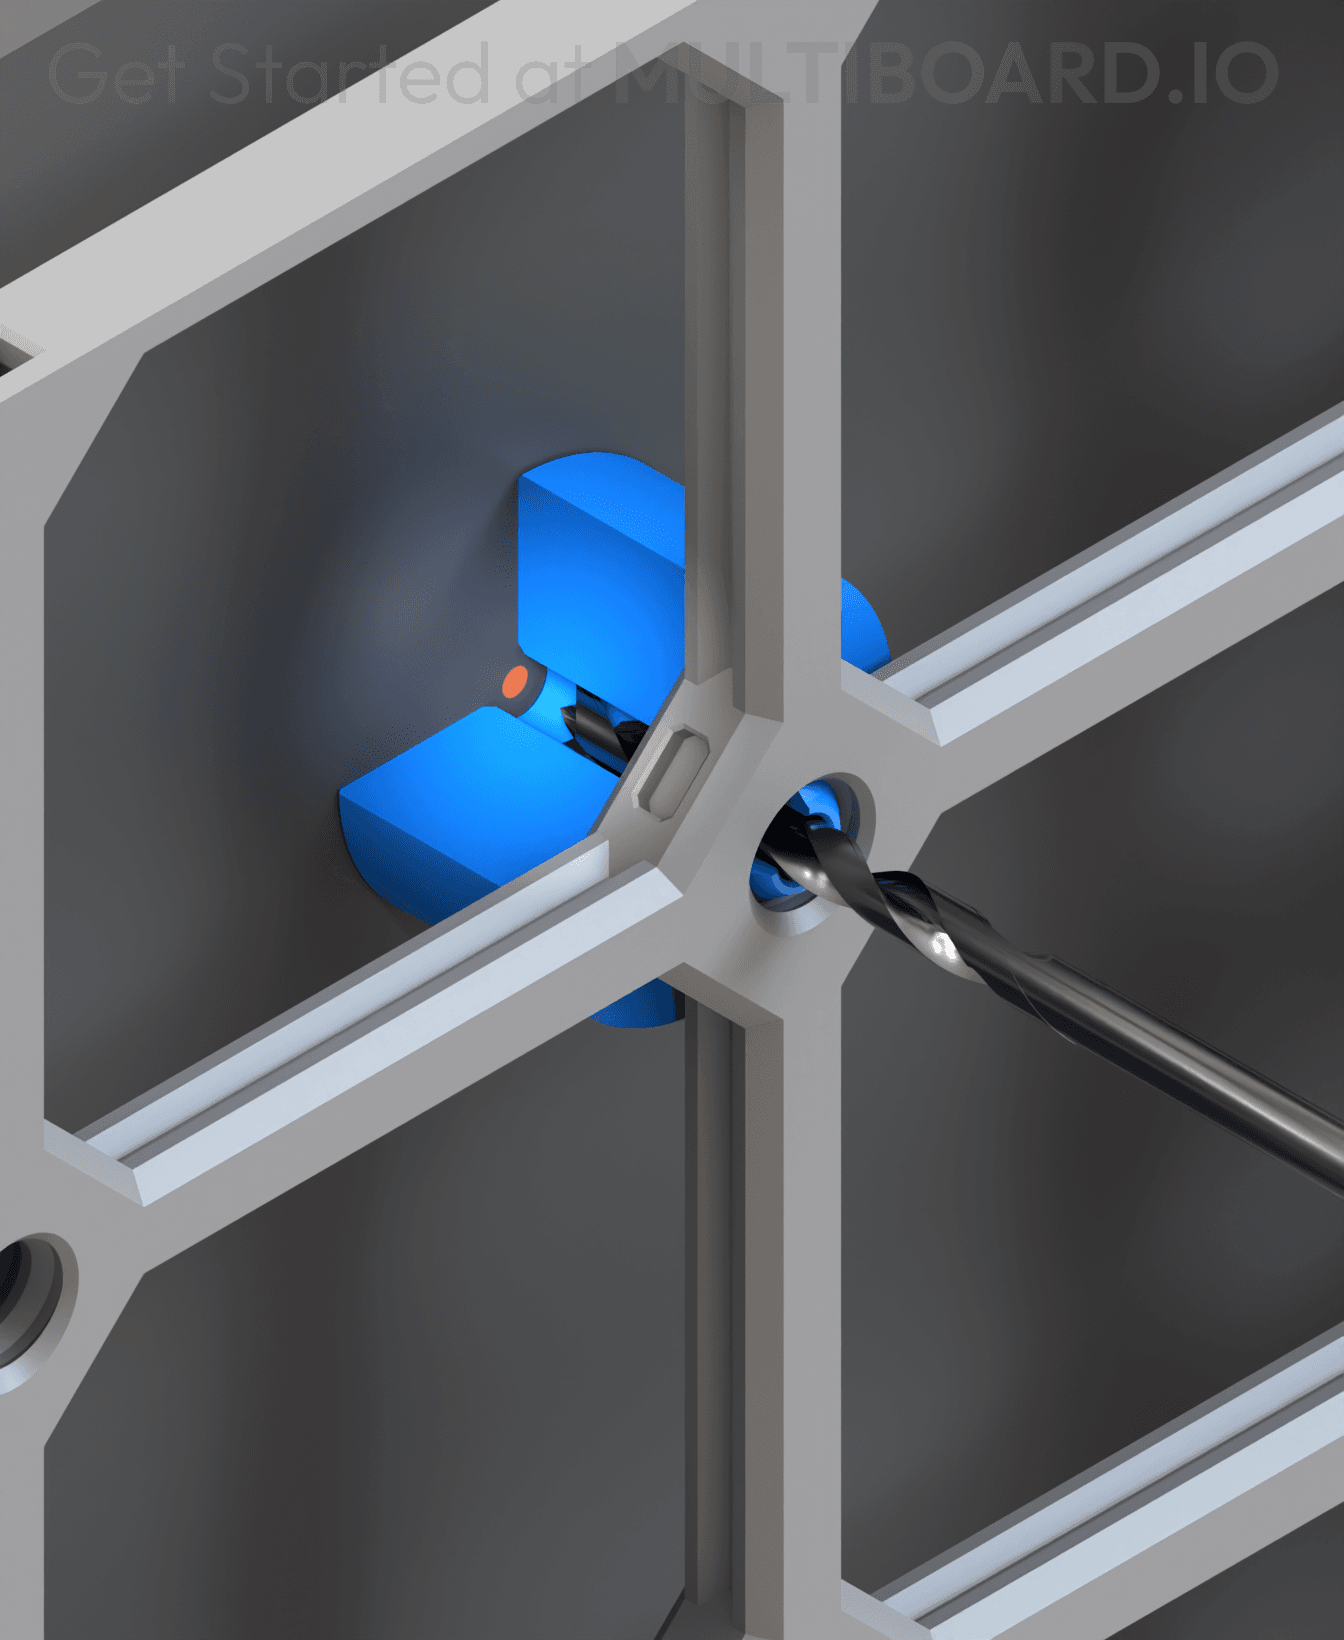
To use it, extend the handle all the way down, pinch the tip, insert it into your Snap, then pull on the handle to remove the snap.
To remove a quad connector (without snapping it), apply incremental pulls on each side of the connector until it loosens enough to be fully removed.
IMPORTANT: This remover only works with the new DS snaps, not the old ones.
Learn more about this part at https://multiboard.io/knowledge-hub
Printing Guidelines:
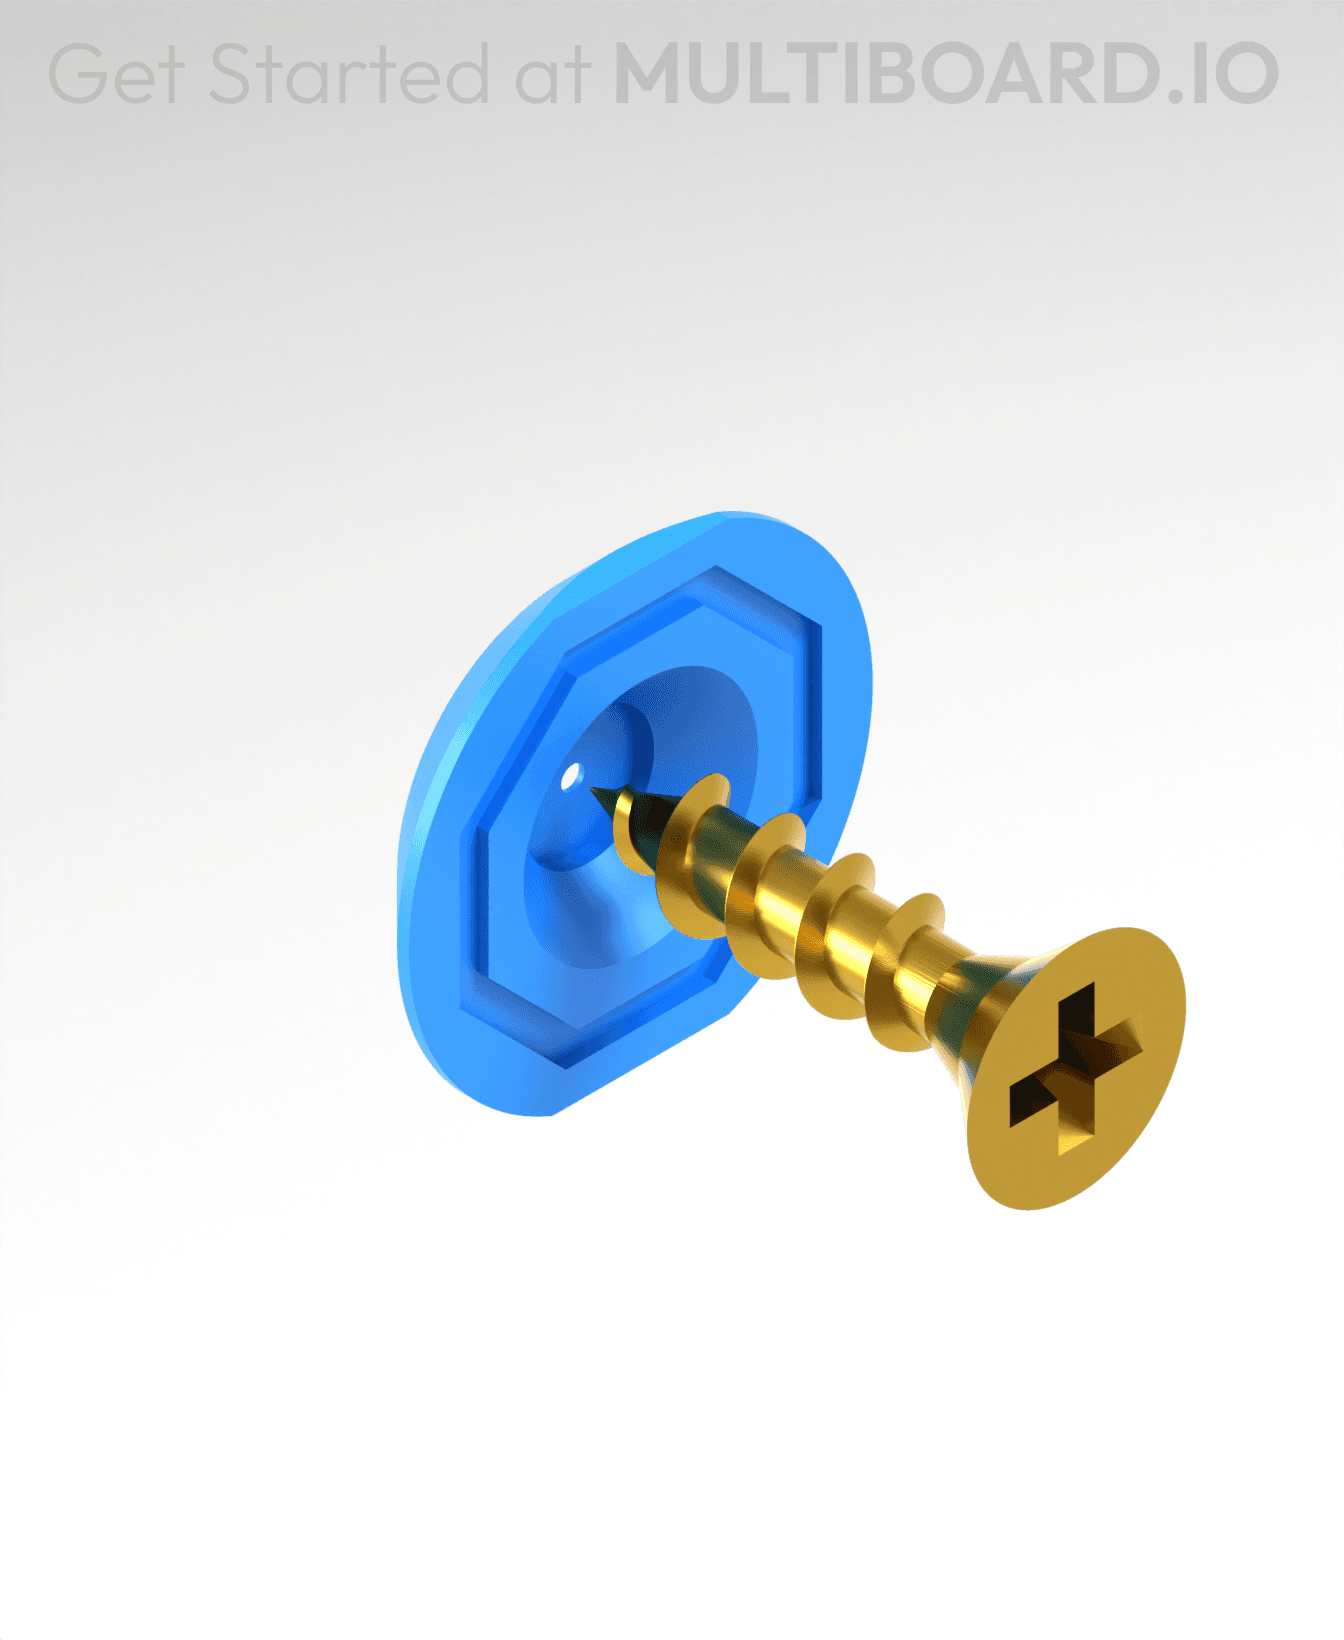
Use 5 wall perimeters for maximum strength.
Apart from that, the recommended settings apply: The printing orientation is as provided in the file. Printed at a layout height of 0.2 mm. It doesn't need printing supports. Use the default 15% infill. This part has been designed with a tolerance of 0.25 mm. Your printer will need to be able to bridge gaps of up to 30 mm for some designs.
—
This object is part of Multiboard, a FREE "all in one" organization system with 700+ parts, that combines pegboard holes, honeycomb snaps, Gridfinity like bins, threads, brakes, and much more.
Explore and build the coolest, most adaptable workshop at https://multiboard.io


Offset Snaps Removal Tool
Fix Point to Countersink Adapter

Flush - Small Hole Center Marking Tool
6.25 Offset - Small Hole Center Marking Tool
12.5 Offset - Small Hole Center Marking Tool
2x6 MU - Right Support End - Modular Bolt-Locked Shelf

4x8 MU - Center - Modular Bolt-Locked Shelf

2x2 MU - Right Support End - Modular Bolt-Locked Shelf
2x6 MU - Left Support End - Modular Bolt-Locked Shelf

8x8 MU - Center - Modular Bolt-Locked Shelf

2x4 MU - Right Support End - Modular Bolt-Locked Shelf

4x6 MU - Center - Modular Bolt-Locked Shelf

2x8 MU - Left Support End - Modular Bolt-Locked Shelf
2x2 MU - Left Support End - Modular Bolt-Locked Shelf

8x2 MU - Center - Modular Bolt-Locked Shelf

8x4 MU - Center - Modular Bolt-Locked Shelf
2x4 MU - Center - Modular Bolt-Locked Shelf

2x8 MU - Right Support End - Modular Bolt-Locked Shelf

8x6 MU - Center - Modular Bolt-Locked Shelf

2x8 MU - Center Support - Modular Bolt-Locked Shelf

Printed nice and worked well. The snaps pulled apart as intended!
I printed my second tool since the first broke after some use. The hooks at the end aren't gripping the snap now, the design could be fixed by adding a piece to force the hooks apart once the tool is fully inserted, or by making the tines wider (barely fitting in the snap) and splayed out so theres more spring from the plastic to make sure the hooks grip
would definitely recommend using a rubber mallet for assembling this. Helps get the pad in place. :)
Doesn't work with the adhesive mounts.... too little clearance. I had to cut off about 1-2 mm with a sharp knife at the end to make it work. I also fail do understand why it is not designed like that from the start - you do not need that much material on the tip as the breaking point would be the 90 degree angle anyway.
Guess I'm lucky. Printed as is on Bambu A1 with no modifications. Gave it a light tap with the pad on a table and it fits snug. (I used an old fashion hammer but I'm sure a heavy book will work just as fine). Worked on the first try removing a snap. The L shape lifting part of the tool only works if you line it up with the holes inside the snap. If you orient it the other 2 directions on the hex, there is nothing to lift. Once you get the snap out, squeeze the tips of the L to pop out the snap.