


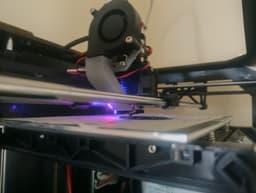
MakerBot Replicator Core-XY Conversion - Project ReAniMaker
REANIMATE Your Printer!
Want to take a classic MakerBot Replicator wooden box 3D printer (or similar clone) and print like a Voron with it??? This project is a full Core-XY conversion for the original Replicator! It replaces the original kinematics with all new printed parts and moves the motors to the rear of the case. The original motors can even be used! Though I recommend replacement as mine were weak and overheated easily at higher speeds.
Some modification to the casing is required for the belts to pass through, and additional bolt holes for mounting! Some new hardware will be required as this was designed to use the same idler bearings and much of the same hardware as the Voron V0.1. You can find links below to the necessary hardware! No electronics parts are included as the configuration of that is up to you.
This project is not for the faint of heart, but I've provided the CAD STEP file of the complete design (in its orientation on the original MakerBot CAD model) so you can modify it as you need. Or you could use it as a basis for converting a newer Replicator or a similar clone to Core-XY.
The X-Carriage and Toolhead assembly were designed to use the Phaetus DropEffect XG hotend, and the Annex Engineering Micro-Sherpa 3d printed extruder.
See the "README_Instructions" for photo references and more information about the build.
Videos about this project:
Necessary Hardware (Affiliate Links):
- Voron V0.1 Hardware kit (Contains of M3 screws, Bearings, Heat Inserts, & Bearings): https://amzn.to/3H2JydZ
- Motor Cogs: https://amzn.to/3WaOl1v
- GT2 6mm Belt: https://amzn.to/3Gxj8zK
- Omron Micro-switch (x-limit): https://amzn.to/3W8c1Ug
- DropEffect XG hotend: https://3dhub.ca/products/dropeffec-phaetus-xg-hotend?sca_ref=2790866.Fjs3GE1r9G
- Polymaker Filament: https://tinyurl.com/PolymakerASA
- Micro-Sherpa Extruder: https://github.com/Annex-Engineering/Sherpa_Micro-Extruder
- LDO NEMA14 for Extruder: https://amzn.to/3kgZd0h
- 5015 Blower Fan: https://amzn.to/3QBHlto
- OPTIONAL 2A NEMA17 motors: https://amzn.to/3w3s8I2
PRINT PARAMETERS:
- Recommend 4-5 Perimeters
- 40%+ Infill (I use Gyroid)
- NO Supports Required (except on - hotend mount)
- ASA / ABS filament HIGHLY recommended!!
Want to Support what I do? Check out my social medias please!
Link Tree: http://www.HotRodHippie.com/links
All of my Designs are covered by a Creative Commons Non-Commercial License. Sale of prints using my designs are the sole right of myself, the designer, and those I license to do so. Please understand every design is hours of work and multiple prototype prints to ensure quality. Unauthorized sales will result in new designs not being made public.
PLEASE Credit any and all Remixes of my designs: MandicReally


MakerBot Replicator Core-XY Conversion - Project ReAniMaker

Modular 10" Mini Server Rack! - Mod10

DropEffect NeXt-G UHF Voron StealthBurner Mount
Medium 3D Printed Sound Panels! Bambu & Prusa Mk4 version!

3D Printed Sound Panels!

Trick or Meow! Cat Sheet Ghost Costume for Halloween!

CUTE Halloween Dog Ghost Costume! Such a good boi!

Howling Werewolf - Halloween 2024 Fabled Creatures Release!

REPRAP 3D Printer Belting Tools - EASILY Belt your Core-XY 3D Printer!
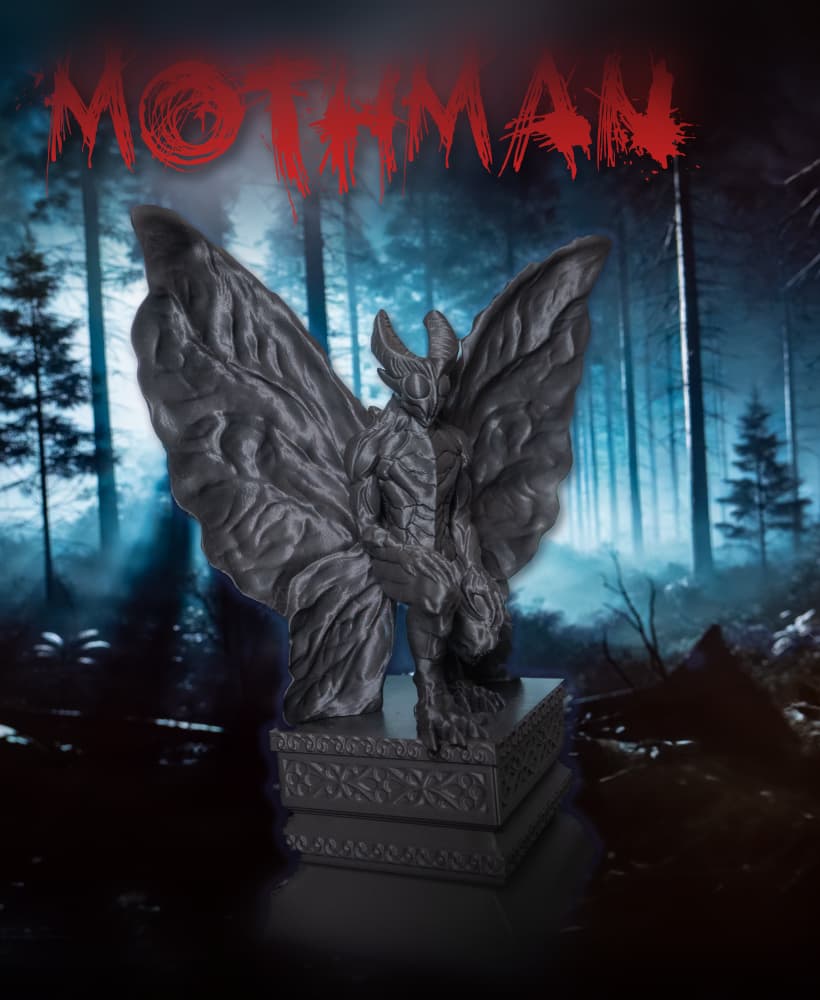
MOTHMAN - Fabled Creatures Desk Statue for Halloween!

Cthulhu RISES for Halloween! Old gods, new technology! Fabled Creatures 02

Gargoyle Door Knocker - Print In Place Halloween Door Decoration!
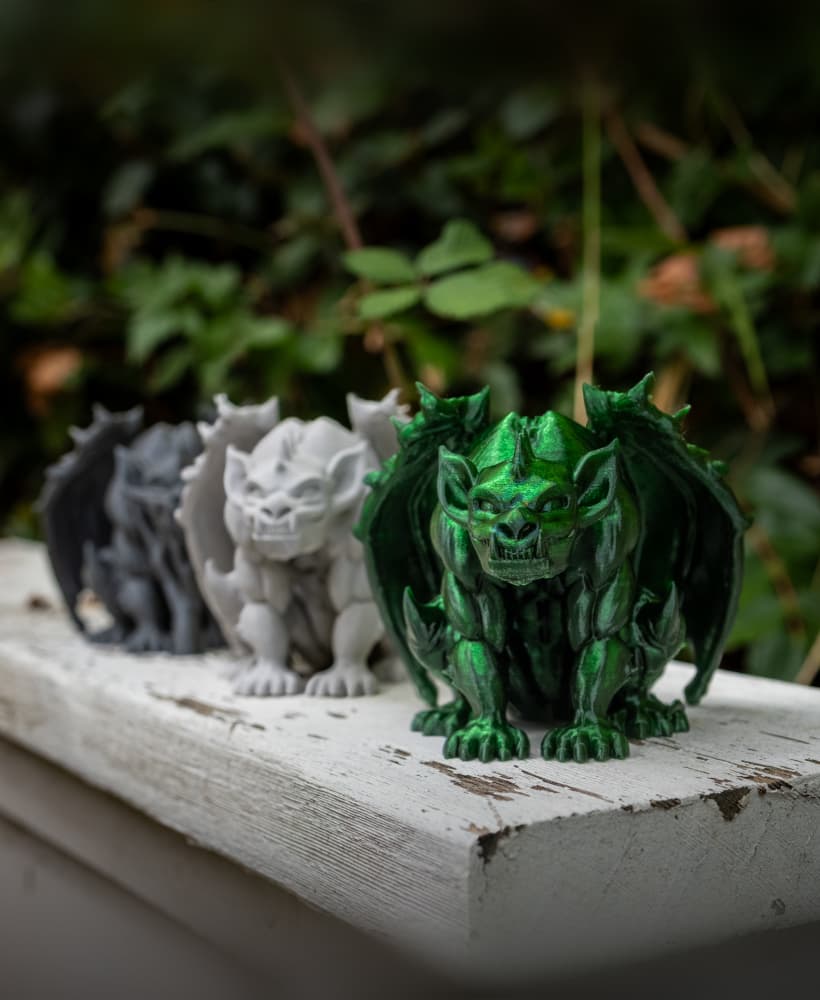
Gregor the Gargoyle Statue - Fable Creatures Collection

Tavern Tankard - Fantasy themed 12oz Can Cup!

PolyMaker PolyDry Reverse Bowden Retainer

Voron Hex Pattern StealthBurner Toolhead

Prusa Enclosure 3kg Spool Holder

Polymaker 3kg Cardboard Spool

Galileo 2 Hex Door for StealthBurner - BigTreeTech SB2209 SB2240

Ender 5 Plus Z Cable Chain Mod - Manage your Bed wires on the Z-Axis!
