Raspberry Pi 4 Case
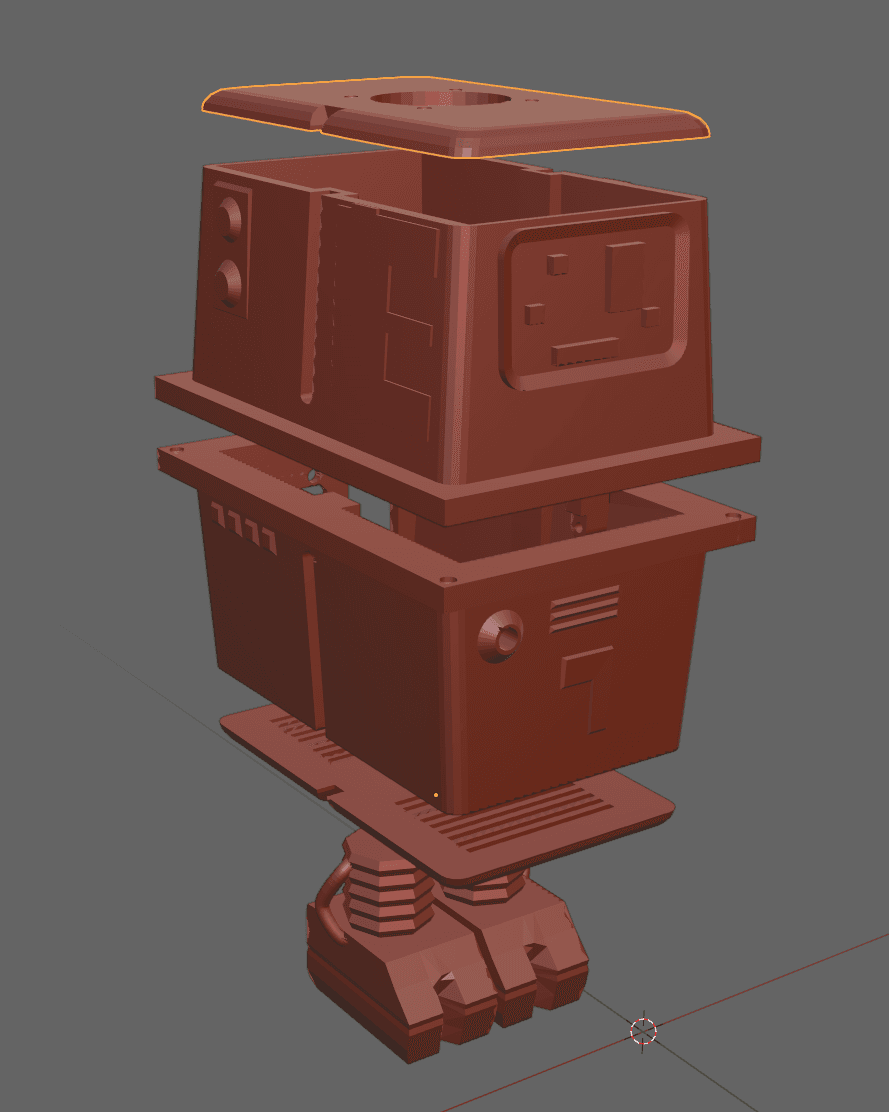
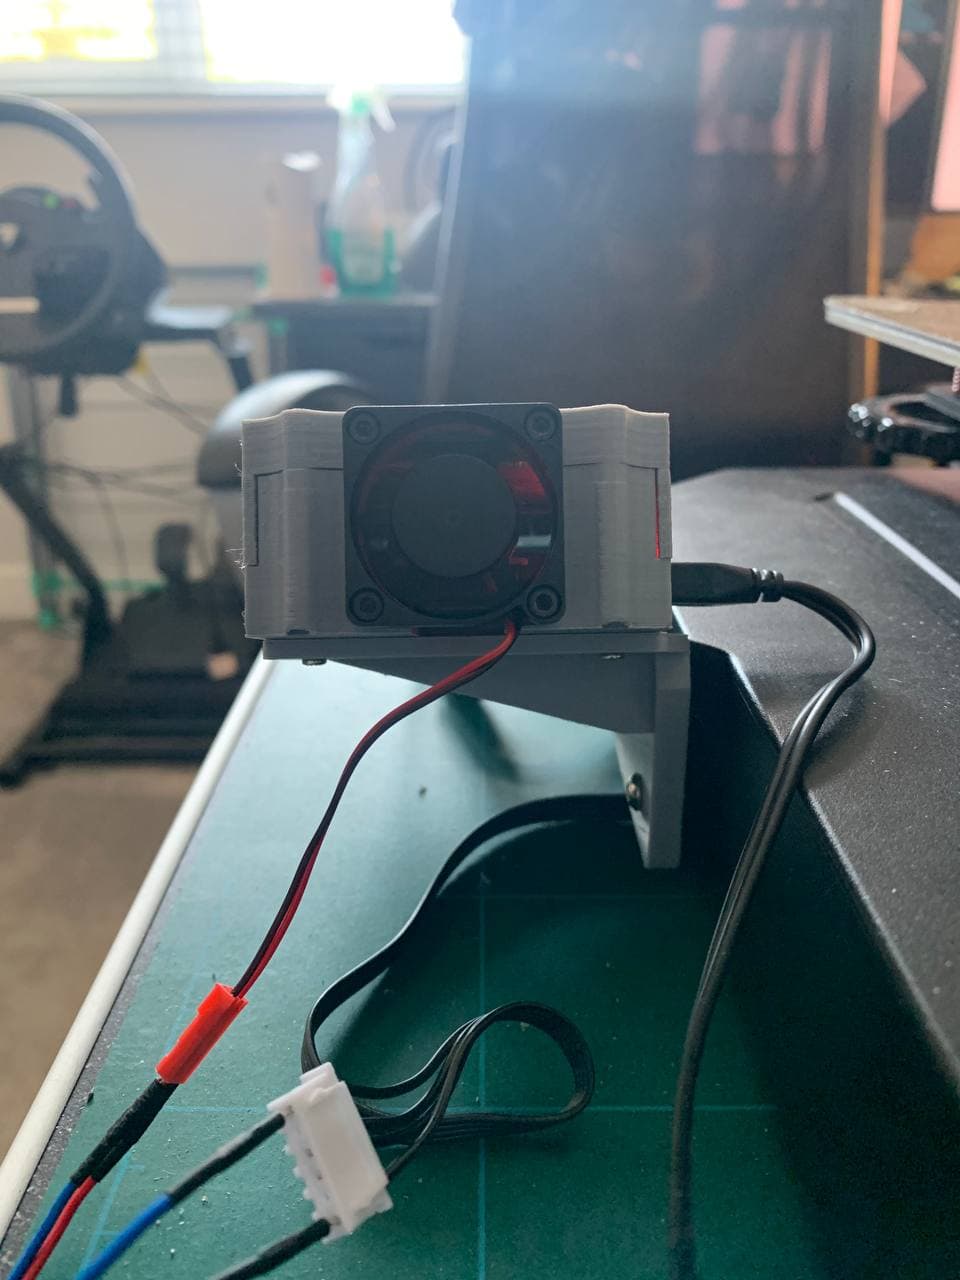
This is a cylindrical Raspberry Pi 4 case with internal cooling mount. It cools very well with an 80mm fan that can be mounted directly to the end of the inside of the case. It is also very quiet. I really wanted a case that was small and had high airflow with a little retro flare. So I thought I would make a tube shaped case that held the board in the middle and passed cool air over the top and bottom of where the board is mounted. I found that the plastic tends to stay cool and when it gets down in temp that it will drag the board temp down with it. I've beamed it with the infrared thermometer and it stays about 26°C during operation with the internal fan and grill cover for me running Octoprint. I have not had a print fail with this print.
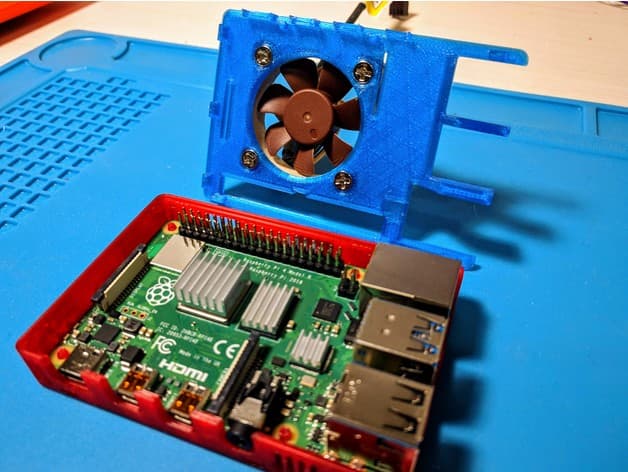
You can mount the board straight into the standoffs. You will need to predrill the holes in the standoffs; carefully.
If you purchase Raspberry Pi 4 80mm Fans you can put the accompanying nut into the hole of the fan and use the screw to draw it into the hole where it will then become held into place and will make mounting the fan inside the case much easier. You can start by first mounting the bottom part of the case and fan with the grill loosely enough to slip the top through. Make sure before mounting the lid that the fan is connected to the correct GPIO pins for both ground and power. The bottom of the case has tabs built-in to the opposite end the fan is on to help secure the lid. Then screw the top grill/lid/fan together and tighten the bottom screws. It should be together now and pretty solid. Make sure to mount the fan in the correct orientation so that air is being pulled into and pushed through the case and out the venting on the other side and case lid. You can use pretty much any 80mm fan grill. Looks good with RGB as well. If you use PETG there may be stringing on the bottom platform supports, you will need to use a flat needle file to clear these out to promote good airflow. I highly recommend using PLA+ filament on this print for optimal results. I would not recommend a heat gun on this as it may deform the parts. There are supports built onto the model of the lid, they should break off when you remove the infill. They are only meant to help keep the opening top straight. I also include two grill covers to print. The second one has a multi-layer height logo that you can use to do color change. 3D printing settings
Object Size Bottom: 129.67mm X 73.21mm X 32.78mm Layer Extruded: 182 Layer Height: 0.18 Material: PLA, PLA+ (professional), PETG have been tested. Recommended Material: Overture PLA Professional ($24.00 / 2.2Lbs)
PLA Print Temp: 195 Celsius PLA Bed Temp: 60 CelsiusPETG Print Temp: 215 Celsius PETG Bed Temp: 80 Celsius
Print Speed: 50mm/s Supports: Yes Brim: Yes Support Density: 15% Support Angle: 65 Infill Density: 90% Infill Type: Gyroid Print Time Bottom: 6+ Hours Print Time Top: 4+ HoursRaspberry Pi 4 Case

Raspberry Pi 4 Case.stl

Malolo's screw-less mesh slim case top + 30mm fan square hole friction fitted Raspberry Pi 4 case

Starwars Death Star Raspberry Pi 4 Case

Raspberry Pi 4 DIN rail case
M!N!MAL 4 - Raspberry Pi 4 Case

Malolo's Raspberry Pi 4 case bottom with SSD/HDD 2.5" mount

Raspberry Pi 4 B SSD & 30mm Fan Case
M!N!MAL 4 CH - Raspberry Pi 4 Case
Raspberry Pi 4 B Low Profile Case (Zip Tie Mountable)
Raspberry Pi 4 B Low Profile 40mm FAN Case (Zip Tie Mountable)

Raspberry Pi 4 5inch TFT Display Case with Fan

Raspberry pi case 1
.png&w=3840&q=75)
Stay Put Case (For Raspberry Pi 4).stl
Raspberry Pi Case Hyperpixel 4 Ender3 S1 Pro

raspberry pi case 2

Raspberry Pi 4 Case + Barrel Connector for Ender 3

Octoshield Case for Raspberry Pi 4 for Prusa Mk3

Raspberry Pi 4-Node Cluster Case

Raspberry Pi 4 case bottom with VESA mount (Remix)