


Multiboard SnapTile Pack
SnapTiles are not complicated. They probably work exactly how you imagine. Further reading is optional.
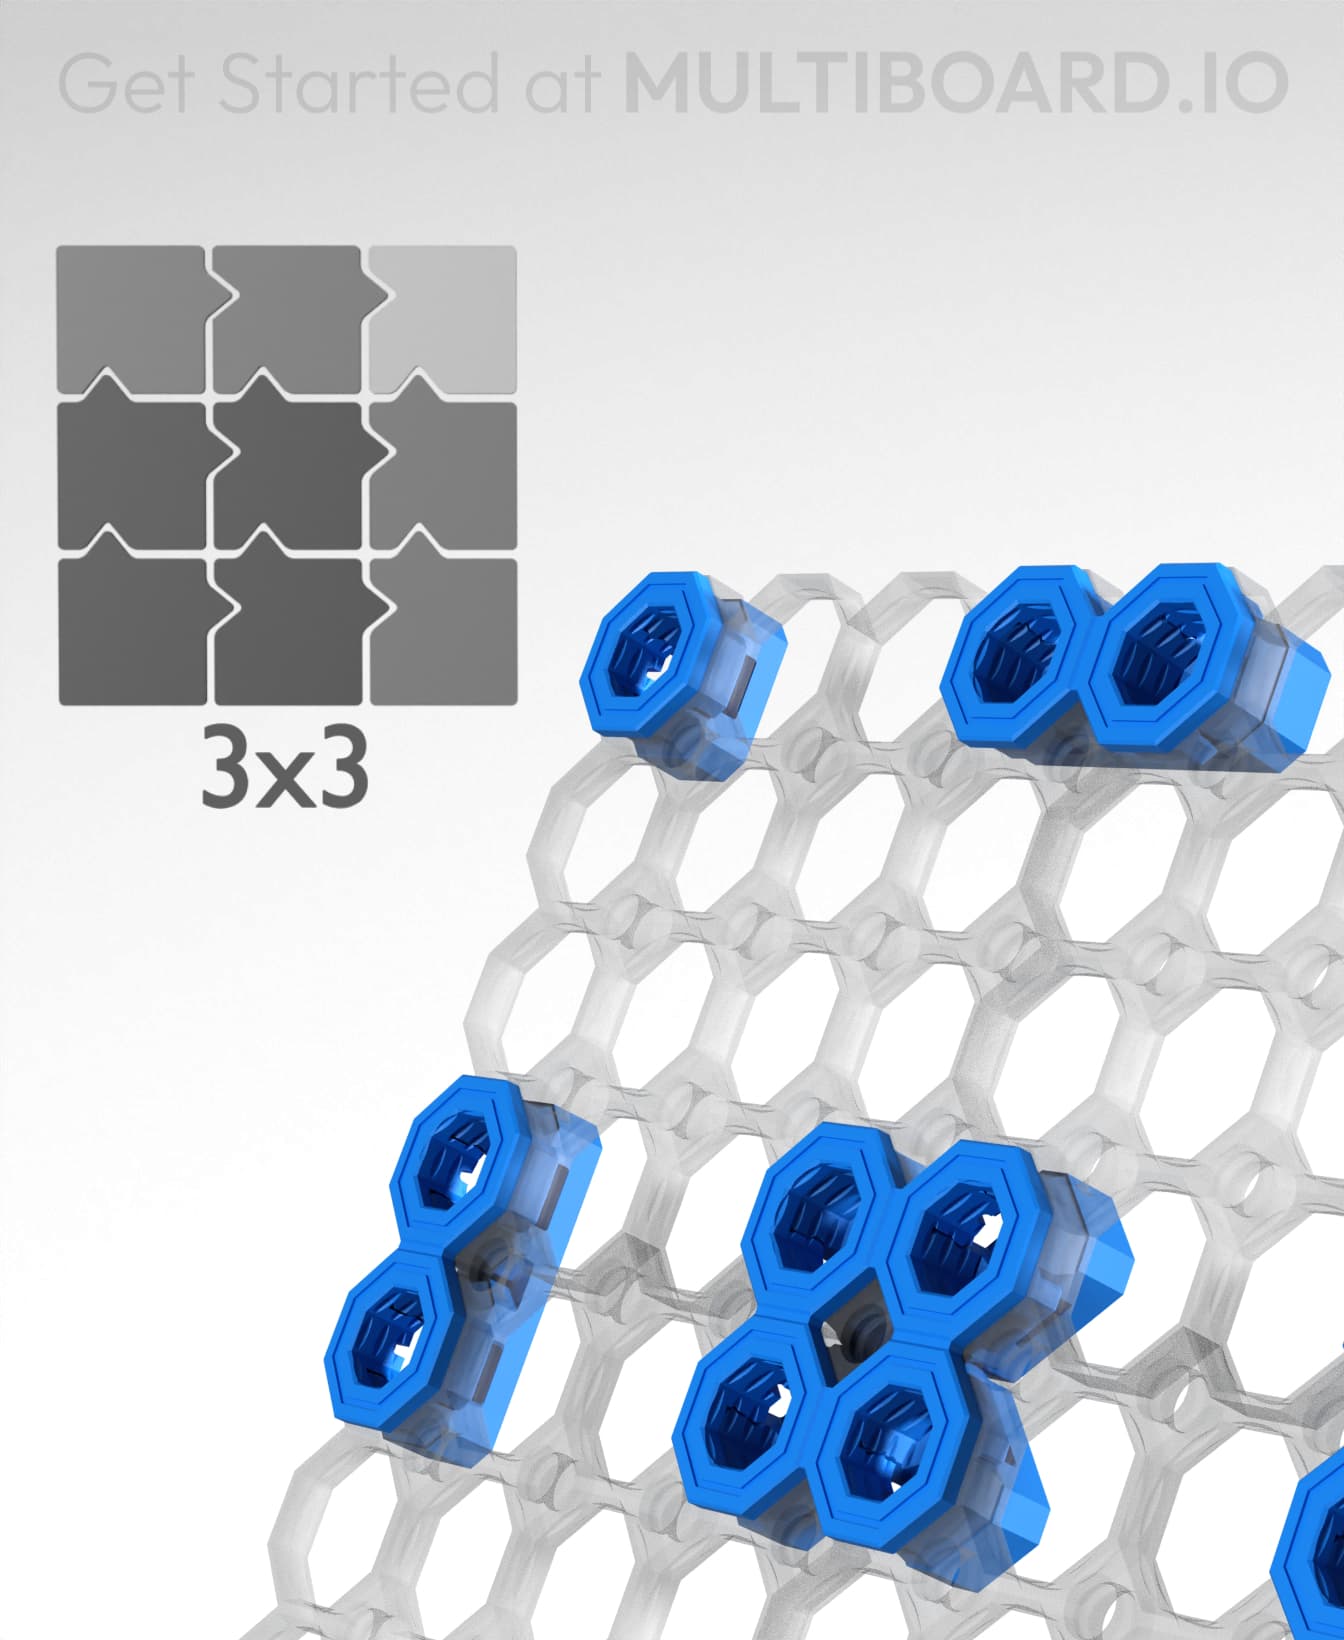
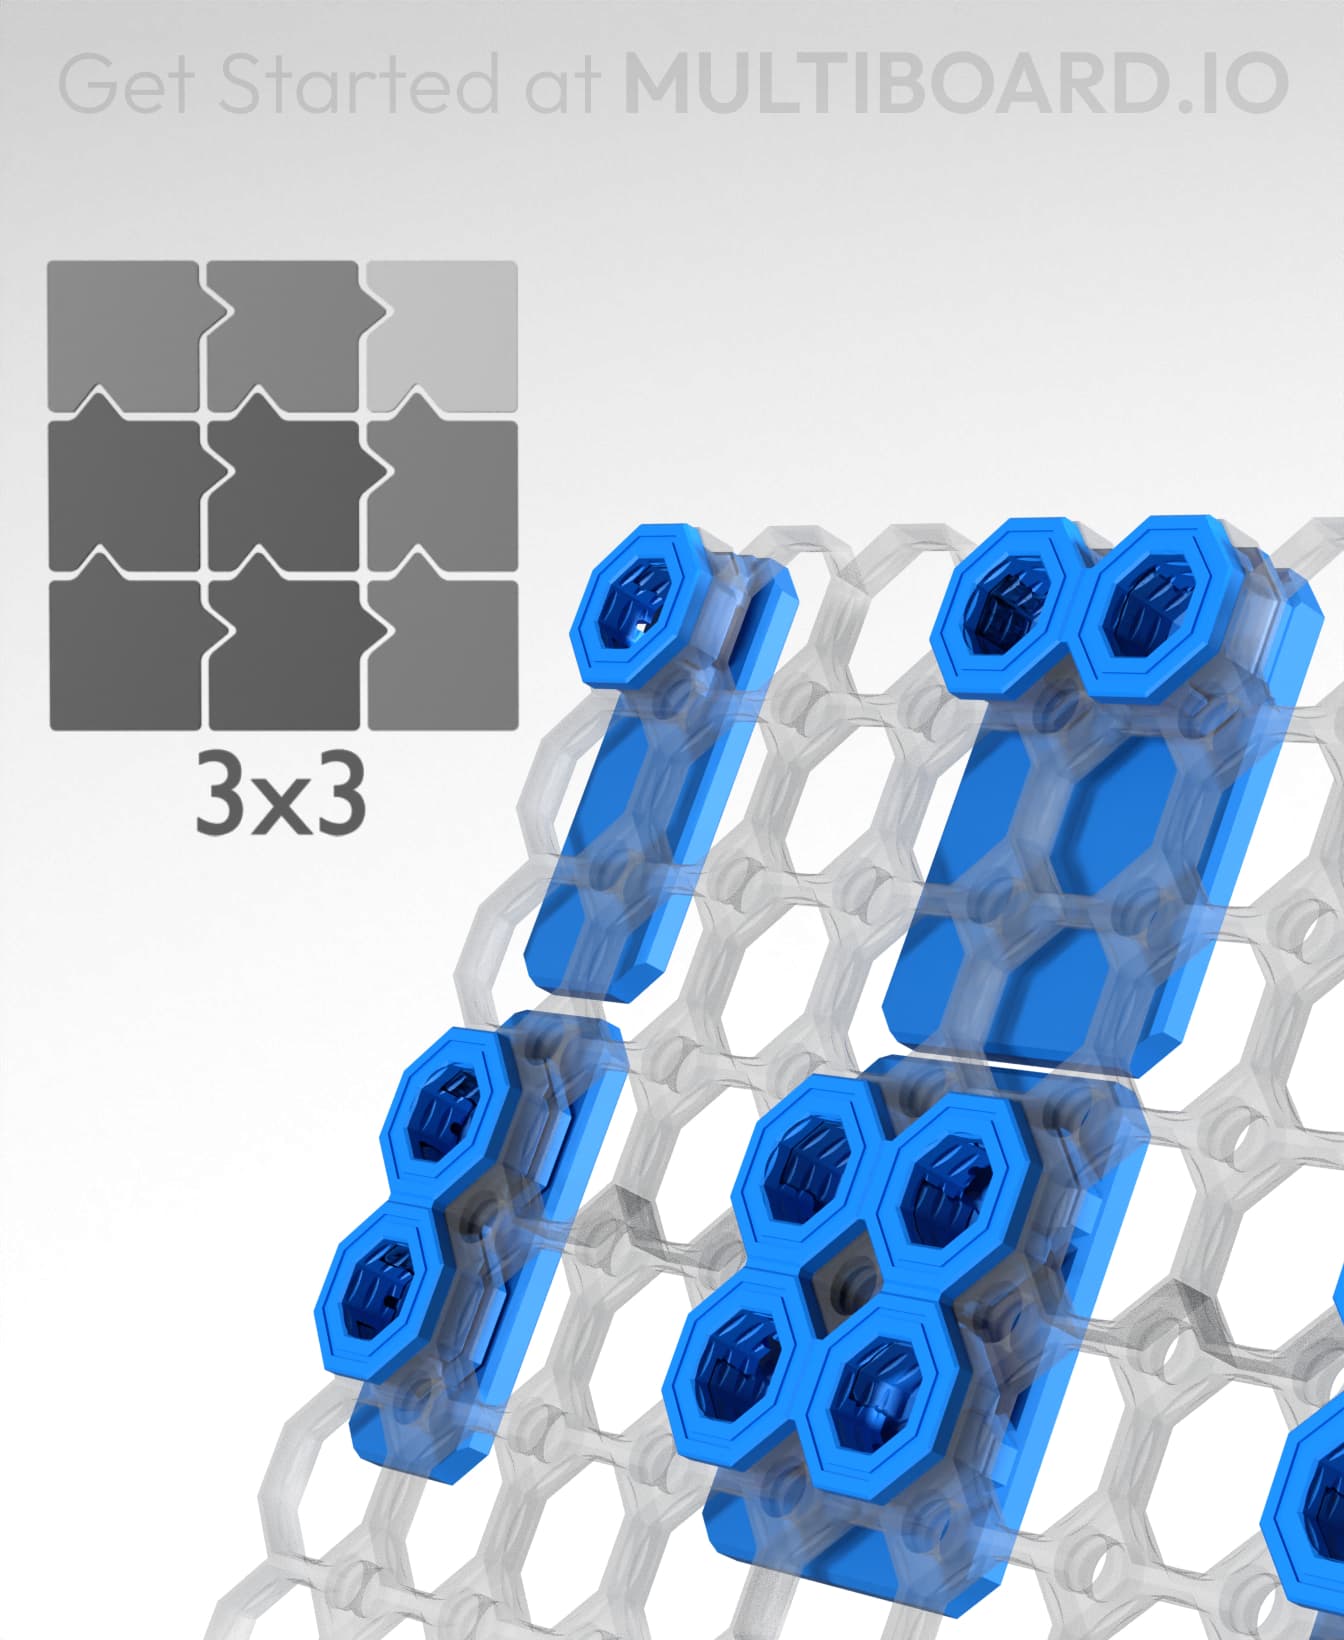
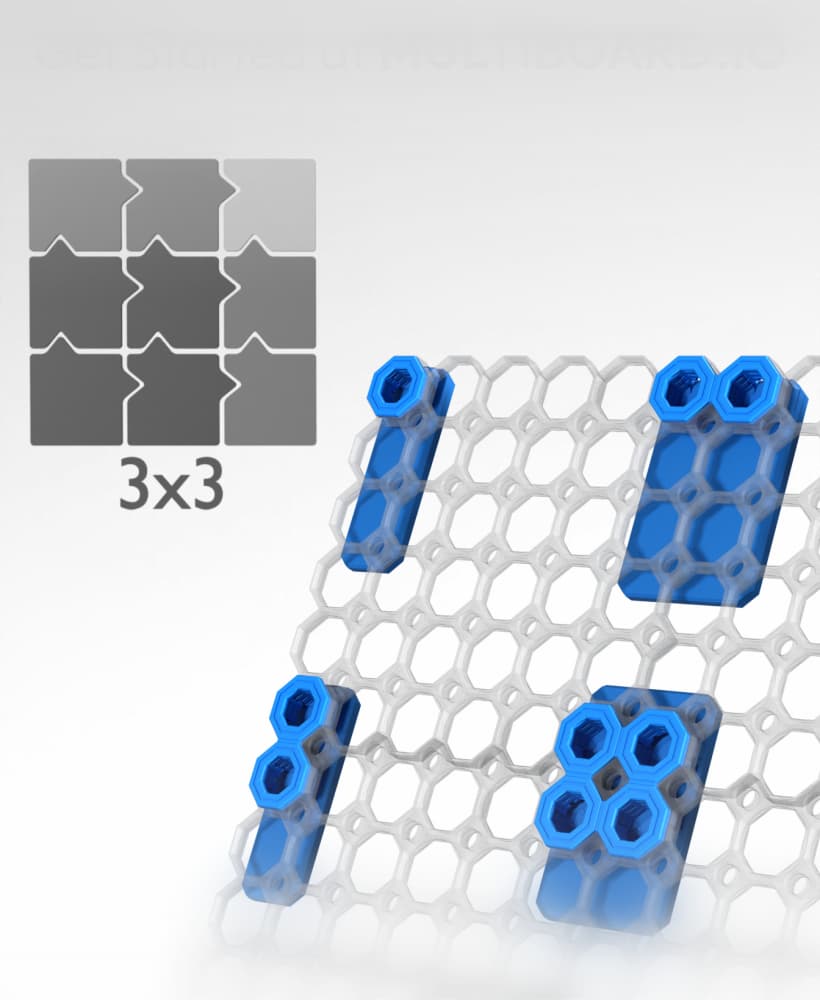
SnapTiles are parts that make a 1 by X horizontal Multiboard tile by utilizing push-fit or bolt-lock connections. These can be used as general purpose holders of things, or as parts for more advanced building and rigging. They were made by combining the two most foundational parts of Multiboard, so will most likely never lose compatibility or purpose.
These are the SnapTiles:
Ends We start at one end with an End. The End piece is simply a big ring with no small threads. This ensures that it does not stick out further to the sides than the tiles they are attached to. It look real good 2 xoxo.
Link The Link piece is the exact opposite of the End. It has two small threads, so that you can stick it between two End-type pieces and form a chain. Because it overlaps the End piece, you insert the End first, then the Link. Link is also the king piece for MacGyver-ing.
Bar The bar is functionally an End piece, only that it's got more stuff in the middle. To be precise, it has an odd length (3/5/7 big holes) and attaches to the wall Tiles at the even positions (2,4,6). This ensures that two bars can be chained together with a Link and retain perfect attachment spacing. Perfect for looks, that is.
OneMore This part does what it says. It adds one more tile unit to your chain. Want one more on the right? You need a OneMore Right. And don't even get me started on the Left version... This means that you could start your chain by placing an End part anywhere that you know will most definitely have a SnapTile chain, and just extend it to the left and right using OneMore pieces. For me, I try to start my SnapTile chains on the left each time, and then I keep a few spare OneMore Right pieces so that I can extend whenever I want to. This is the part that would recommend printing most of when starting out. It's great as a standalone general mount and is the only piece you actually need if you don't care about aesthetics or snap consumption.
Multiboard SnapTile Pack

Under Desk Drawers #1 - Multiboard Pack (+ Video Tutorial)

Heavy Duty Tile Shelf #1 - Multiboard Pack (+ Video Tutorial)

Simple Basket #1 - Multiboard Pack (+Video Tutorial)
.jpg&w=3840&q=75)
Multiboard Demo Pack (FREE)

Multiboard Learning Pack

Angle Pack for Multiboard Modular Trellis System

Ultimate MultiBoard x Skadis Adapter Pack
3x3 Board - Offset Snaps - Screw-On Mounting Pack
3x3 Board - Offset Snaps - Small Command Strip Mounting Pack
3x3 Board - Offset Snaps - Medium Command Strip Mounting Pack

Multipoint Learning Pack

Multiboard Harbor Freight Icon Allen Key
Multiboard Glue Stick Dispenser

Multiboard Label Generator

Multipoint Flush Bolt-Locking Pack

MultiBin Inserts: Planter Pack

RJ45 Cable Matters Multiboard Holder

MultiBin Insert: Mesh Pots Pack

Multiboard Snap for DeWalt DCB112 20V charger
