


Floating Pot of Gold
128 downloads · 1 year ago · This model utilizes the [Magnetic Levitation kit](https://store.bambulab.com/products/magnetic-levit
This model is restricted by licensing terms.
View license.
This model utilizes the Magnetic Levitation kit from Bambu Lab.
Wow your friends and family by showing them that you've got your own pot of gold and THEY CAN'T HAVE IT!
Printing Instructions: The 3mf file provided was sliced using Bambu Studio and should have all the proper settings as defined below
Gold
- Layer height: 0.12mm
- Wall type: Arachne
- Supports: Yes Clouds
- Supports: Yes Everything else:
- Supports: No
- Layer height: 0.2mm
To reduce weight in Pot.stl I put a modifier for the top portion of it and set infill to 0% (Open 3mf file in Bambu Studio/Orca Slicer to see what I mean)
Assembly Instructions: Follow this video for assembly if needed.
- Place puck into Puck Container
- Screw Puck Cap onto it to secure it. There shouldn't be any rattling when it's screwed on all the way
- Screw puck assembly into Pot. Use Tool to tighten it sufficiently. It doesn't have to be super tight, but we don't want it to be loose either
- Feed power port wire through hole of Clouds
- Fasten power port using the provided nut
- Plug the power port into the levitating kit
- Slide clouds over Base
- Glue standoffs onto base
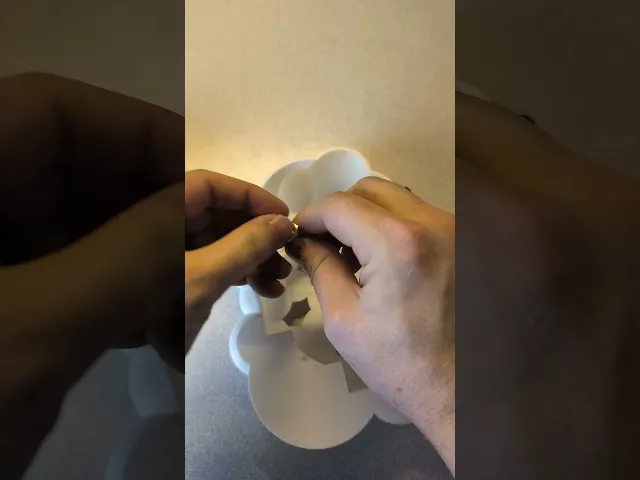
- Press bowties into corresponding slots. Do not use glue. It should be a press fit and should be difficult to remove
- Use double-sided tape to place the pcb sensor onto the flat section of the underside of the clouds (Refer to video if confused). This will be used to turn the lights on and off. Touching the outside of the cloud should be sufficient to control it
- Plug it in and place the pot on top of the clouds for it to levitate.
Floating Pot of Gold
128 downloads · 1 year ago in and
This model is restricted by licensing terms.
View license.

Helix Spiral Table Lamp - Mid-Century Modern Desk Light

Lamp 003 Base.stl

Cup 004 - Spiral Ribbed Desk Organizer / Modern Vase / Pencil Cup

Cup 003 - Chiseled Organic Vase / Pencil Holder

Glowing Castle Lamp & Tabletop Fortress

Birdhouse 002 - Mid-Century Modern Birdhouse & Succulent Planter

Carousel - Motorized merry go round

Bird House 001 - No AMS or other multi-color printer required

Floppy Stroopwafel

Dragon Egg

Twisty Egg Lamp

Dragon Egg Lamp

Egg Lamp 2.0

Vase 004

Cup 002

Bowl 003

Floppy Guitar Fish

Lamp 002

Vase 003
