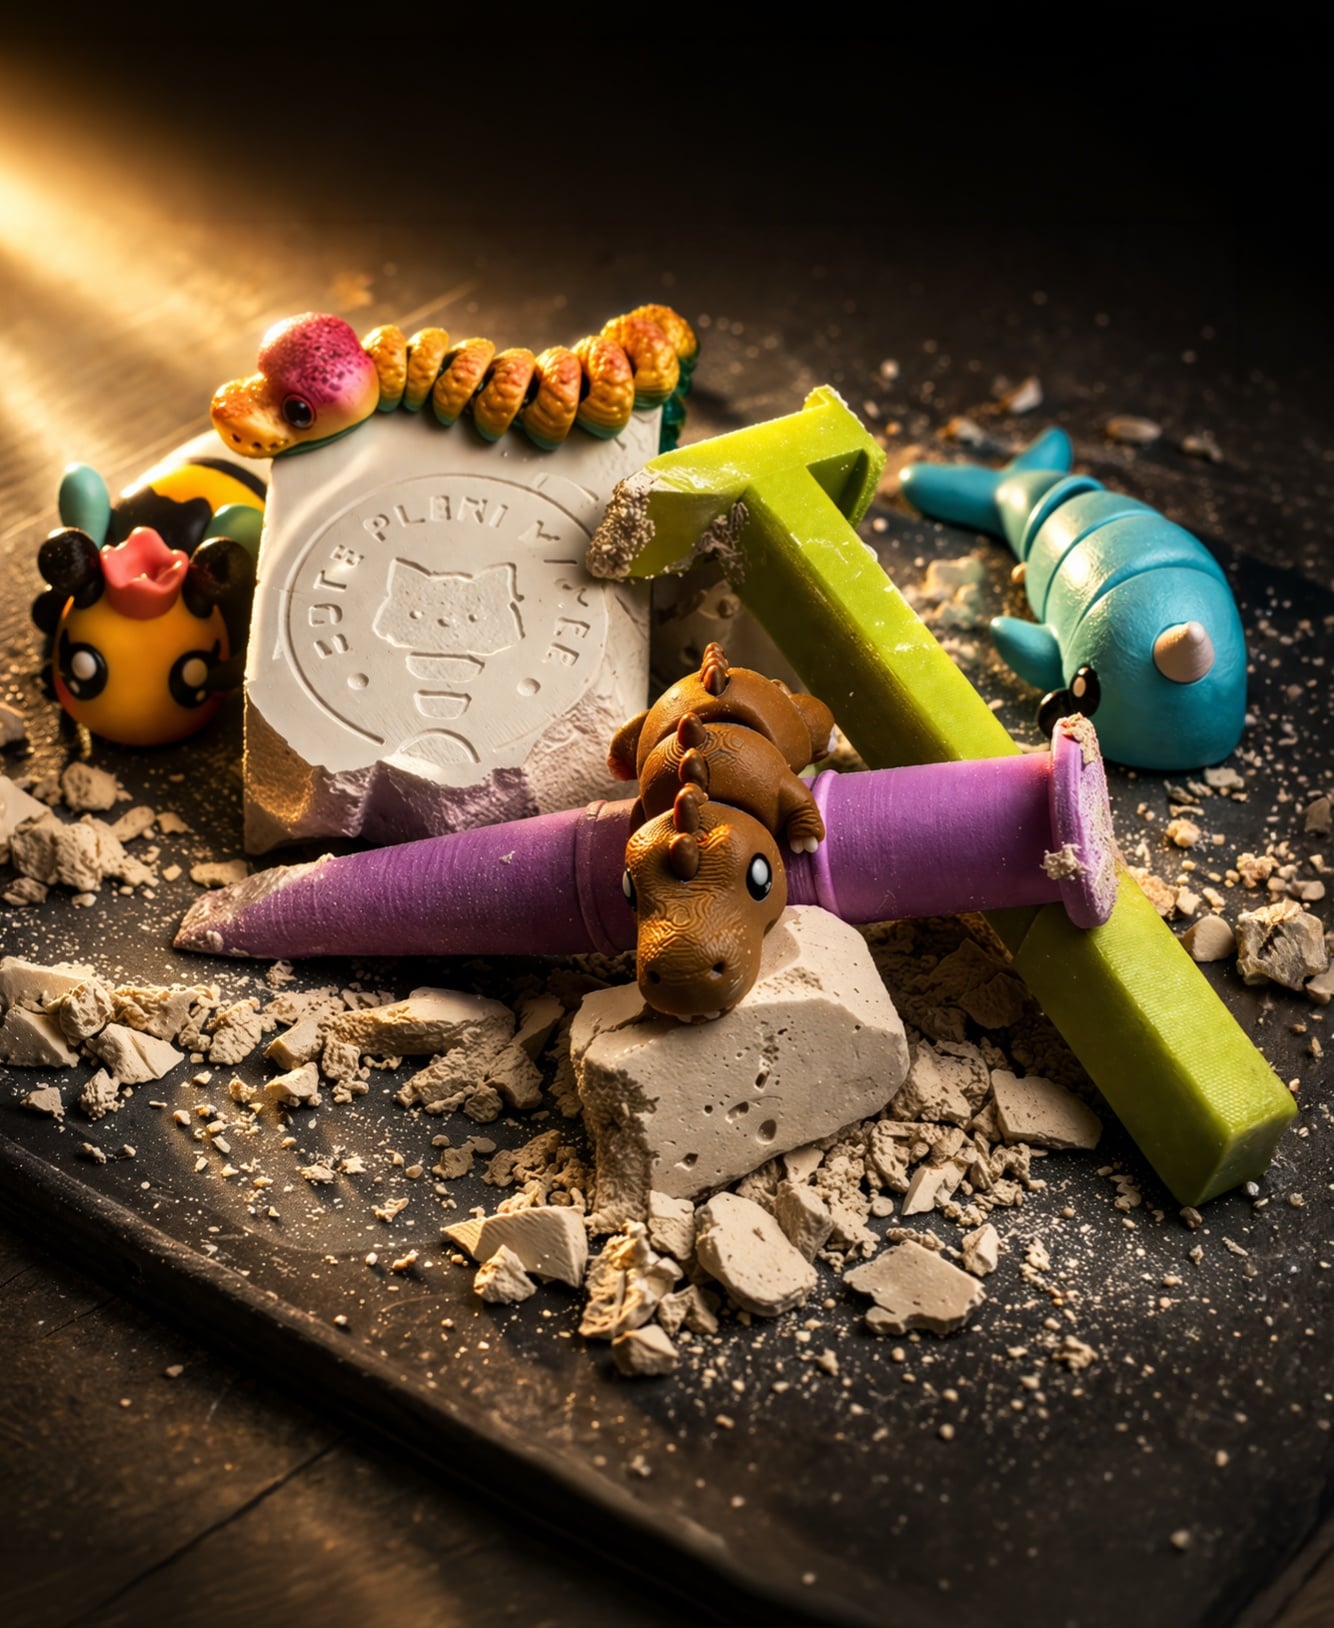


Excavation Set for Cute Flexi
Bring your prints to life with this fun “excavation” set 🛠️ Inside you’ll find everything you need to turn your Cute Flexi into a mini discovery:
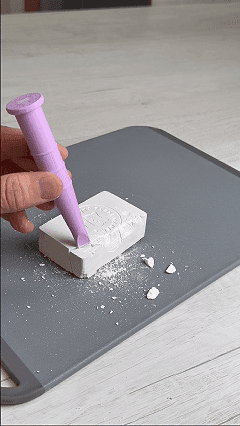
chisel hammer custom mold Create your own plaster “brick”, hide your flexi inside, and break it open just like a real fossil hunt.
How to make the plaster block: Follow the instructions on your plaster packaging for the correct water ratio, then mix and pour into the mold. Place your flexi inside and let it fully dry. For this experiment, we obviously chose… the T-Rex 🦖
Perfect mix (easy to break): To get a solid but easy-to-excavate block:
1 part plaster 1.2 – 1.3 parts water a small amount of fine sand (optional but recommended) Mix until you get a thick yogurt-like consistency, then pour into the mold.
👉 A bit more water and a touch of sand will make the block more crumbly and easier to break with a plastic hammer.
Drying time: Plaster sets quickly, but for the best result:
minimum 24 hours recommended 48 hours 👉 Only when fully dry will it break properly, creating a real excavation effect.
The T-Rex was made using cutefleximaker.com, the tool that lets you unleash your creativity and imagination.
⚠️ Safety first: Always use a plastic hammer and wear protective glasses during excavation … SAFETY COMES FIRST! 👓
Se ti e' piaciuto SEGUIMI per sostenermi , mi trovi anche su INSTAGRAM - YouTube - TIK TOK
Excavation Set for Cute Flexi

The Grave Digger
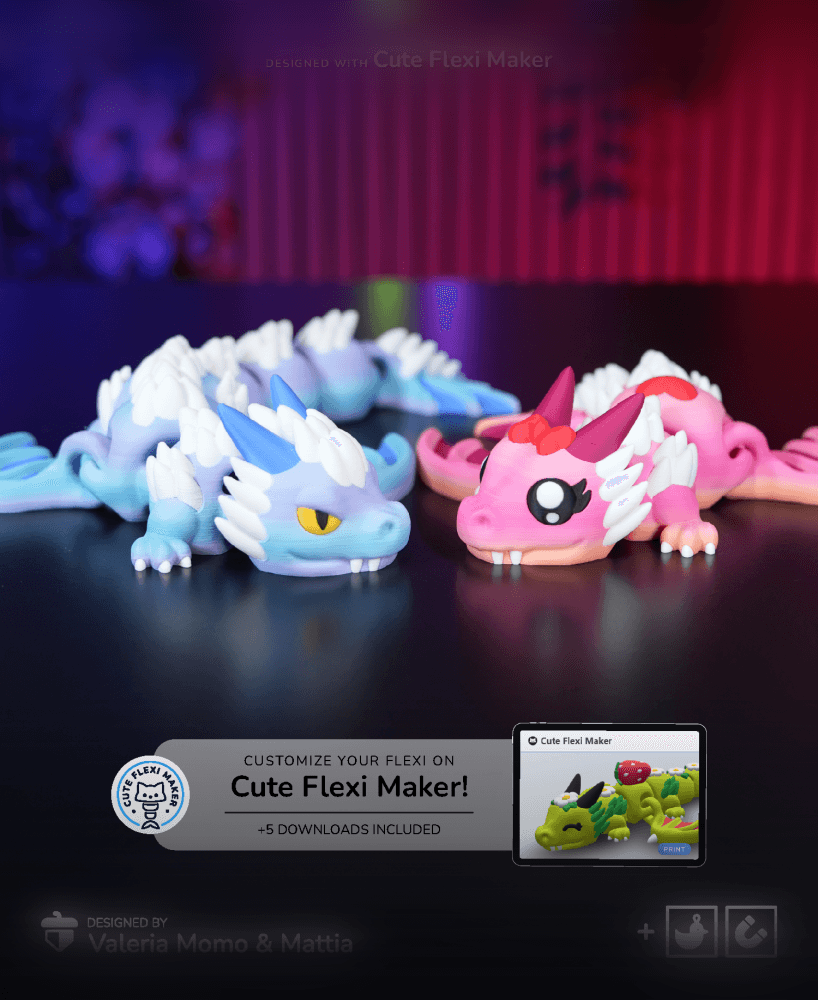
Cute Flexi Dragon + Cute Flexi Maker Access

Cute Flexi Dolphin + Cute Flexi Maker Access

Cute Flexi Parrot + Cute Flexi Maker Access

Cute Flexi Eagle + Cute Flexi Maker Access

Cute Flexi Duck + Cute Flexi Maker Access

Cute Flexi T-Rex + Cute Flexi Maker Access

Cute Flexi Flat Face Dogs + Cute Flexi Maker Access

LOVE Articulated Letter Set | Cute Sitting Flexi Love Figures | Valentine’s Day Decor

Grinder Set 3D, 4 pcs. Grinder Bundle, 3D Herb Spice Crusher, Cute Grinder Set, Cute Weed Grinder

Diorama for Cute Flexi Animals, Cute Bunny Edition

Diorama for Cute Flexi Animals, Cute Guinea Pig Edition

Cute Flexi Cat w flexi tail in Keychain, Earrings & Magnet Version

3D Cactus Keychain Set; 2 pcs. Set, Cute Plant Themed Keychain, Gift for Cactus Lovers, Unique Gift

Baby Flexi Cat Set (set of 6)

Valentine’s Day Flexi Set | 2 pcs Articulated Heart Angel & Teddy Bear | Cute Romantic Gift

Cute Flexi Sea Turtle (Toy, Keychain, Magnet)

Cute Flexi Dolphin (Toy, Keychain & Magnet)

Cute Flexi Sheep & Ram, (Toy & Keychain), Mini Articulated Animals
