


Linkage Construction Kit - Strandbeast Kit
77 downloads · 3 years ago · Special Linkage Construction Kit parts to create a Strandbeast Mechanism! Use these with the parts a
This model is restricted by licensing terms.
View license.
Special Linkage Construction Kit parts to create a Strandbeast Mechanism! Use these with the parts already available in the main kit.
Oringinal Strandbeast Design by Theo Jansen: strandbeest.com
Parts
- Custom Links - Specially sized links - each link in named for it's length in mm.
- Custom Plate - Raises the mechanism off the build surface and positions the two locked points required for the system to move correctly.
Printing
- Before committing to a long print with lots tiny parts, print only a couple test links and pins to make sure you get a good fit.
- Print all the links with at least 3 perimeters, so the outer wall and the inner wall of each hole merge into a single stronger frame.
- Print all links, bases, and plates at 100% scale. If the parts don’t quite fit, resize just the pins to fit everything else.
- For a smoother pin wall, manually place your print seam on the inner pin wall. If you have any adhesion issues, add a brim.
- Don’t rush the print speed.
- Look out for elephant's foot. Any extra squish on the bottom of a link will stop parts from fitting.
Assembly
- Place links according to the included photos.
- You may want to add M4 bolts and bolt caps where possible to make connections stronger.
- Carefully note link sizes when printing. Some links have very similar sizes. The mechanism will still work if some linkages are mixed, but it will not move optimally.
- Linkages must be placed with different elevations to avoid collisions. This print used a spacer at the tip of the foot so that the strandbeast leg could rest flat on the base.
- Note the use of the white bolt caps to secure linkages from below. The main anchoring pin in inserted below the plate to avoid collisions.
Can I sell copies of this? Sorry, no. This model is under a non-commercial license because it is based directly on existing work by Theo Jansen.
This license applies only to the model files (STL, 3MF, STEP, F3D) included in this project. It does not apply to photos, videos, my logo, or other supplemental graphics attached to or displayed with this project.
Linkage Construction Kit - Strandbeast Kit
77 downloads · 3 years ago in and
This model is restricted by licensing terms.
View license.

Linkage Construction Kit

Magnetic Gyroid Construction Kit

Snap-Together Gyroid Construction Kit
.jpg&w=3840&q=75)
PrintABlok Space Station Construction Kit

SPIDER KIT CARD
.gif&w=3840&q=75)
Albatross Kinetic Build Kit
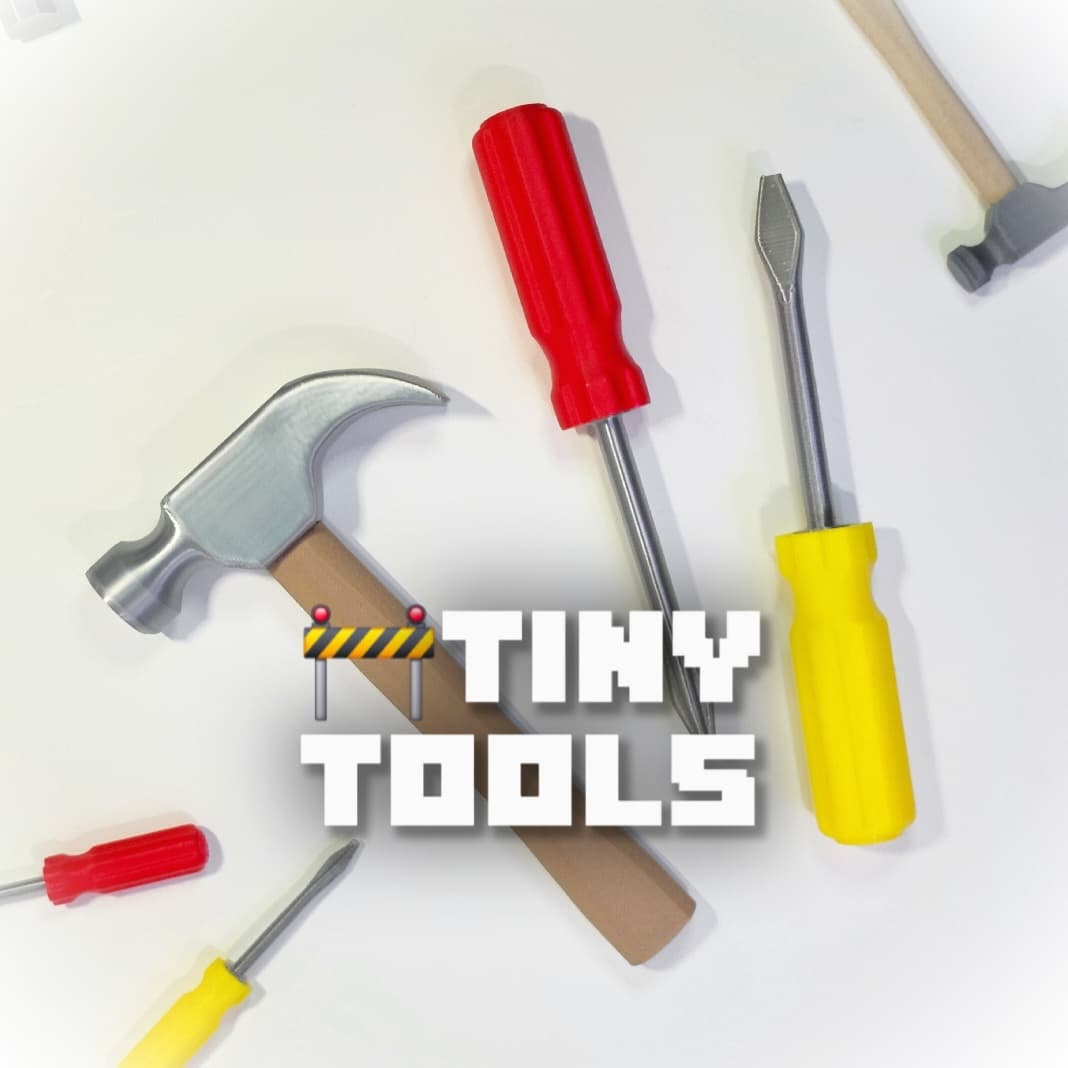
Mini Hand Tool Set :: Simple Construction Toys
.gif&w=3840&q=75)
Mustang Mechanism - Kit Card
Bundle

Parked G.O.R.I.L.L.A. exosuit

Dumptruck - Model Kit
Bundle

G.O.R.I.L.L.A. Exosuit squad
Gridfinity Grimdark Spaceship Kit for Tabletop RPGs - Modular Building System

Replacement Allan hex key wrench holder

Sparrow - Build Kit
.gif&w=3840&q=75)
Flying Squid Mechanism - Build Kit
PrintABlok:Electroblok

PrintABlok Light Mech mech Robot Construction Toy

KLiX - Square Module
.gif&w=3840&q=75)
Cat Mechanism - Build Kit
Bundle

The idea of being able to design my own strandbeests is so exciting!
Have fun! It's a 3D printing project I've wanted to eventually do for years :)