
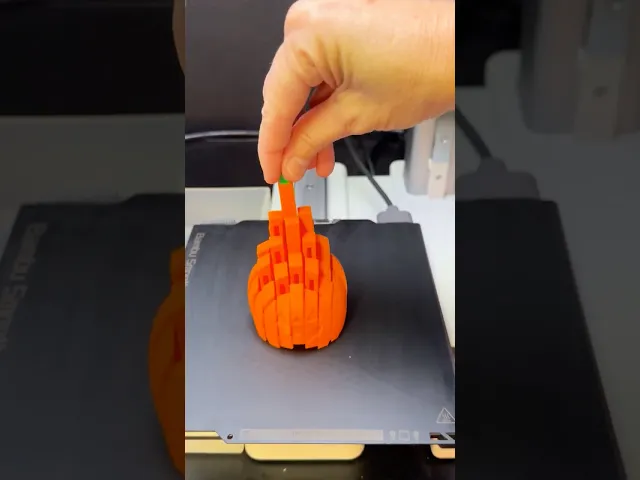


Pixel Pumpkin Fidget (2 sizes)
If you’re looking for another Halloween fidget - I got you covered with this Pixel Pumpkin 🎃
I have included two sizes, small and large.
Dimensions of Small Pixel Pumpkin: 2 in. x 2 in. x 1 ¾ in. Dimensions of large Pixel Pumpkin: 2 ⅓ in. x 2 ⅓ in. x 2 ¼ in.
This is a detailed print with the small size taking 4 hrs (on my Bambu printer) and the large size taking 5 hr 15 min. Because of that I included both sizes:)
3D Print Settings:
-
Basic PLA works best*
-
Layer Height 0.2mm (with Initial Layer Height set at .32 to help with adhesion)
-
Infill 15%
-
Detect thin walls (turned on)
-
Supports highly recommended (see below)**
-
Smooth print plate with a little glue smeared on also recommended
*Basic PLA is the best for this print. I don’t usually make recommendations on types of PLA but I don’t recommend PLA Silk or PLA Matte filaments for this print. It is very detailed (on the inside) and the tolerances are small. I printed several of these in these three types of filaments and Basic PLA always printed the best and had smoother “movement” when done.
**I highly recommend using supports around the entire base of the pumpkin (see photo). I have printed several of these using only a brim but about half the time I would have one 'pixel' (or column) that would shift during the middle of the print - so just to play it safe I recommend a ‘collar’ of support all around the pumpkin and the ‘mouth’ of the face. I have included those in my 3mf print profiles as follows:
Print Plate #1: Small Pixel Pumpkin(2 colors, orange & green), supports added to mouth and all around the base of the pumpkin
Print Plate #2: Large Pixel Pumpkin (2 colors, orange & green), supports added to the mouth and all around the base of the pumpkin
If you prefer to save filament and avoid a purge tower, I repeated the same print files onto plate 3 & 4 and added a ‘pause print’ to pause the print to change the filament from orange to green when the stem starts printing.
Print Plate #3: Small Pixel Pumpkin(1 color), pause inserted at layer 191 (layer height 38.32) to change filament (to green) supports added to mouth and all around the base of the pumpkin
Print Plate #4: LargePixel Pumpkin(1 color), pause inserted at layer 231 (layer height 45.92) to change filament (to green) supports added to mouth and all around the base of the pumpkin
Have fun printing!
Pixel Pumpkin Fidget (2 sizes)

Twisty Fidget Tree (2 Styles)

Alphabet Layered Fidgets

Big Beads: Sports Themed

Cupcake & LED Candle Set (with Cupcake Stand and Magnetic Match)

Spill the Tea Fidget

Football Layered Fidget

Potted Flowers and Watering Can
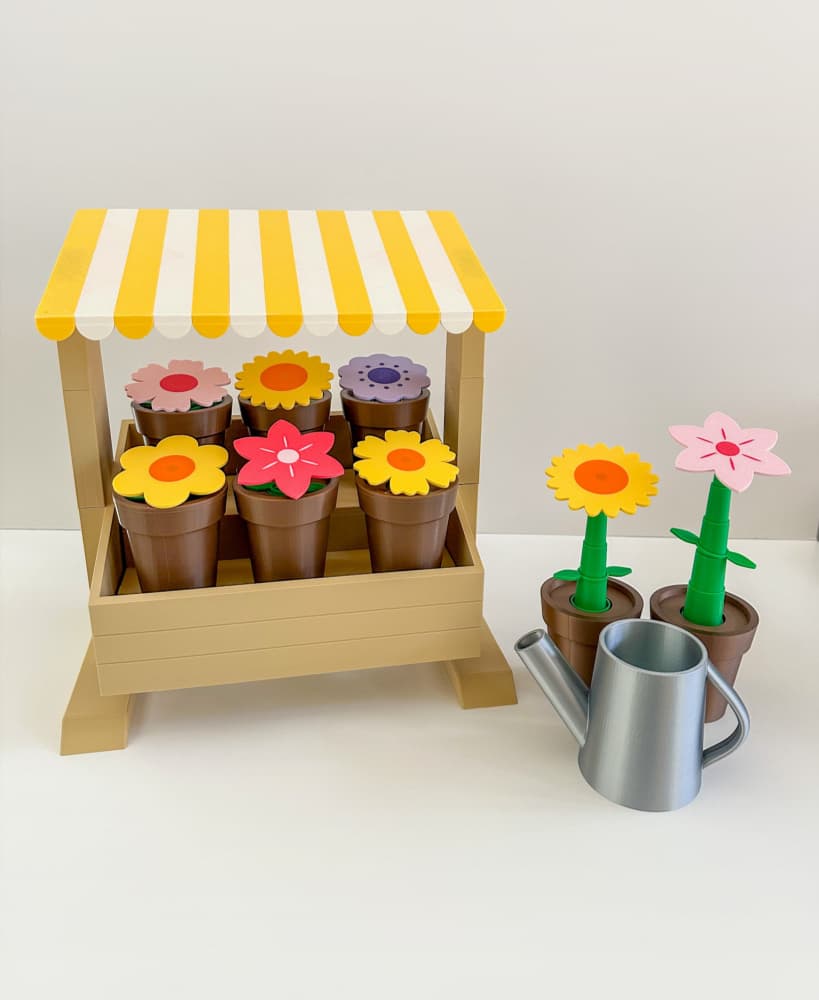
Flower Stand for Potted Flowers with Watering Can

Pixel Flower Fidget (2 sizes) with Stems, & Vases (3 styles)
.JPG&w=3840&q=75)
Fidget Fabric Fried Egg Set (play or coaster set)

Twisty Pint Fidget (2 Styles)

Clicky Phone Fidget (2-in-1 Fidget)

Fry Pan, Spatula and Fork

Green Eggs (requires mesh fabric), Slinky Ham and Plate

Number & Symbol Big Beads (for Horizontal and Vertical Stringing)

Big Letter Beads

Slinky (2 sizes)

Pear Spinner Fidget
.JPG&w=3840&q=75)
Carrot Garden (2 sizes)
.JPG&w=3840&q=75)