

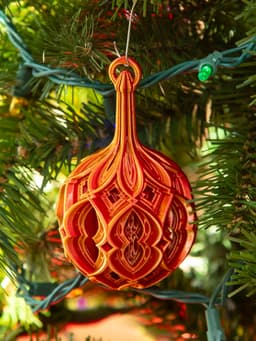

Stacked Diamond Christmas Ball
An elegant Christmas ornament with complex patterns and many details.
Here's a design I created a while ago, but never shared online. I found it while decorating my tree this year. I decided it was too good to keep to myself. I've provided updated PrusaSlicer 3MF and Prusa MK3S+ GCODE files. I tested the new settings by printing just the top of the ornament and they solved the problems with gaps. I'm now printing the whole ornament. I reduced the printing speed, increased the hot end temperature, increased the extrusion multiplier (flow), and added extra top layers in a small area. You may need to adjust these for your printer and filament. The version of the ornament shown in the photo was printed with older settings that was lighter but may be prone to break after printing.
If you open my 3MF file in any slicer other than PrusaSlicer, you'll need to carefully inspect the sliced model for things that could fail – like missing supports or parts of layers that need infill. I'm reasonably certain that Bambu Studio can open my 3MF file, but will not honor all the settings in it. There may be other slicers that behave similarly.
Print Settings
My default settings are:
- Top and Bottom Solid Layers: 2
- Perimeters:1
- Infill: 0%
- Support Overhang Threshold: 32 degrees
I used shape and height range modifiers to change these settings just where it was needed. For details, keep reading.
For comparison, using 2 perimeters everywhere, adding 30% infill everywhere and setting top and bottom to 5 everywhere more than doubles the print time and triples the weight.
Supports – You must print this with supports. Without them, it will fail. Even of your printer can handle extreme overhangs, the print will be ripped from the build plate before it is halfway done without supports to hold it in place. I also reduced the gap between the supports and the model from the default 0.2mm to 0.1mm.
Infill – There are a few areas in this model that need infill, but they're just a small part of the whole model. I used an STL file and height range modifiers to add 30% rectilinear infill in just the areas that need it – scaling it up and down as needed. I've included my infill STL (infill_docunt.stl) in case you use a slicer that supports STLs as shape modifiers.
Bottom of the Ornament – I increased Bottom Solid Layers to 5 for roughly the first 10mm using a height range modifier. Doing this everywhere would add a lot to the print time and the weight of the ornament.
Top Loop – I increased the Top and Bottom Solid Layers to 6 and the perimeters to 2 for the knob and loop at the top (100.25mm – 117mm).
Speed – I print at significantly slower than my printer is capable of. The model is detailed and has thin walls. This help to produce an smoother print with minimal gaps. It also puts less lateral stress on the ornament as it prints, making it less likely to be pulled off the build plate as it prints.
Stacked Diamond Christmas Ball

MELTING CHRISTMAS BALL / UNIQUE CHRISTMAS DECOR / HOMEDECOR / DESIGNER

Christmas Accessories Vol.1 – 3D Printed Christmas Ball Ornament
Christmas ball “Gift"

Christmas Ball Stamp Tile Set, 5 Motif Sizes, Perfect for Clay, Cookies & Fondant, Festive Ornament for Holiday Baking PRODUCT_3815

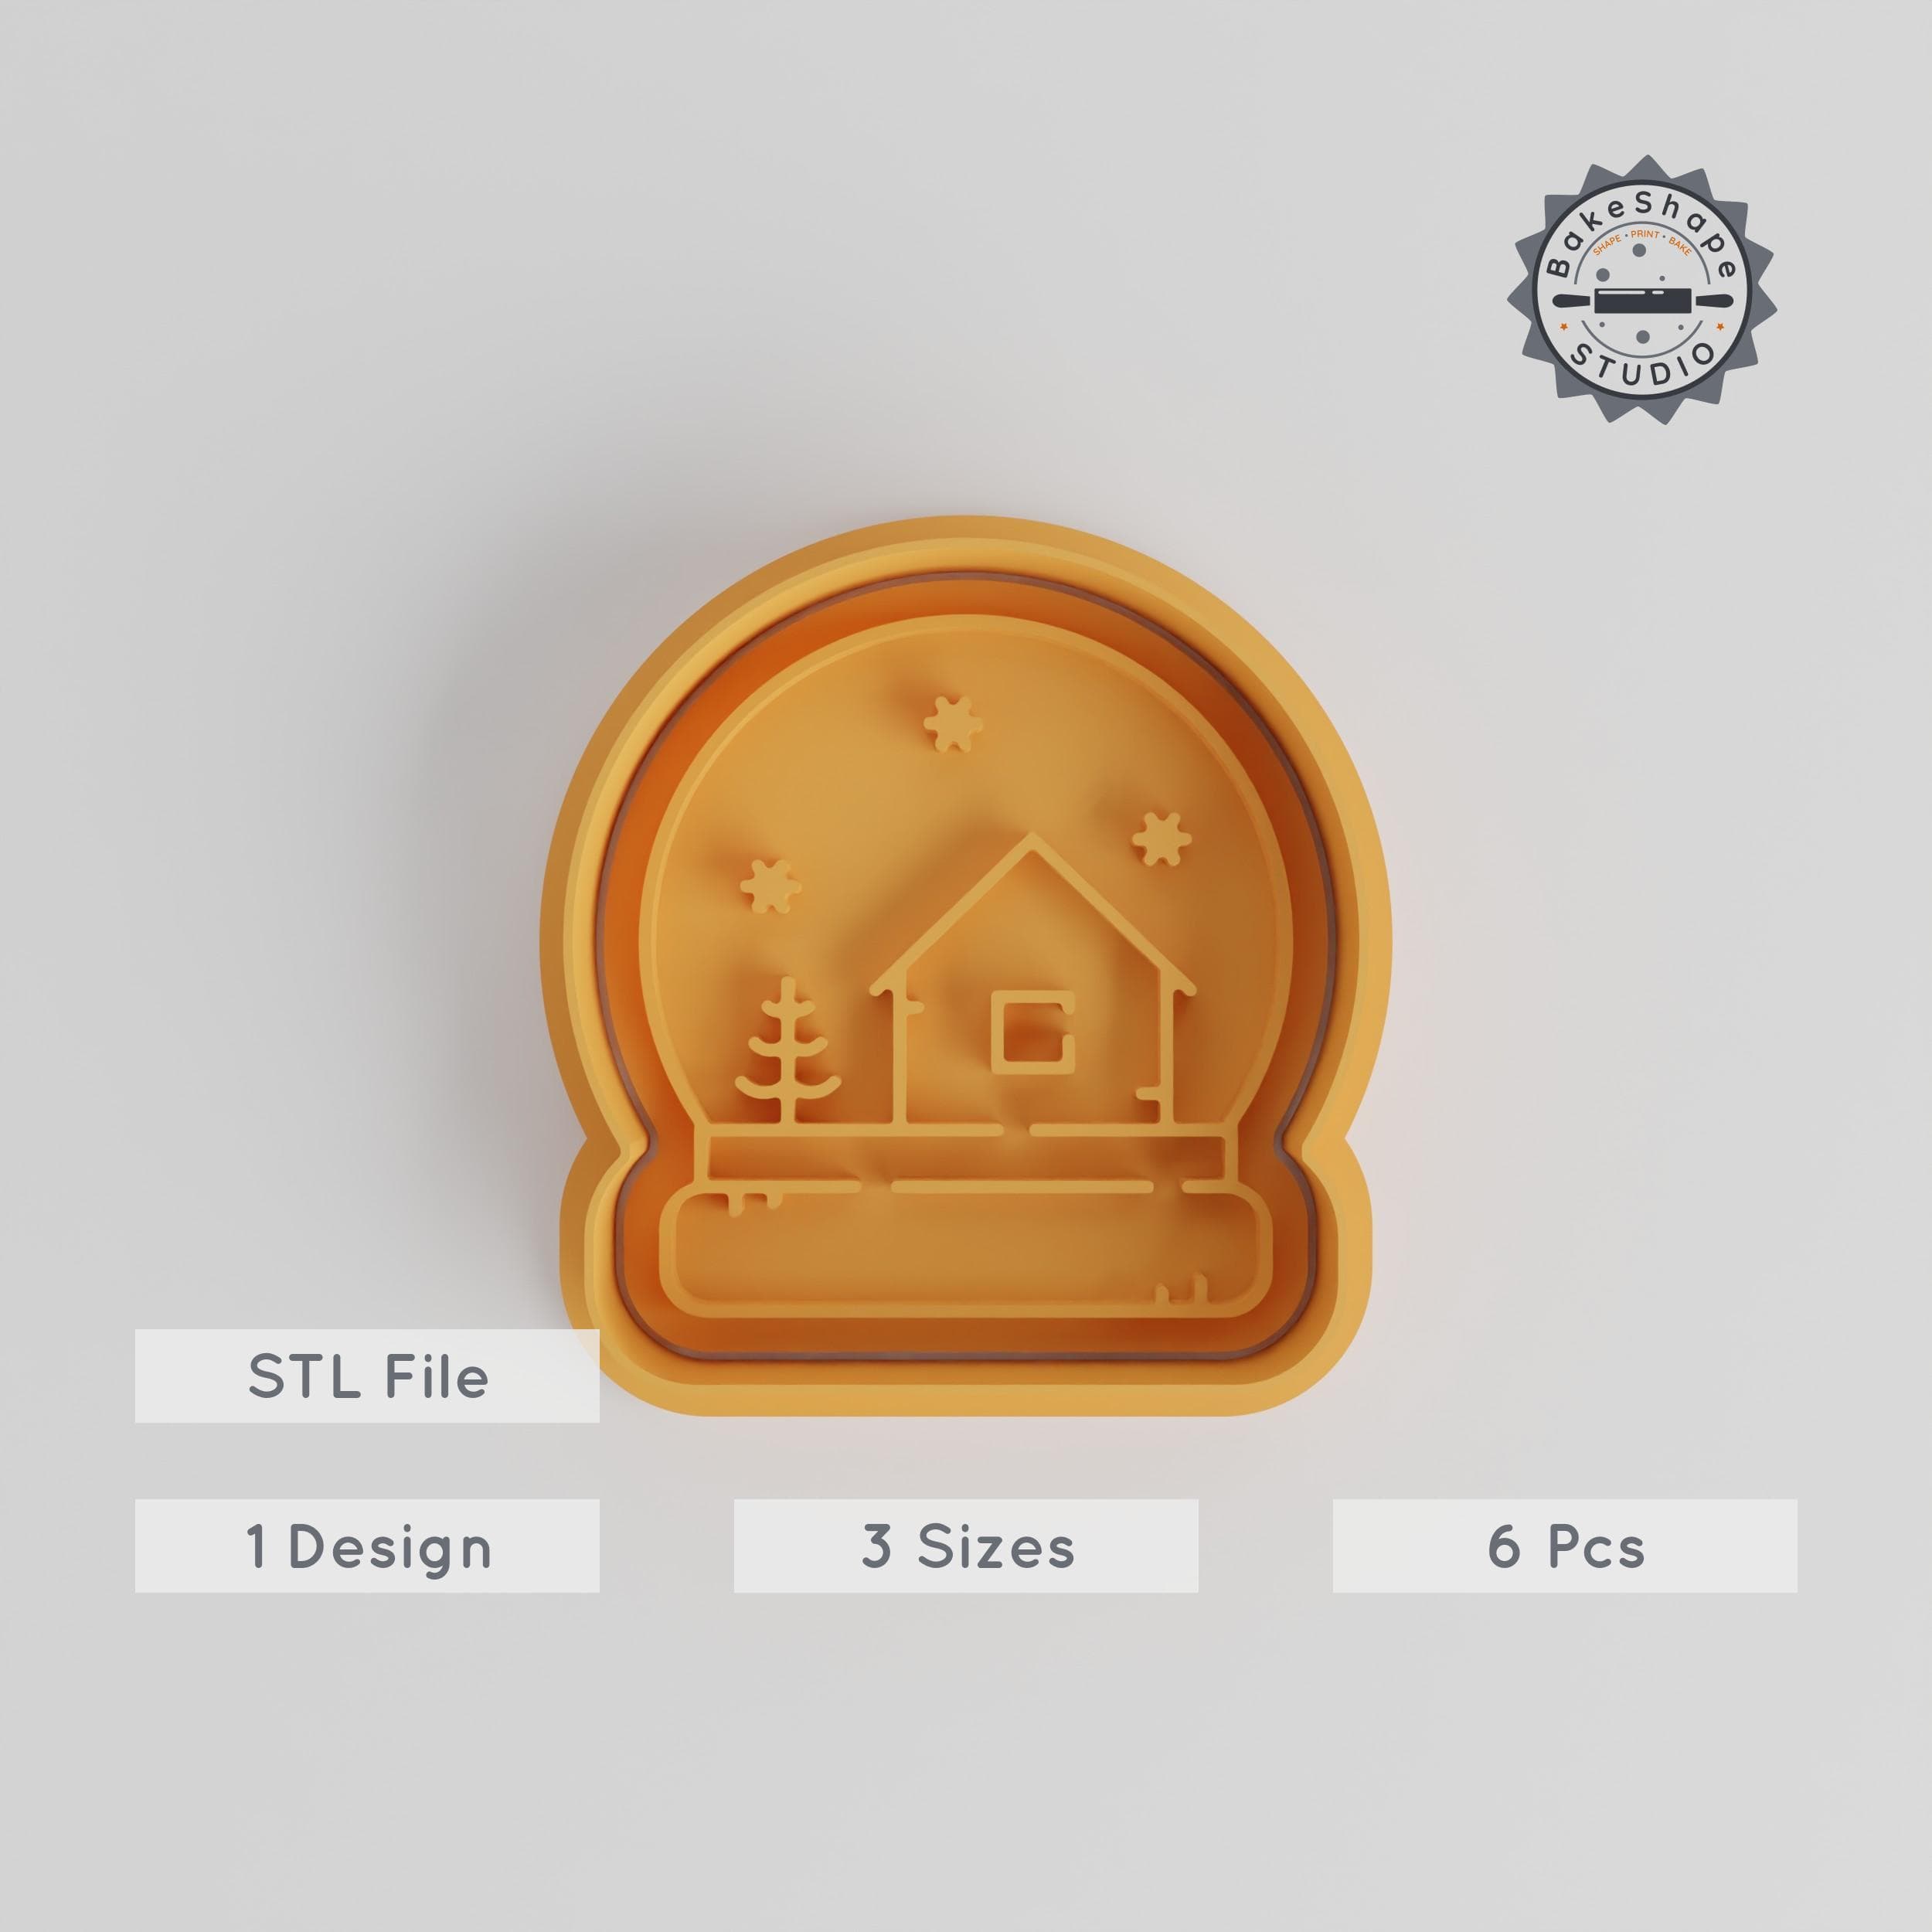
Festive Christmas Ball Cookie Cutter & Stamp Set, Holiday Bauble Baking Tool Pack, Winter Sphere Fondant Decor, 3 Sizes, 6 Pieces PRODUCT_4235

Christmas Ball Stamp Tile Set, 5 Sizes 20-40mm, Ideal for Clay, Cookies & More, Festive Decorative Ornament Winter Craft STL PRODUCT_3816

Christmas Ball Stamp Tile Set, 5 Sizes 20-40mm, Perfect for Clay, Cookies & Fondant PRODUCT_3812

Christmas Ball Stamp Tile Set, 5 Sizes 20-40mm, Perfect for Clay, Cookies & Fondant, Festive Bauble Winter Decoration PRODUCT_3813

Sea of thieves Christmas ball ornament

Christmas Ball Shape Cutter & Stamp Set, Cookie & Fondant Decor, 6 Piece Bundle, Festive Holiday & Winter Decoration, S/M/L Sizes PRODUCT_4232
Christmas Ball Cookie Cutter & Stamp, Festive Ornament Set, Perfect for Cookies & Fondant, 3 Sizes, Xmas, Winter, New Year Decoration PRODUCT_4236

Christmas Ball Shape Cutter Set, 18-Piece, Perfect for Cookies, Fondant & Clay, Festive Ornament in 18 Sizes, Winter & Holiday Decoration PRODUCT_4381

Christmas Ball Shape Cutter & Stamp Set, Festive Bauble Cookie & Fondant Molds, Winter Decoration, 6-Piece Bundle, Sizes S/M/L PRODUCT_4233

Christmas Ball Shape Cutter & Stamp, Festive Bauble Set, Perfect for Cookies & Fondant, S/M/L Sizes, 6-Piece Holiday Baking Tool PRODUCT_4234

Christmas Ball Stamp Tile Set, 5 Sizes, Perfect for Clay, Cookies & Fondant, Holiday Ornament Winter Decoration Mold PRODUCT_3814

Stacked Christmas Tree LED Lamp

TPMS Finial Ornament - Schwarz Diamond

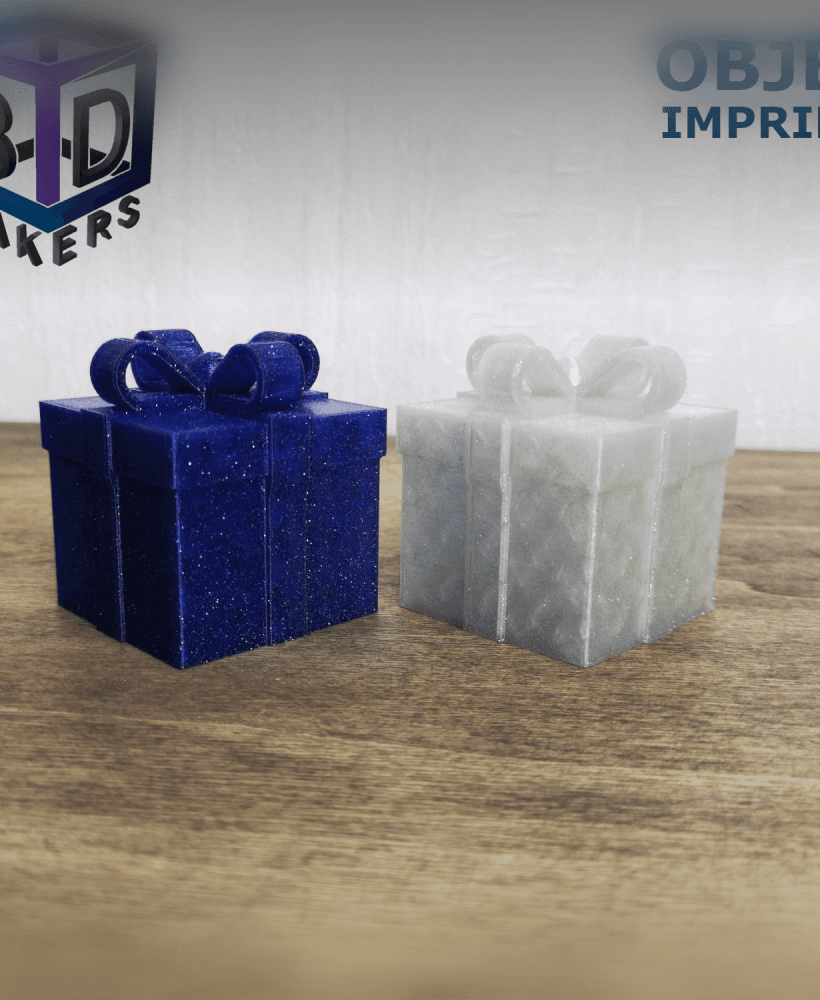
Stackable Christmas Box Set
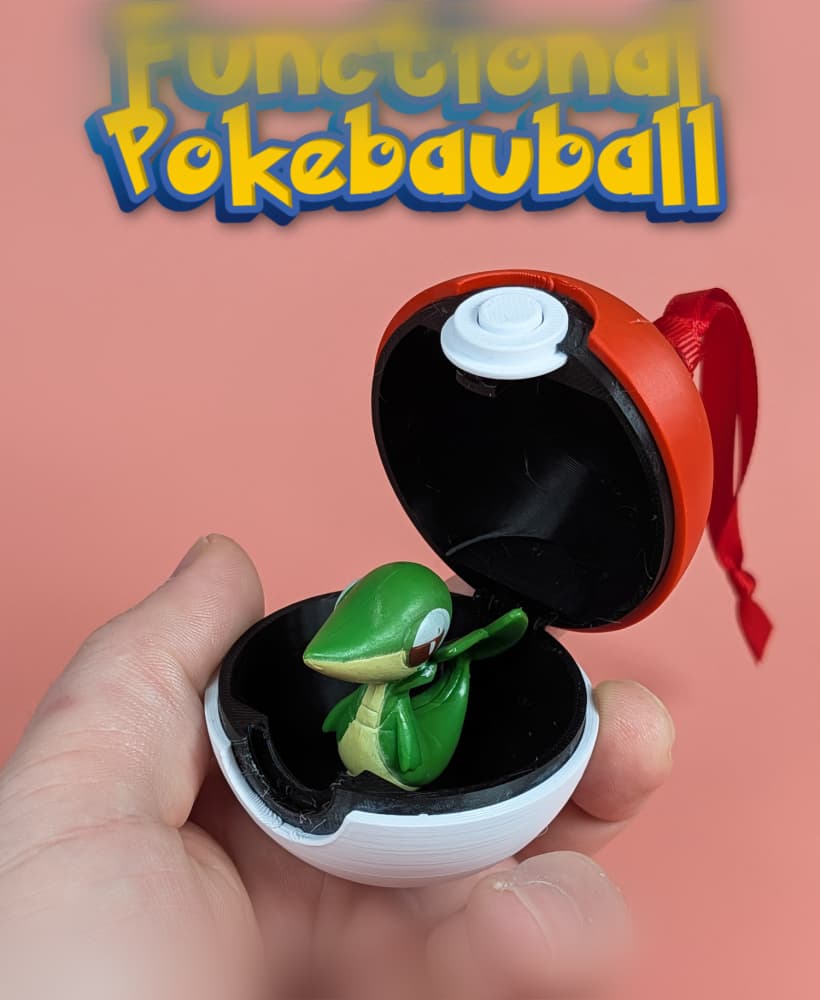
Functional Pokemon Pokebauball
