

.gif&w=256&q=75)

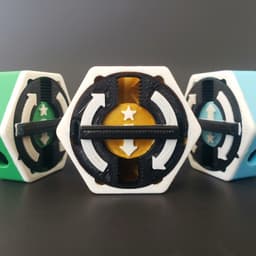
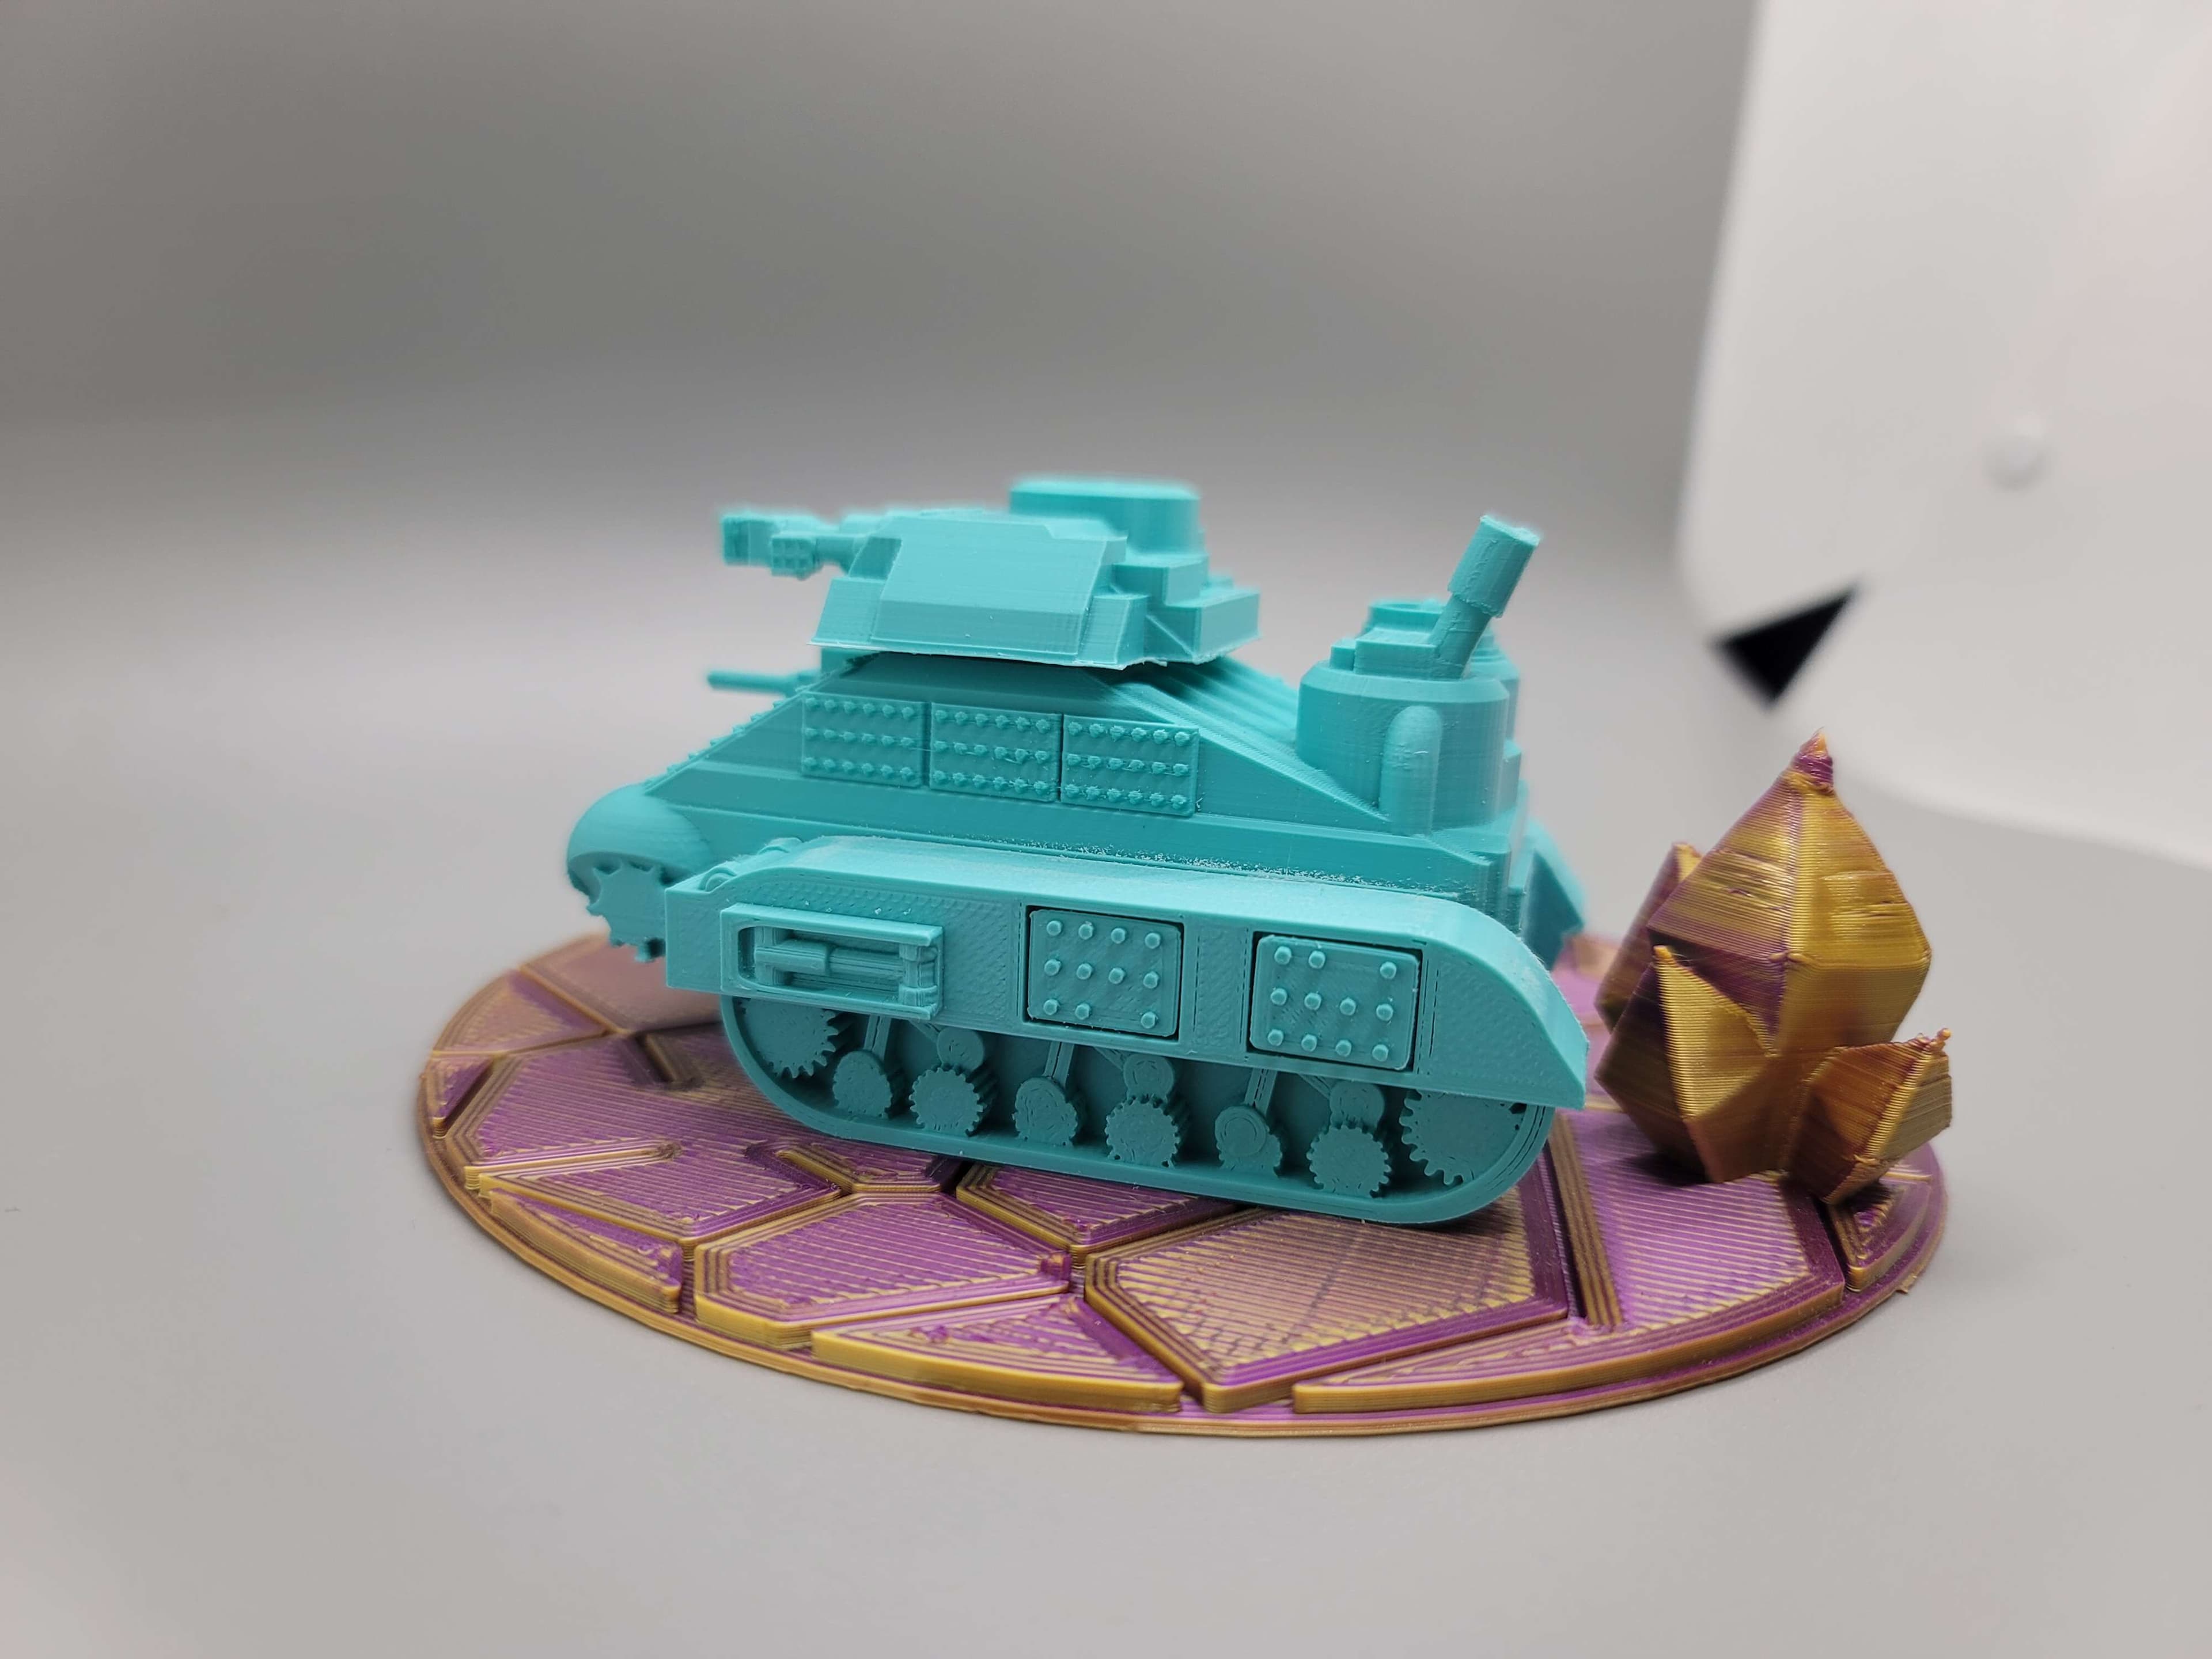
Hextraction Gauss Cannon Spinner
Version 2 has finally dropped! Featuring a new base that works in all orientations, improved geometry of preexisting parts and a new spinner that's fully printable. Don't worry, all V1 parts are interchangeable with V2.
A resettable gauss cannon. It shoots balls out at high speeds. Spin the thing to reload it. It even ejects a ball if there's a jam. Works with both 10mm and 3/8 inch balls. Please be smart and don't shoot/aim this at someone, you could take their eye out!
Rules Card Text Setup: Must orient mechanism as shown. Place a second ball at tip of arrow, if needed. Trigger: Rotate Spinner 180 degrees in direction of side arrows, if able.
Hardware
- Required | One 10x10mm magnet. Or five 10x2 Magnets, which are also used for the Zoidberg Tile. Any stack of thinner magnets equaling 10mm long will work, but will be a weaker launch compared to a single.
- Recommended | Grease. I used white lithium, but any plastic safe one will work.
- Optional | Two springs (16mm long x 4mmØ). These springs are from cheap disposable click pens found at my local superstore. PaperMate InkJoy 100RT 1.0 M. Wasteful? Yes, but they're the cheapest way to get springs this size that I'm aware of.
- Optional | Two 5mm steel balls. They provide a smoother rotation than the Pins. These are the same used in the Shrink Ray Tile.
Variants Bases
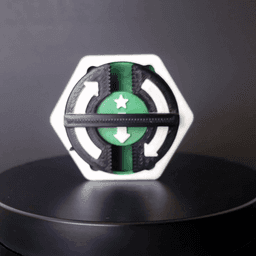
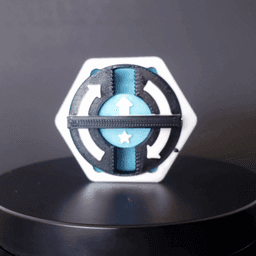
- Up (Blue) and Down (Green)provide ejected balls pathing ball back onto the board, but come with only 3 notches. Each have clockwise and counterclockwise variants. You'll have to print all 4 to have total coverage.
- Drop (Gold) comes with all 6 notches but ejects balls out the floor of the tile into the gutter. Recommended to print Drop.
Spinners
- SpinnerMetal is assembled with two metal springs salvaged from cheap pens and two 5mm steel balls. It's smooth and accurate, but more expensive.
- SpinnerPrinted is assembled with only two 3D printed springs. Turning is somewhat grindy and there might be misalignment if there's over-rotation, but it's basically free.
Printing / Assembly Instructions Designed for PLA. Print the Spinner with supports touching build pate. Everything else doesn't need them. On the bases, color layer change at the arrow then the triangle (eject path indicator.) On the Spinner, color layer change at the arrows. Recommend to print the base variants in different colors for Up, Down and Drop.
If video instructions are your thing, watch this https://youtu.be/z8v5g9NyBh0?si=S2Lh2hlcpdZjzq7H&t=113. Even though it's a Gravitrax video, mine is heavily based on this design and the assembly process is basically the same just different parts.
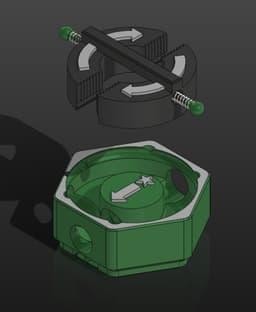
- Insert the magnet(s) on the star side. Insert a ball on the center arrow side. When assembled, it should rattle when shaken.
- Grease the Pin-track inside the tile with a swab.
- SpinnerPrinted: Place 2 PrintedSprings into the spinner's side slots, alternating orientation. | SpinnerMetal: Insert 2 springs into the spinner's side holes, then the Pins or 5mm balls inside the springs.
- Compress the spinner and insert into the Base through the corners. The spinner should click and lock every 180 degrees.
- Disassembly: Remember this thing is spring loaded! Rotate the spinner 60 degrees, cover it with your hand so the springs don't go flying, look away, then pull up the spinner.


Hextraction Gauss Cannon Spinner
_1.jpg&w=3840&q=75)
Snowflake Fidget Spinner (Classic Decorated)
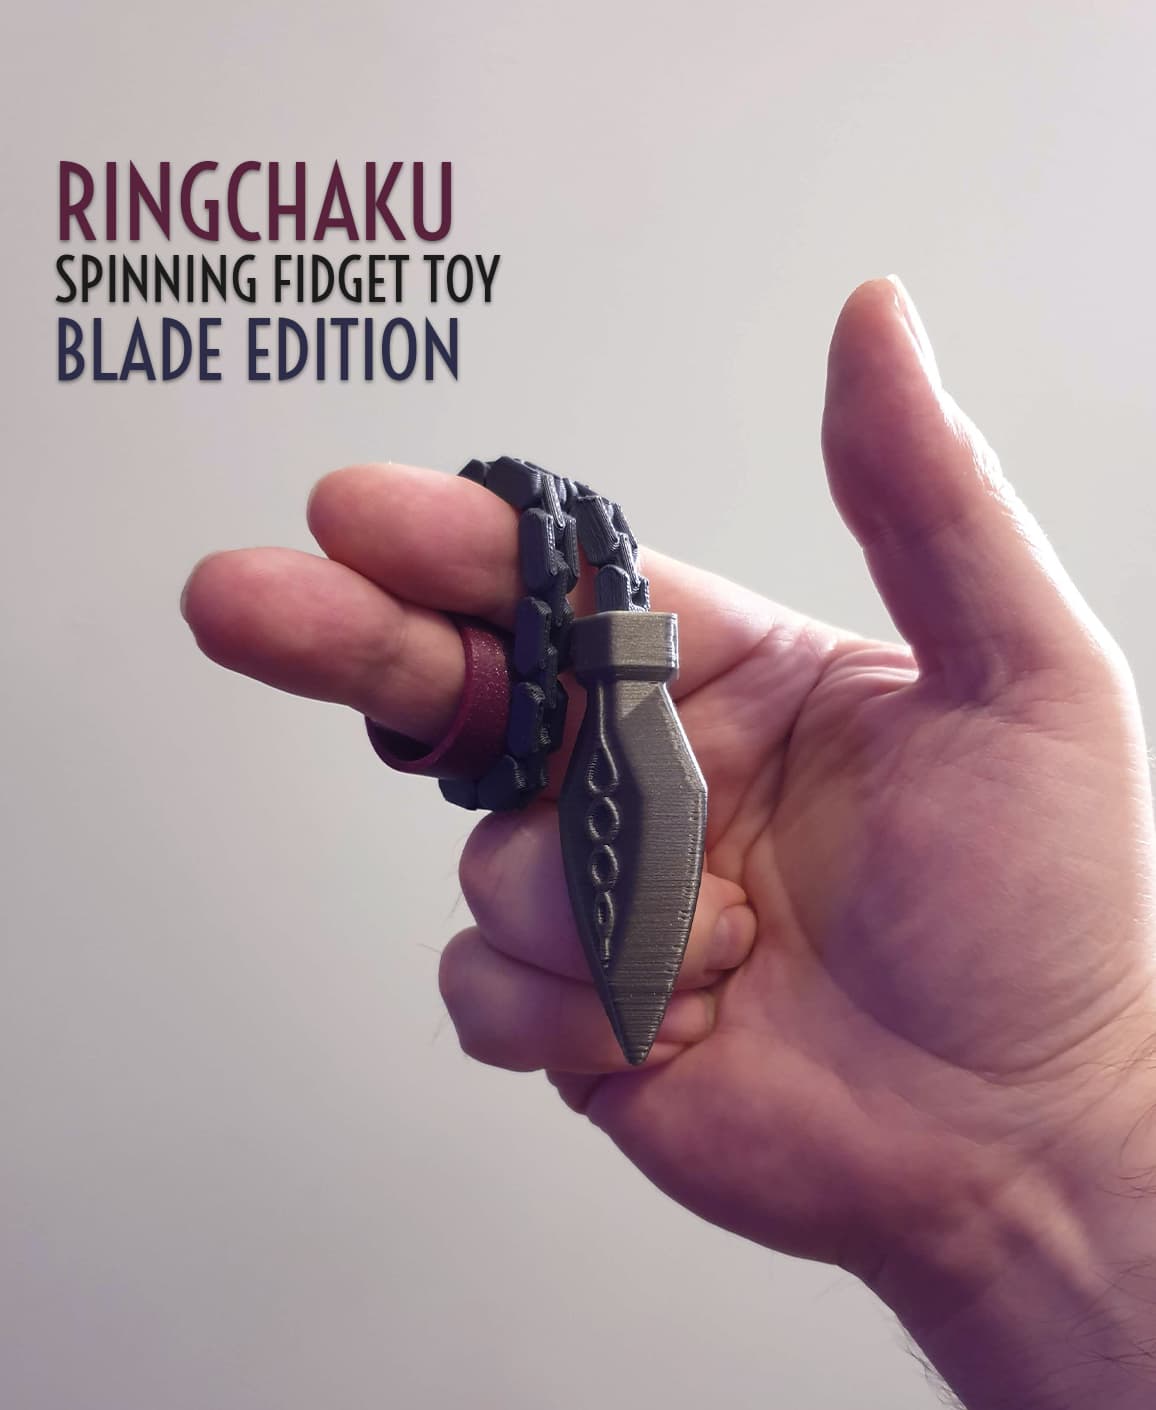
Ringchaku Spinning Fidget Toy - Blade Edition

AS-62 Anti-Stress Mine — Fidget clicker & spinner
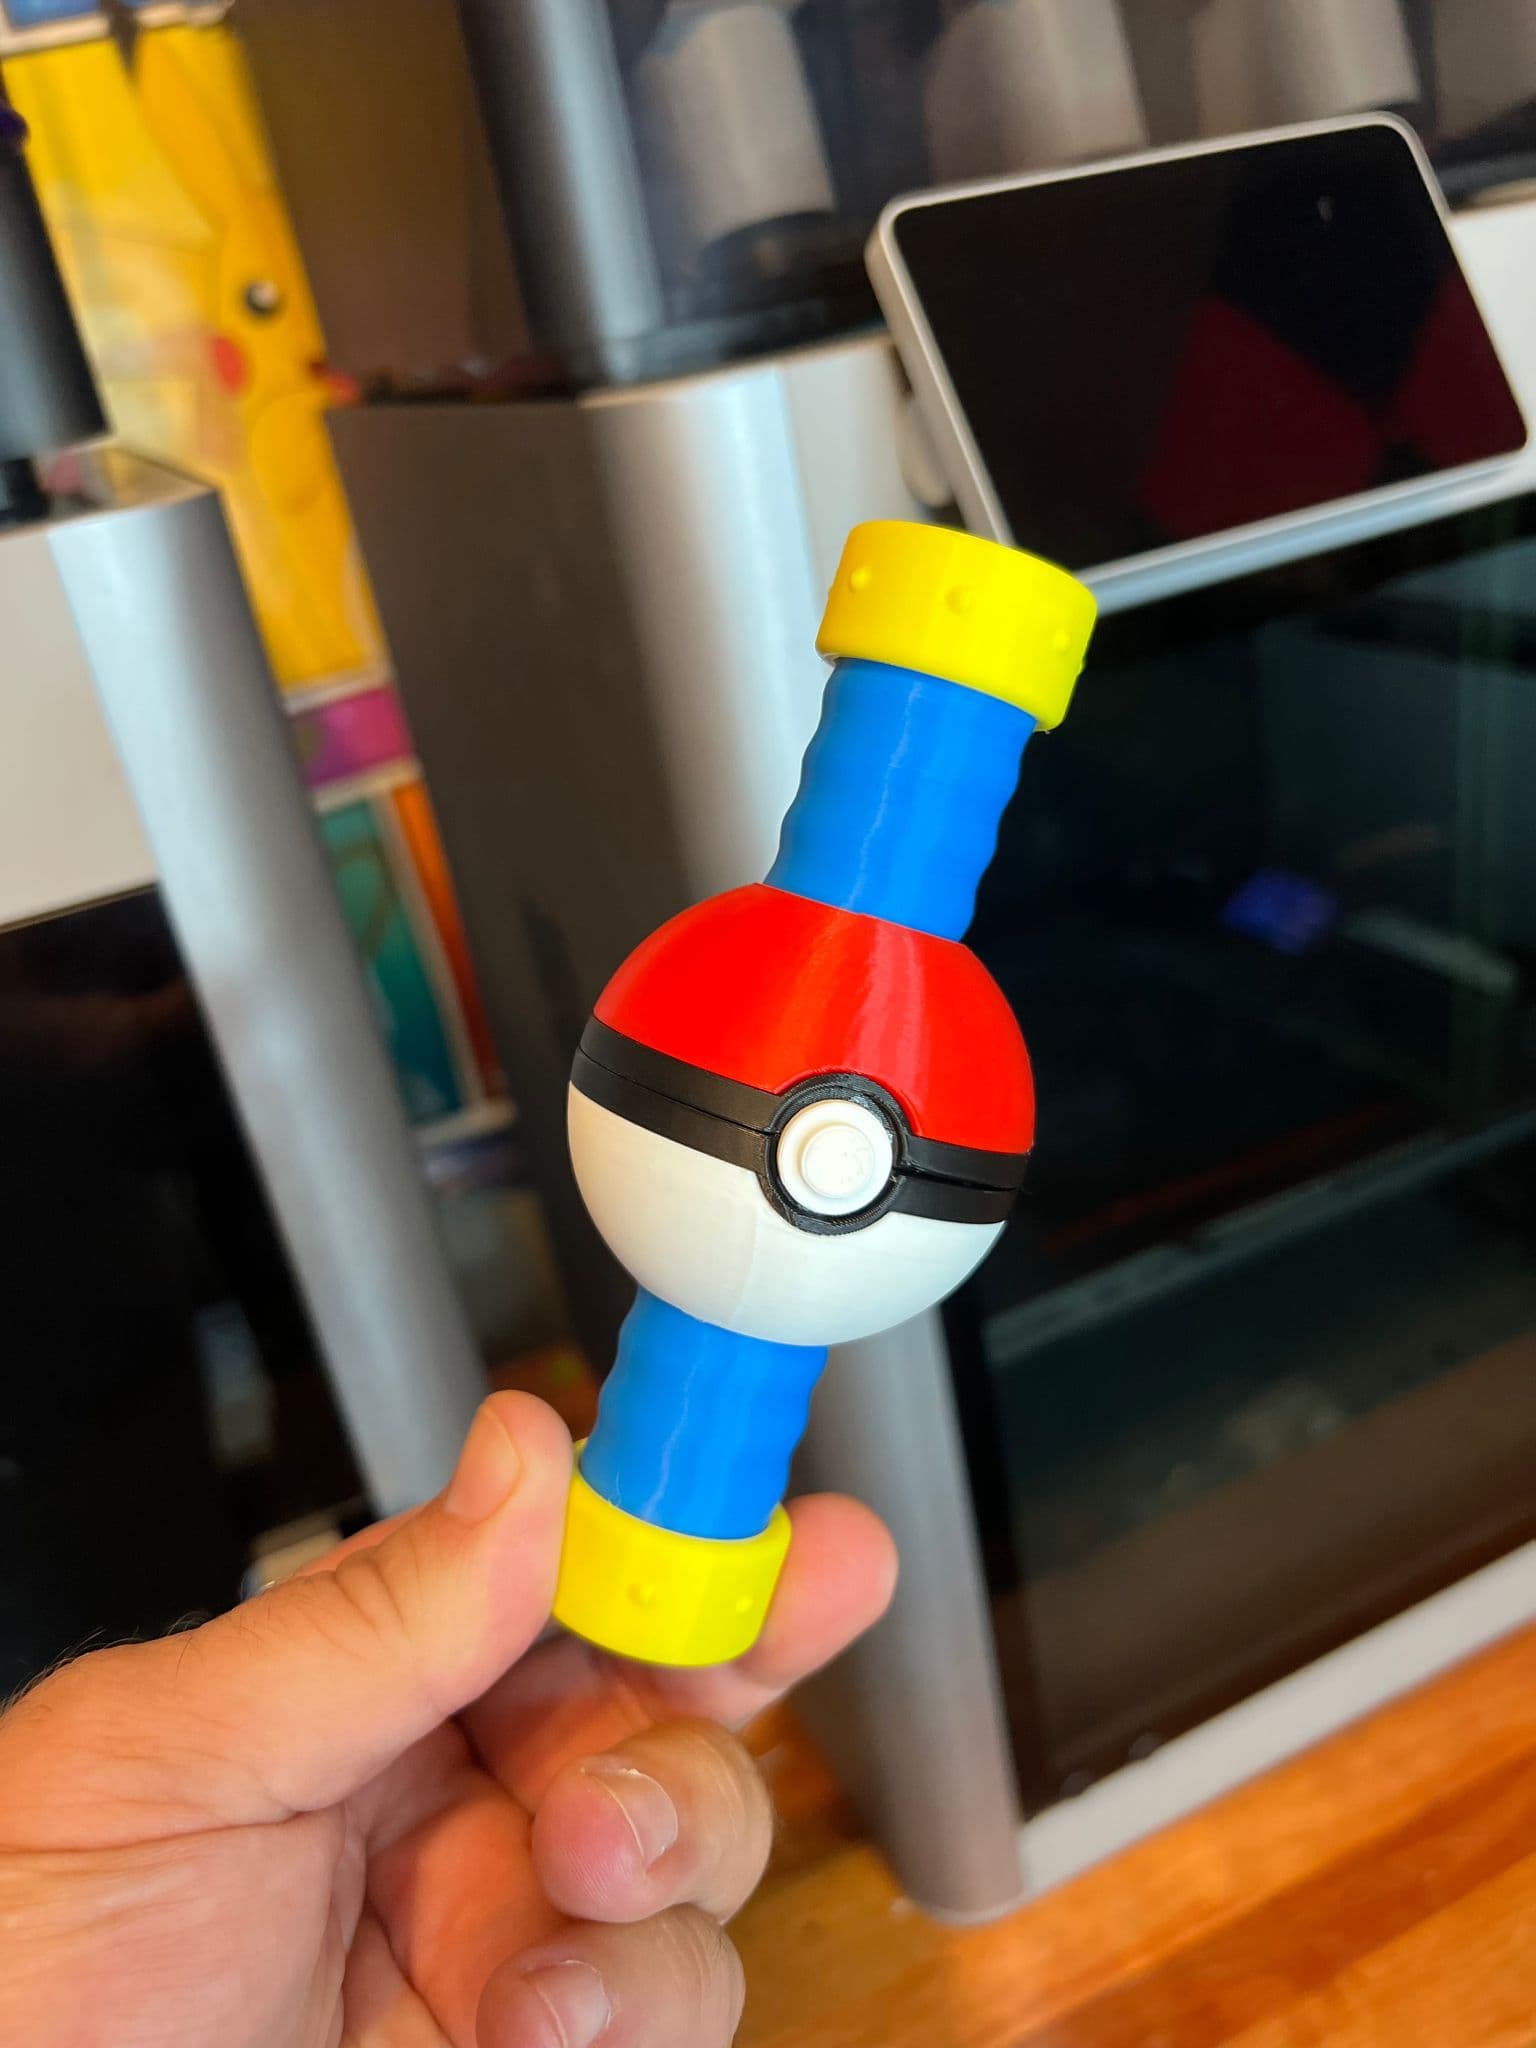
Pokeball Fidget Spinner

M3D - Butterfly Spinner
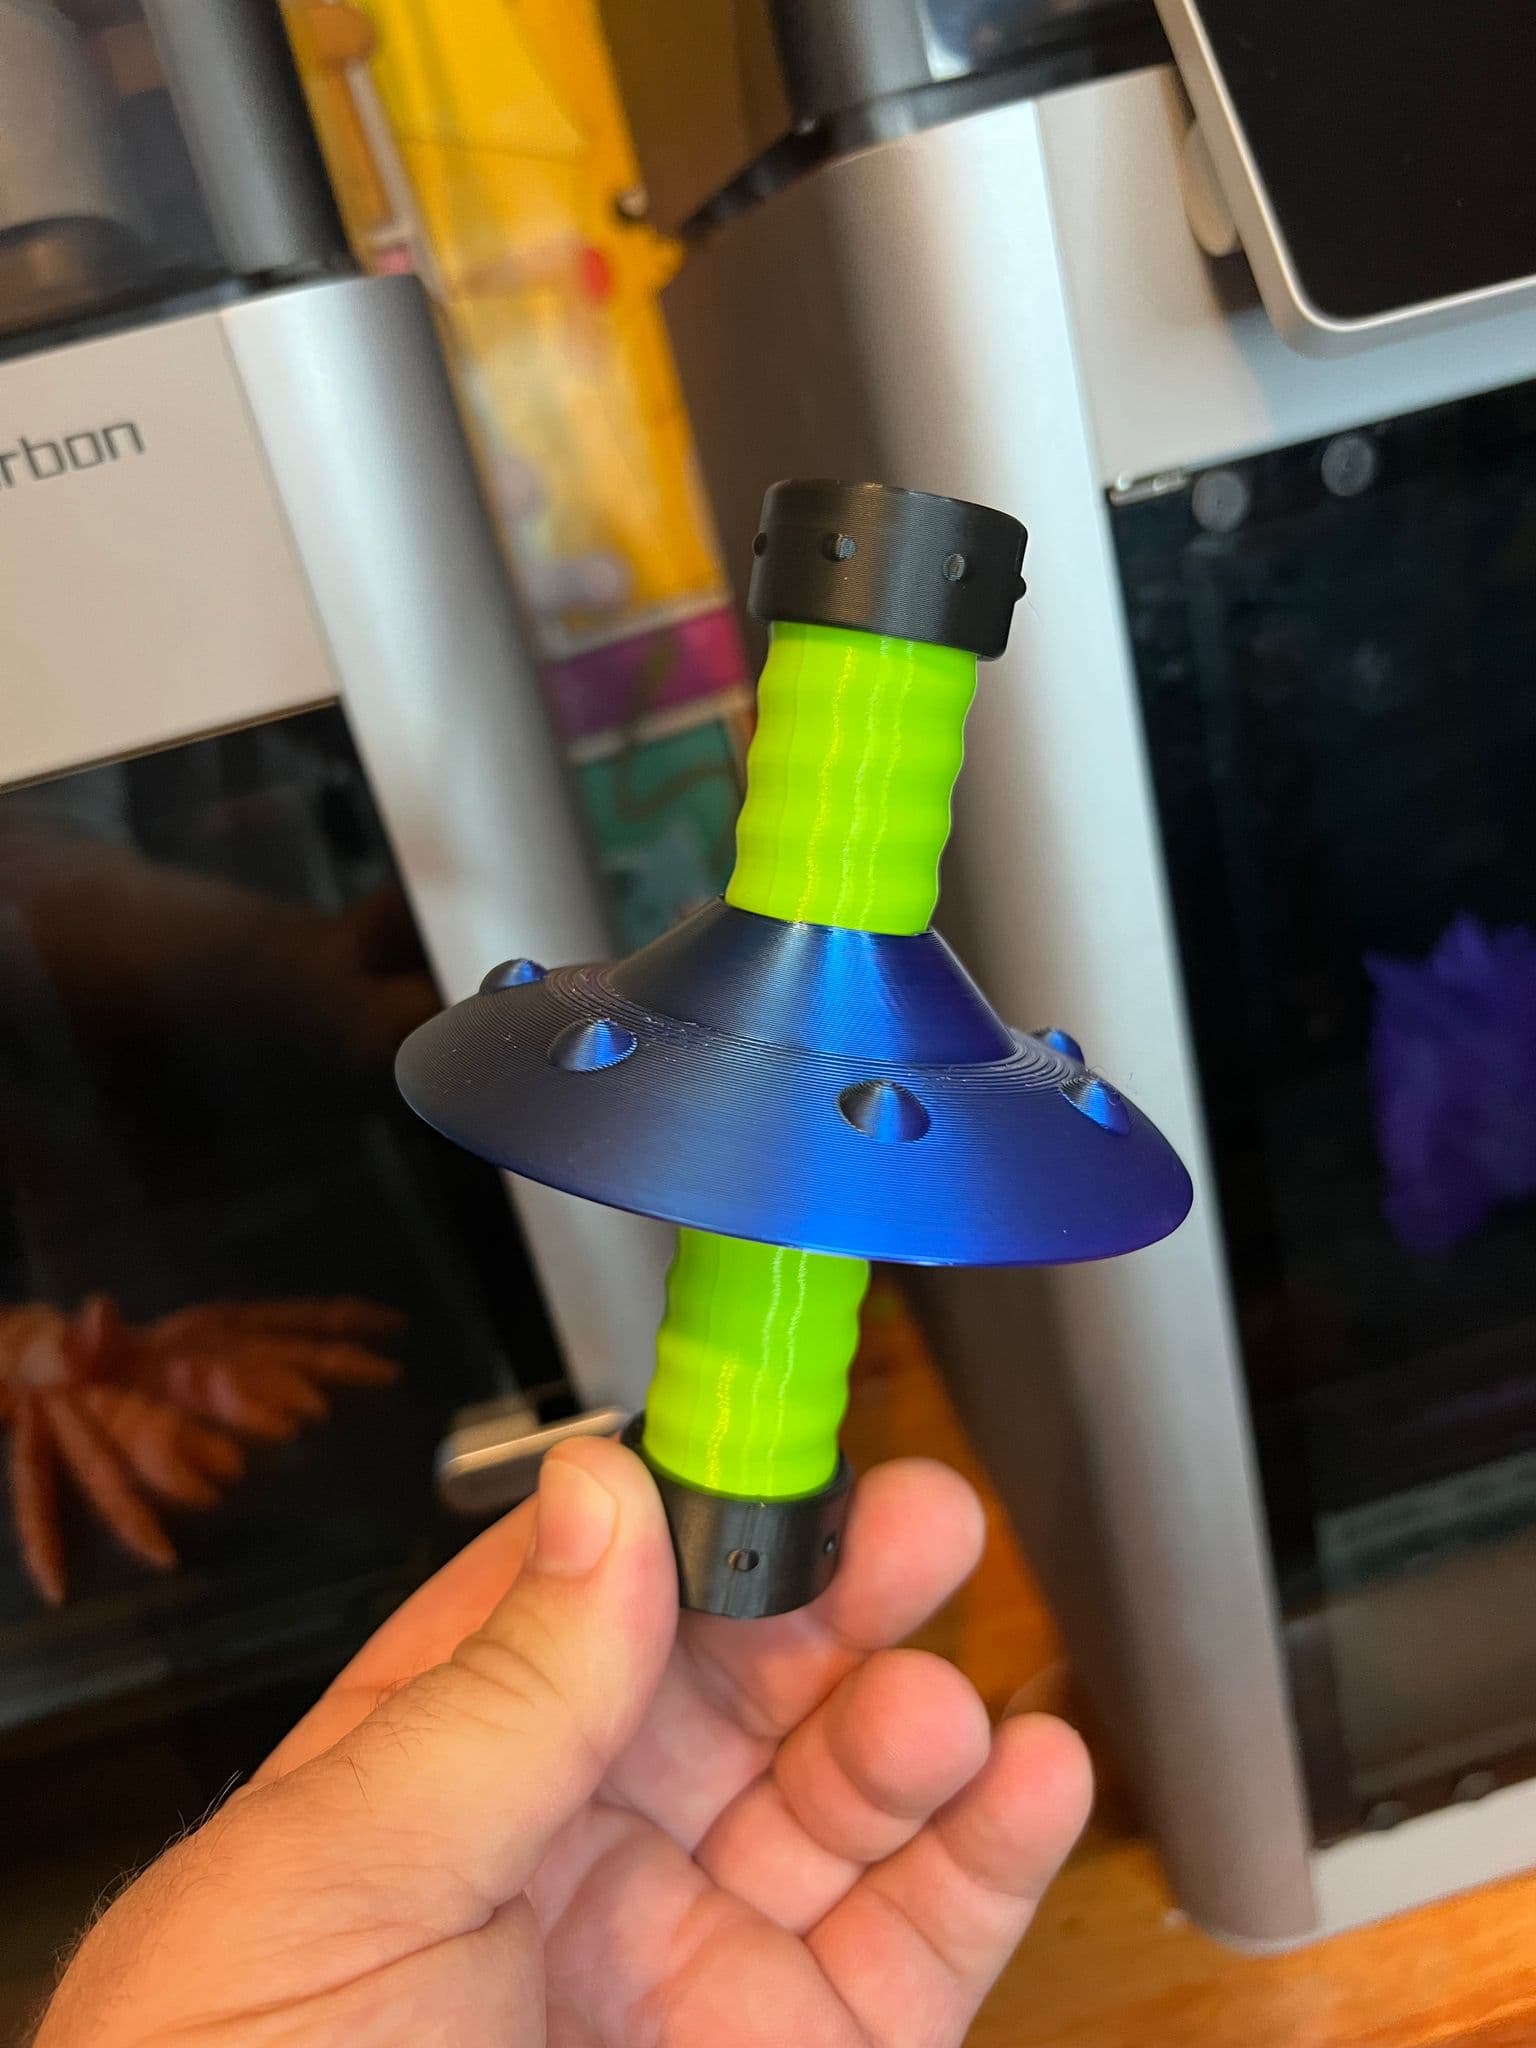
Flying Saucer Fidget Spinner
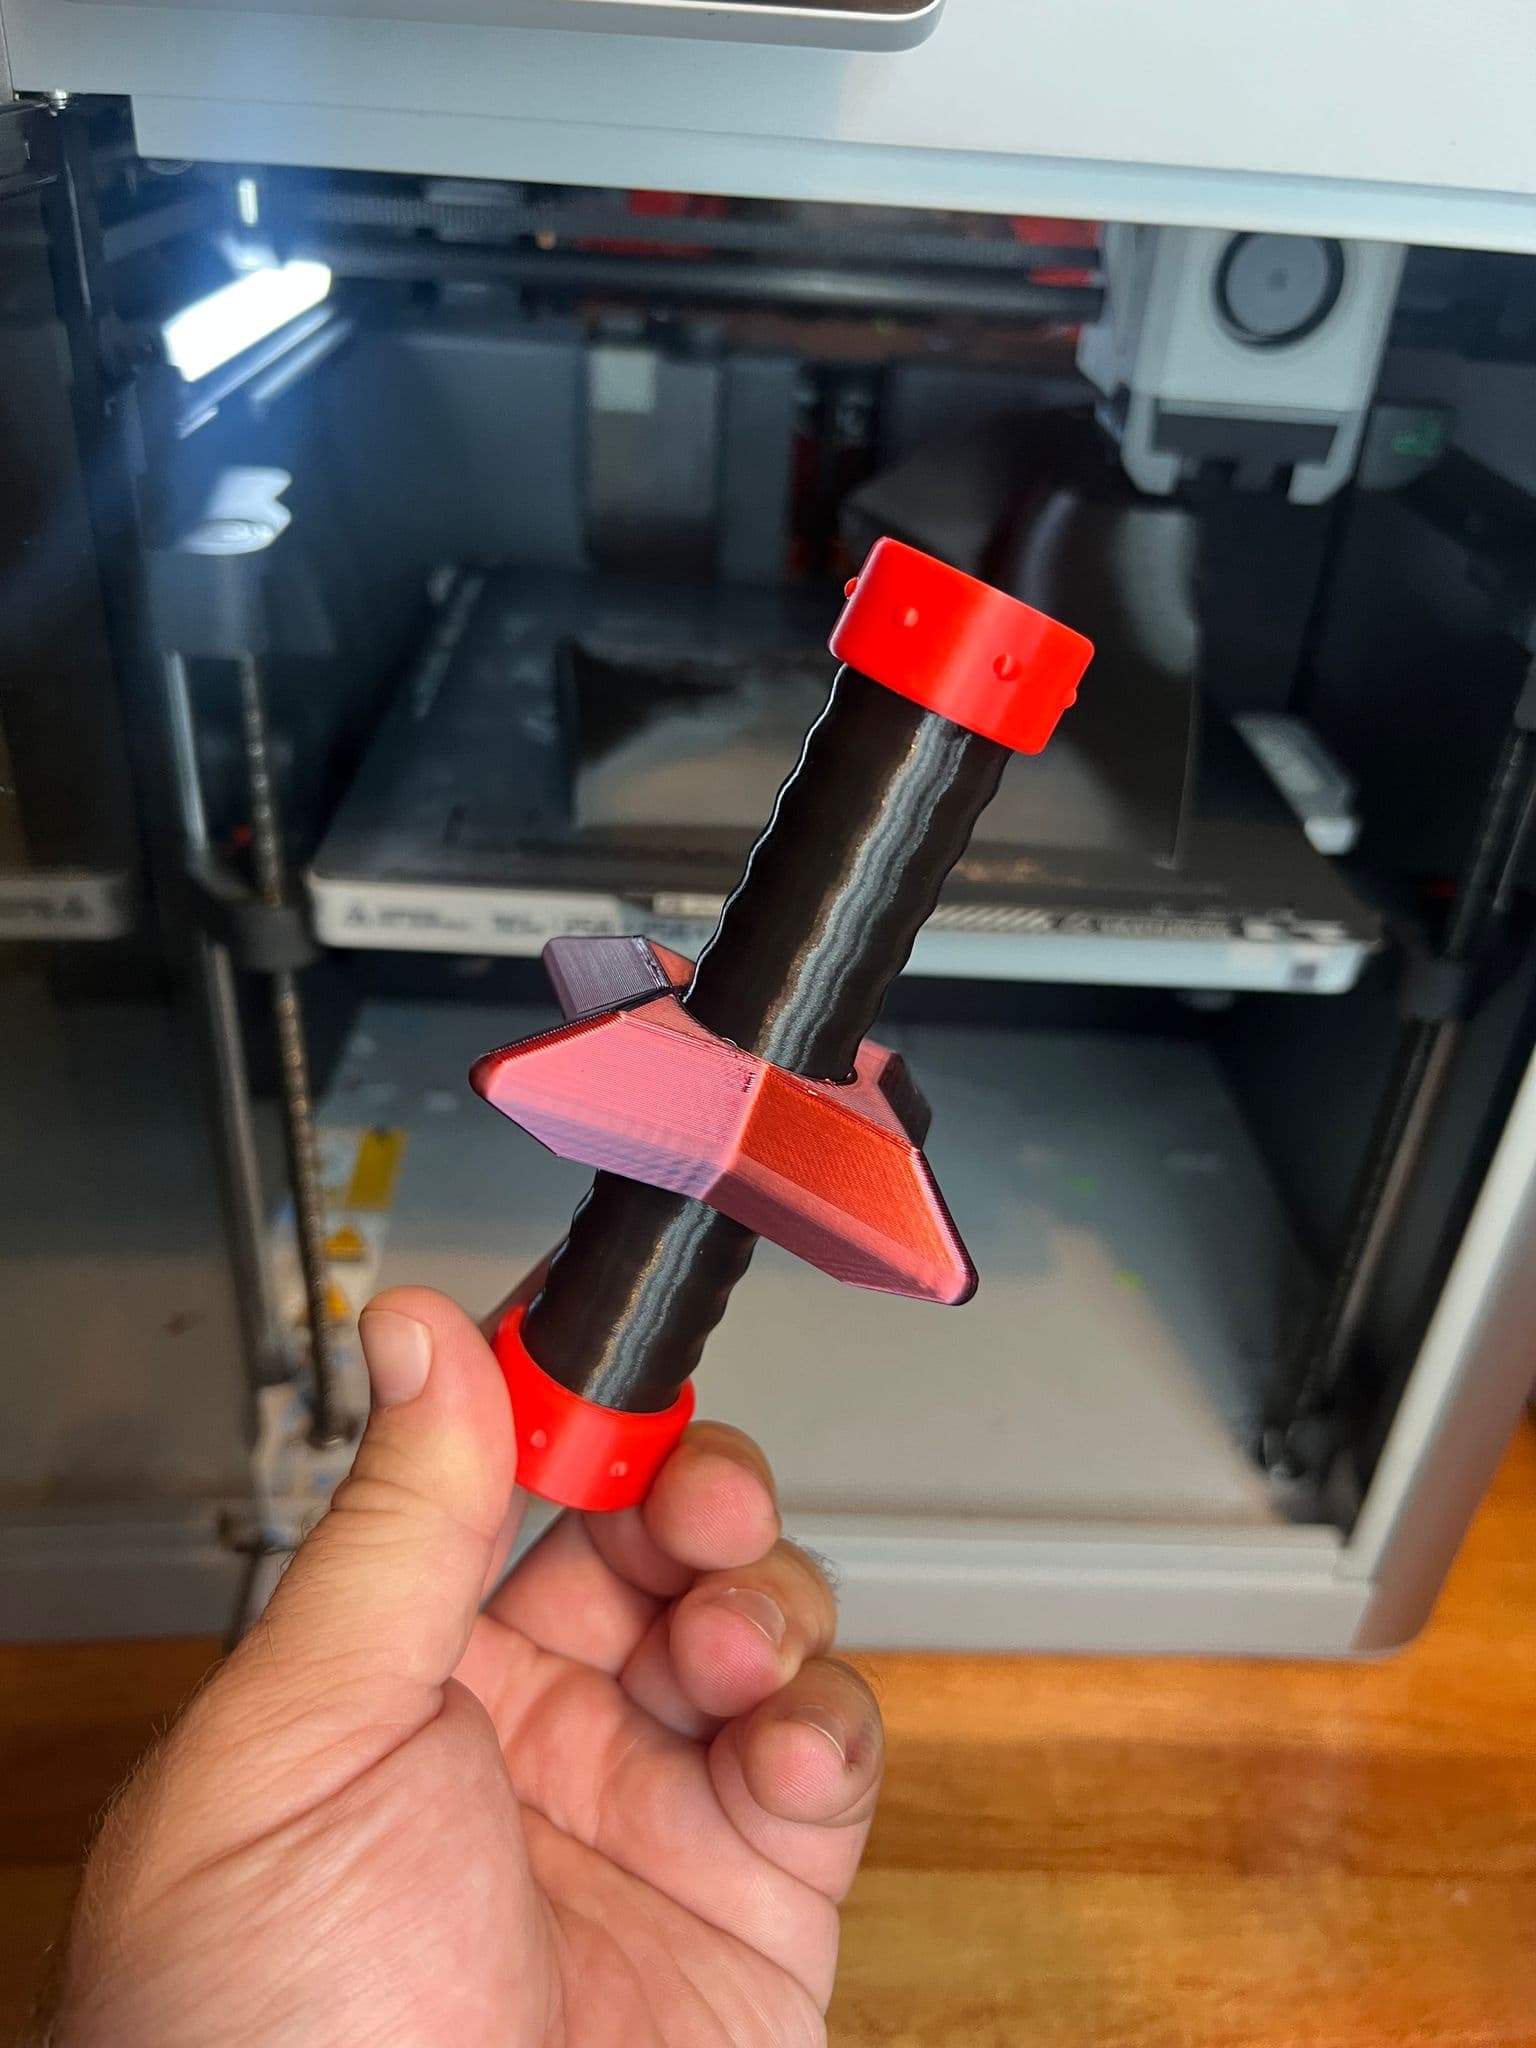
Ninja Star Spinner
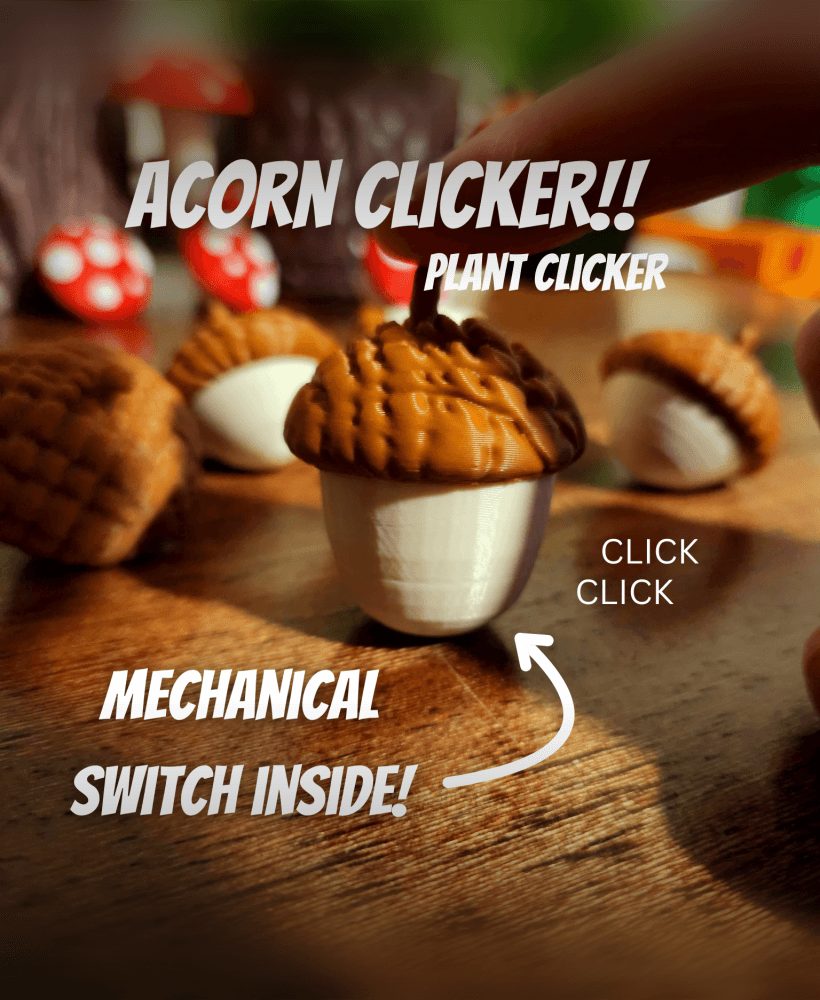
Acorn Clicker!!
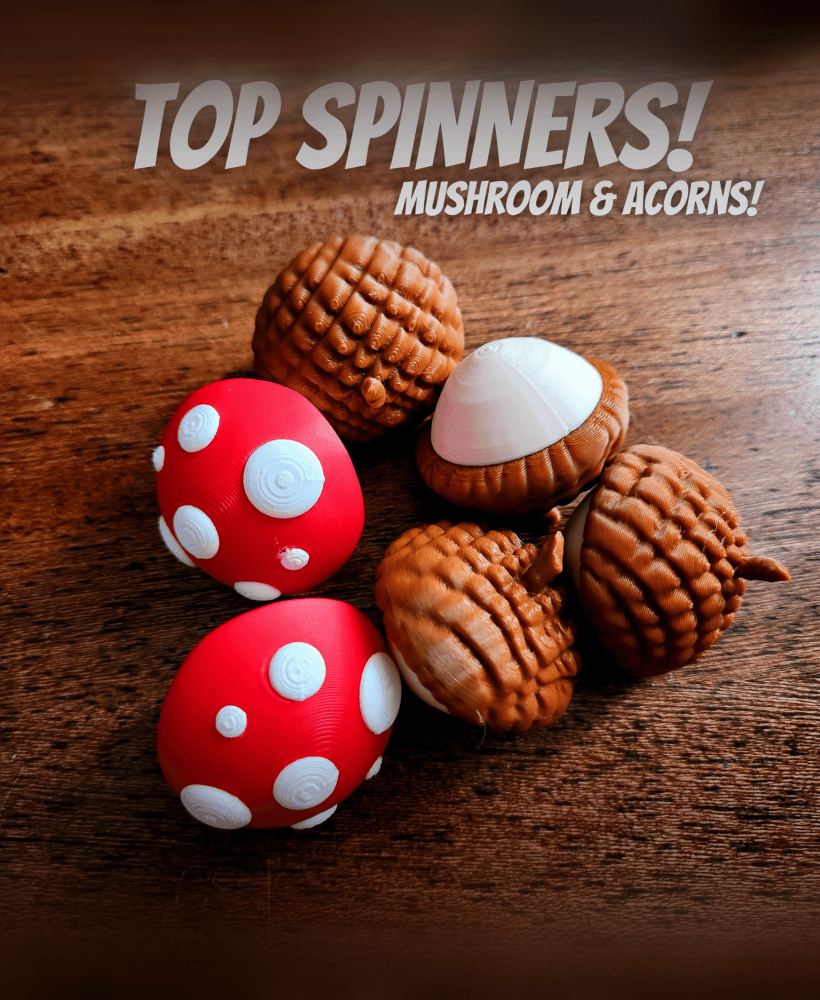
Mushroom and Acorn top spinners!
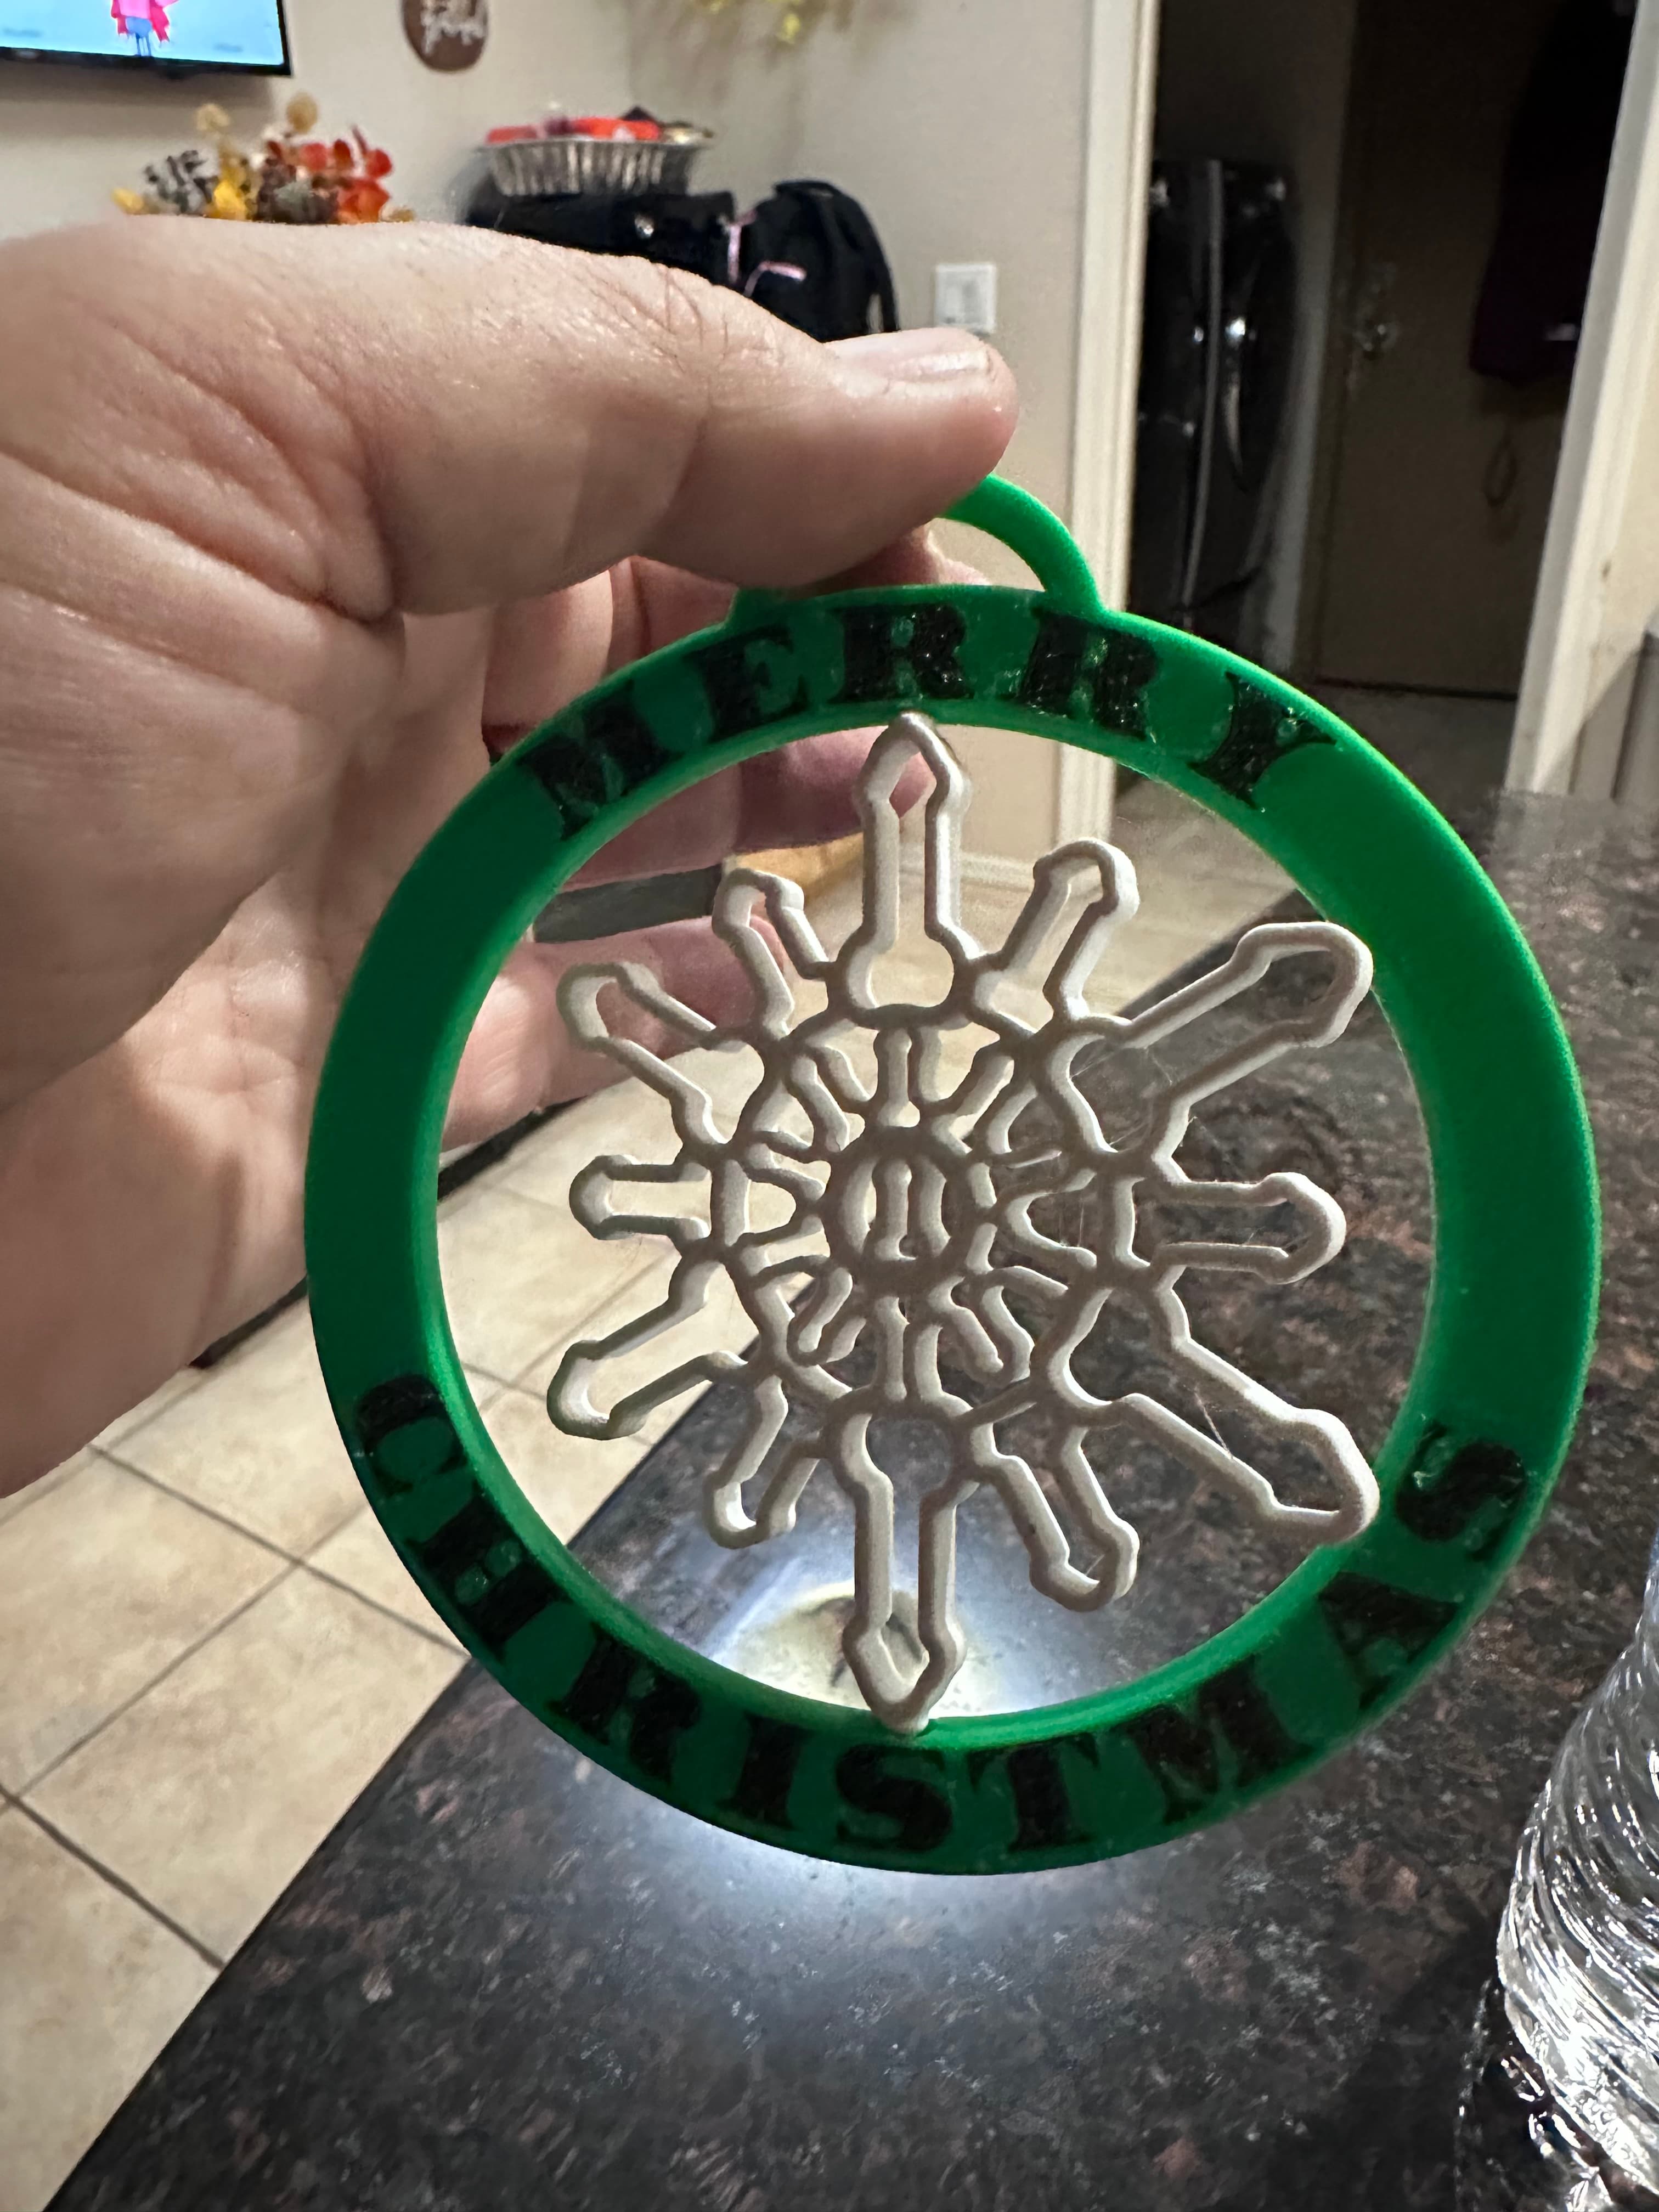
Snowflake, Dong, Ornament, Print in Place, Articulated, SPINNER, Christmas Tree

Fidget Cat Spinner

FHW: Mobile Tunnel Rat Cannon (BoD)
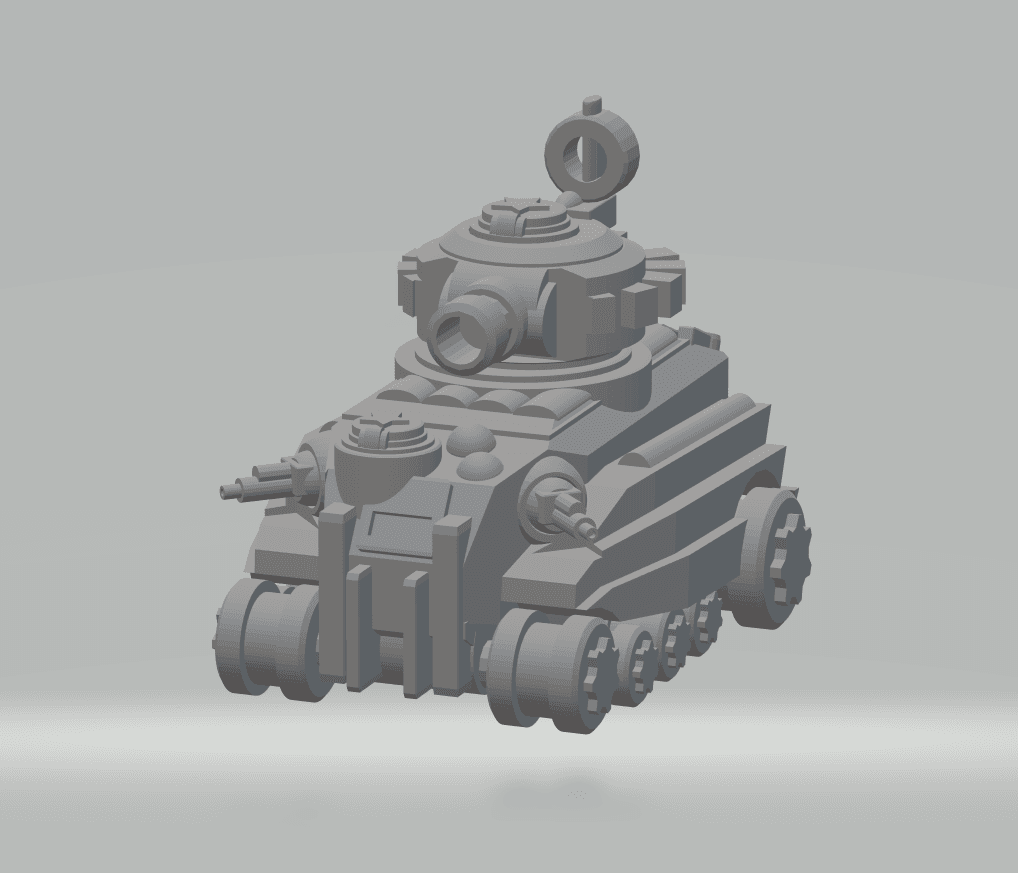
FHW Mortis Corps The Brute Tank
FHW Stellar Coalition Corps Sherman Tank
FHW: Lumerain Stingray Light Tank
FHW Aetherian Hornet Heavy Weapon Drone Set
FHW Stellar Coalition Corps Astro Sentinels Trooper with Zappa
FHW: Stellar Coalition Corps Sherman Heavy Cannon
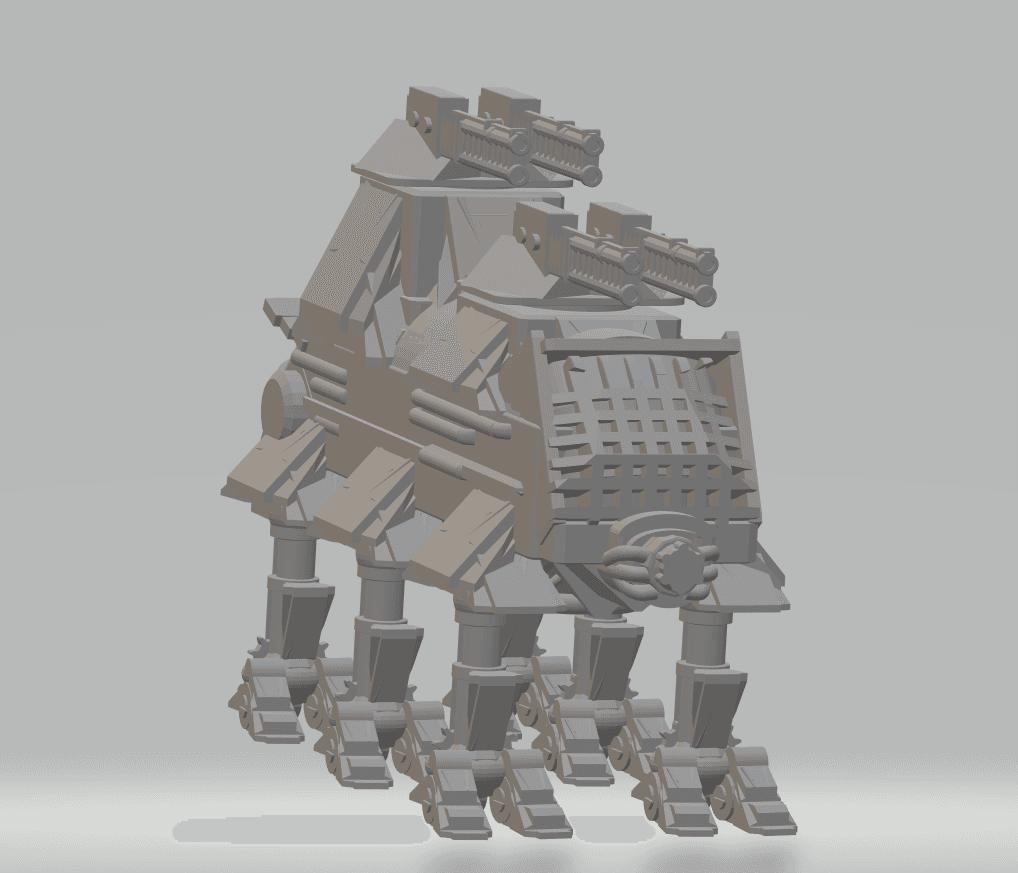
FHW: Laxoit heavy walker Prototype
