


6x6 Legacy Tiles - 3x3 Board - Ironing Stack
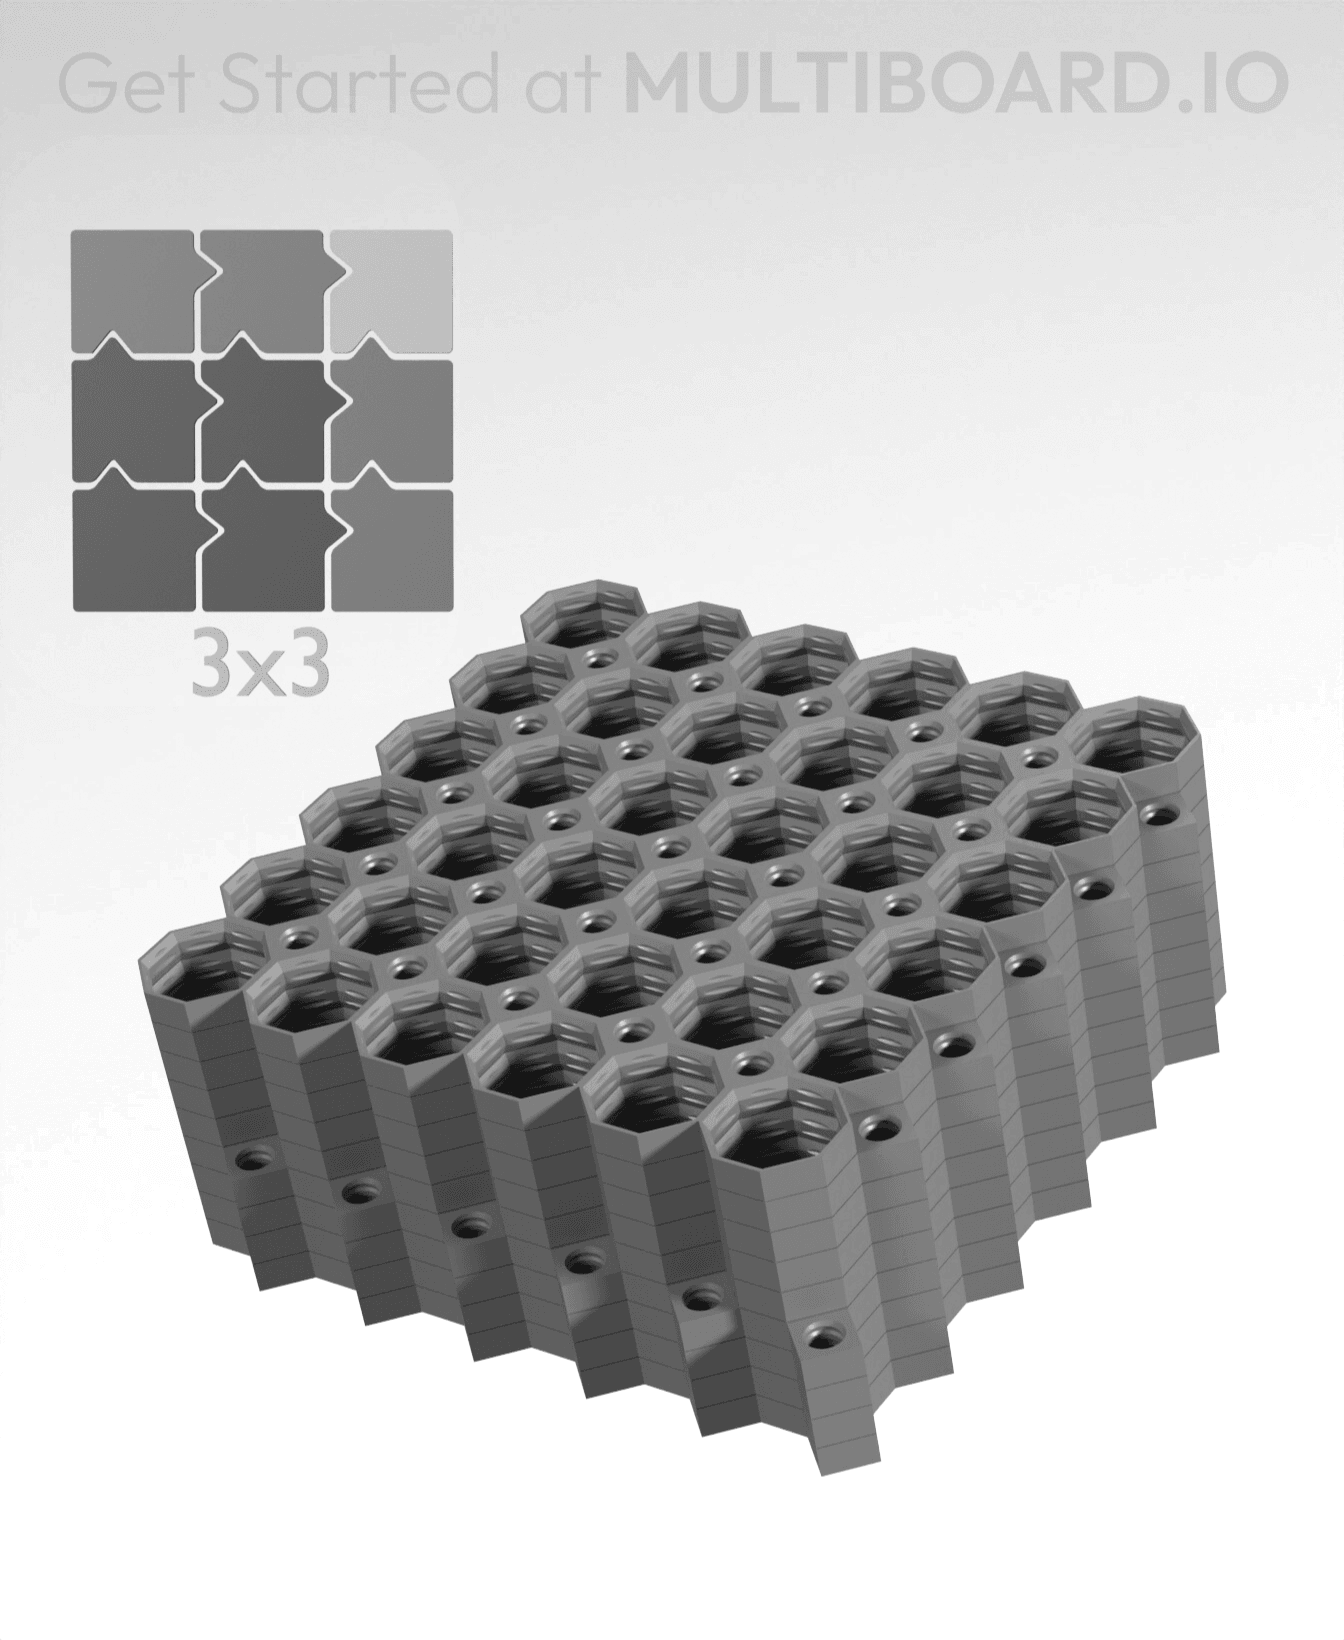
This stack creates a 3x3 Board that is 450x450 mm or 17.7x17.7 inches.
The stack is made of 4 Core Tiles, 4 Side Tiles, and 1 Corner Tile. Each Tile is a 6x6 (approximately 150x150 mm).
The Tile layout is as shown in the images.
These Tiles can be mounted to the wall using these pre-made mounting packs:
- 3x3 Board - Offset Snaps - Screw-On Mounting Pack
- 3x3 Board - Offset Snaps - Command Strip Mounting Pack
Learn about other mounting options at https://multiboard.io/knowledge-hub
Printing Guidelines
Stack Prints are parts that are printed on top of each other. This stack print uses the "Ironing" method, click here to watch a video tutorial about it.
The printing orientation is as provided in the file. Make sure the downloaded files are .STL.
Printer Settings: Turn on "ironing" for top surfaces. Set seam position to "random" for more strength (optional). Use 3 perimeter wall thickness, 0.2 mm layer height, 15% infill, and no supports. Apart from that, use your printer's default settings.
Also, keep in mind that one side of the tiles aren’t going to come out as nice as printing individually (in case you want to use them double-sided).
Test out Ironing Stack Printing using this test file: https://than.gs/m/977033
If Ironing Stack Printing doesn't work for you, then try out Multi-Material Stack Printing.
For more information about printing options and guidelines, click here.
This object is part of Multiboard, a FREE and ridiculously modular organization system with thousands of parts for creating the most adaptable workspace possible. Learn more and find ALL the parts at https://multiboard.io

6x6 Legacy Tiles - 3x3 Board - Ironing Stack

Legacy of Iron Man - EDITH Glasses Stand
.jpg&w=3840&q=75)
F1 T-Shirt Transfer

Kitty Cutter v2 - Cardboard Cutter for Cat Scratchers
Patrolman 101

Tsugite Cube 3x3 Puzzle (Version A)
Creepy Dice Tower!

Iron Fist Alexander -Elden Ring

Magnet-ready Wargaming bases

Frame Lamp - in Multiple Options

STRING-FLEX - CUSTOMIZABLE CHARACTERS KEYCHAIN - VALENTINE'S DAY VERSION

Iron Man Punisher Helmet

Premium DIY Refillable Cat Scratcher Boxes

Alphabet Board Game - BackToSchool
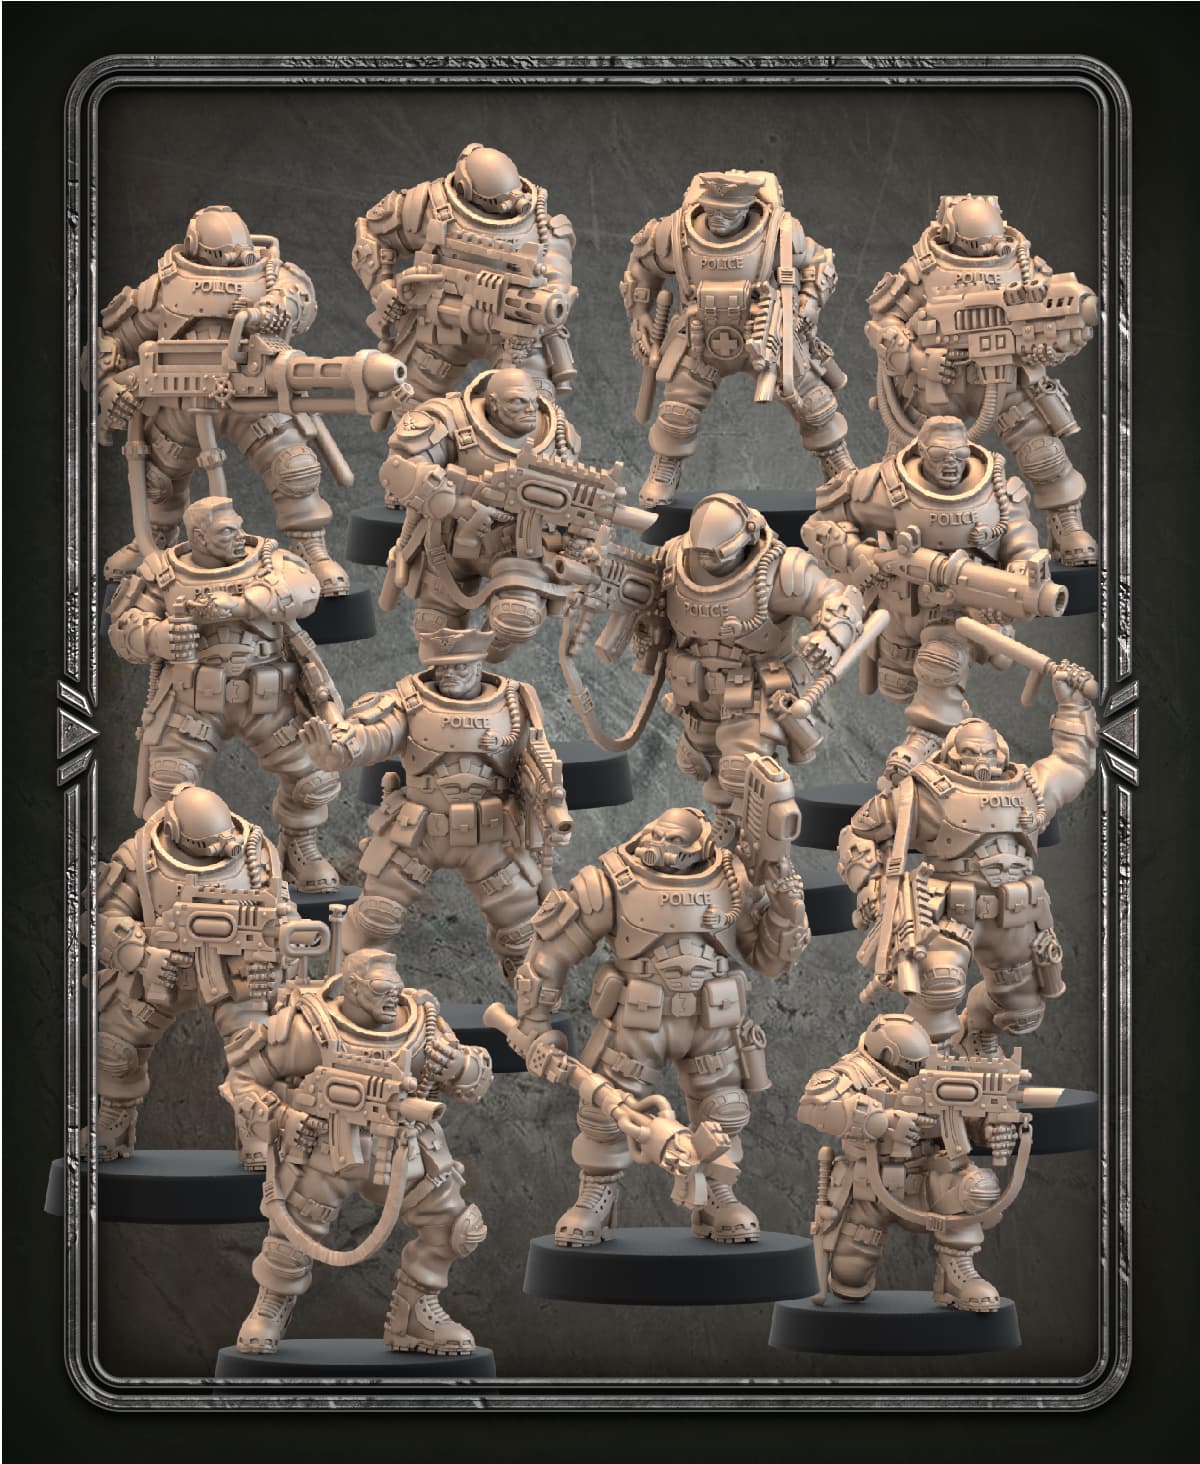
Iron Enforcer Patrolmen Bundle
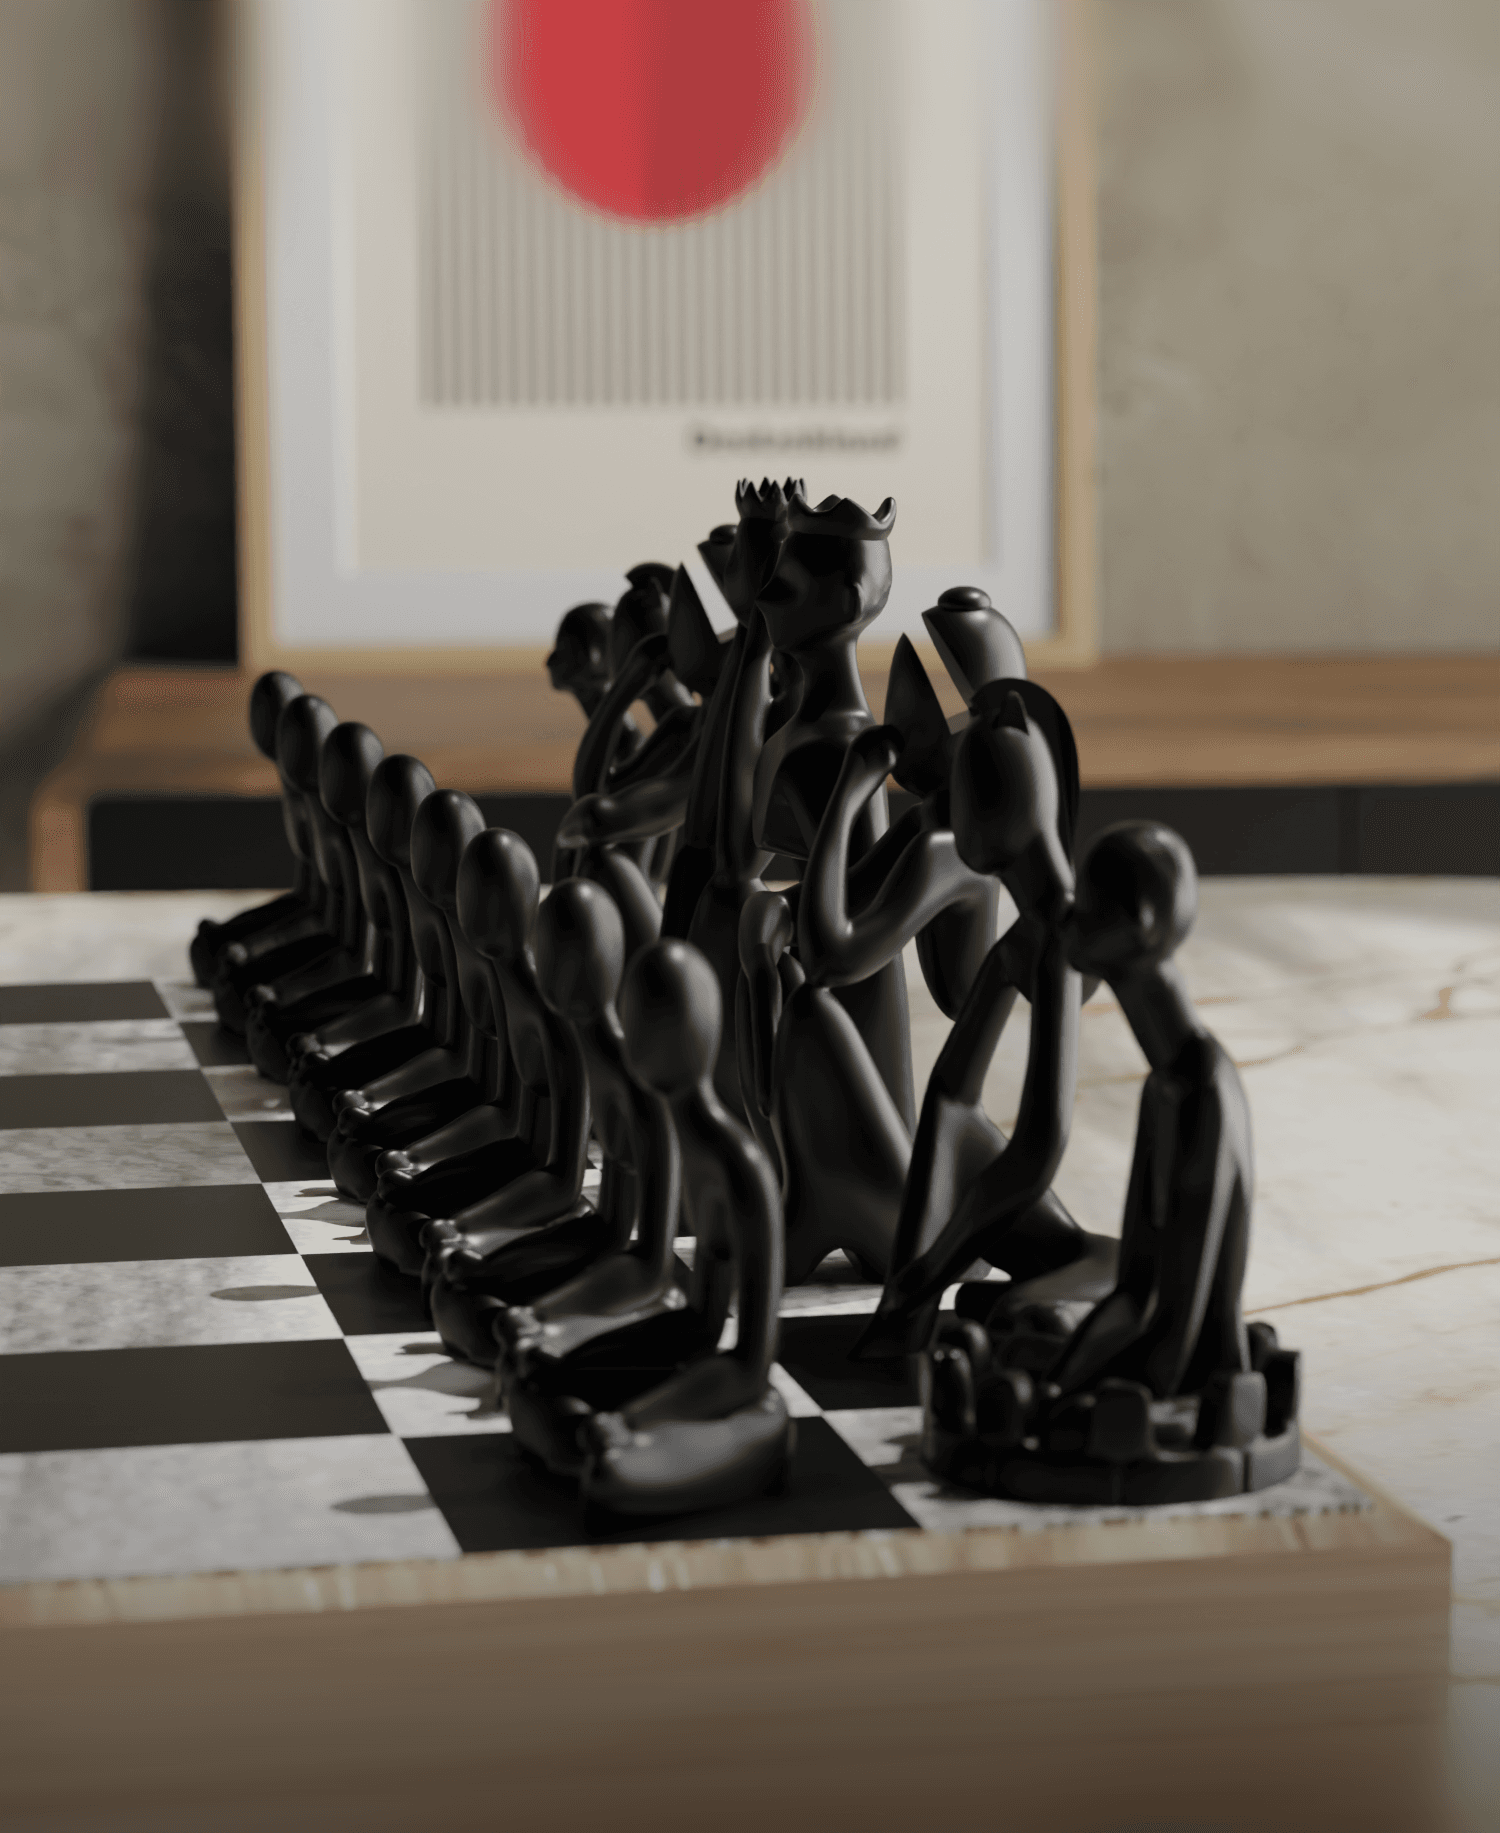
NObody's Game: A Chess Set Reimagined

Parked G.O.R.I.L.L.A. exosuit

Gengar Dice Tower - Fan Art

STRING-FLEX - CUSTOMIZABLE CHARACTERS KEYCHAIN - MONSTERS VERSION

Dry Erase Board Organizer
.png&w=3840&q=75)
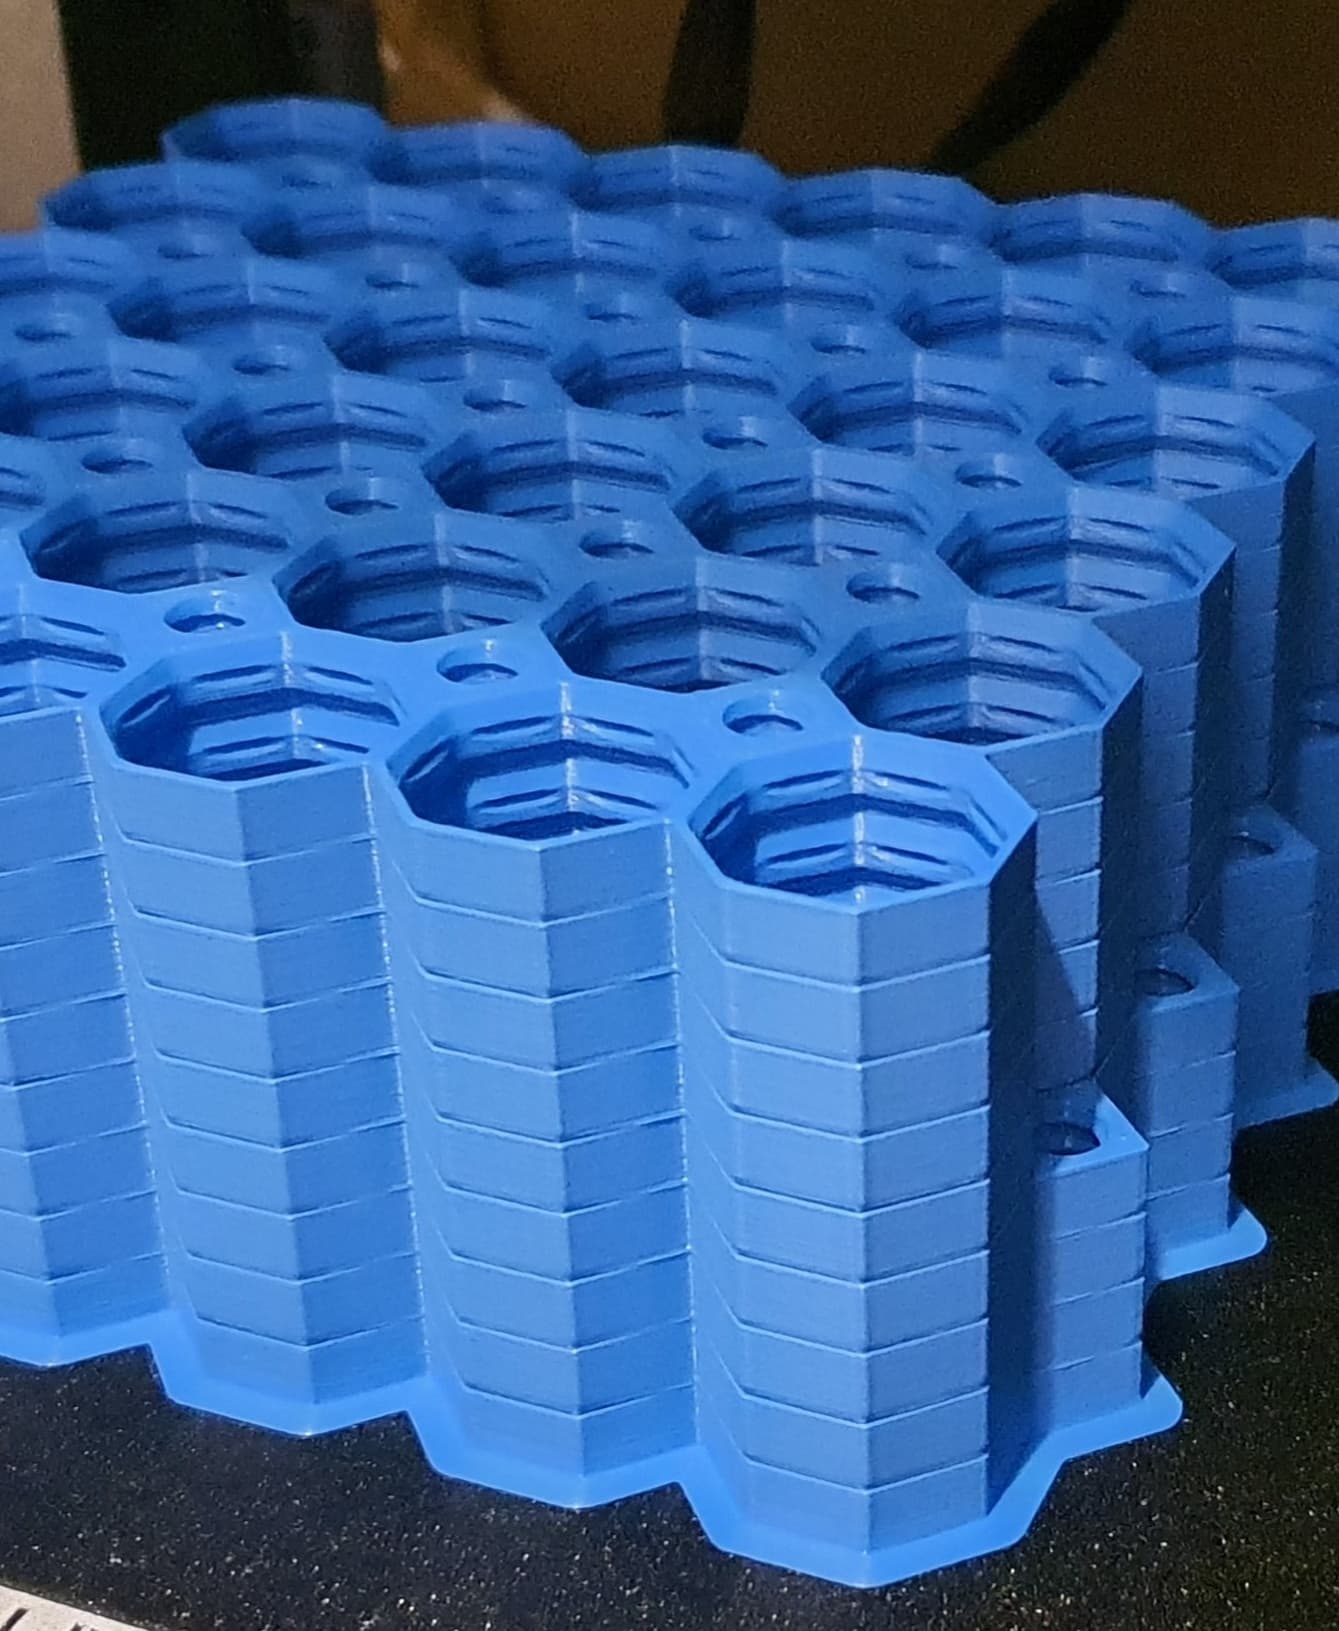
The 2 boards below the top have all welded together in the same spot on the last 3 prints. Which I don't mind since I kinda need a pair here and there doubles up. But I knows it's not intentional since the boards are only ever welded 2 cells in and you can almost get them apart but it will cause some definite breaks
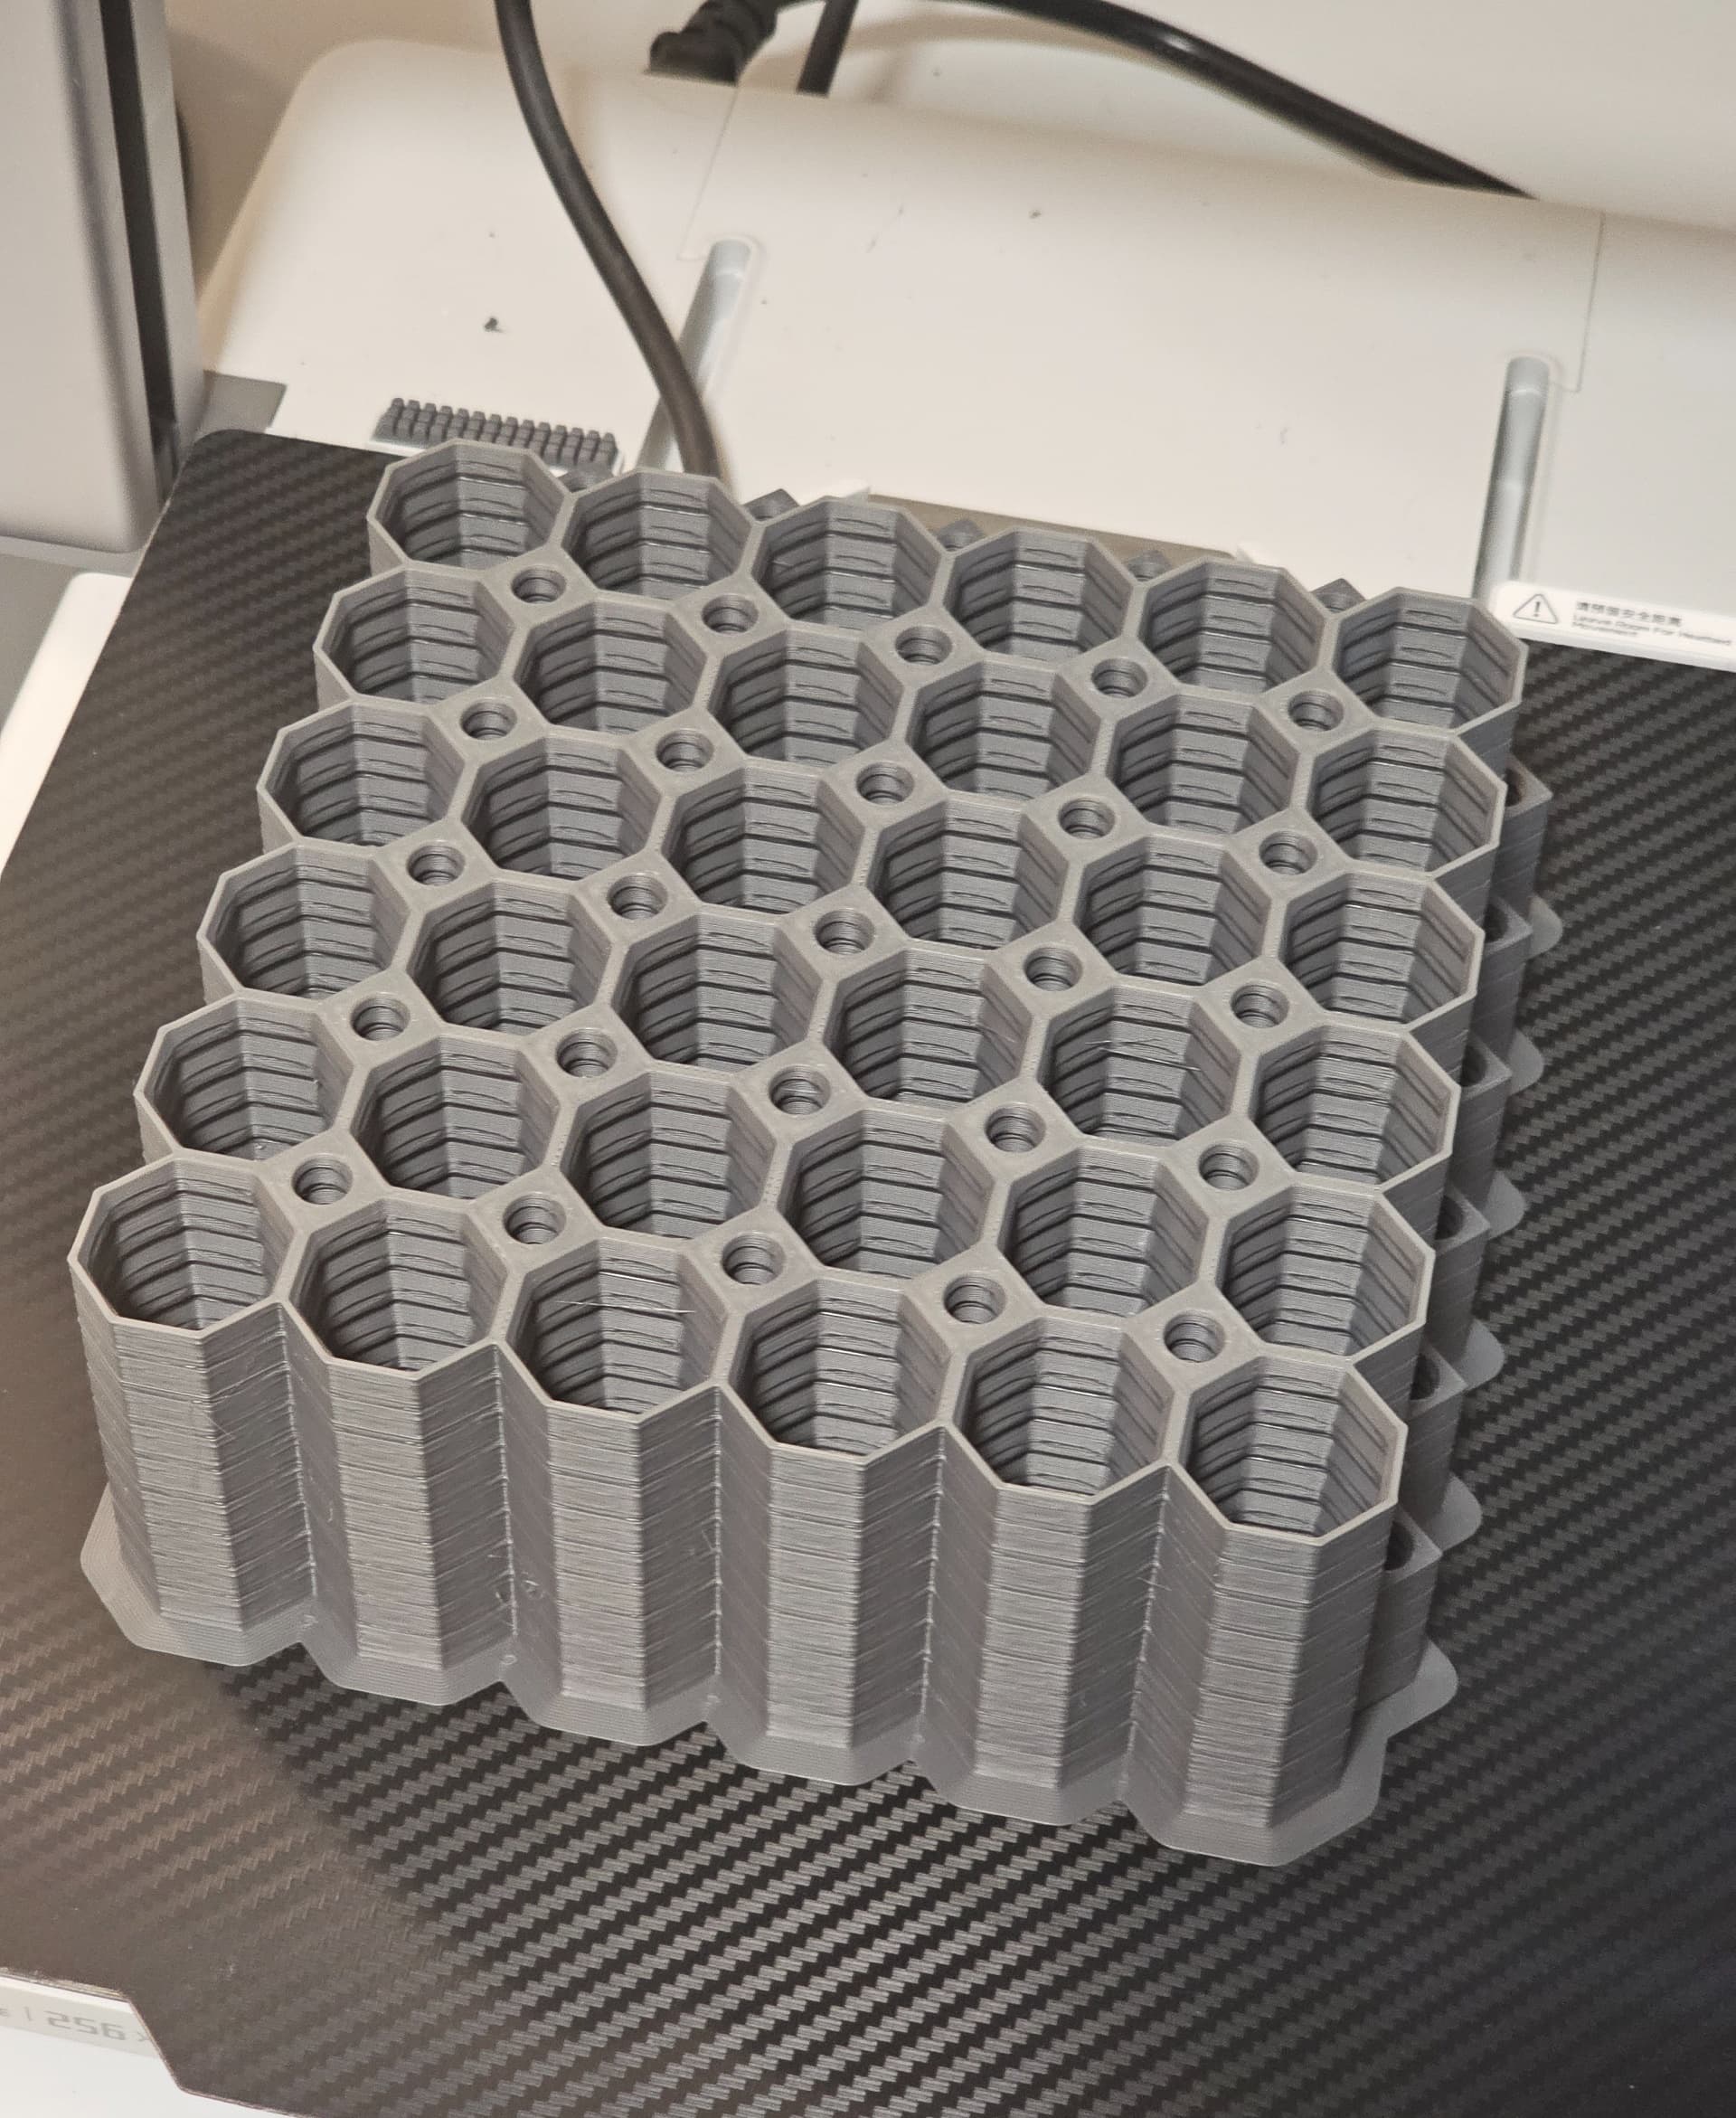
Stack is 6x6x9 making a 17.5x17.5in Multiboard. Uses ~380g with standard settings (depending on filament and density) Printed 8.5/10 on Bambu A1 with Overture Matte light gray, curled at the base as the print went on, and a few of the hexes on layers after an ironed layers would be stringy at first, a little cleaning and neither was noticeable. Printing another stack now with Bambu Matte Charcoal, glued the bed this time.