

_-_Small_Command_Strip_Mount.png&w=256&q=75)
6.25 mm - Single Snap (DS Part A) - Small Command Strip Mount
This is a "Small" Command Strip Mount that's best suited for Multiboard Tiles that are smaller than a 6x6. They work best with 3M Small Picture Hanging Command Strips and create a 6.25 mm offset from the surface.
If your Tiles are a 6x6 or bigger, then use the Medium Command Strip Mounts.
This is a "Part A" piece, and attaches to a Part B Snap.
Learn more about this part at https://multiboard.io/knowledge-hub
Printing Guidelines:
Use 3 perimeter wall thickness, 0.2 mm layer height, 15% infill, and no supports. Apart from that, use your printers default settings.
The printing orientation is as provided in the file. Make sure the downloaded files are .STL. This part has been designed with a tolerance of 0.25 mm. Your printer will need to be able to bridge gaps of up to 30 mm for some designs.
For more information about printer settings, click here.
This object is part of Multiboard, a FREE and ridiculously modular organization system with thousands of parts, for creating the most adaptable workspace possible. Learn more and find ALL the parts at https://multiboard.io
6.25 mm - Single Snap (DS Part A) - Small Command Strip Mount

Mushroom Shelves!!

Frame Lamp - in Multiple Options

Pikachu Themed Controller Holder Wall Mount - Fan Art

Shelf – Captain America

Cycling Shoe Wall Mount - Delta Cleat
NEX Playground WallMount

100mm - Cable Wranglas

120mm - Cable Wranglas
Hat Hook - No Drill

Peloton Guide Wall Mount

80mm - Cable Wranglas

Klein Bottle Diamond Lattice

TCG Munkey Card Scanner With Phone Tower

Kitty Cutter v2 - Cardboard Cutter for Cat Scratchers
.png&w=3840&q=75)
Elder Articulated Arctic Dragon

WavyPolaroidStand

Festive Lamppost

Tank Commander

Zombies - Tabletop Miniature

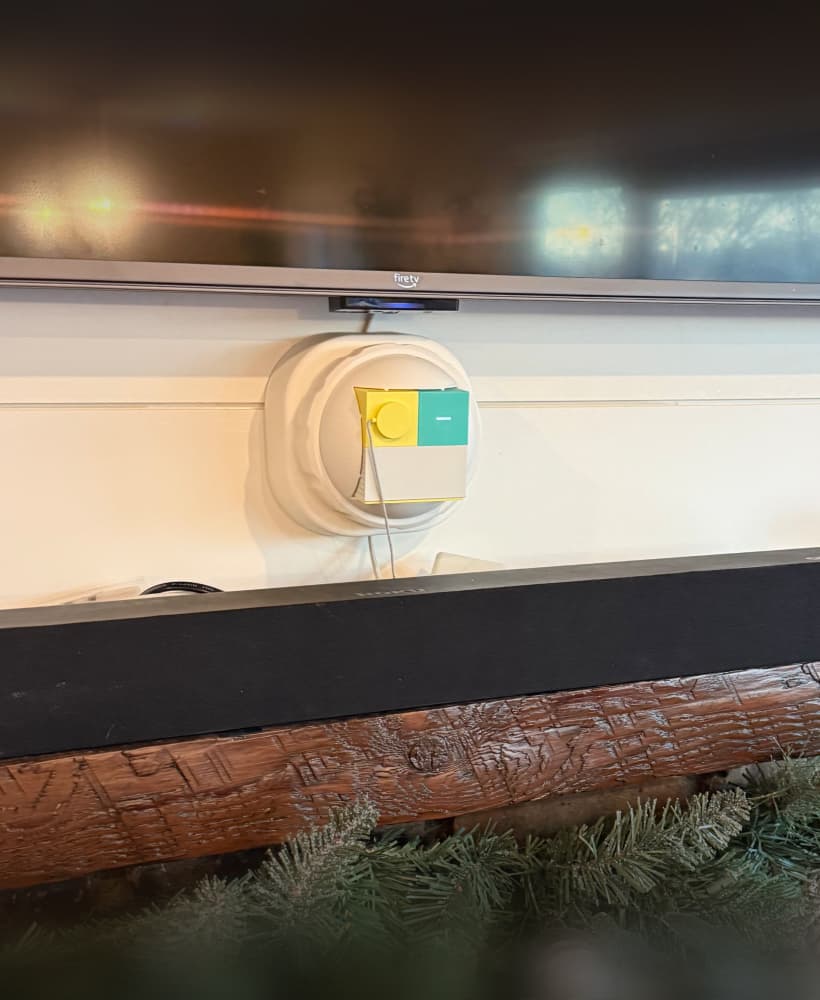
Beware: title/description are wrong, the offset created to the wall is NOT 6.25mm, more like 1-2mm (depending on command strip thickness).
Just printed these to try a temporary placement in the kitchen. I'm using the official 3M Command Brand Strips (red box) and the wells into which the strips fit is WAY too deep. Like more than twice the thickness of the strip. Were these designed with a different brand or product in mind?
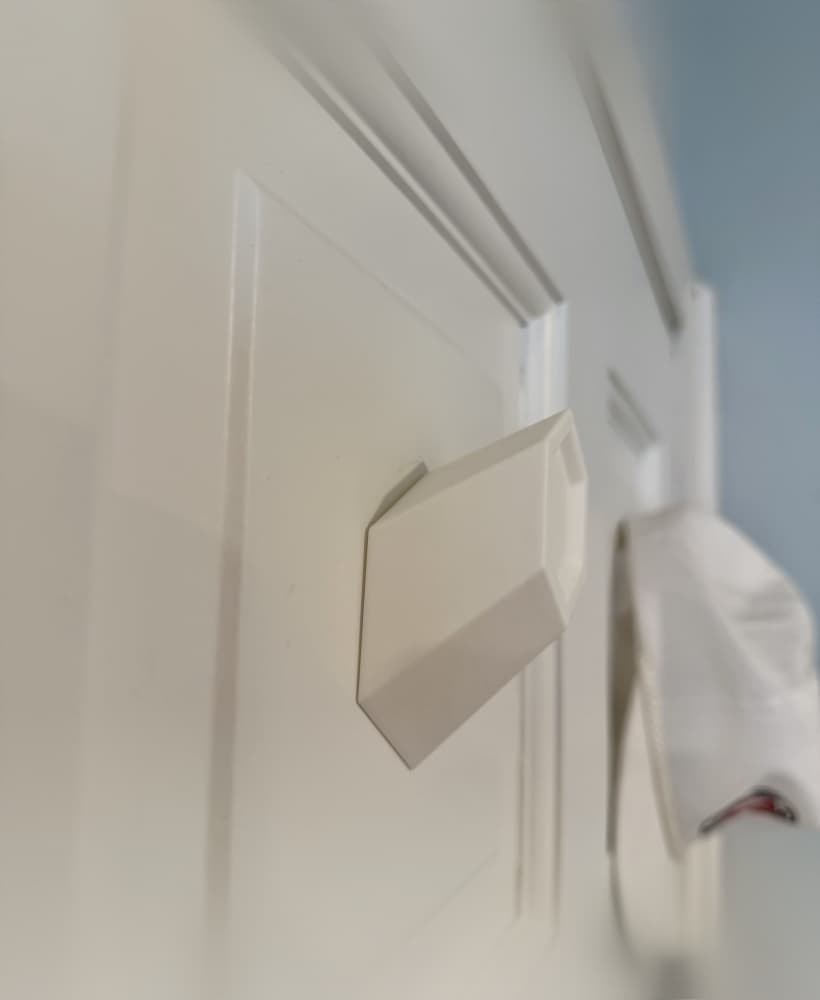
Not sure if you figured this out yet, but these are built expressly for 3M's "picture hanging" strips. The callout for it in the description isn't just a colloquialism, it's a specific type of strips they make that has hook-and-loop sides. You use two of the strips to basically velcro things to the wall. The cutout on the back of these are sized just right for one of the strips to fit in, and then you stick the other strip to the wall. Makes it removable and somewhat reusable.
Is anyone able to find part b to anything? I'm only able to find part a's.
another small issue: the snap removal tool cannot apply its grip into these, so you'll have to break the DS part B off instead. (sometimes wiggling them out with a box cutter works, sometimes it doesn't. Print a few spares.)
I cannot print this. I have tried 10 times now and every single one has lifted from the plate. Iv never had a failed print before on my P1S so Im completely lost
it's 100% a problem with your filament/build plate/calibration/toolhead. Printer parts degrade over time and need replacement/maintenance. Calibrate your bed, clean the build plate, take it from there. Or are you trying to print the part standing up? Don't do that :D Finally - with enclosed printers & PLA it is recommended to keep the door open, PLA doesn't play well with hot chambers.