


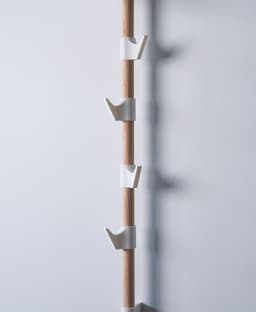

The Rail - Hook Attachment
1.1K downloads · 10 months ago · [The Rail](https://thangs.com/designer/LoftedGoods/3d-model/The%20Rail%20v2-1397922) is great for di
The Rail is great for displaying plants, but this system has so much more potential! This hook is the first (of many) non-plant related attachments for The Rail. Use it to hang hats, keys, coats, light bags, etc.
To download the essential parts of The Rail as well as the planters, visit the main model page HERE.
How to mount to your wall
- Slide hook attachments onto dowel
- Insert wedge into attachments from the bottom. Use a flat head screwdriver to push the wedge all the way in and secure the attachment to the rail
- Place top and bottom wall mounts on the ends of the rail
- Insert the keyhole markers into the keyhole slots on the top and bottom wall mounts
- Firmly press against wall in desired location and the keyhole markers will make an indent where you need to drill
- Drill holes using a 3/16" drill bit
- Insert wall anchors and screws (#8 - #10 x 1" screws and anchors)
- Make sure the screw head is sticking out just far enough to tightly fit in the keyholes. Use the included depth gauge to determine the distance the screw head should be sticking out.
- Attach rail to the wall
Supports None needed
Scaling This cannot be scaled because it's been designed to fit on a 1" or 25mm dowel
Orientation
- Everything prints upright with its flat bottom on the build plate
Print Settings
- .2mm layer height
- 15% grid infill
- 2 walls
- .1mm layer height for wedge
Filament
Colors I used:
- Ivory White
Hardware
Filament and non 3D printed items for this model can be found on my Amazon Storefront, linked here: https://linktr.ee/loftedgoods
%2520RECTANGLE%2520MAIN.jpg&w=3840&q=75)
144WS-010CA Short Beam Pistol (Attachment Rail). 3D Printed Parts for High Grade Scale Model Kits.

GEN2 Tilt Drawer Pro - 115

GEN2 PlateStack Case – Prusa – 240-3W-1H

Sleeping Baby Bunny in Angel Wings
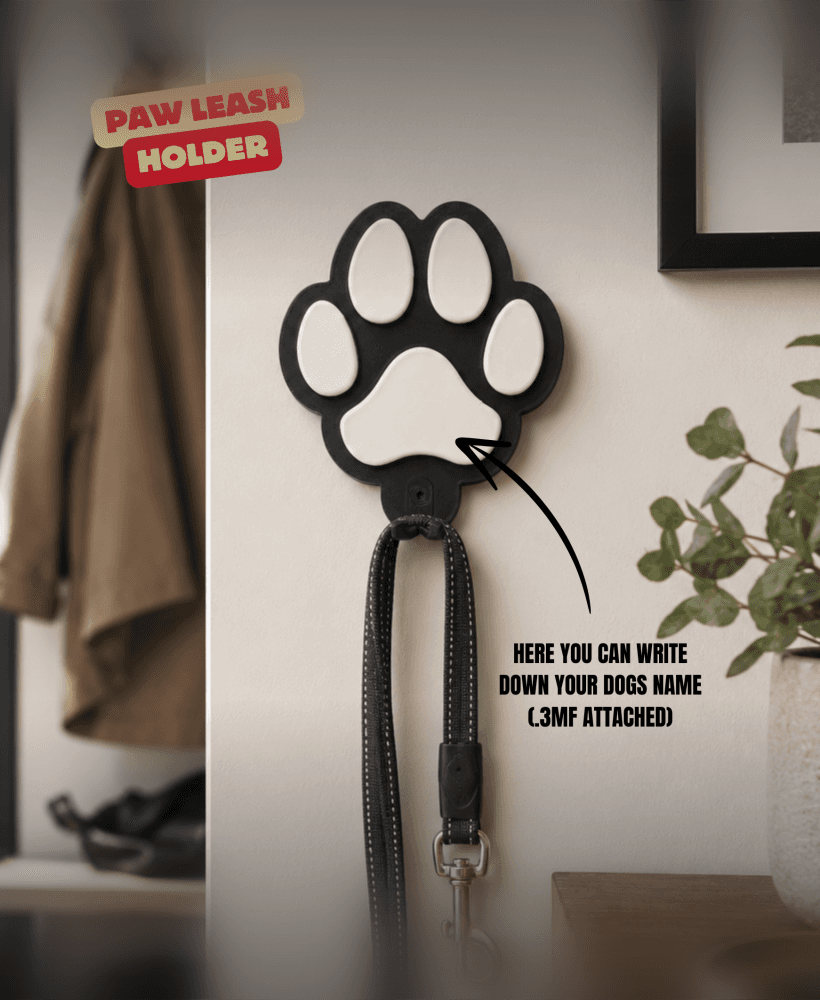
PAW LEASH HOLDER / DOG ACCESSORIES / DOGS / LEASH HOLDER / DOG DECOR / DOG EQUIPMENT

IKEA SKADIS Sliding Shelf with Organizer (Large)

3D Printable Earring - Colors Of The World

3D Printable Earring - Triangle Trickle Color

3D Printable Earring - Triangle Trickle Line

3D Printable Earring - Triangle Trickle Full

3D Printable Earring - Triangle Trickle Hollow

Bucket

Funky Demon Wall Mask Wall Hangable

Lantern Ornament Set | Holiday Decor, Home Decor

Mutant V2 Interface Plates for Popular 3D Printers

Ornament Hook Loop

Mutant V2 Interface Plates for Popular 3D Printers

Cupid’s Lantern (Large Version)

Desk Tray

what kind of weight do you think this could hold?