


The Rail - Grow Light Attachment
1.6K downloads · 11 months ago · A grow light attachment for [The Rail](https://thangs.com/designer/LoftedGoods/3d-model/The%20Rail%2
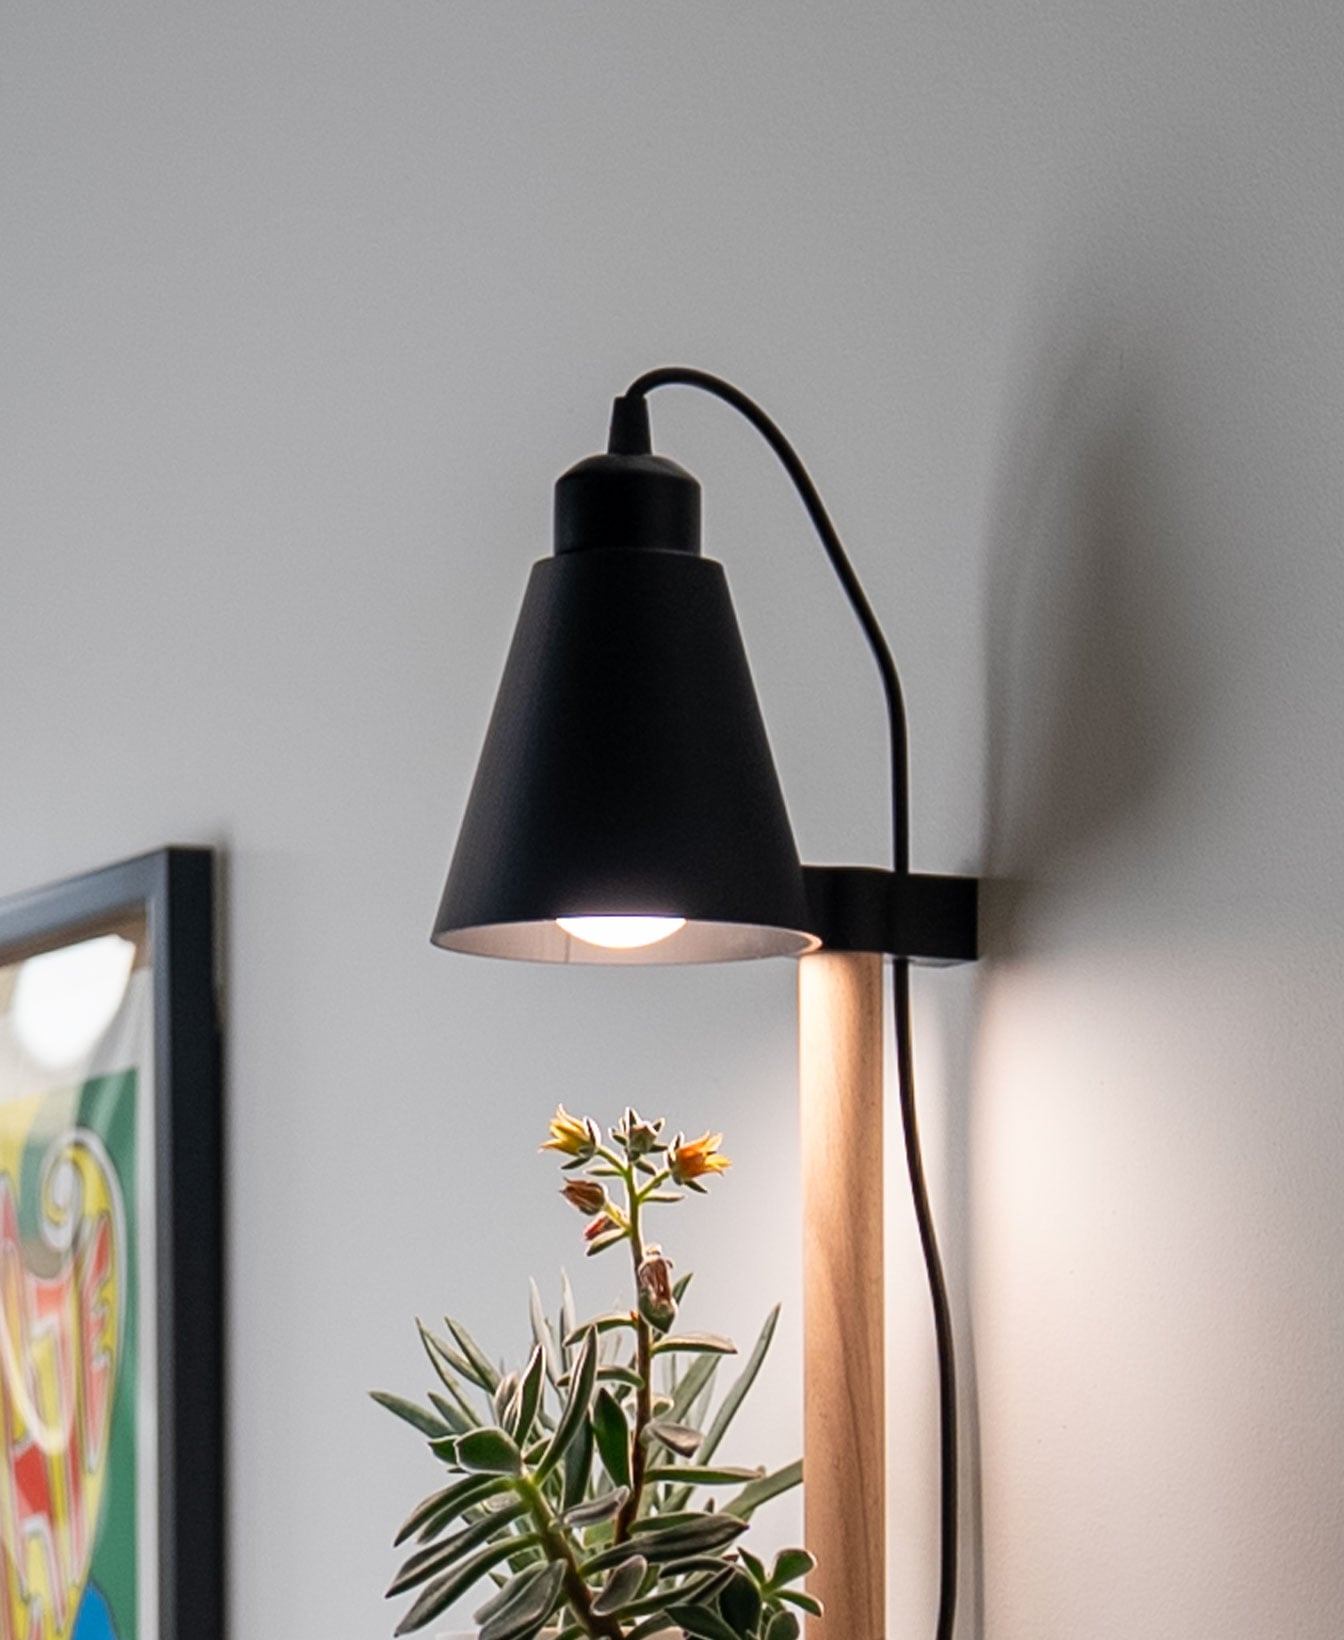
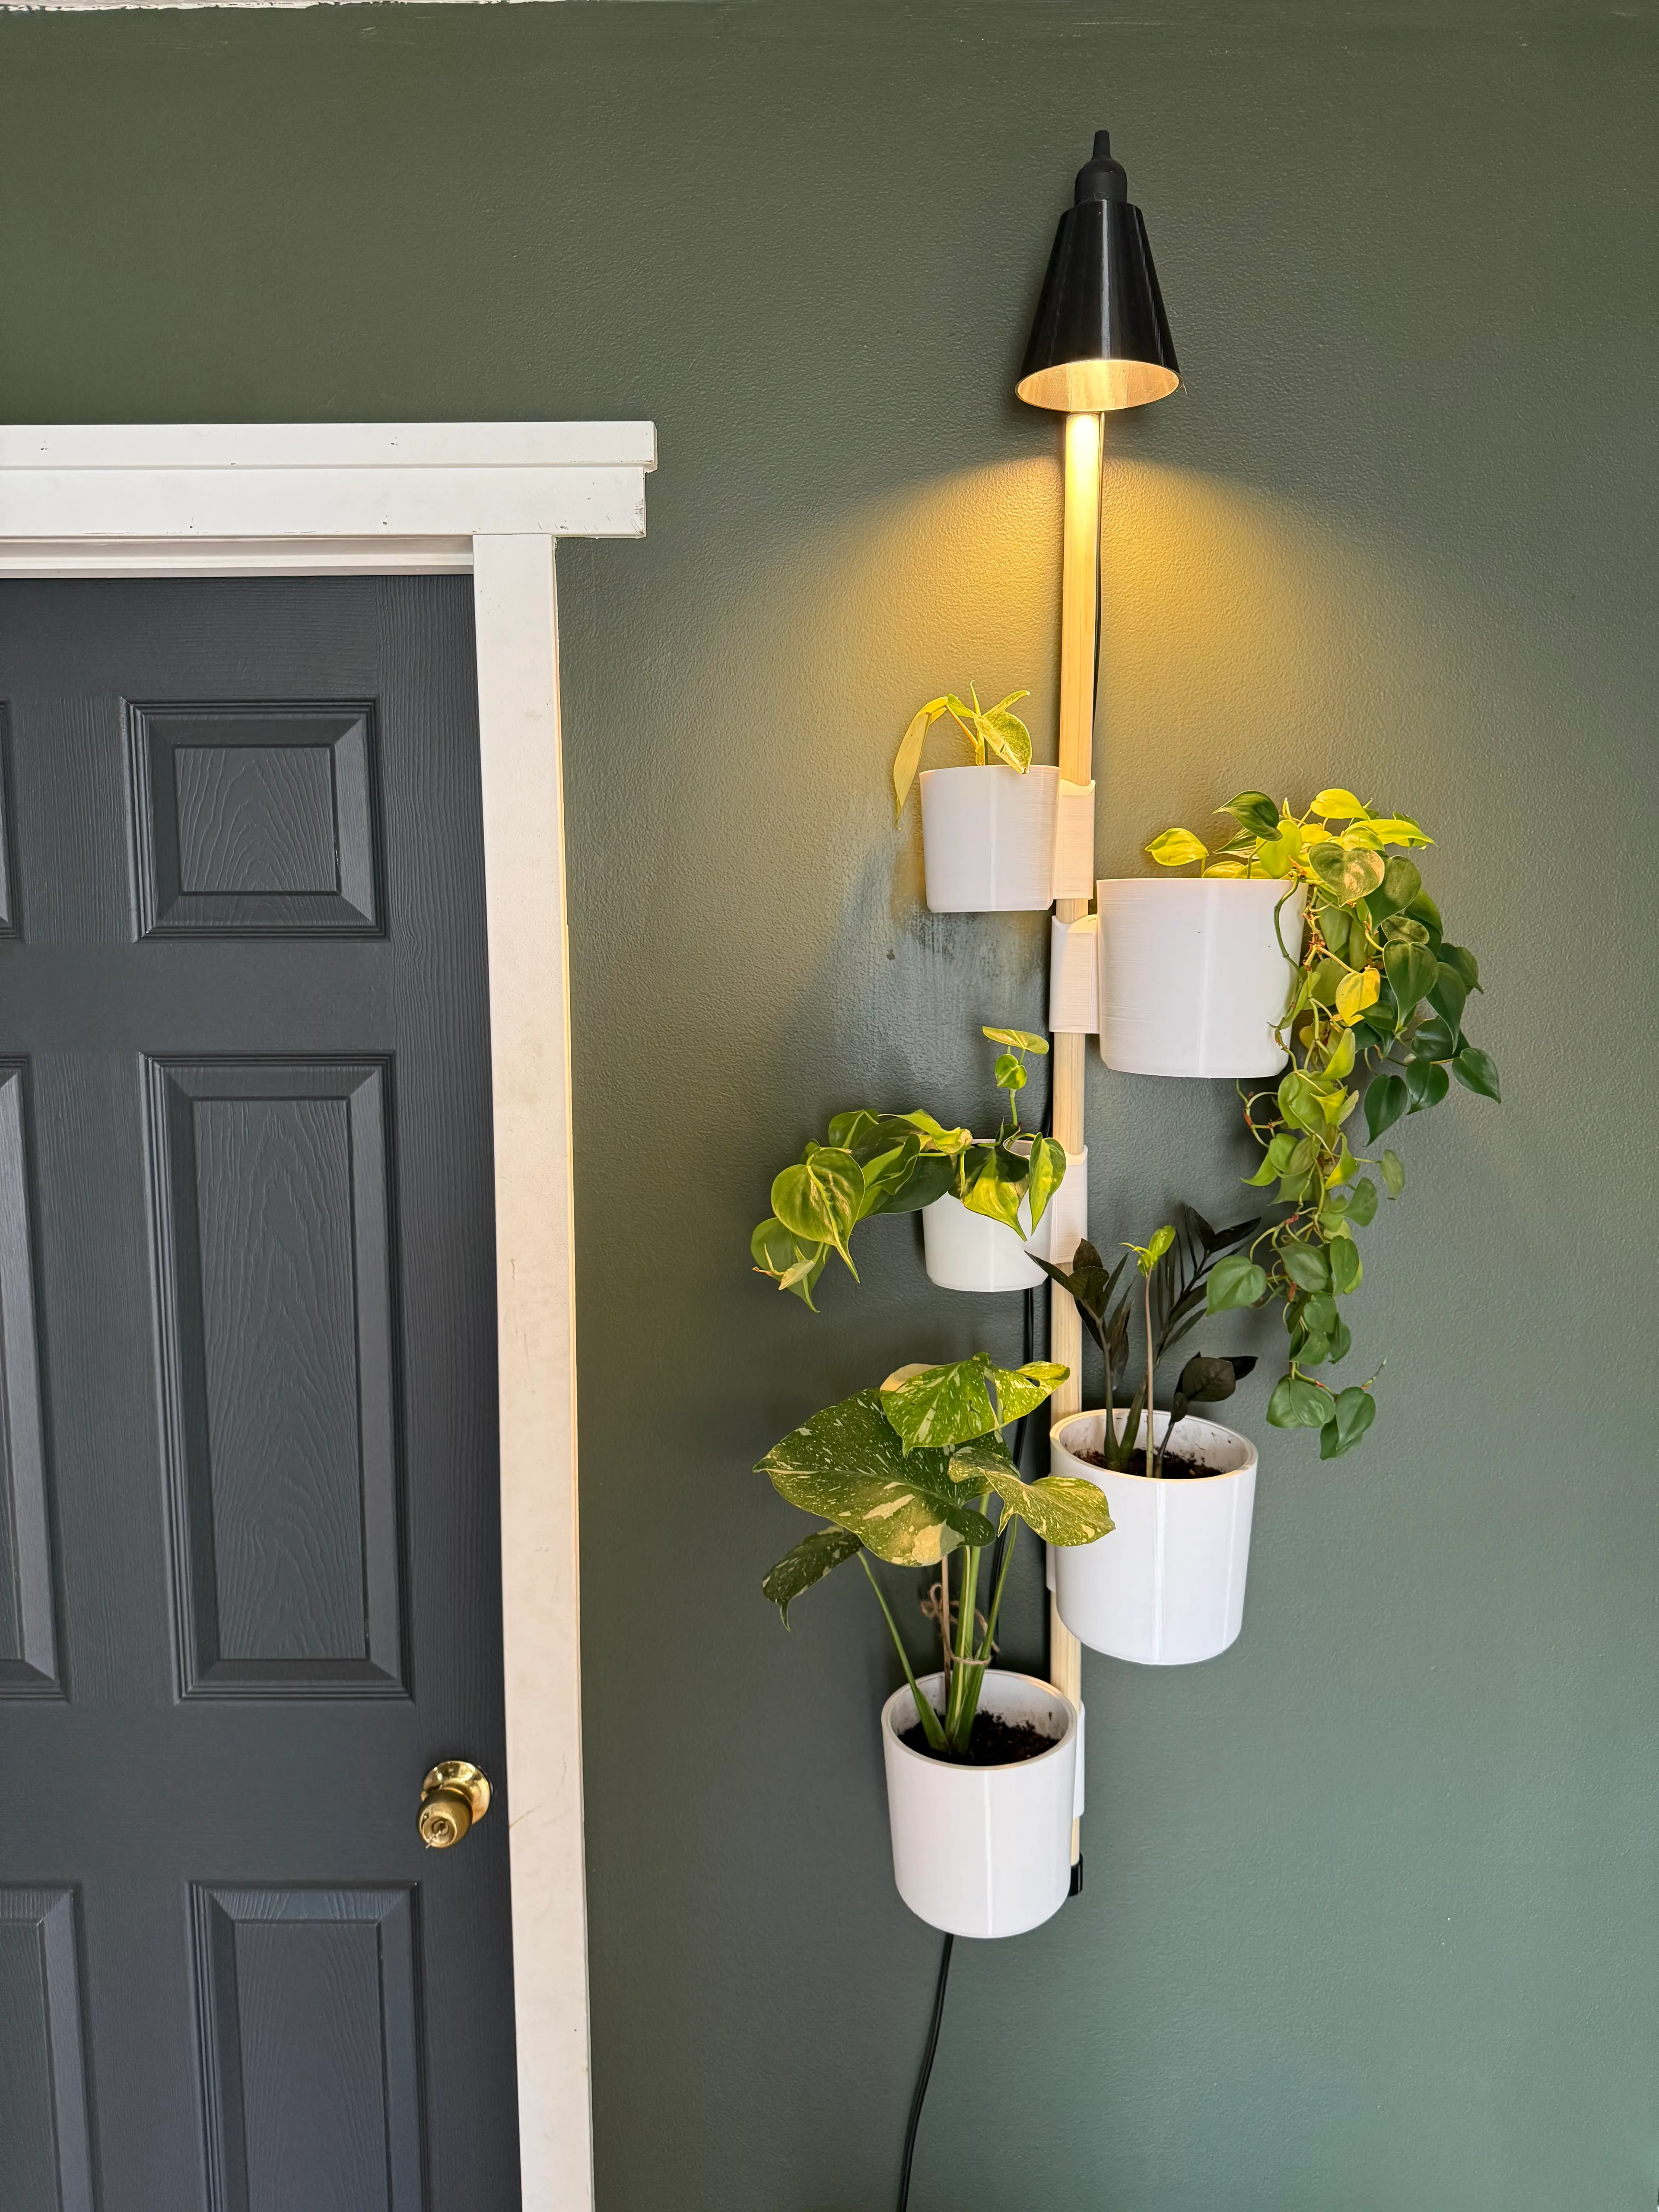
A grow light attachment for The Rail!
Important You must only use a 9W light bulb. I've linked the 9W grow lights I use in my Amazon Storefront at the bottom of this description.
How to mount to your wall
- Disassemble the pendant light. The pendant light kits (linked below) can be disassembled so you can feed the cord through the holes in the wall brackets. Video tutorial here
- Feed the cord up through the bottom wall bracket and the grow light attachment bracket.
- Reassemble the pendant light insert into shade. Lock it into place using the locking ring from inside the shade.
- Place top and bottom wall mounts on the ends of the rail
- Insert the keyhole markers into the keyhole slots on the top and bottom wall mounts
- Firmly press against wall in desired location and the keyhole markers will make an indent where you need to drill
- Drill holes using a 3/16" drill bit
- Insert wall anchors and screws (#8 - #10 x 1" screws and anchors)
- Make sure the screw head is sticking out just far enough to tightly fit in the keyholes. Use the included depth gauge to determine the distance the screw head should be sticking out.
- Attach rail to the wall and screw in 9W LED grow bulb
Supports Supports are needed for inner part of the shade.
Scaling This cannot be scaled because the keyhole slots are specifically designed for #8 - #10 x 1" screws and anchors.
Orientation
- Everything prints upright with its flat bottom on the build plate
Print Settings
- .2mm layer height
- 15% grid infill
- 2 walls
- .1mm layer height for wedge
Filament
Colors I used:
- Matte Charcoal
Hardware
Filament and non 3D printed items for this model can be found on my Amazon Storefront, linked here: https://linktr.ee/loftedgoods

The Rail - Grow Light Attachment
1.6K downloads · 11 months ago in and
%2520RECTANGLE%2520MAIN.jpg&w=3840&q=75)
144WS-010CA Short Beam Pistol (Attachment Rail). 3D Printed Parts for High Grade Scale Model Kits.

GEN2 Tilt Drawer Pro - 115

GEN2 PlateStack Case – Prusa – 240-3W-1H

ABSTRACT FLAME TEALIGHT (VORONOI) / ABSTRACT FIRE SCULPTURE / HOMEDECOR / GOTHIC

REALISTIC TEXTURED SCOTTISH HIGHLAND COW – COZY WINTER EDITION / HOMEDECOR / BISON
.jpg&w=3840&q=75)
Asanoha Kumiko Lamp
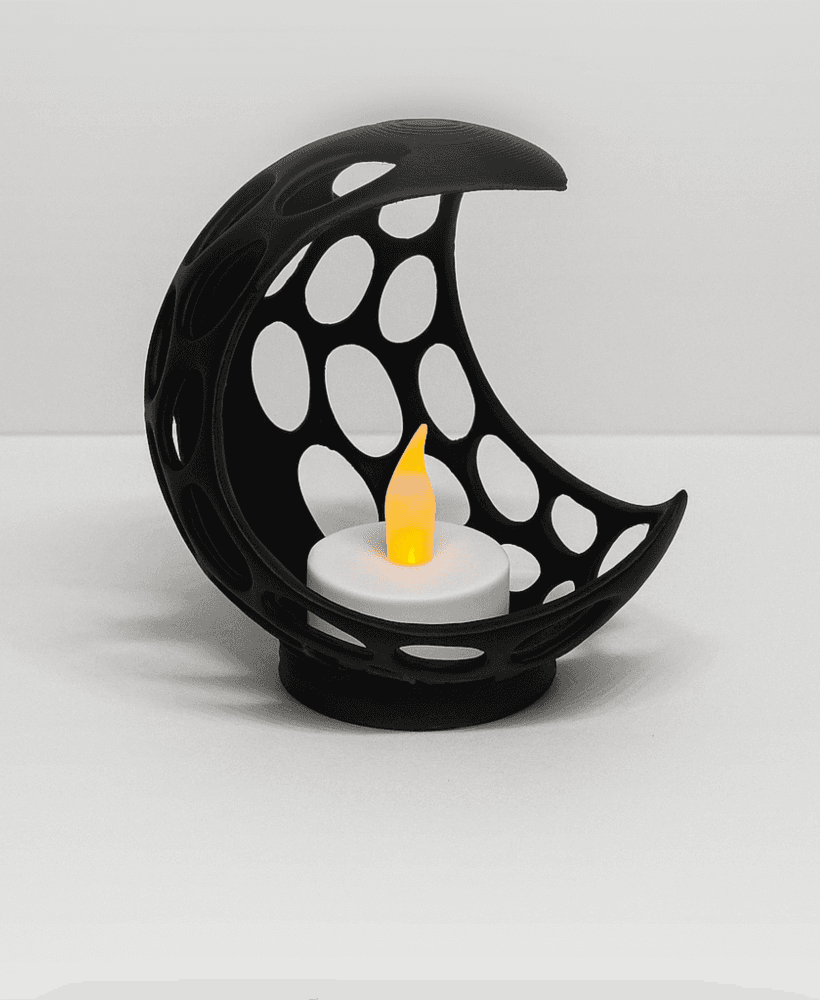
ABSTRACT HALFMOON WITH LED TEALIGHT / VORONOI / DESIGNER LED TEALIGHT / LIGHTNING / GOTHIC

BROKEN EGGS TEALIGHT / EASTER TEA LIGHT / EGG / MODERN DECOR / DESIGNER / VORONOI

Welcome To Moria LOTR Book Nook
Shipto you

Sloth Wearable Claws
Minimal Desk Lamp Jelly Fish クラゲ

Retro Desk Lamp

ABSTRACT MUSHROOM / HOMEDECOR / ORGANIC GEOMETRY DESIGN

Modular Trellis Lattice01
VORONOI TURTLE (LED-TEALIGHT) / HOMEDECOR / DECOR / LIGHTNING / MODERN LIGHT

Minimal tiny mushroom desk lamp

Modular Trellis Lattice03

Mutant V2 Interface Plates for Popular 3D Printers

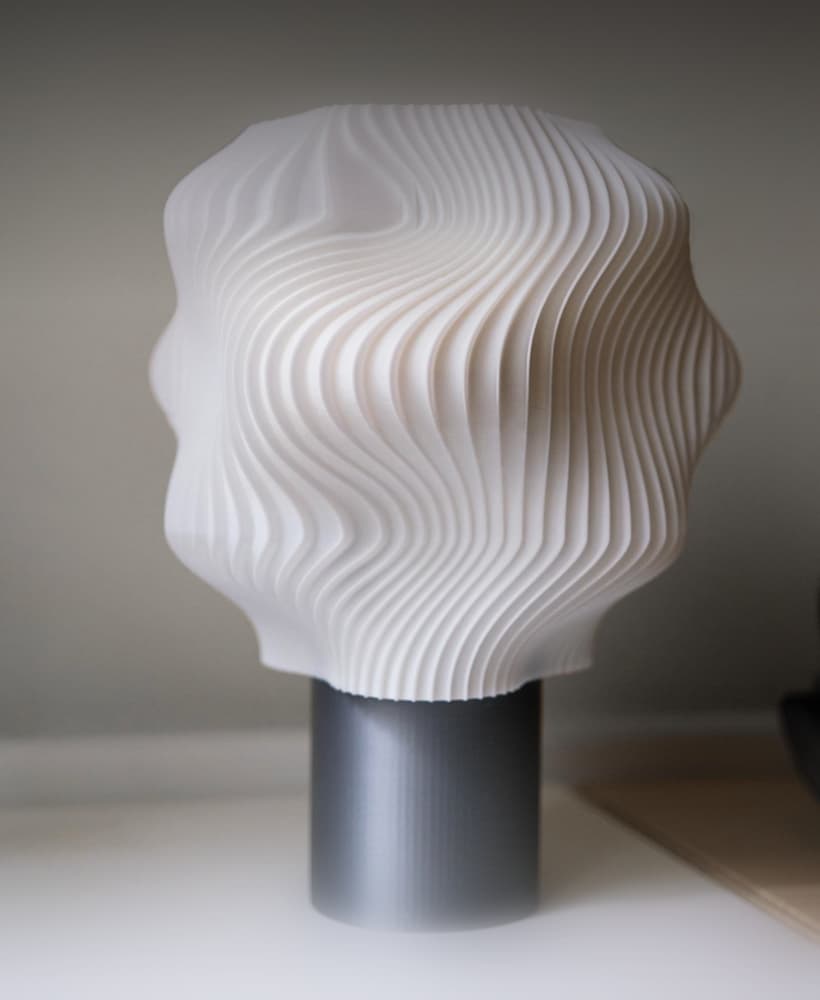
Minimal Desk Lamp Vortex 渦巻き

Is there a way to have a grow light work with the tripod version?
This is fantastic. I was just thinking of modding something to make this. Nicely done.
Hmm, is there a good mod for the Tripod attachment instead of the wall attachment?
It really is! My place doesn't face sunlight so these lights are a perfect solution for the rail!!
This is great! Would you able to adapt the light from your "Modular Wall Light"? It fits, but it's quite small in comparison to even the smallest version of the rail pot from the Rail v2
Thanks! Just so I understand - are you asking for the same cylindrical shade from the Modular Wall Light or a larger version of that? I hesitate to make wider shades because the bulb would be further out from the rail and not directly above the plants. I can definitely accommodate the original cylindrical shade for this though!
How are you supposed to thread the cord through the holes in the mounts? I purchased the recommended lights from Amazon but can't figure out how route the cord without cutting it.
Hi! Just downloaded this. What is the cube modifier for in the .3mf file?