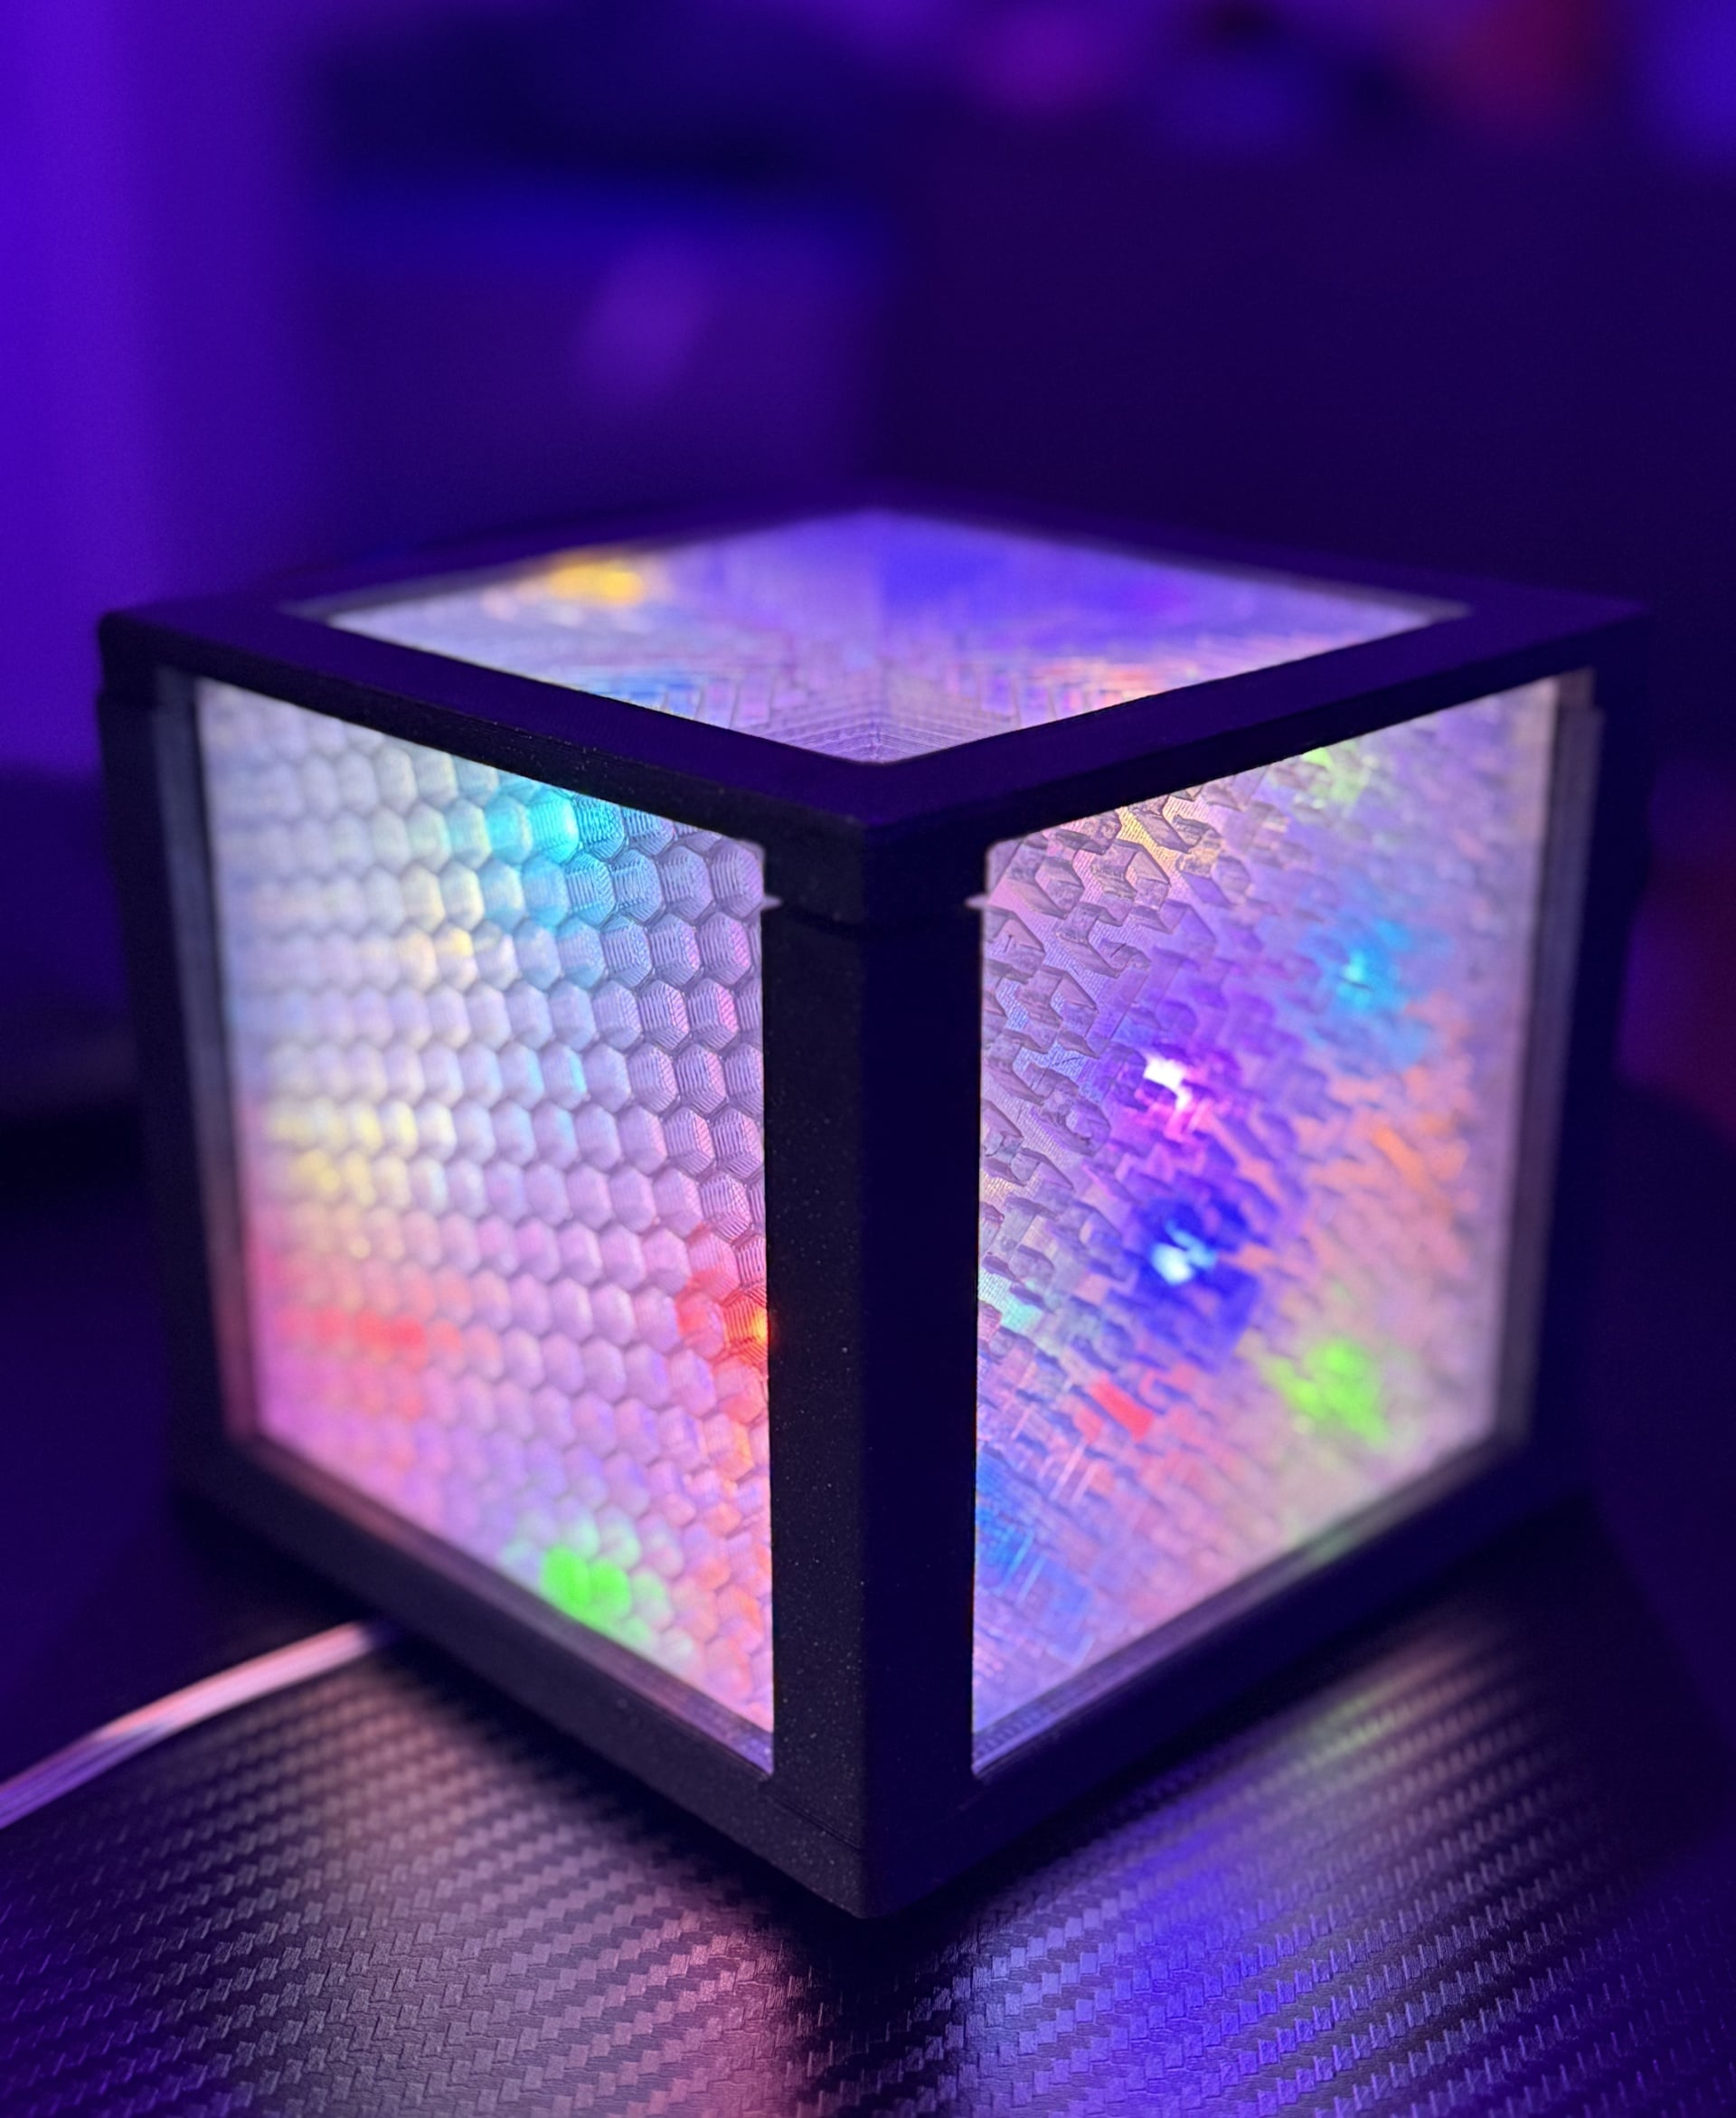

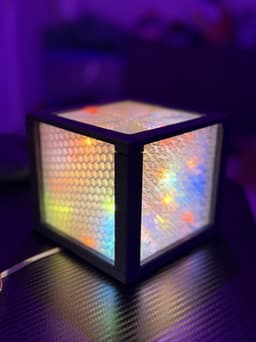


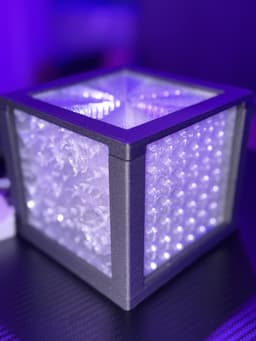
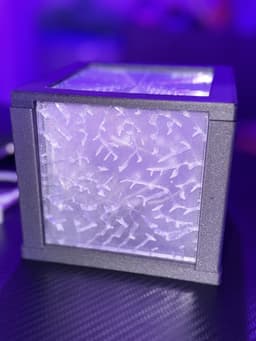


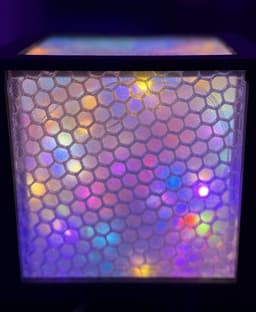


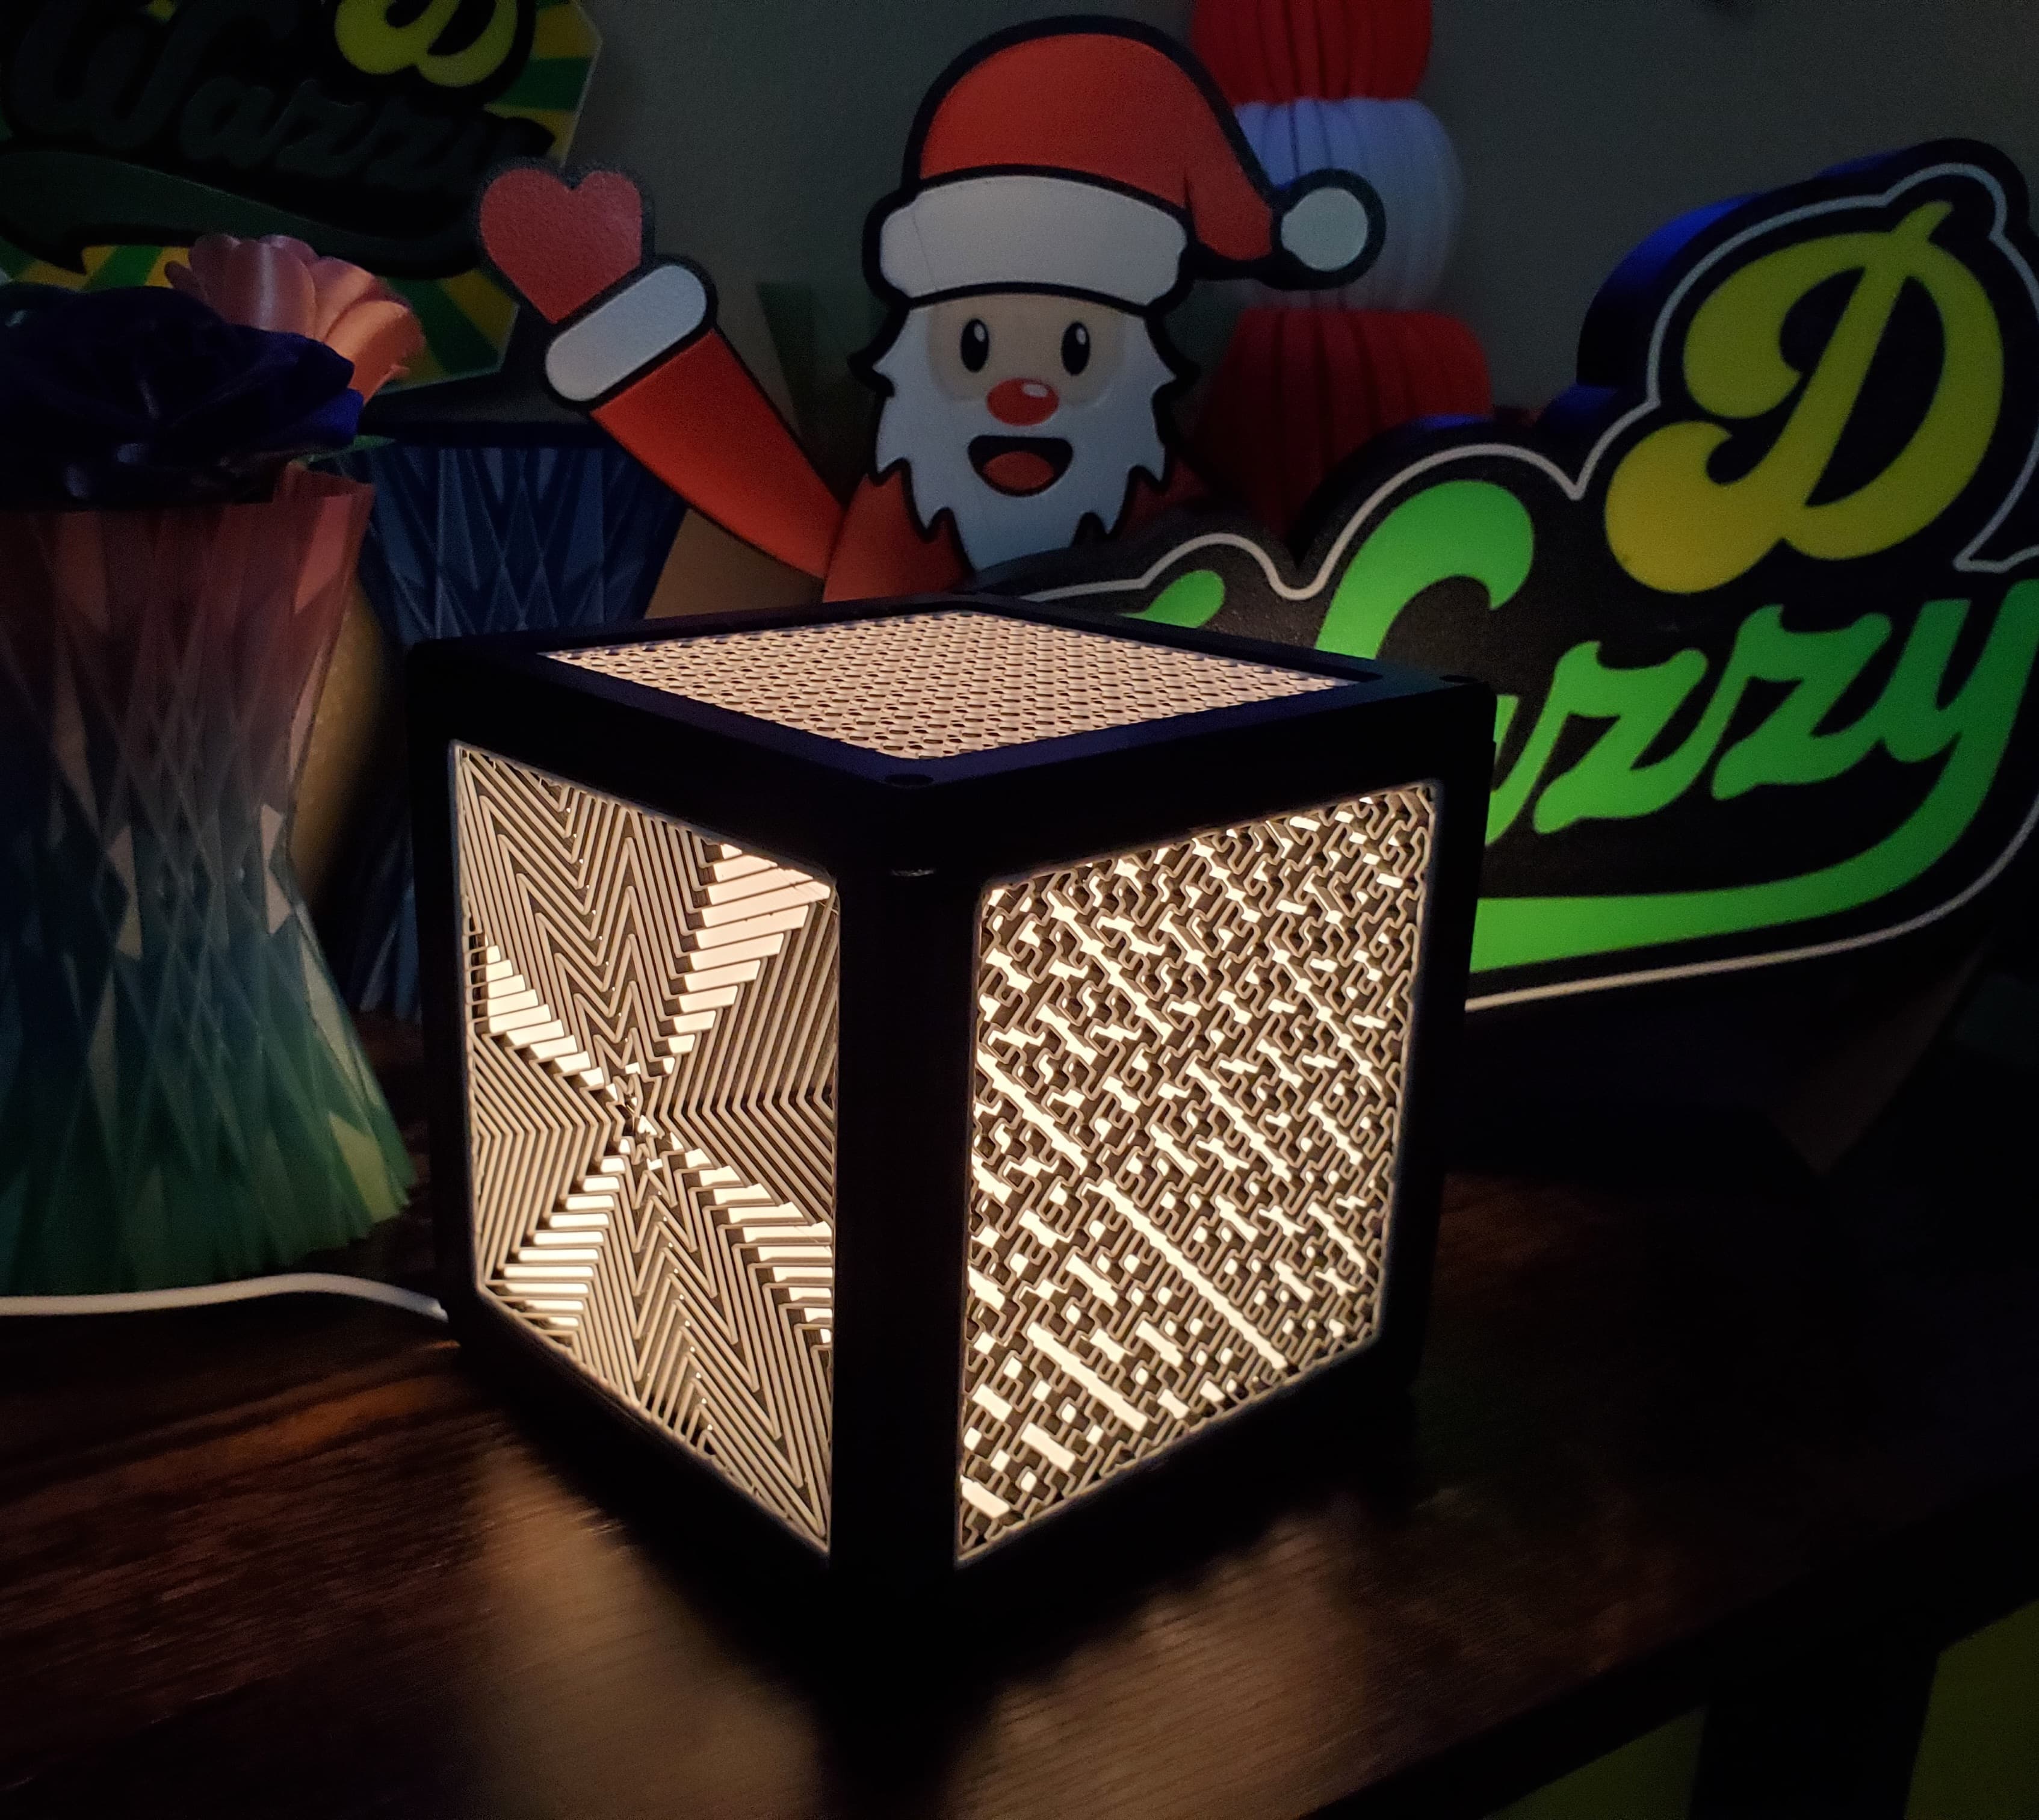
Lithophane Infill Cube
Make your own custom lithophane light box with the fun aesthetic of 3D printer infill patterns!
Super simple lithophane light box design while having some fun with Slicer infill patterns for the aesthetics on the walls! Print with various colored pieces for an unique home decor piece or print the walls in your favorite translucent filament and add your favorite LED's of choice!
PRINT SETTINGS-Roof and Base QTY: 1 Roof, 1 Base Roof and Base pieces should be be support free, infill % at your discretion, 2-3 perimeters 0.2-0.25mm layer height
PRINT SETTINGS- Infill Wall panels QTY: 5 walls (4 sides and 1 top wall) To get the infill pattern to show through well, you'll need to adjust your top/bottom walls and infill settings.
- Bottom walls: 2-3
- Top walls: 0
- Infill: 5-10% (this is where it gets creative, play around with different infill patterns and percentages!)
- Perimeters: 2
- Layer Height: 0.2mm
No supports needed
These should be printed flat against the build plate, with the top wall being the highest z-height. Any questions, please let me know.
Assembly All side wall panels should slide into the grooves in the base, with the panel that goes into the roof should friction fit into place. If your printer tolerances are not consistent, a small amount of glue can keep the top roof panel in place. From there, the roof panel should fit together with the base. You may need to wiggle the roof to line up the openings in the roof for the wall panels to get the roof to sit proper but shouldn't be too difficult. Again, any questions or feedback, please let me know and I will make adjustments if necessary!
Enjoy!
Lithophane Infill Cube

Minecraft_Sword_Smooth_Blade_Part_01_3Demon.stl

Valentine's Panes (for the Festive Lamppost)
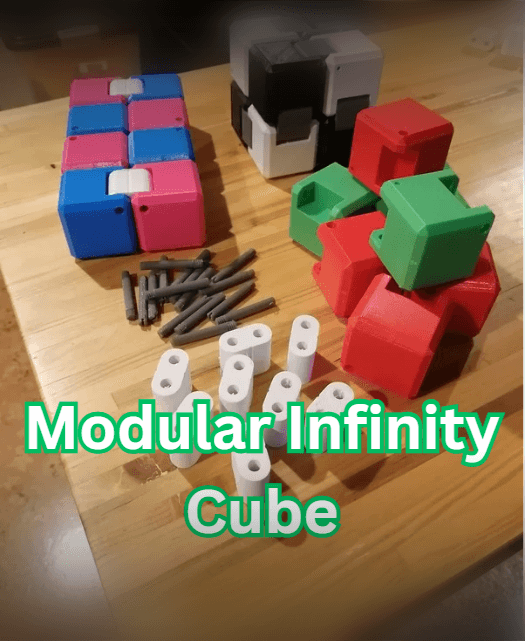
Modular Infinity Cube

Ori - A Modern Ribbed Accent Lamp

Frame Lamp - in Multiple Options

Not So XL Scarecrow (for smaller build plates below 300x300x300)

Small Table/Bedside Lamp - Cubea

XL Scarecrow (for larger build plates above 320x320x320)
.jpg&w=3840&q=75)
Dragon Eye Guitar – Bookmark

David Pixel Vase

Odon the Obsidian Lindwyrm

Cup Holders for Sofa Cushions

Banana Duck / 3MF Included

Post-It Sticky Note Sharpie Marker Holder

Pluto STL File – Cute 3D Printable Disney Dog – Chibi Cartoon Puppy Figure for Collectors – Kawaii A
.png&w=3840&q=75)
Adorable Wizard Mouse 3D Printable Collectible Figure - Fantasy Magic Themed

Stitch 3D Printer Model - STL File - Cute Disney Collectible - 3D Print Alien Figure - Desk Decor -
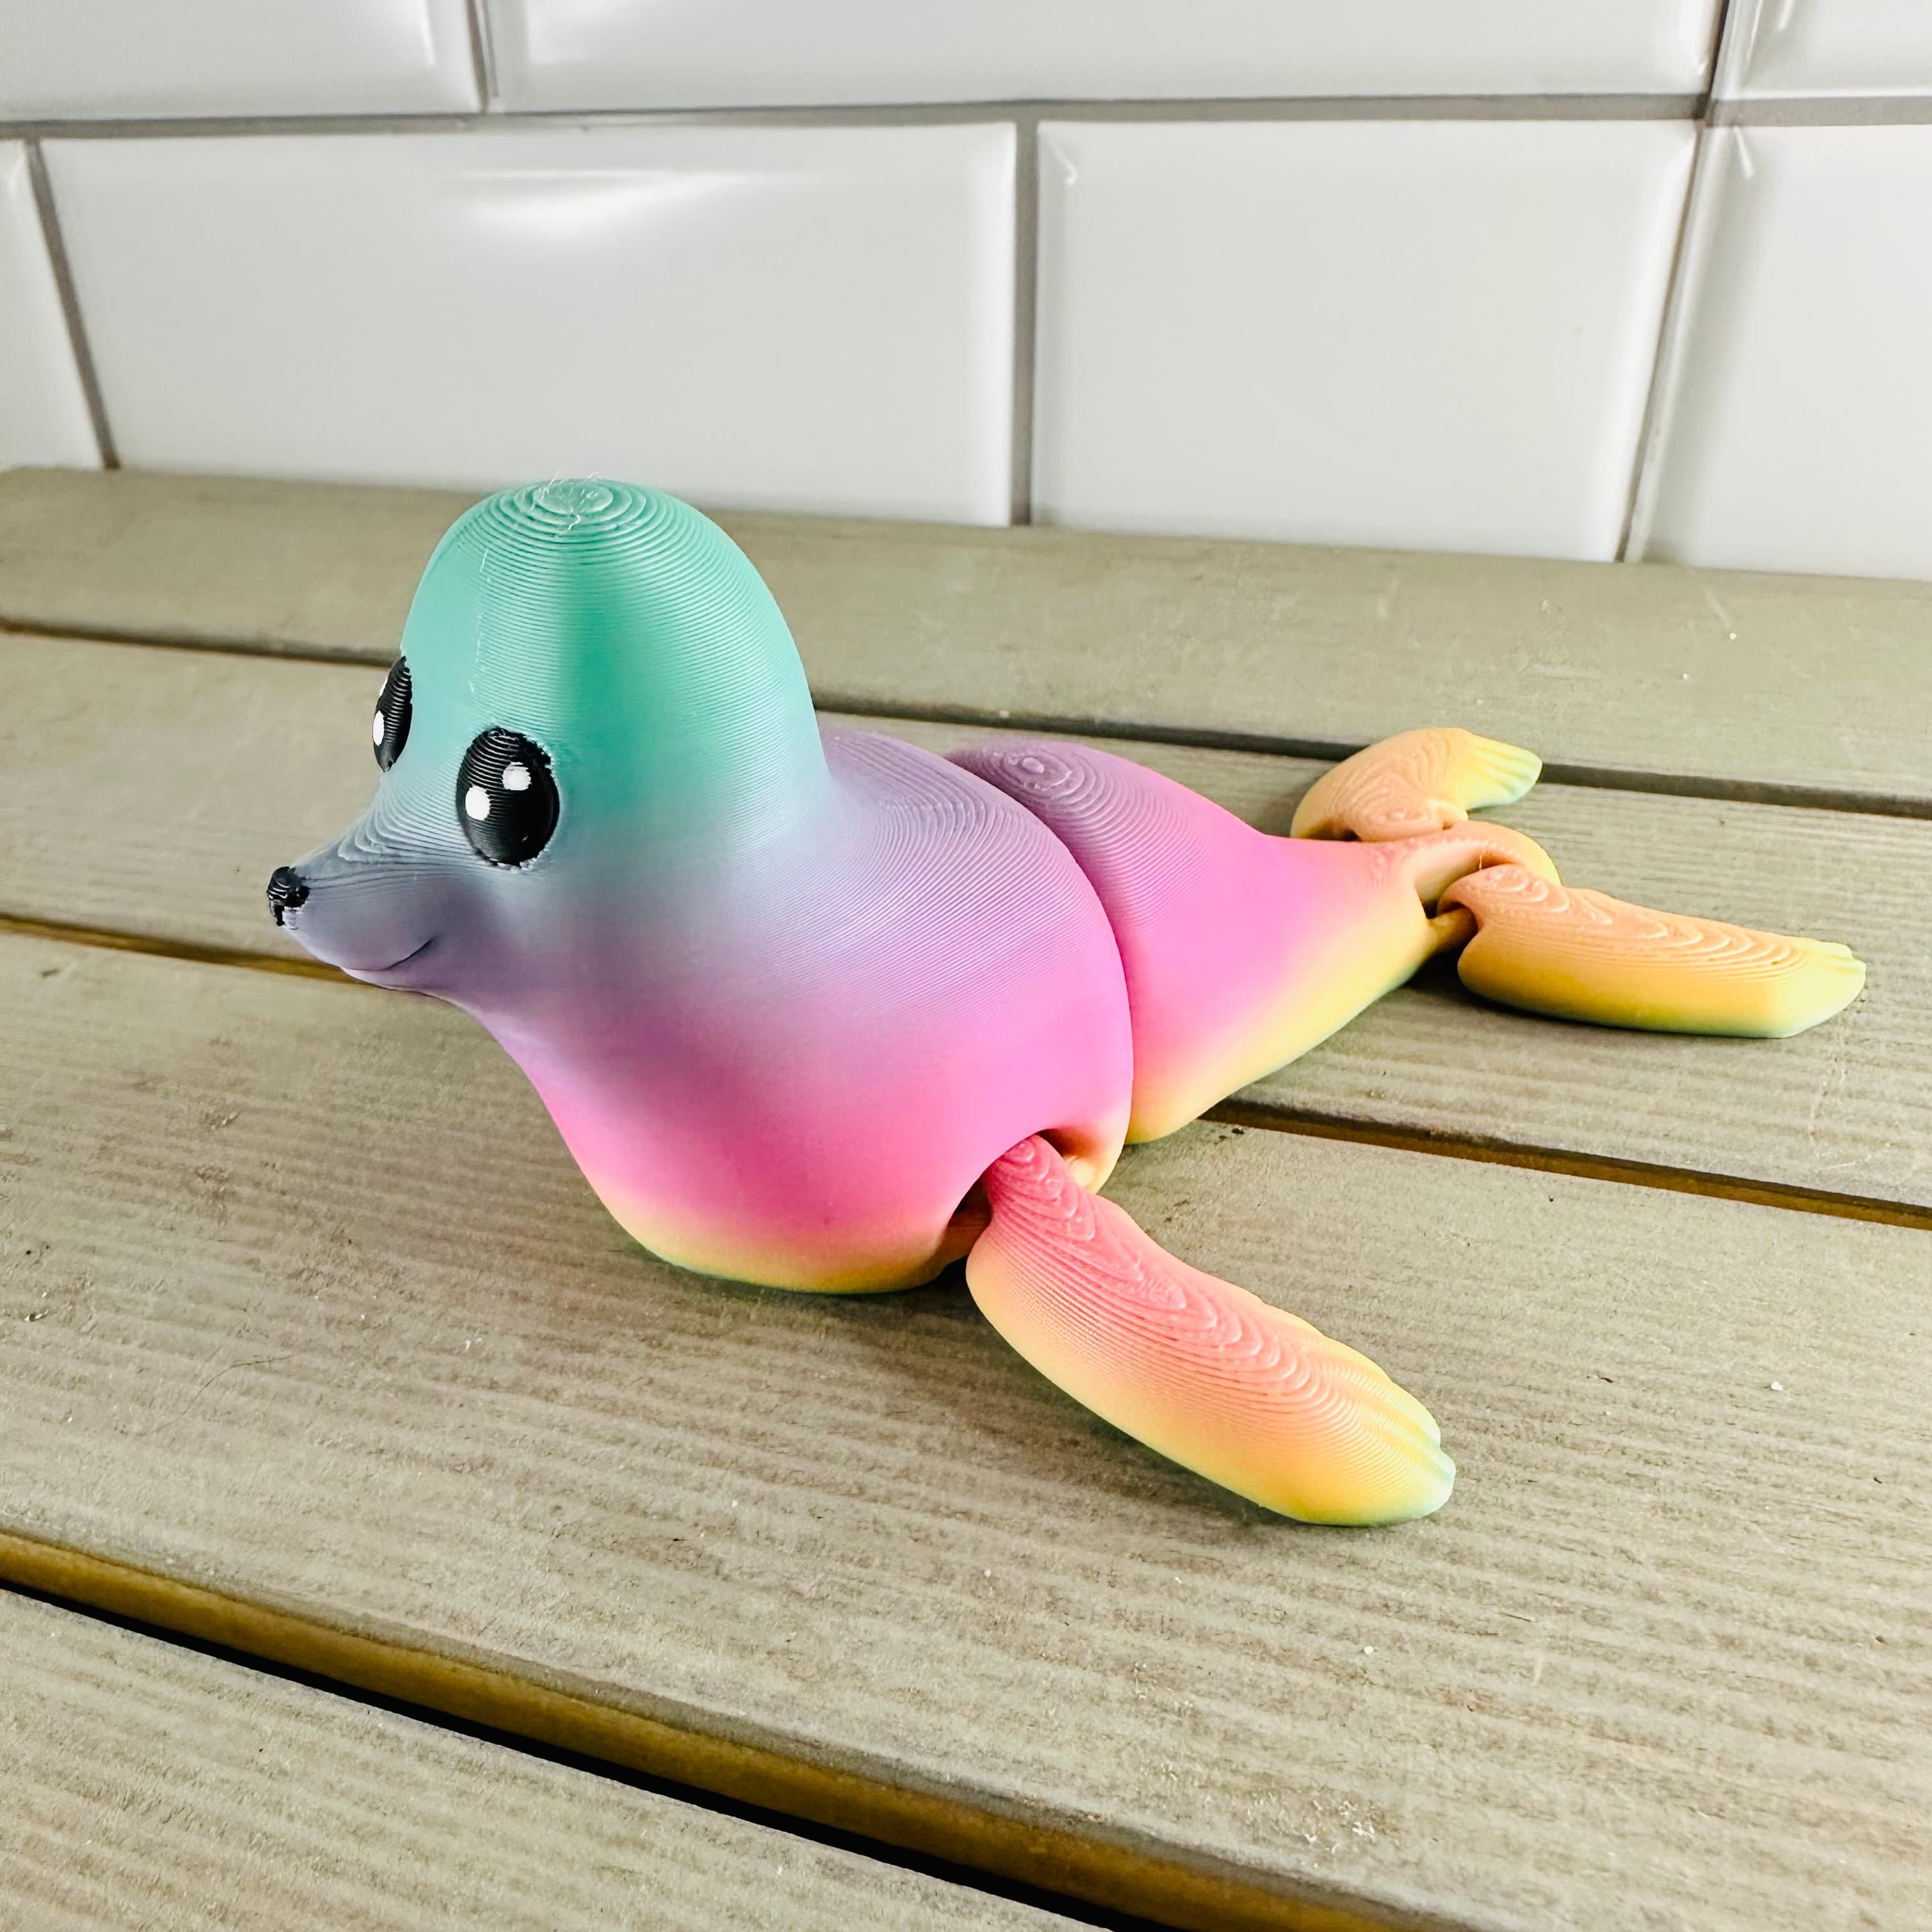
Flexi Baby Sea Lion
.png&w=3840&q=75)
Voidcarver Articulated Print-in-Place Dragon

Great make! Looks so clean! Thank you for sharing!