
Ender 3 Linear Rail Mount for BIQU H2
Model originally uploaded to Thingiverse at https://www.thingiverse.com/thing:4905568.
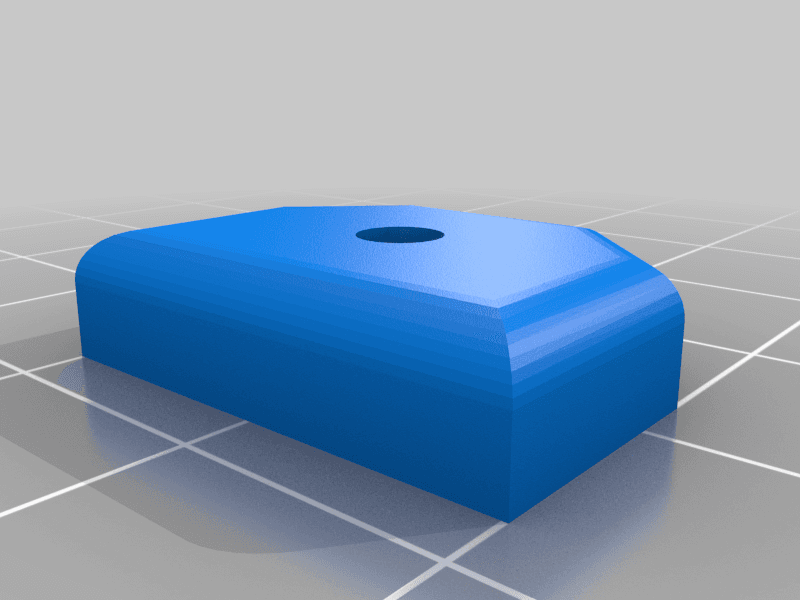
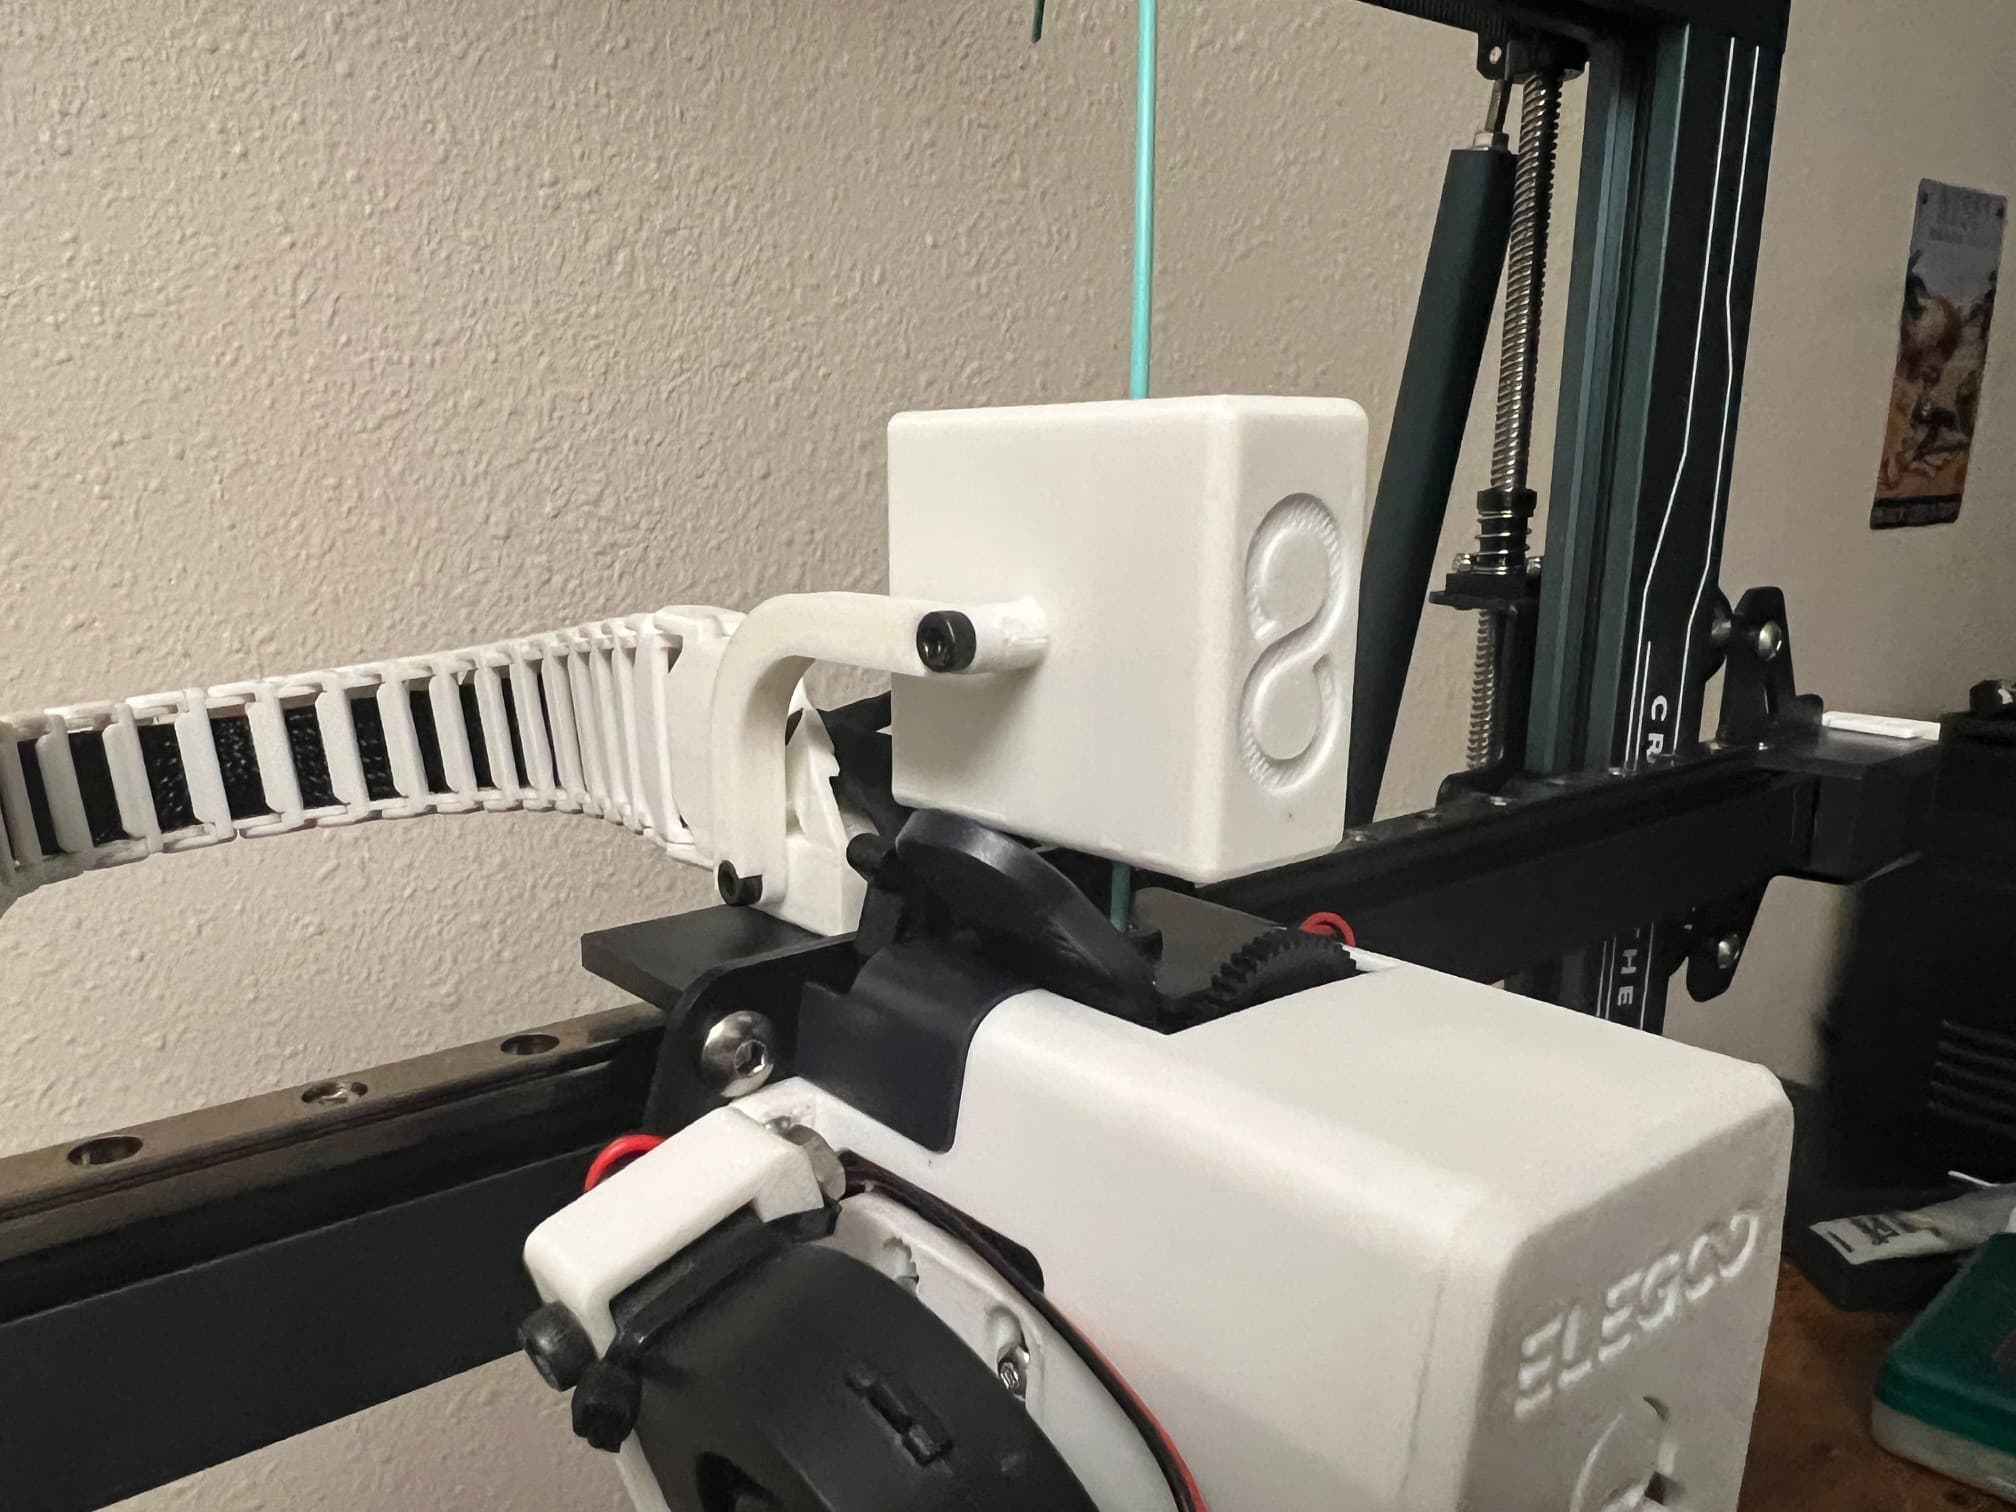
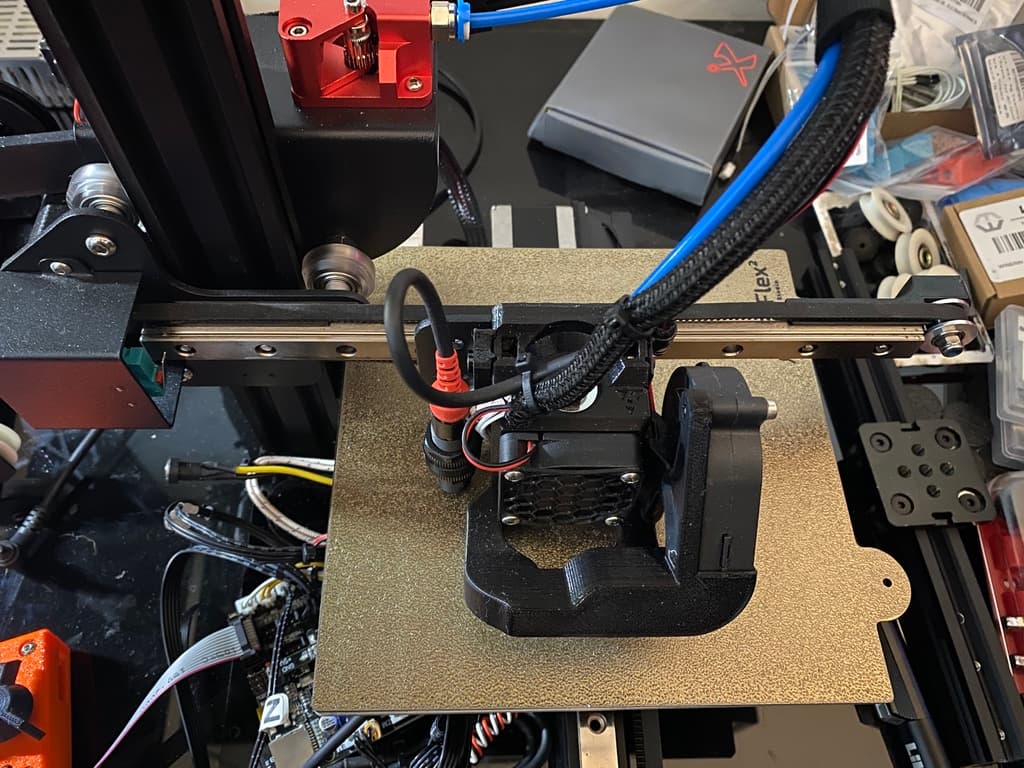
This is an adapter to run a linear rail on the X-Axis of your Ender 3/3 Pro coupled with a BIQU H2 direct drive extruder. The needed hardware is as follows: 10pcs M3x6mm button head screws 4pcs M3 T-nuts There is no modification necessary to the end stop for the x-axis. Mount the linear rail with 4 of the screws and the t-nuts. Then, mount the adapter to the carriage on the linear rail using 4 more screws. Finally, remove the rubber stopper and slide the assembly all the way to your right and install the last two screw through the adapter and in to the BIQU H2 from behind. Now, you need to connect to the printer with a pc or through a raspberry pi and send the following commands to re-center the build volume. M206 X-4 M206 Y-10 M500 Make sure you hit enter after each command and don't skip the M500 as it saves the settings to firmware. You can adjust the Y offset a bit if you find that your Y end stop position differs from mine which will affect the centering. If your build is closer to the front of the plate use a larger negative offset, ie Y-12 etc instead of my Y-10. I try to run a bed leveling test that puts a square at each corner with a skirt to make sure my end stop and offset is correct. If the offset is too much you will hear the belt skip when the bed travels all the way forward. Kill the print and change the offset and try again. My goal was to make this as easy as is reasonably possibly. Linear rail should be positioned so there is 15mm between the end of the rail and the black plastic of the end stop. You will have to remove the rubber stopper from the left side of the rail but leave the right side in after you have assembled everything.
Ender 3 Linear Rail Mount for BIQU H2

BIQU H2 extruder mount for an MGN12H linear rail

Biqu H2 BL Touch Mount - Direct Drive Extruder

BIQU H2 MGN12C Mount STL

BIQU H2 MGN12C Mount STEP

X-Axis Linear Rail For MGN12 Linear Rail

Linear Rail Bath - Clean your linear rails

Anycubic Mega Zero Z-Axis Linear Rail

AnyCubic Mega Zero V1 Y-Axis MGN12 Linear Rails

MGN12 2040 Carriage Stop-Linear Rail Alignment Tool.stl

Anycubic Mega Zero X-Axis Linear Rail

Ender 5 Core XY with Linear Rails MK2
.jpg&w=3840&q=75)
MS DD Linear rail mount for Creality / Ender printers
Ender 3 X-Axis MGN9 Linear Rail Carriage

Kobra Max Linear rail y axis upgrade
Neptune TBStron3D Linear Rail Chain Adapter and Run Out Sensor Relocation
Kingroon KP3 X Axis Linear Rail Mod

Angled 40mm to 35mm Fan Duct - Biqu H2 Cooling Fan

MGN12-H Linear Rail 400mm Long-3D Distributed.step

Satsana - Linear Rail / Direct Drive Stock for Ender 3v2 Remix
