
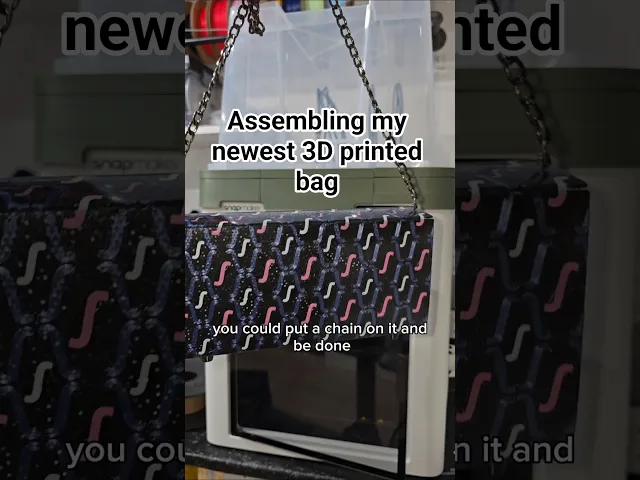


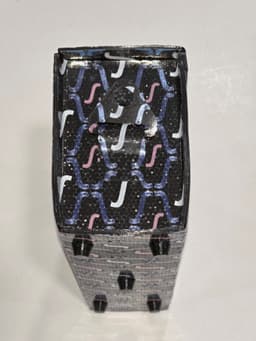


Foldable TPU bag sized for Snapmaker U1
I've wanted to create a multi-color, multi-part TPU bag for a while. I wanted to create a bag that was easy to print and easy to put together, with limited additional hardware required. You will need some adhesive to bond the TPU pieces together - I find E6000 to be very effective. Please follow along the process with the included videos, and reach out to me at Kaizen3dprints@gmail.com if you have any questions.
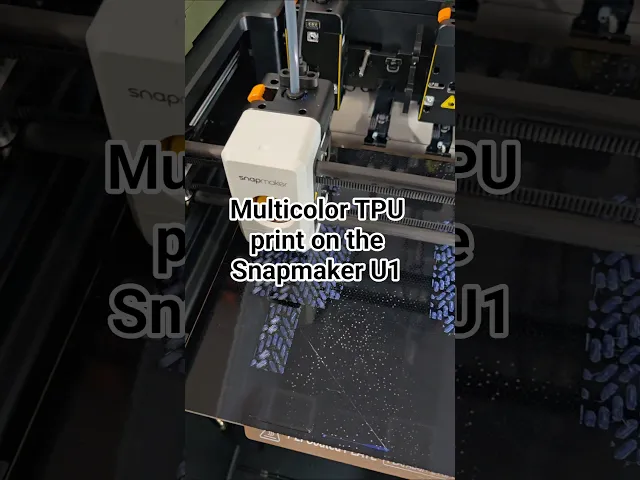
This bag was designed to be printed on a Snapmaker U1 and requires a minimum build plate size of 270mm x 270mm. I have everything laid out in Orca Slicer with a Snapmaker modifier pattern, but it is not limited to this design as seen in the attached videos. You can also load in the individual STL files to your slicer of choosing.
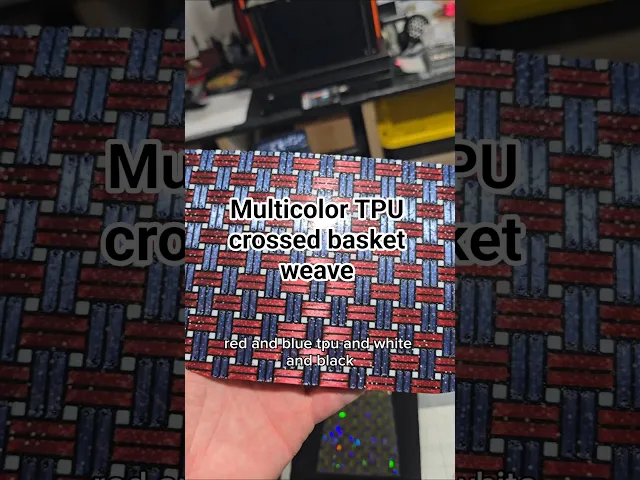
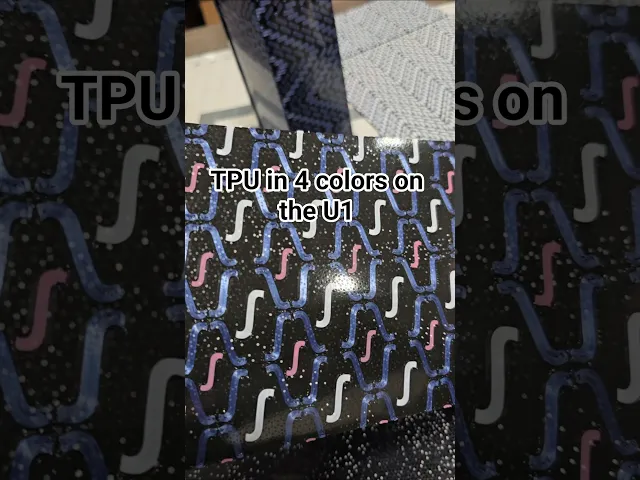
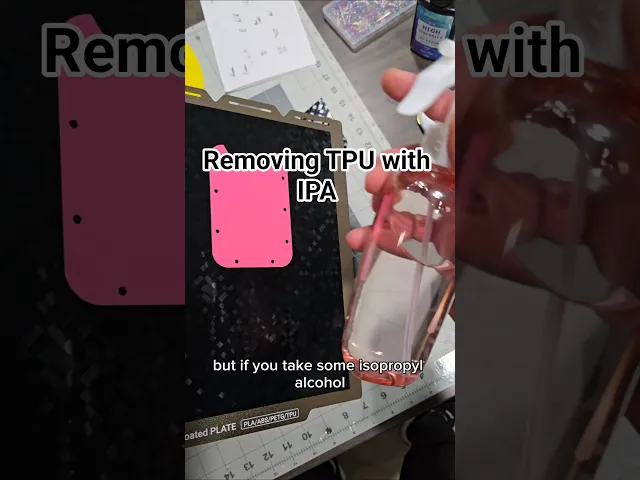
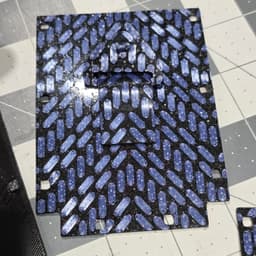
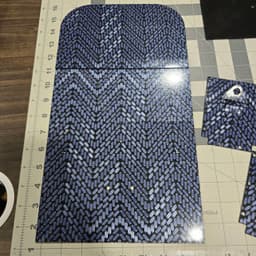
The exterior pieces are intended to be printed with TPU at a .2mm layer height. There are pieces for the interior that are intended to be printed in PLA at a .2mm layer height. I used Holographic P-Flat sheets found at www.kaizen3dprints.com, but a textured build plate gives an awesome effect, too. I use Isopropyl alcohol to aid in the removal from the build plates.
You can either assemble the bag first and attach the panels after, or you can attach the panels first and then put the bag together. I use the same adhesive to apply the PLA panels to the interior of the bag. There are registration points around the borders of the TPU pieces that will align the base, top, and sides together. I use alligator clips to ensure good contact while the adhesive cures. The top of the bag will slide behind the front of the bag for closure. There is a small indentation in the front of the bag to allow easy opening. Attach a strap of your choosing, and enjoy!
Foldable TPU bag sized for Snapmaker U1

Slowking Controller Holder

STRING-FLEX - CUSTOMIZABLE CHARACTERS KEYCHAIN - MINECRAFT + GIFT

STRING-FLEX - CUSTOMIZABLE CHARACTERS KEYCHAIN - VALENTINE'S DAY VERSION

Broken Brick – QTECH Prototype-01 (3MF-NO AMS)
.JPEG&w=3840&q=75)
STRING-FLEX - CUSTOMIZABLE CHARACTERS KEYCHAIN

STRING-FLEX - CUSTOMIZABLE CHARACTERS KEYCHAIN - MONSTERS VERSION

STRING-FLEX - CUSTOMIZABLE CHARACTERS KEYCHAIN - EASTER VERSION

Rainbow Stacking keychain

Print-In-Place Miniature Easel :: Art & Hobby Display Stand

Quilted Purse Makeup Organizer - Coquette Aesthetic Vanity Caddy

RETRO GameStack - NES
.png&w=3840&q=75)
Printable Phone Stand 3mf and STL File V1

Foldable Adjustable Phone Holder, Universal Mobile Stand

RETRO GameStack - PS5/PS4/PS3/Blu-ray

PREMIUM VERTICAL LAPTOP STAND | LAPTOP DOCK | 3D DIGITAL FILE

Large Foldable Stand - Multi Angled - Steam Deck / Switch / Mobile Phone / Tablet

20260105 - Multiple stack foldable toy shelf.stl

The Universal "Safe-Grip" Guitar Wall Hanger

Knitting and Crochet Swatch Gauge: Foldable, Portable, Print in Place, Commercial Version
.png&w=3840&q=75)
Can you also print this in PLA Silk vs the TPA?
What is the difference with the Snapmaker vs Bambu H2D?