
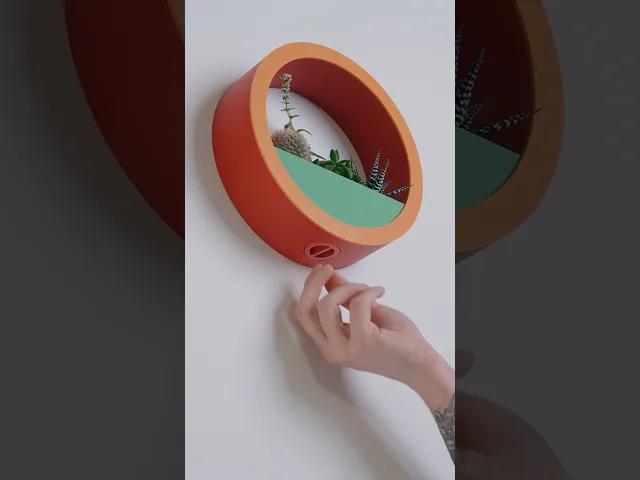


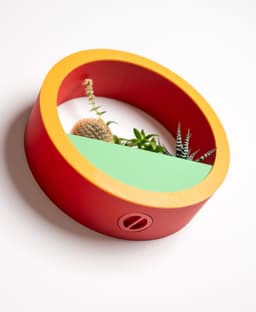


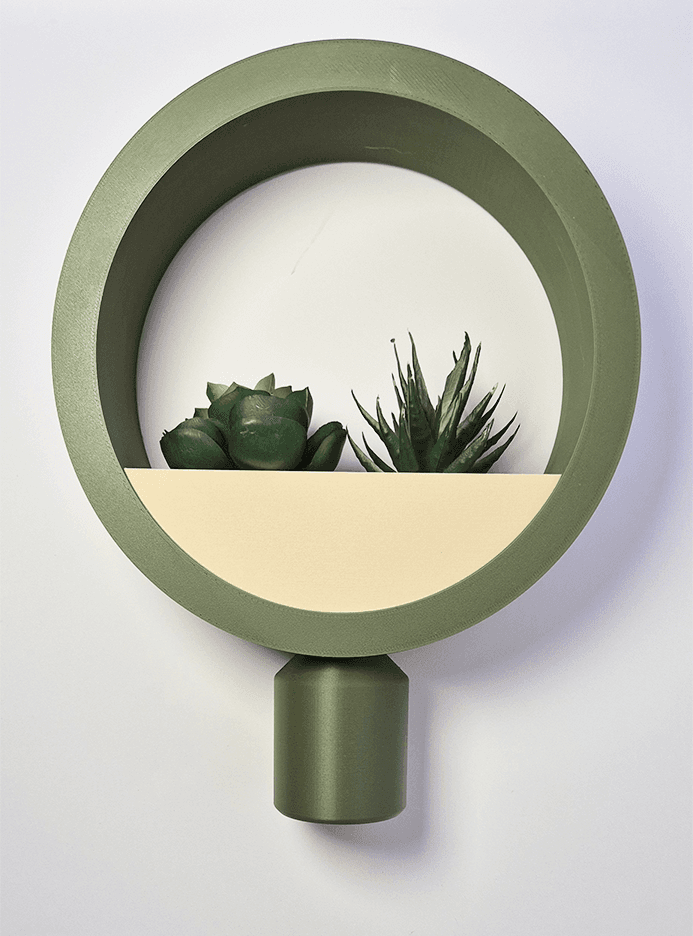
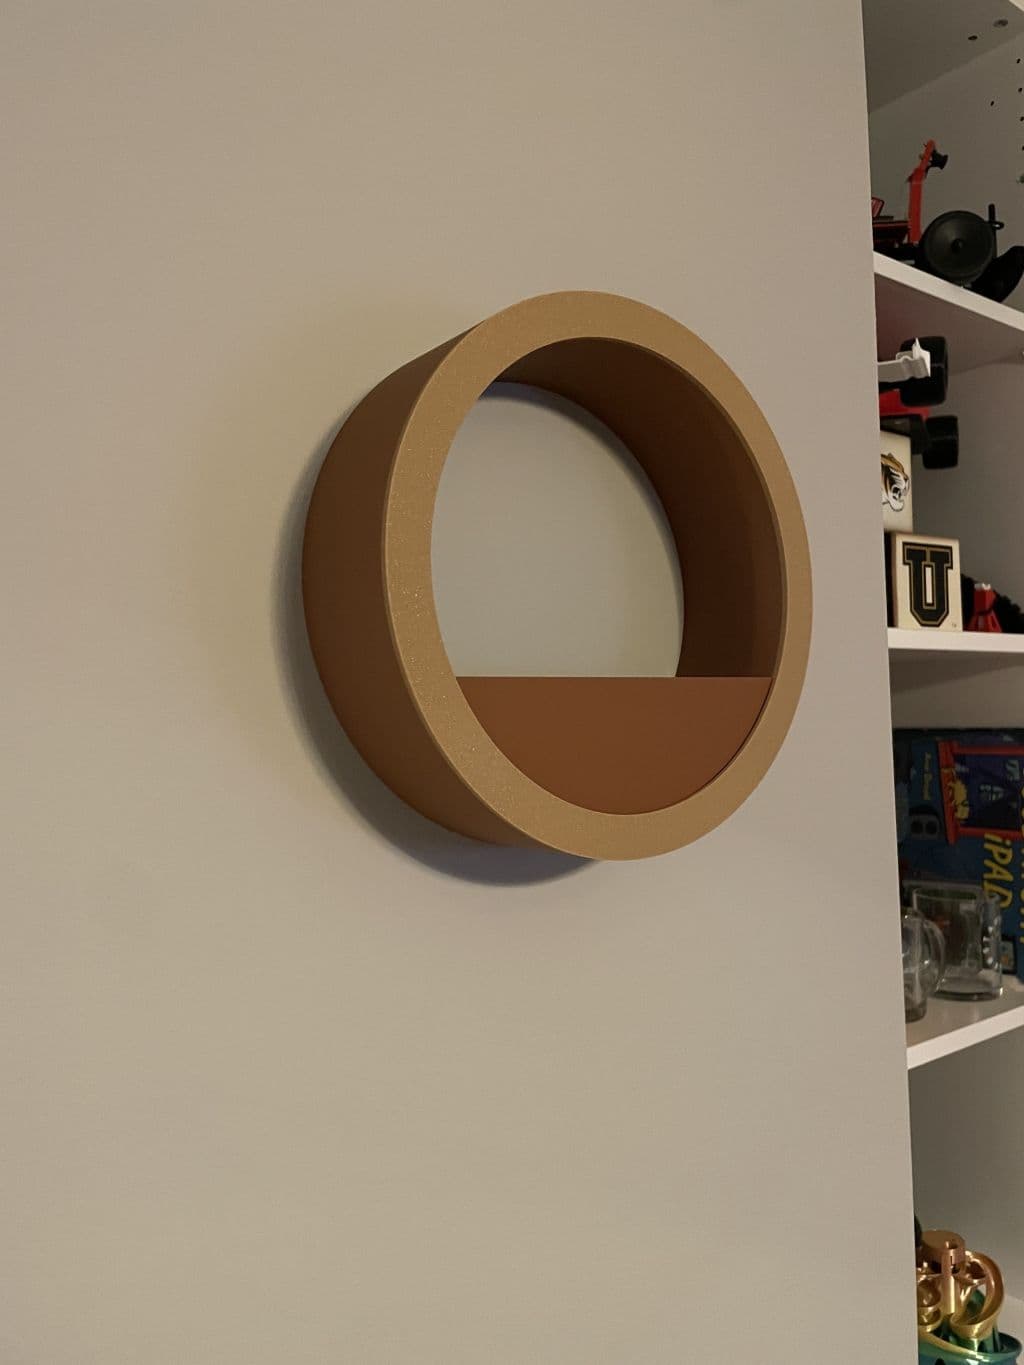
Circle Planter with Hidden Drainage
I've been wanting to make this one for a while! This planter features a hidden, threaded cap in the bottom that can be removed. Then you can screw in the drip jar to catch any residual drips from watering.
Update: I've added a tabletop stand for those who don't want to mount this to a wall! Since the drainage hole is plugged up by the tabletop stand, you can water your plants by removing the planter from the circle and watering in the sink (this is what I do with most of my plants anyway).
How to mount to your wall (also shown in video)
- Insert the keyhole marker into the keyhole slots
- Firmly press against wall in desired location and the keyhole markers will make an indent where you need to drill
- Drill holes using a 3/16" drill bit
- Insert wall anchors and screws (#8 - #10 x 1" screws and anchors)
- Make sure the screw head is sticking out just far enough to tightly fit in the keyholes. If it's too loose, tighten the screw incrementally until it's a tight fit.
- Attach circle to the wall
Supports Tree supports are needed for the outside opening of the drainage hole. If you just do automatic tree supports, it should only apply them to the outer opening of the drainage hole.
Scaling I wouldn't recommend scaling this one since it perfectly fits the #8 - #10 x 1" screws and anchors.
Orientation
- The circle prints with the keyhole slots facing up
- The cap prints with the flat side on the build plate
- The planter, drip jar, and keyhole markers print upright
Print Settings
- .2mm layer height
- 15% grid infill
- 2 walls
Filament & Hardware
Filament
- Bambu Lab Dark Red Matte PLA
- Bambu Lab Mandarin Orange Matte PLA
- Bambu Lab Grass Green Matte PLA
- Bambu Lab Ivory White Matte PLA
Hardware
- #8 - #10 x 1" screws and anchors
Filament and non 3D printed items for this model can be found on my Amazon Storefront, linked here: https://linktr.ee/loftedgoods


Circle Planter with Hidden Drainage
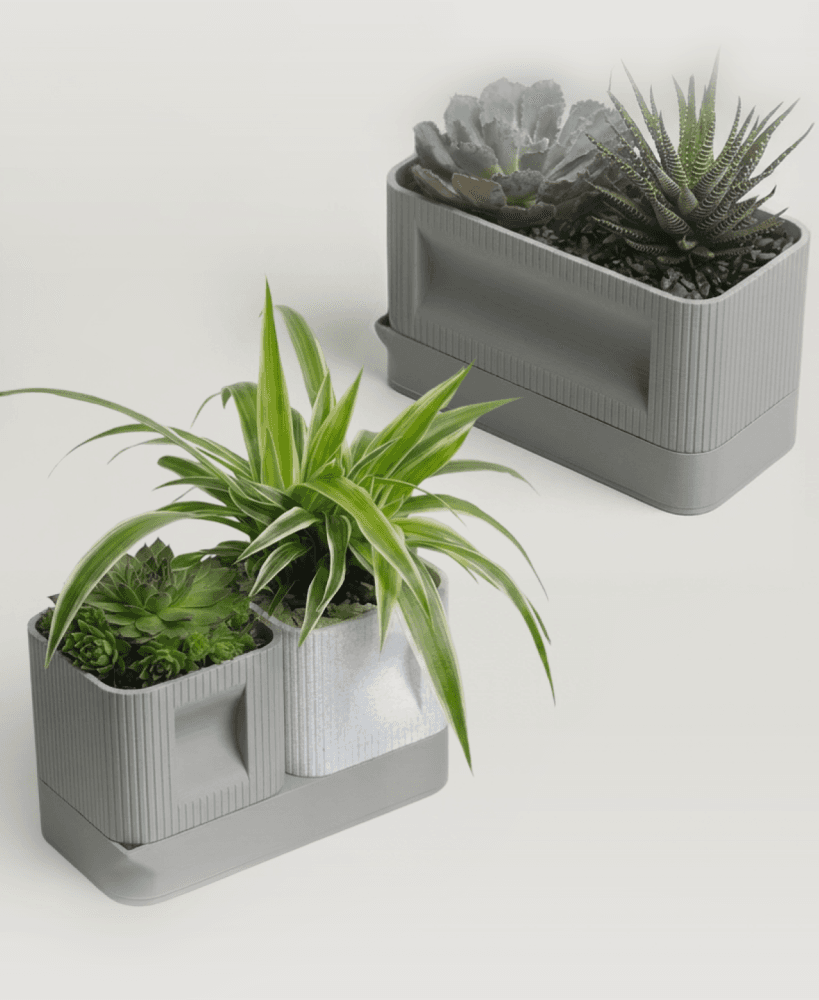
Aura DUO | Architectural Ribbed Square Planter with Hidden Drainage

20260330_Aura | Architectural Ribbed Square Planter with Hidden Drainage_bottom.3mf

Honeycomb Planter with Drainage

Sleek Planter with Drainage
.png&w=3840&q=75)
Elegant Planter With Drainage

Bubble Planter with Drainage
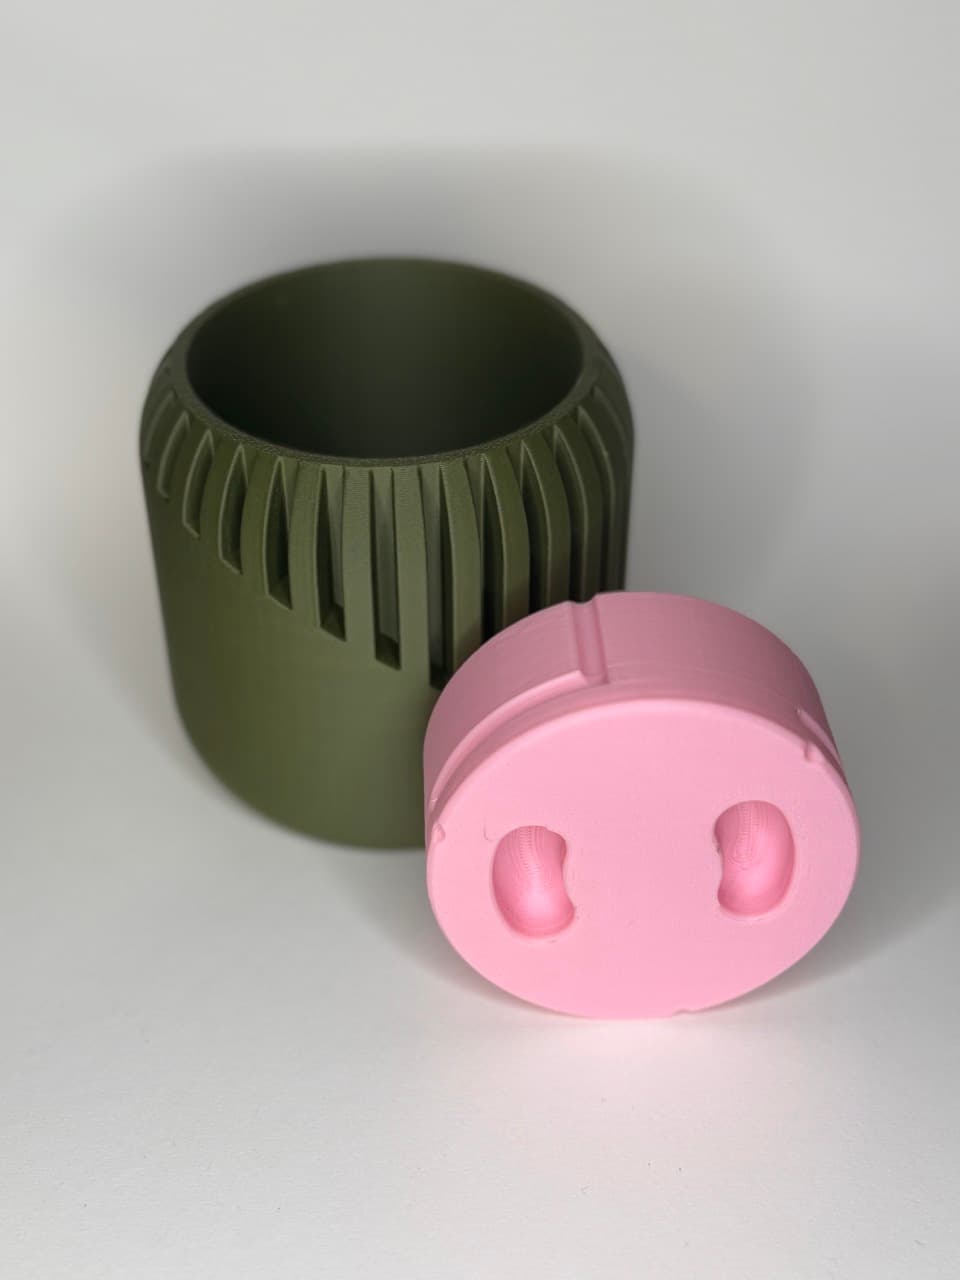
Slope Planter with Hidden "Pig Nose" Drip Tray

Medieval Gothic Planter with Drainage & Twist-Lock Saucer – 15 cm Printable Flower Pot
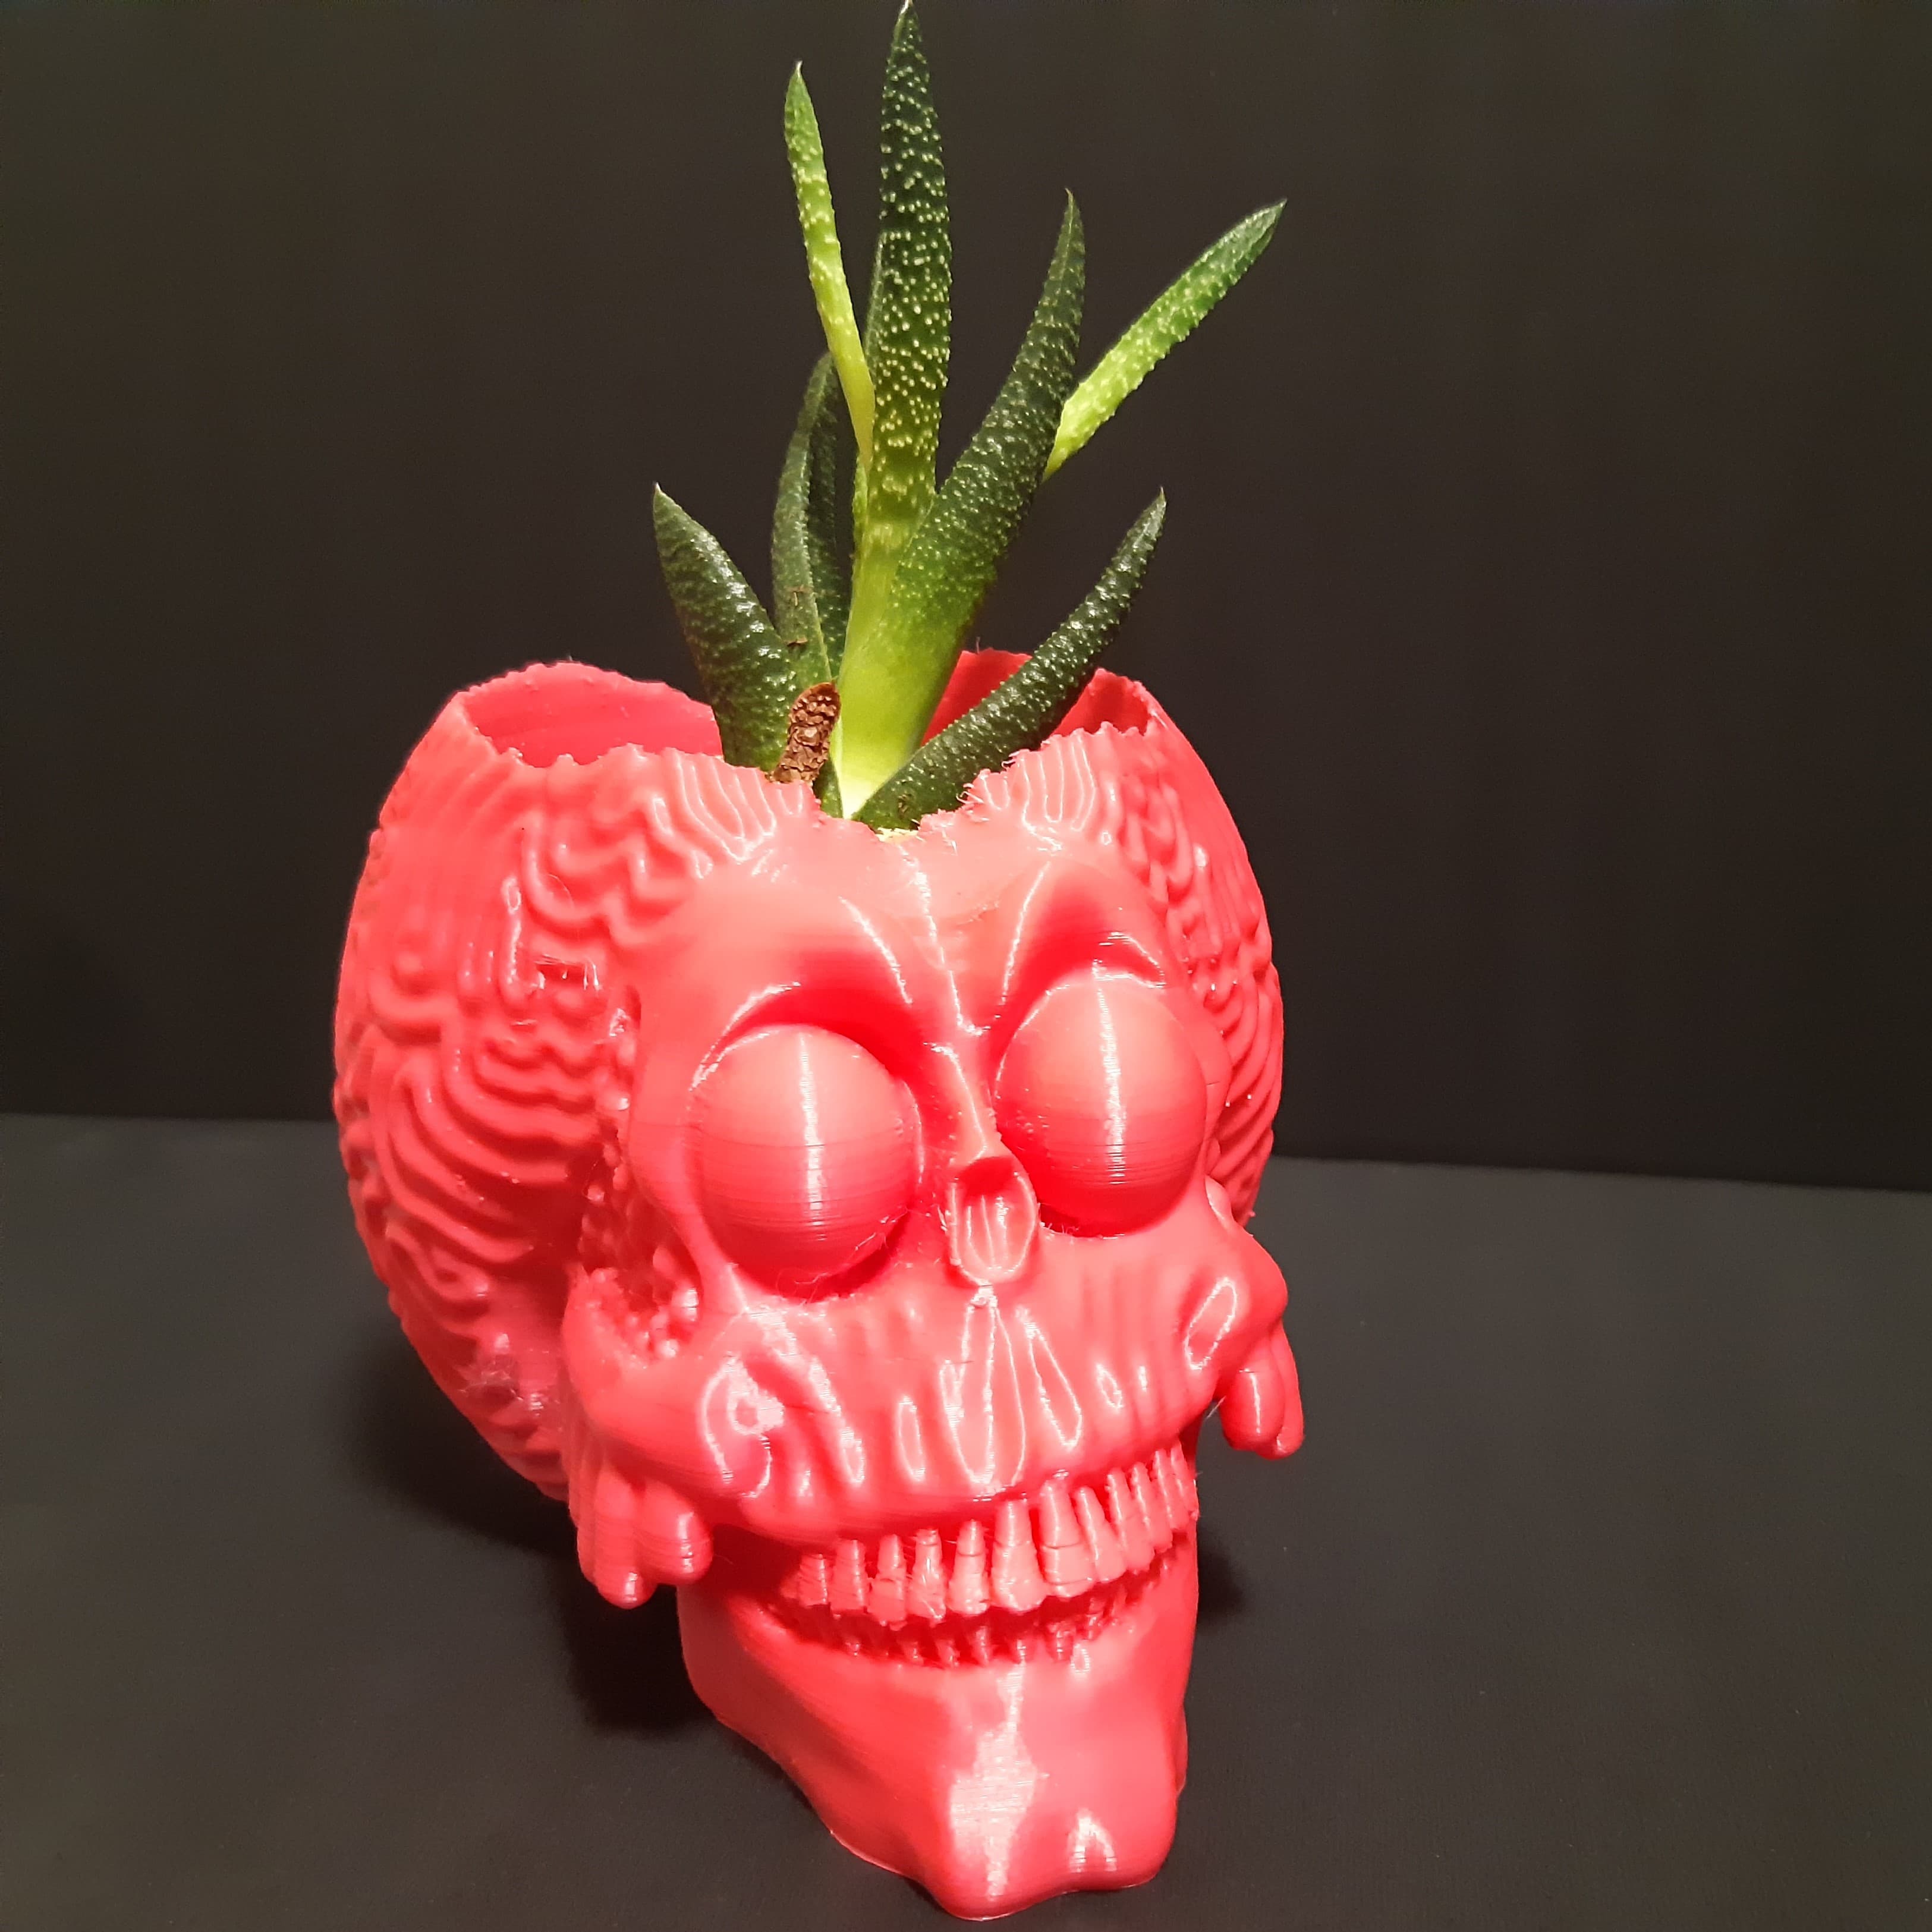
MARTIAN SKULL PLANTER - WITH OR WITHOUT DRAINAGE

UFO Flying Saucer Planter - With or without drainage.

OYSTER MUSHROOMS ON LOG PLANTER - WITH OR WITHOUT DRAINAGE - OPTIONAL CONTAINER LID

Alien Head in Hand Planter - Easy to Print - With or without drainage.

Long Planter | Modern, Elegant Design

Round Wide Planter, Modern Planter for Home and Garden

Petal and circle shapes Vase

Zen Garden Planter

Bubble Planter

Dragon Planter

Frog Planter - Support Free

We bought some wall panels that we will be using to divide community gathering spaces. We want to turn them into green walls (low-tech non-profit affordable). Two design options we'd love is to have the plater go halfway up (or maybe higher) so we can have more soil and the option to plant vines like this pothos. We'd also love to add a solar lantern light replacement on the top (2.76 inch).
I'm loving this planter, but it's too big for my printer, so I'll need to scale it down to 200 mm (maybe 210). I can do that and find my own screws, but if you're thinking of making any variations, my ideal version of this would be 200mm outer diameter, mounting holdes and mounting insert that still work, and NO drainage hole. While the drainage hole and bottle are clever, it's so easy to water by just removing the planter portion for watering, and I'd love the clean lines with no bottom plug.
Just added a 200 mm version! Added a version with and without drainage. The keyholes are the same size as the original so it still uses #8 - #10 x 1" screws and anchors.
Circle 200mm.stl is perfect. Circle 200mm No Drainage Hole.stl still loads into my slicer at 241mm.
Whoops! Sorry about that. Try redownloading that file. It's 200mm now.
Circle 200mm.stl is perfect. Circle 200mm No Drainage Hole.stl still loads into my slicer at 241mm.
Amazing! Thanks!!
Noted! I can make a 200mm version with no drain hole. Can also make a version of the original size without a drainage hole if people want that.
Would it be possible to have a version without a "hole" for the planter? ie, it becomes a shelf? This would be awesome to display things on
There is a version without the drainage hole. But do you mean a version without the cutout for the planter? I'm going to be releasing a version with multiple shelves if that's what you mean!
Yup that’s basically it. Can’t wait to see it!
How do you make it two-tone? Is this a multi-material print, or is there multiple pieces to allow for this?
Hi With the print your model shows flush fitting of the planter? When I printed the planter dose not fit the circle, Have I missed something please.