


.png&w=256&q=75)
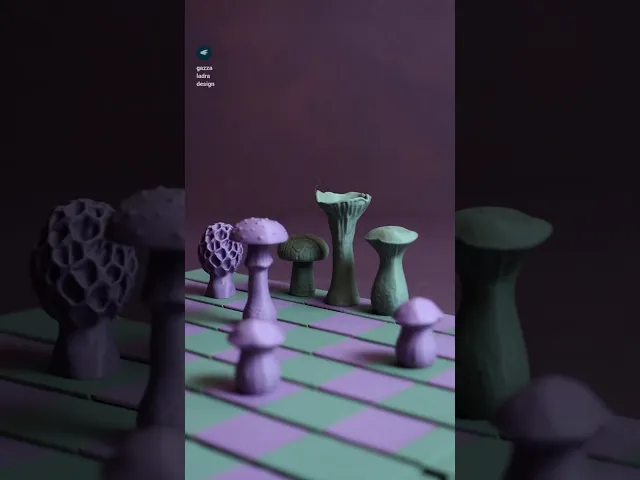
Forest Chess set
1.5K downloads · 2 years ago · This is a collaborative project by [ForgeCore](https://thangs.com/designer/ForgeCore) and me.
**A u
This model is restricted by licensing terms.
View license.
This is a collaborative project by ForgeCore and me.
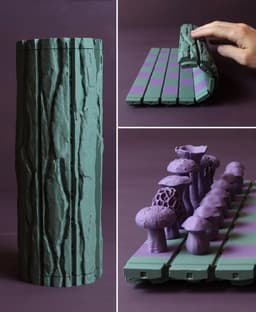
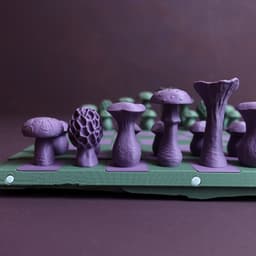
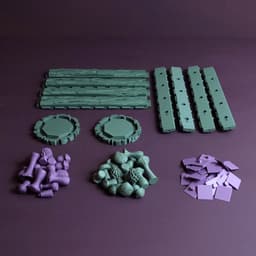
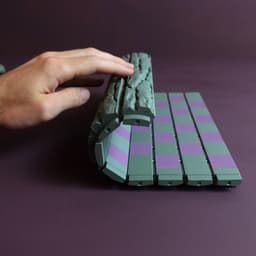
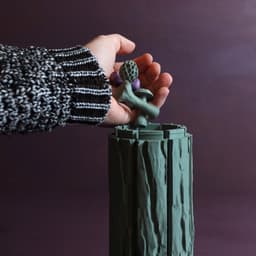
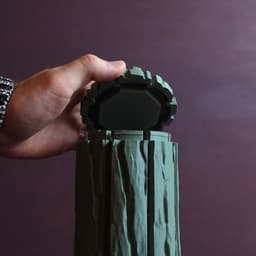
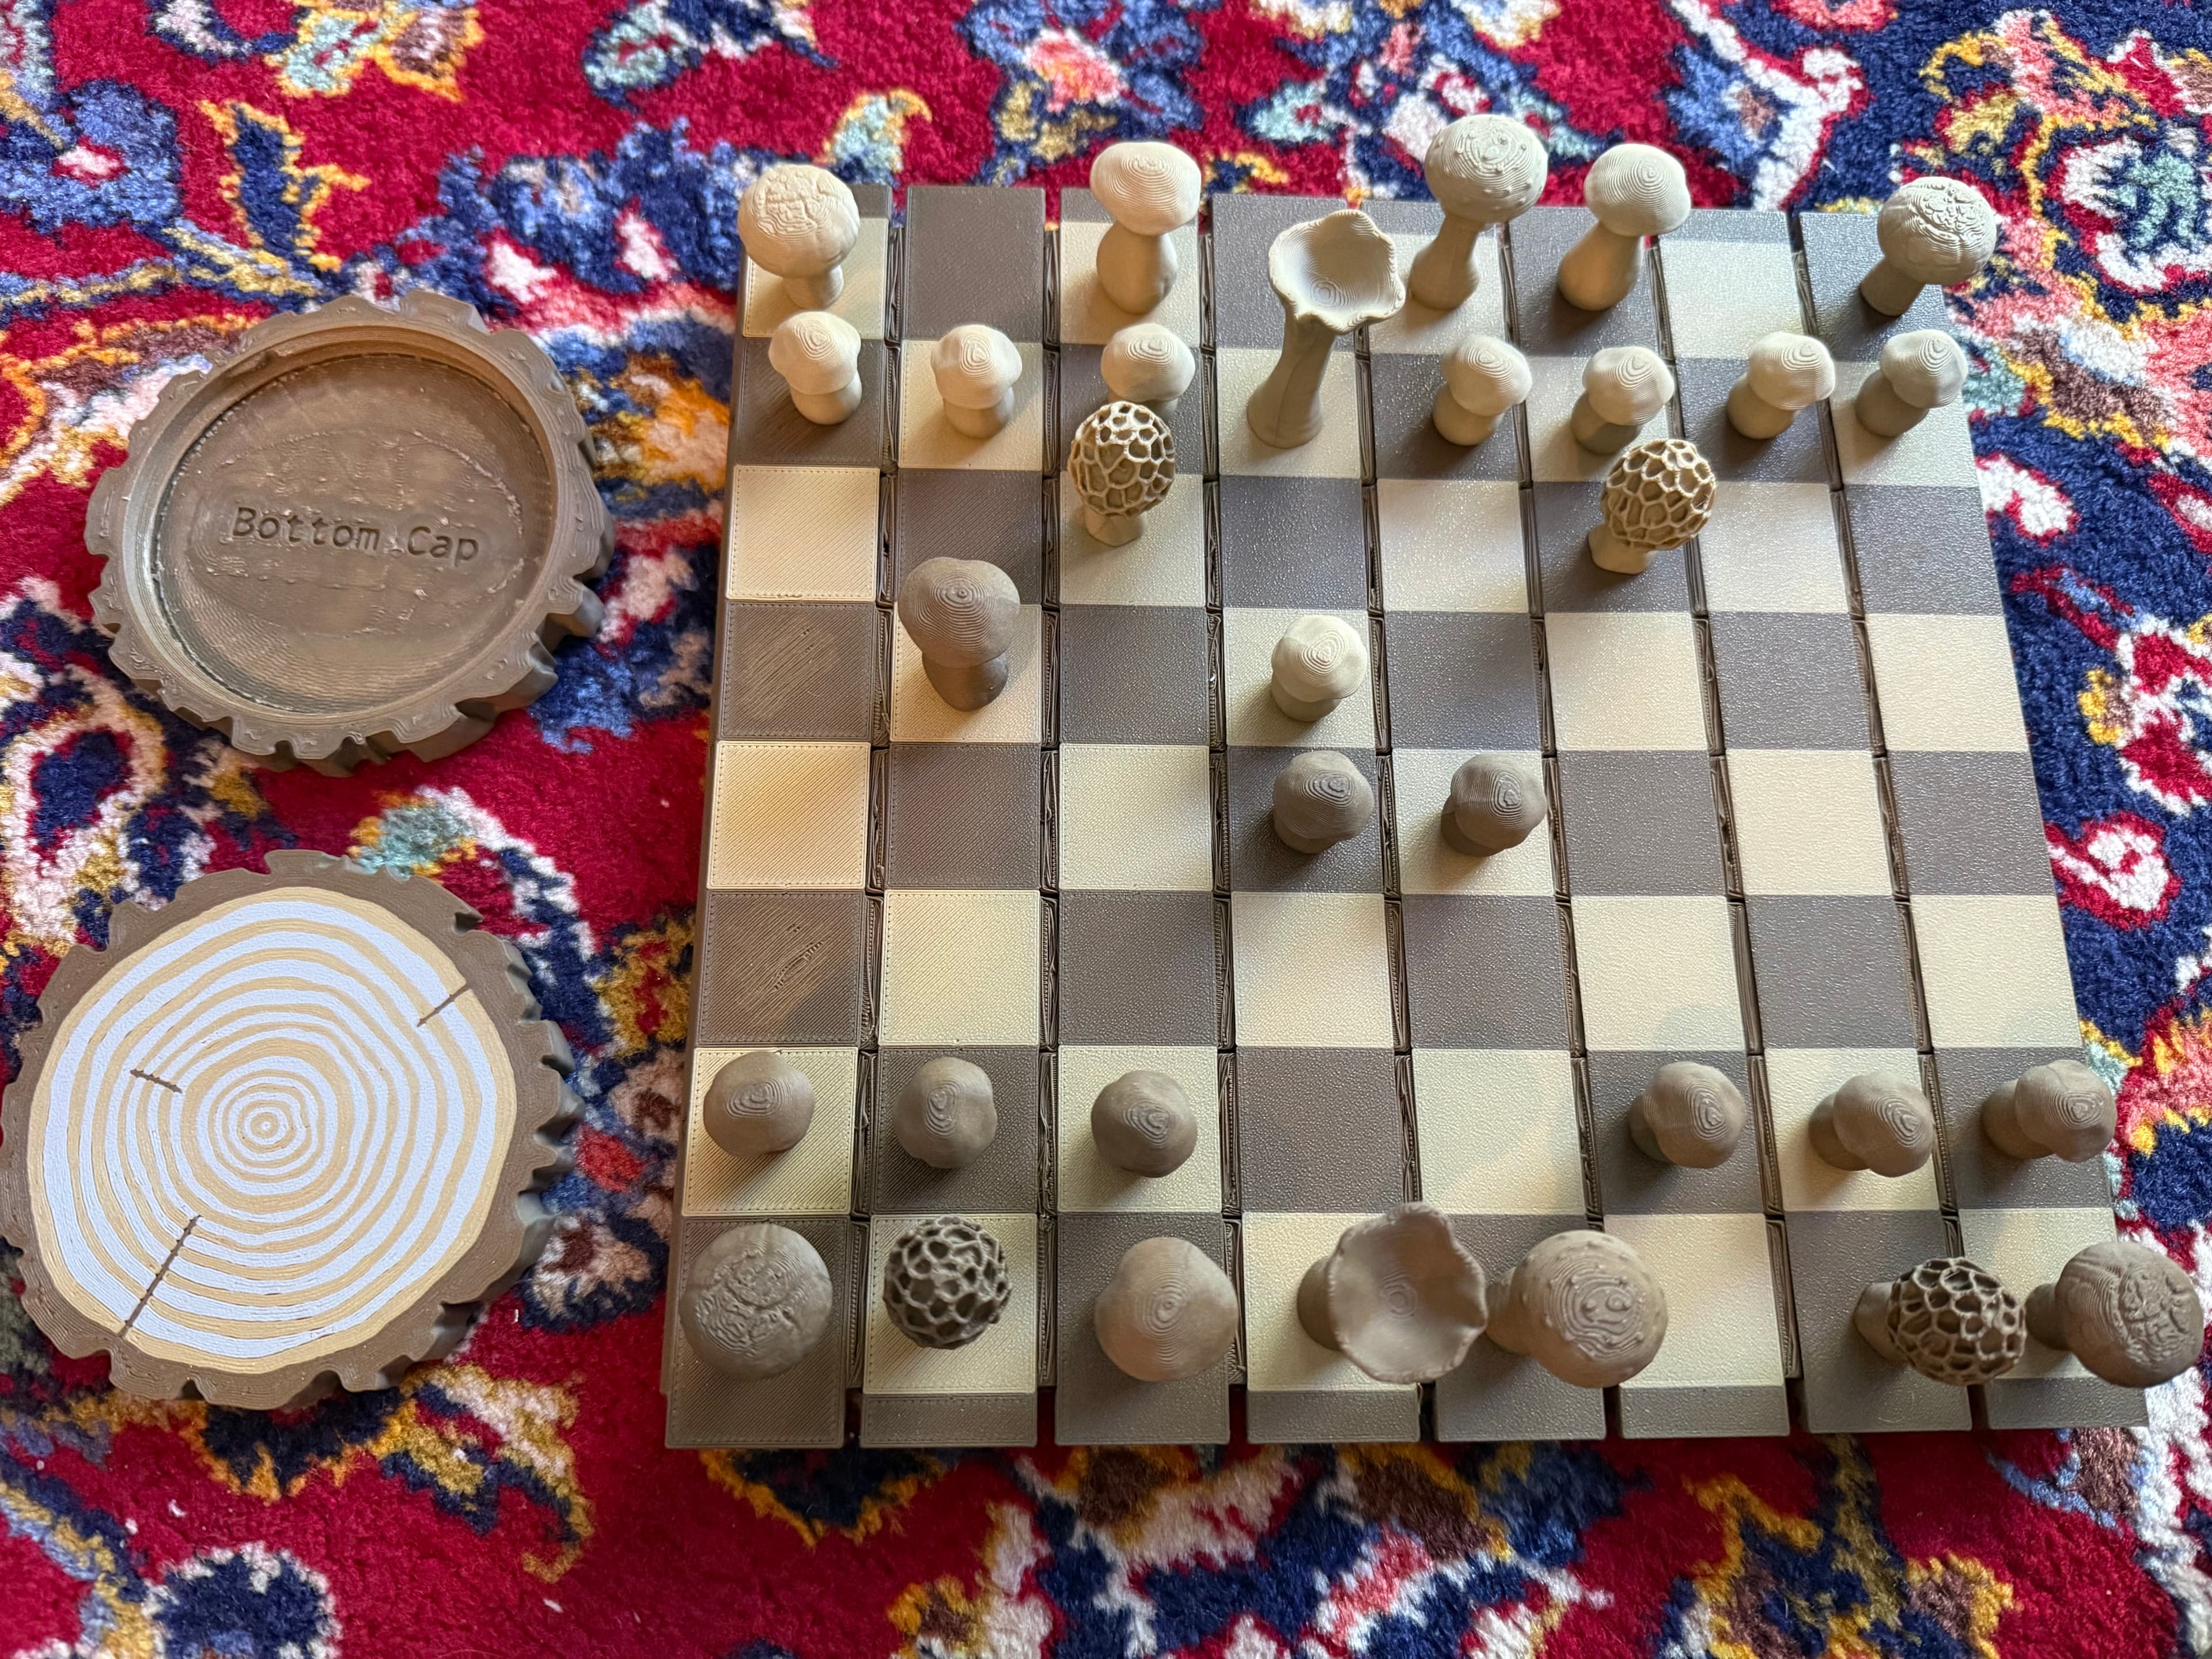
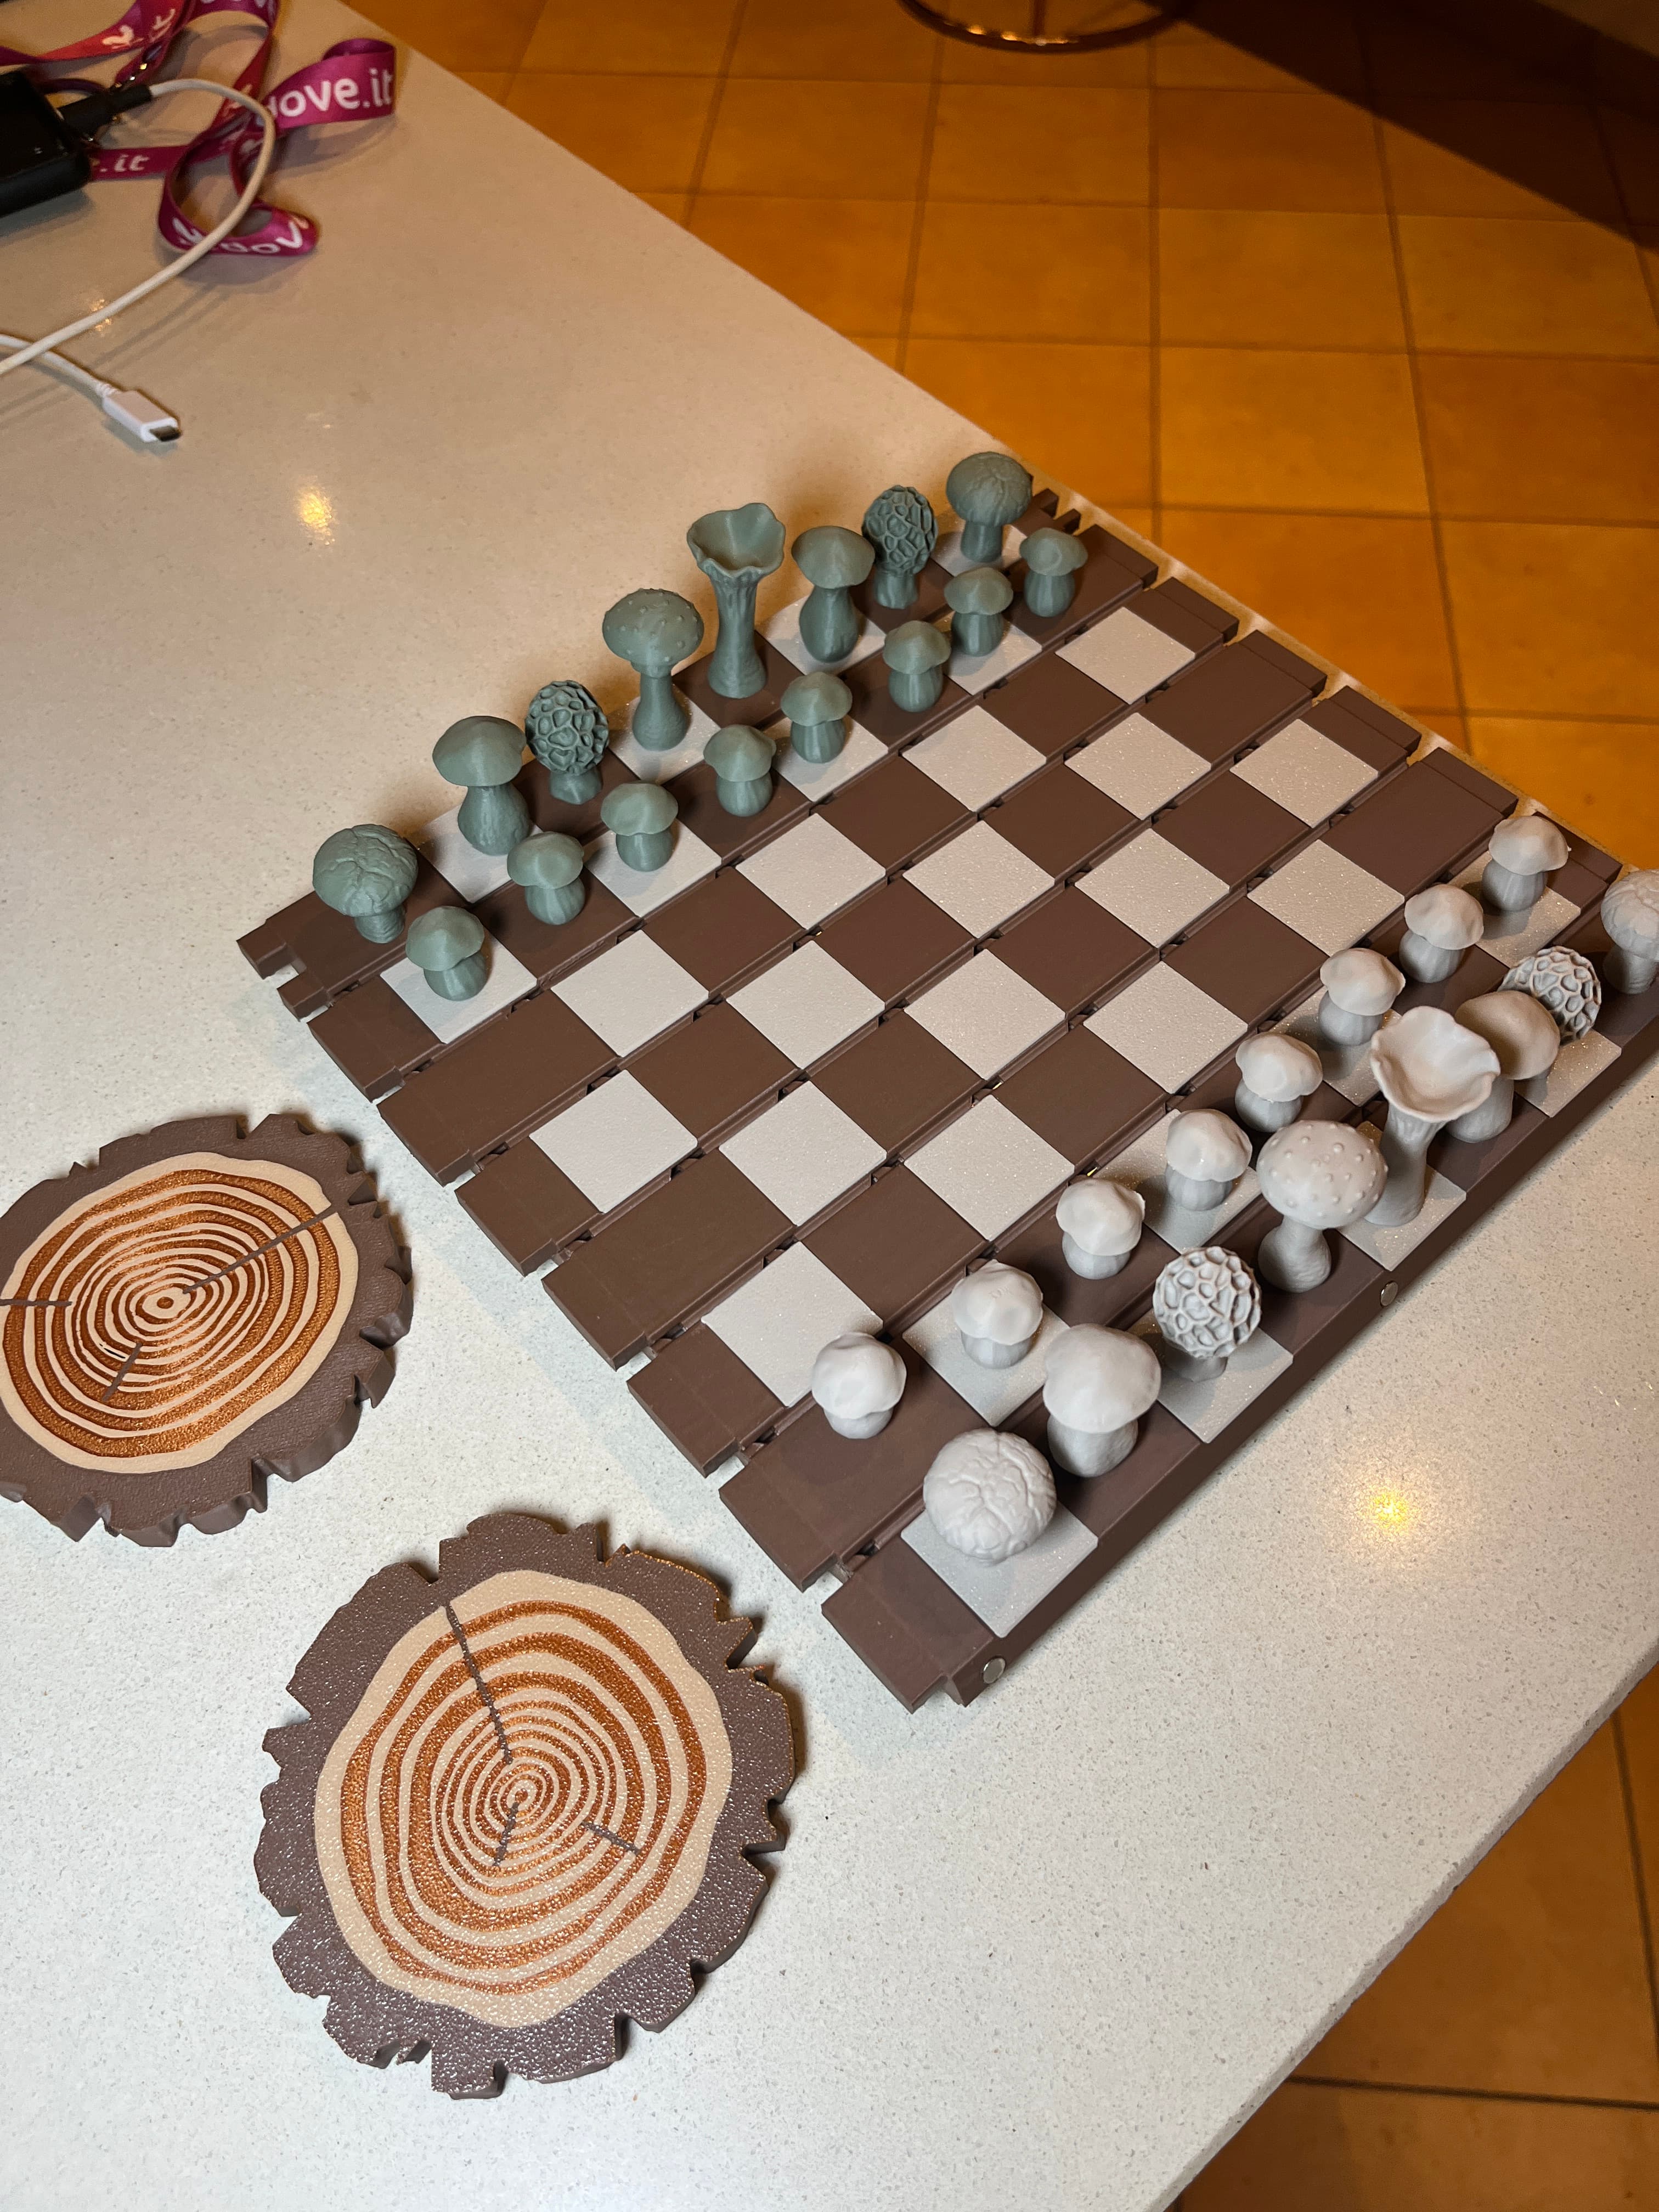
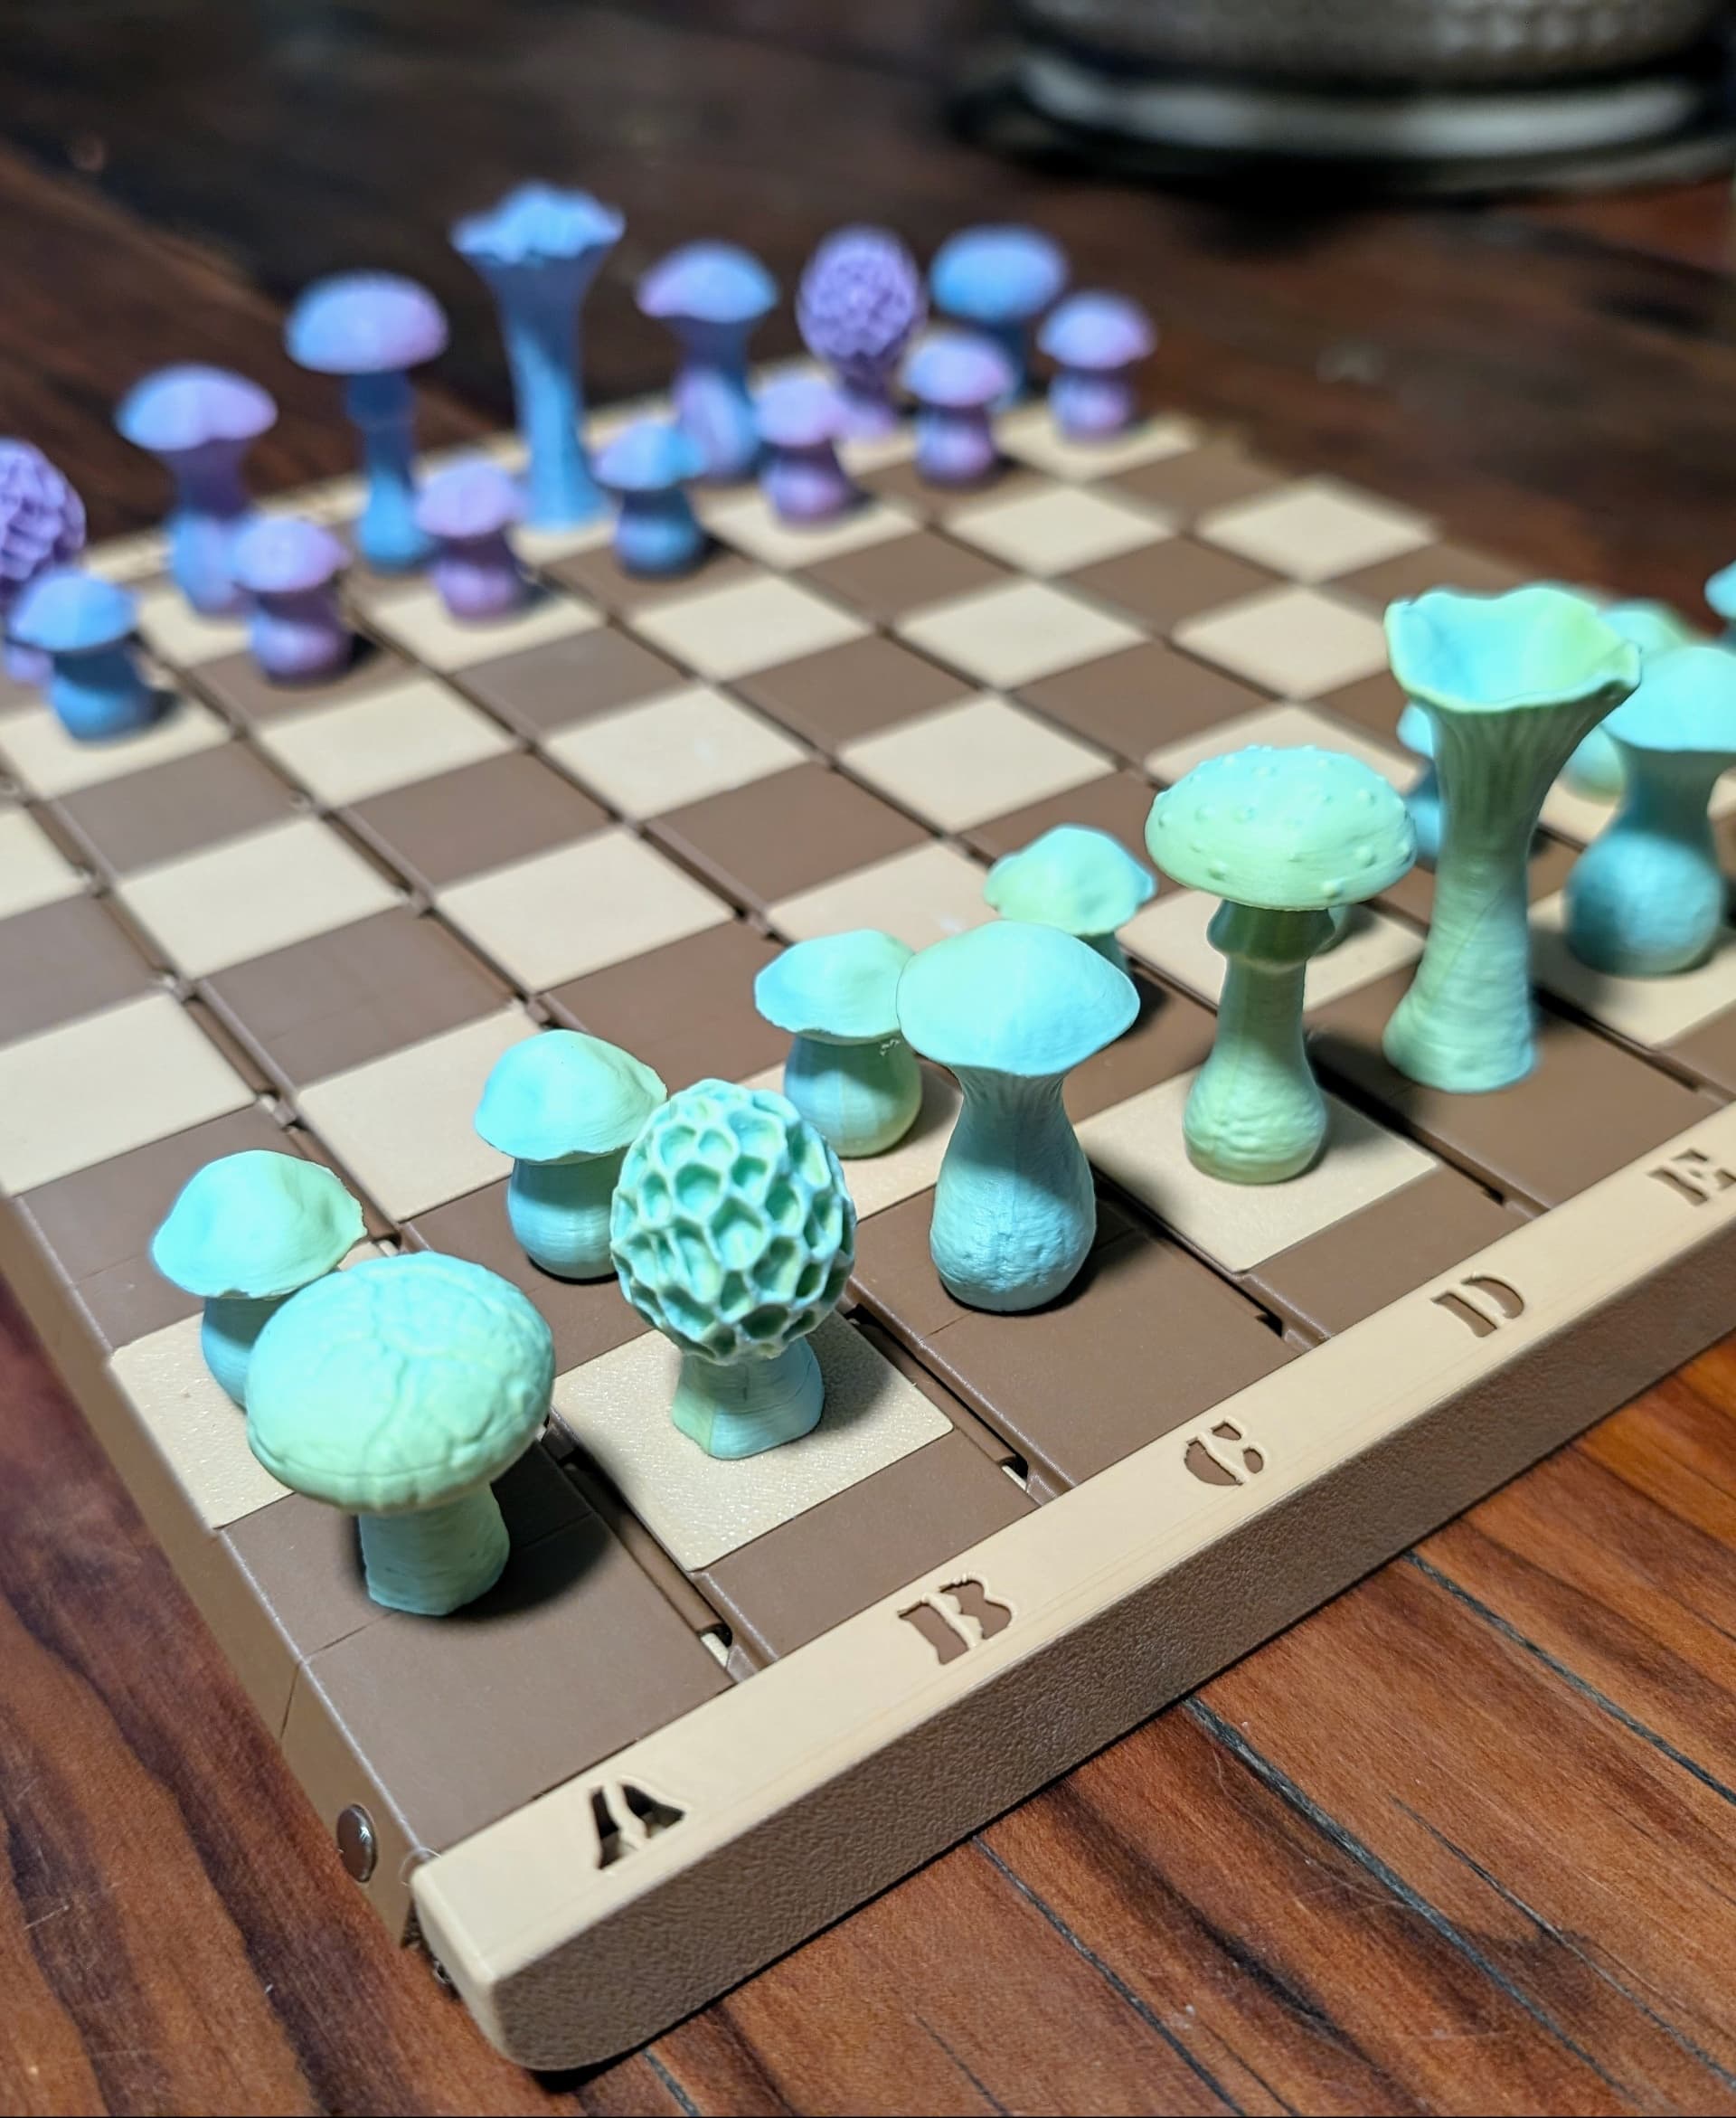
A unique chess set for all nature lovers. This set consists of a foldable board that rolls up into a portable log and figures that are all based on different mushroom species.
Updates
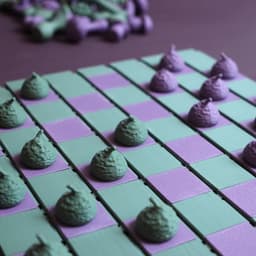
- An acorn playing figure to play checkers
- A print-in-place version
- Now with the possibilty to create magentic chess pieces
Log: Pinus Sylvestris Pawn: Boletus edulis Rooks: Lentinula edodes Knight: Morchella esculenta Bishop: Pleurotus eryngii Queen: Amanita muscaria King: Cantharellus cibarius
A PDF with print and assebly instructions is included!
Print settings Material: PLA Print direction: stls are rotated correctly Nozzle size: 0,4 mm Line width: 0,4 mm


Forest Chess set
1.5K downloads · 2 years ago in and
This model is restricted by licensing terms.
View license.
.png&w=3840&q=75)
Dragon Chess Set Collection – Fantasy Guardian Chess Pieces STL

Dragon Chess Set – 3D Printable Fantasy Chess Pieces
%2520(1).jpg&w=3840&q=75)
Skull Chess Set – 3D Printable Dark Fantasy Chess Pieces

Dragon Chess Set – Detailed Fantasy Sculptures

Dragon Chess Set | STL for 3D Printing

Ancient Egyptian Chess Set - Pharaoh & Anubis Tabletop Pieces 3D Print

NObody's Game: A Chess Set Reimagined
%2520(1).jpg&w=3840&q=75)
Low Poly Samurai & Shogun Chess Set - Feudal Japan Tabletop 3D Print

Ancient Viking Chess Set - Norse Mythology Tabletop Pieces 3D Print

Medieval Chess Set – 3D Printable Detailed King, Queen & Pieces

Classical Mythology Chess Set - Greco-Roman Sculpted Pieces

Acorn Shape Cutter & Stamp Set, Forest Nut Cookie & Fondant Tool, 3 Sizes, 6 Pieces, Nature & Autumn Cake Decoration PRODUCT_1039
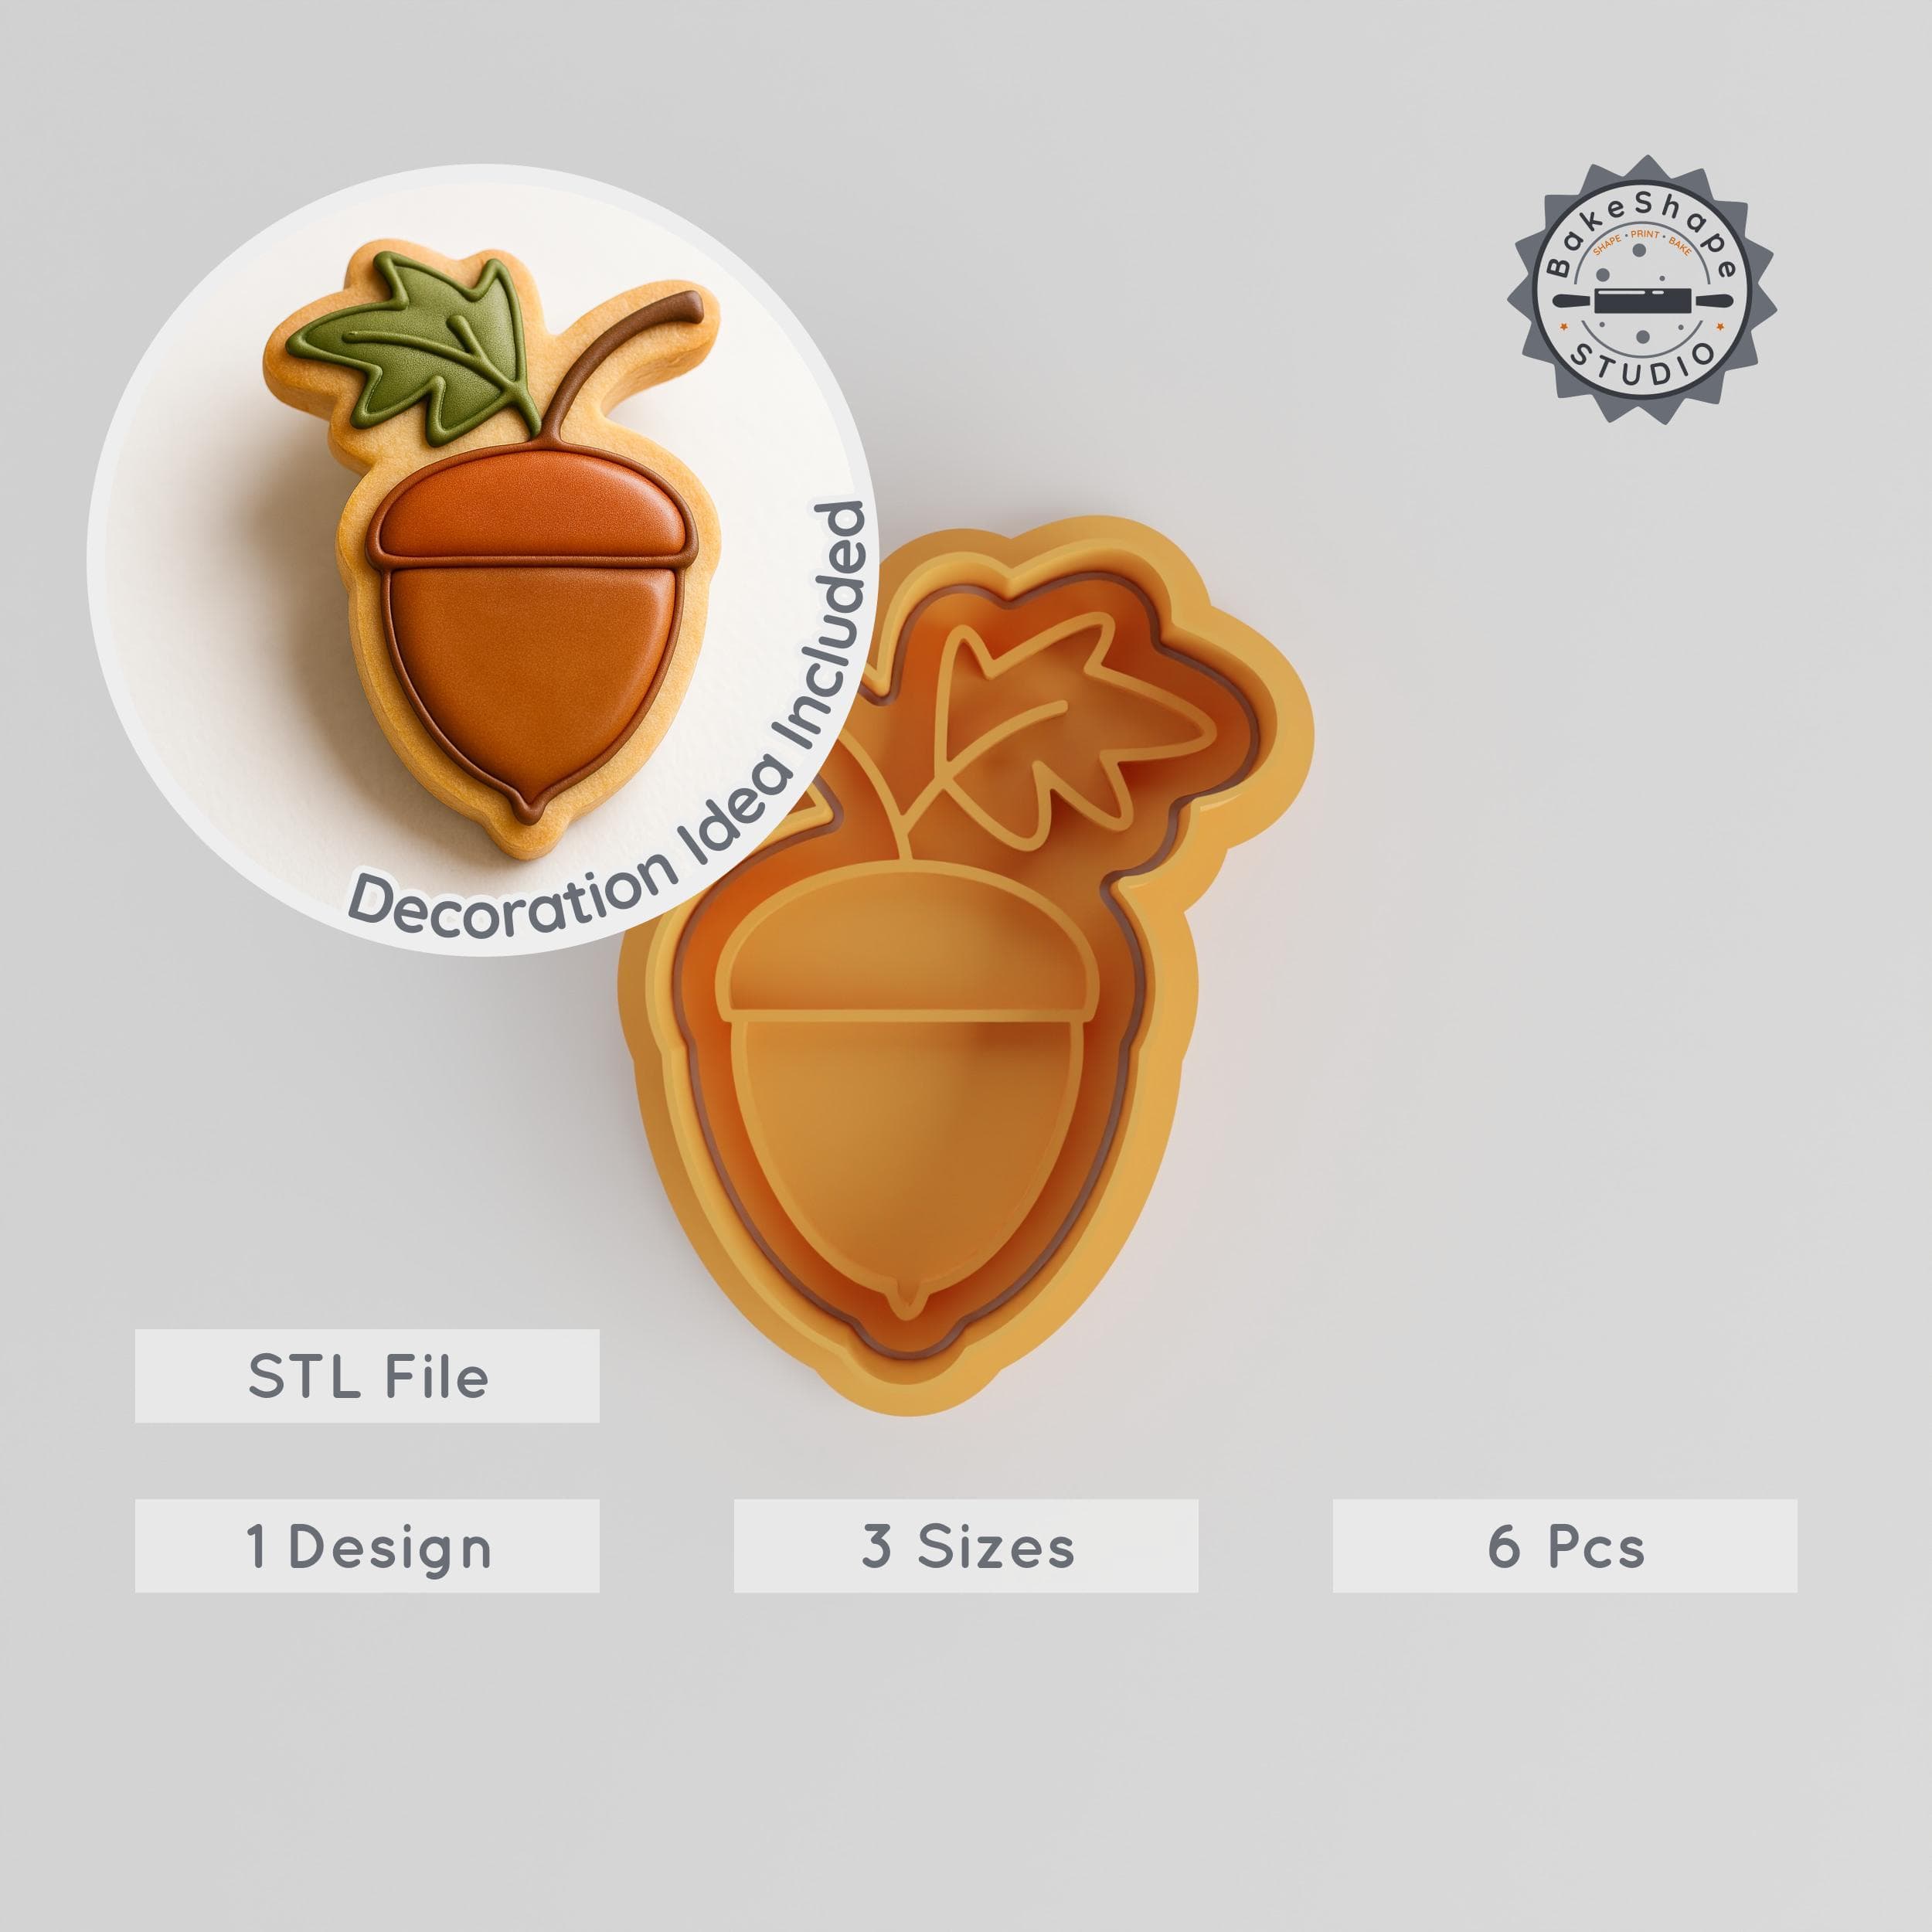
Acorn Shape Cutter & Stamp Set, Forest Nut Cookie & Fondant Tool, Nature Seed, Autumn Decoration, 6-Piece, S/M/L Sizes PRODUCT_1040

Mushroom Cookie Cutter & Stamp Set, Forest Fungi Design, Perfect for Fondant, 3 Sizes, 6 Pieces PRODUCT_1003

Deer Cookie Cutter & Stamp Set, Winter & Forest Designs, 3 Sizes (S/M/L), Perfect for Cookies & Fondant, Animal Cute Collection PRODUCT_5551

Chess Shape Cutter Set, 18 Sizes, Perfect for Cookies, Fondant & Clay PRODUCT_3664

Chess Stamp Tile Set, 5 Sizes 20-40mm for Clay, Cookies, Fondant & Soft Materials PRODUCT_2315

Forest Stamp Tile Set, 5 Sizes: 20-40mm, Perfect for Clay, Cookies & Fondant, Nature & Woodland Designs PRODUCT_4655

Chess Shape Cutter & Stamp Set, Perfect for Cookies & Fondant, Includes 6 Pieces in S/M/L Sizes PRODUCT_542

May I ask what your method was for getting magnets into the pieces where the board piece is printed with the log?
did you add magnets on the tray and under each piece?
The magnets I am using are 6mmX2mm. I am adding negative space to each log piece at a Z height of 1 mm, and a g code pause in the print file(between layer 19 and 20) so I can add the magnets inside the log and then continue printing around them. Modified my squares by adding a cut seam where the peg meets the back of the square. Then merge, then add a new cut seam 2mm high (the height on my magnet), then merge again, then split to objects and deleted the 2mm peg piece, as that is going to be replaced by my 2mm magnet. Then I put the floating peg piece in the hole first, magnet on top of it and glue the square over it :)
Love it! The filament choice for the mushrooms is excelent!
I used a heat gun on the textured side of log piece 8 (on the high spot) for 30 seconds and then pressed it (hot side down) on a cool flat surface until it was level. You can't even tell I did it :)
Do logs 1 & 8 sit level on your version? ForgeCore model, everyone mentions that those two ends sit higher, making pieces fall since they tilt. Do you have identical files? Or could this vary, as your images don't appear to have that same concern.
hey, the files are identical! There is a update on this hopefully coming soon!
The logs looks hard to print. should they be printed vertically? in the same orientation when the stl is imported? This makes for a very small base and a very tall piece, which doesn't seem very stable. I have bambu lab a1 mini and prusa MK3, i would like to be able to print it. Maybe i can print the log horizontally flat on the bed?
A horizontal version is in the making right now!
any updates on this?
Not yet :(
I printed it horizontally, looks great
Did you need supports when you printed horizontally?
This printed really great and the fit is excellent. Mushroom and bark quality is incredible. I wonder if a multi material version of the board could be created where the square colors are done by the machine instead of glueing them in.
Thanks! A multi color version is in the making!
any update for this?
It is still in the making, there are some difficulties getting the details right...
Multi color caps are now in the 3MF file!
Very creative! I was wondering if you could make a smaller version, not by much though! I own a Prusa printer and your original design is too large for me to print. Standing or laying down. this improvement would be greatly appreciated. Thank You!